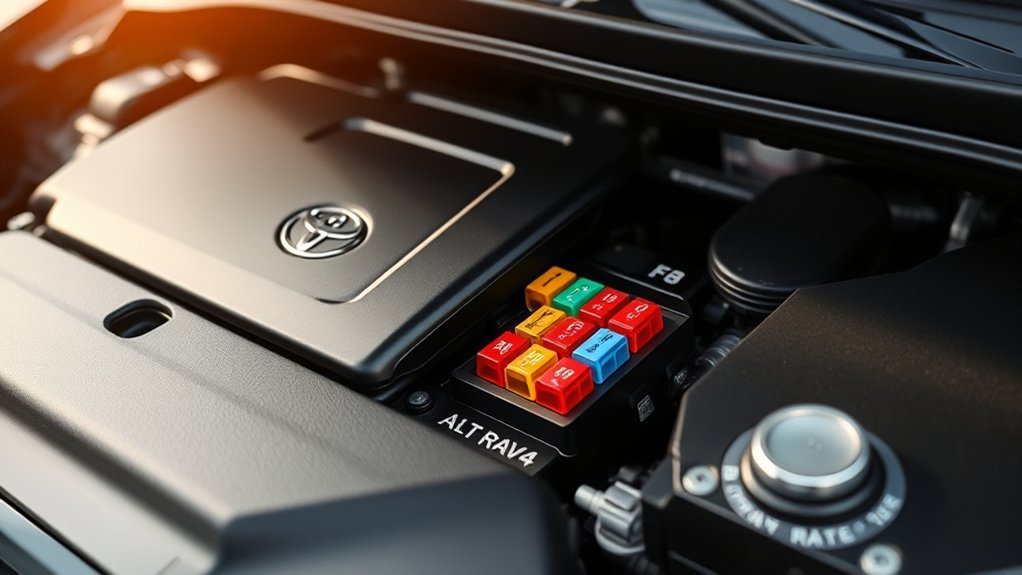
On the U.S.-market conventional 2013 Toyota RAV4 covered by owner’s manual OM42809U, the engine-compartment fuse chart identifies ALT fuse No. 29 as a 120A fusible link. Do not confuse it with ALT-S/ICS fuse No. 27, which is only 7.5A. Before replacing the 120A link, diagnose the overload that opened it. Toyota’s owner’s manual explains fuse identification and owner-level fuse checks, but it does not publish the internal fuse-block disassembly procedure for this repair.
Last updated: September 22, 2026. Verification scope: U.S.-market conventional 2013 RAV4, Toyota owner’s manual OM42809U, and current Toyota dealer parts listings. This guide does not apply to the 2013 RAV4 EV or to a different-market fuse layout.
Quick Answer
For the U.S.-market conventional 2013 RAV4 covered by OM42809U, ALT fuse No. 29 is rated at 120A. Diagnose the overload before replacement. Do not use the small blade-fuse puller or pry at the link from above. Toyota’s owner’s manual directs Type C/D fuse service to a dealer, so if the 120A link requires internal fuse-block access, use the VIN-specific Toyota repair procedure or a qualified automotive electrician.
Key Takeaways
- For the U.S.-market conventional 2013 RAV4 in OM42809U, Toyota lists engine-compartment fuse No. 29 as ALT, 120A.
- Fuse No. 27 is ALT-S/ICS, 7.5A, for the electric current sensor; it is not the 120A ALT link.
- Toyota says its supplied pullout tool is only for Type A fuses and directs Type C/D fuse replacement to a dealer.
- Find and repair the overload before installing a replacement. Toyota specifically warns against a higher-amperage fuse, wire bypass, or fuse-box modification.
- If the replacement opens again, the charging warning remains on, or the fuse block shows heat damage, stop troubleshooting by substitution and have the circuit diagnosed.
At a Glance
| Time Required | No factory DIY replacement time is published in OM42809U. Diagnosis and access time vary; internal fuse-block service is advanced work. |
| Difficulty | Advanced once internal fuse-block service is required. Toyota’s owner’s manual directs Type C/D fuse replacement to a dealer. |
| Tools Needed | Owner-level diagnosis: safety glasses, flashlight, multimeter, and the fuse chart. Internal service: VIN-specific Toyota repair information, appropriate hand tools, and the exact 120A fusible link. |
| Cost | Varies by the replacement link, fuse-block condition, diagnostic time, and labor. Confirm the exact part by VIN before ordering. |
Warning: This guide applies to the U.S.-market conventional 2013 RAV4 covered by Toyota manual OM42809U. It does not apply to the 2013 RAV4 EV or automatically to other-market fuse layouts. Never install a higher-amperage fuse, bypass the link with wire or foil, modify the fuse box, or repeatedly replace a link that opens again.
What Happens When Your RAV4’s ALT Fuse Blows?

Toyota’s 2013 RAV4 owner’s manual identifies U.S.-market engine-compartment fuse No. 29 as ALT, 120A. The listed protected branches include ABS NO.1, ABS NO.2, PTC HTR NO.1, PTC HTR NO.2, DEICER, HTR, RDI FAN, CDS FAN, FOG FR, and DEF.
An open ALT link can stop the alternator from maintaining the battery and may interrupt some of those high-current circuits. However, it does not always cause instant, complete power loss. A charged battery may continue powering part of the vehicle for a limited period.
Possible symptoms include:
- The charging-system warning light remains on after the engine starts.
- Headlights or electrical accessories become weak as the battery discharges.
- Cooling fans, defoggers, heaters, ABS-related systems, or other supplied circuits stop operating.
- The engine stalls after the battery loses its remaining charge.
- The starter cranks slowly, or the engine fails to restart after being switched off.
- The fuse block shows discoloration, melted plastic, or a burned smell.
A charging warning light does not prove that the ALT fuse is blown. The alternator, drive belt, battery, charging cable, connections, and control circuits can produce similar symptoms.
Locating the ALT Fuse in the 2013 Toyota RAV4
Open the hood and locate the main engine-compartment fuse and relay box. Release the cover tabs and lift off the cover. The diagram molded into the lid and the diagram in Toyota’s manual identify each fuse position.
For the conventional U.S.-market 2013 RAV4 covered by OM42809U:
- Fuse No. 29: ALT, 120A
- Fuse No. 27: ALT-S/ICS, 7.5A
Note: ALT-S/ICS is the separate 7.5A electric-current-sensor circuit. Replacing fuse No. 27 will not repair an open 120A ALT link. Confirm the fuse-box lid, market, and owner’s manual before removing anything.
Fuse layouts can differ by market, production specification, and powertrain. Some non-U.S. 2013 RAV4 references use different position numbering, so do not treat “No. 29” as universal. Compare the fuse-box lid with Toyota’s official 2013 RAV4 manuals page. Stop if your layout does not match OM42809U.
For ordinary blade fuses, spare-fuse locations, and model-year differences, use the general Toyota RAV4 fuse-box guide. Keep this page focused on the 2013 U.S.-market 120A ALT link.
How to Confirm the ALT Fuse Is Blown
Do not replace the link based only on a warning light or a no-start condition. Confirm the fuse identity, then diagnose the charging circuit and the overload that caused the link to open.
- Switch everything off. Park on a level surface, apply the parking brake, shift to Park, switch off the engine, and remove the key or keep the smart key away from the vehicle.
- Confirm the fuse identity. Use the lid diagram and OM42809U to verify ALT No. 29, 120A. If your fuse numbering differs, stop and use the manual for that market or vehicle specification.
- Inspect the charging system. Check the drive belt, battery terminals, high-current cables, alternator wiring, and fuse-block area for looseness, corrosion, damaged insulation, or heat damage.
- Inspect the link visually. A visible break or burned element supports a blown-fuse diagnosis, but a hidden break can make visual inspection inconclusive.
- Use the correct electrical test. Never use a meter’s resistance or continuity setting on a powered circuit. If a continuity test is used, disconnect power and follow the VIN-specific repair information so the link is isolated as required; parallel circuit paths can make an in-circuit resistance check misleading.
Warning: Never use the meter’s resistance or continuity setting on a powered circuit. Do not bridge the link terminals with a tool, jumper wire, or test lead.
Why a 120A ALT Fuse Blows
A fuse opens to protect wiring from an overload. Toyota specifically says the cause of an electrical overload should be determined and repaired before fuse replacement. For a high-current ALT link, diagnostic possibilities include:
- A battery or jump-start connection made with reversed polarity
- A shorted alternator or damaged alternator output cable
- A battery cable touching the body, engine, or another grounded component
- Crushed, melted, or chafed wiring
- Loose or corroded high-current terminals that have overheated
- Water intrusion or heat damage inside the fuse block
- Incorrect aftermarket electrical work
If the link opened after reverse-polarity battery installation or jump-starting, other fuses, modules, diodes, and charging-system components may also be damaged. A complete electrical inspection is safer than replacing only the visible link.
Tools You Need for Changing the ALT Fuse
Separate owner-level diagnosis from internal fuse-block service. Toyota says the supplied pullout tool is only for Type A fuses and directs Type C/D fuse replacement to a dealer. Do not treat the 120A ALT link like a normal blade fuse.
| Tool or Supply | Purpose |
|---|---|
| Safety glasses | Protect your eyes while working near the battery and releasing plastic clips. |
| Metric socket set and ratchet | Use only when required by the VIN-specific Toyota repair procedure for battery or fuse-block service. |
| Small trim tool or flat screwdriver | Use only where the VIN-specific repair procedure identifies a plastic retaining clip; never pry against conductors or the fusible link. |
| Multimeter | Diagnose the charging circuit; use resistance/continuity mode only on an unpowered circuit and with the component isolated as required. |
| Flashlight | Inspect the lower housing, terminals, and wiring for damage. |
| Labels or a phone camera | Record connector, cable, and fastener locations before disassembly. |
| VIN-confirmed 120A fusible link | Replace the failed link with the exact cataloged configuration for the vehicle. Dealer catalogs list Toyota 90982-08274 as a 120A engine-compartment fusible link for 2013 RAV4 2.5L applications; verify by VIN before ordering. |
Pro Tip: If factory repair information calls for internal fuse-block service, photograph each connection before moving it and follow the specified removal order and tightening values. Do not copy fastener sizes or torque values from a different RAV4 configuration.
How to Remove and Replace the 120A ALT Fuse
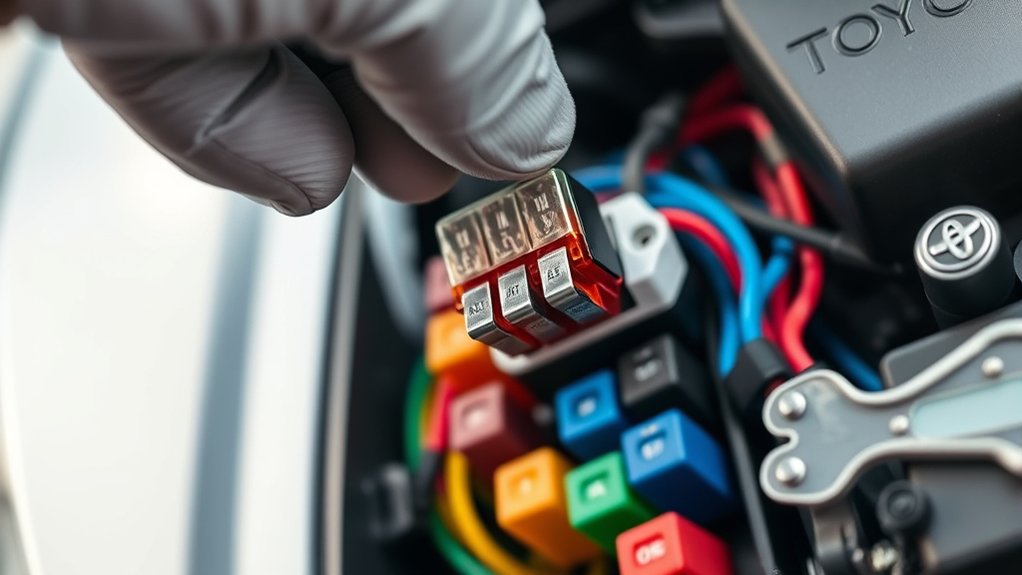
The owner’s manual identifies the fuse, shows the owner-level fuse-check procedure, states that the pullout tool is only for Type A fuses, and directs Type C/D fuse replacement to a Toyota dealer. It does not publish an internal fuse-block disassembly procedure for the 120A ALT link. The steps below therefore separate the verified owner-level checks from work that requires VIN-specific Toyota repair information.
- Park and power down the vehicle. Apply the parking brake, shift to Park, switch the engine off, and remove the key or move the smart key away from the vehicle.
- Confirm the exact fuse and market. For OM42809U, identify engine-compartment fuse No. 29, ALT 120A. Do not proceed from this guide if your lid or manual shows a different layout.
- Diagnose the overload first. Inspect the charging cable, alternator circuit, battery connections, and nearby wiring. If the failure followed reverse-polarity battery installation or jump-starting, assume additional electrical damage is possible until the vehicle is tested.
- Stop if the fuse block is heat-damaged. Melted plastic, darkened terminals, a burned odor, or loose high-current connections call for fuse-block and circuit inspection rather than another fuse.
- Use the owner’s-manual service boundary. Toyota says the supplied pullout tool is only for Type A fuses and directs Type C/D replacement to a dealer. Do not pull, twist, or pry the 120A link out with a blade-fuse puller.
- Use VIN-specific Toyota repair information for internal access. If the applicable repair procedure requires battery disconnection, fuse-block release, connector removal, or retained-link hardware removal, follow that procedure exactly. Do not infer fastener locations, sizes, or torque values from a generic web guide.
- Disconnect power when the repair procedure requires it. Before working on high-current fuse-block connections, follow Toyota’s specified battery-disconnection sequence and any waiting or initialization instructions for the exact vehicle.
- Document only the connections the procedure requires you to disturb. Photograph connector, cable, and routing positions so each returns to the correct location.
- Inspect the terminals before installing the link. Do not install a new fusible link onto burned, loose, corroded, or melted high-current terminals.
- Install the exact replacement. Use the 120A fusible link cataloged for the vehicle and confirm fit by VIN. Toyota dealer catalogs list 90982-08274 as a 120A engine-compartment fusible link for 2013 RAV4 2.5L applications, but VIN verification still comes first.
- Reassemble exactly as specified. Restore every connector, cable, cover, clip, and mount to its documented position and apply only the factory-specified tightening values.
- Perform the post-repair checks below. If the replacement opens again, do not install another one; the overload remains.
Note: Toyota’s wording is specific: the supplied pullout tool is for Type A fuses only; Type C/D fuse replacement is referred to a Toyota dealer. That is a stronger safety boundary than simply saying “use a different puller.”
Checks After Installing the New 120A ALT Fuse
Complete these checks before considering the repair finished:
- Confirm that every fuse-block cover and retaining clip is fully seated.
- Verify that the battery terminals are clean, secure, and correctly oriented.
- Check that no cable is pinched beneath the fuse block or any component moved during the repair.
- Start the engine and confirm that the charging-system warning light turns off normally.
- Test the lights, blower, defogger, cooling fans, and other affected electrical equipment.
- Inspect the fuse block for heat, odor, smoke, or arcing.
- Have the alternator output, battery condition, and charging cables tested if the warning light remains illuminated.
If the charging-system warning light remains on after the repair, switch the vehicle off and diagnose the charging system before relying on it for a trip. A battery can supply the vehicle only for a limited time if the charging system is not replenishing it.
Troubleshoot Common Issues After Replacing Your Fuse
| Symptom | Possible Cause | What to Do |
|---|---|---|
| The new ALT link opens immediately | A shorted alternator, damaged charging cable, reverse-polarity damage, or another major overload remains. | Do not install another link. Toyota says a replacement fuse that blows again should be inspected by a dealer; diagnose the overload before further replacement. |
| The charging warning light stays on | The alternator, drive belt, battery, wiring, control circuit, or a connection may still be faulty. | Switch off the vehicle and have the charging system tested before driving. |
| The vehicle has no electrical power | A battery cable, main connection, fuse-block connector, or additional main fuse may be loose or open. | Recheck battery polarity and every connection disturbed during the repair. |
| Only one accessory or system remains inoperative | A separate branch fuse, relay, connector, or component may also have failed. | Use the owner’s manual fuse chart to inspect the affected branch circuit. |
| The fuse block becomes hot or smells burned | A loose terminal, damaged bus bar, incorrect link, or heat-damaged housing may be creating resistance. | Switch the vehicle off, disconnect the battery when safe, and have the block repaired or replaced. |
Inspect the Charging Circuit
Check the alternator output cable from the alternator to the fuse block and battery. Look for damaged insulation, contact with the exhaust or engine, loose terminal hardware, corrosion, and evidence of previous repairs.
Also inspect the alternator drive belt. A missing or slipping belt can trigger charging-system symptoms even when the fuse remains intact. For charging-system checks beyond the fuse, see the Toyota RAV4 alternator replacement and diagnosis guide.
Inspect the Fuse Connections
The replacement link must sit flat against clean, undamaged terminals. A loose connection can create resistance and heat without drawing enough current to open the fuse immediately.
Do not sand away severe terminal damage or reuse burned fasteners. Melted plastic, darkened copper, loose studs, or recurring heat indicate that the fuse-block assembly needs professional inspection.
Frequently Asked Questions
Can I use a different amp rating for the ALT fuse?
No. Use an exact 120A equivalent that matches the original link’s physical design and terminal arrangement. A higher rating can allow wiring or components to overheat before the fuse opens. A lower rating may open during normal operation.
What is the difference between the 120A ALT fuse and the 7.5A ALT-S/ICS fuse?
The 120A ALT link is fuse No. 29 and carries high current to several major circuits. ALT-S/ICS is fuse No. 27 and is a separate 7.5A sensing circuit. They are not interchangeable.
Can I remove the 120A ALT fuse with the fuse puller?
No. Toyota states that the supplied pullout tool is only for Type A fuses and directs Type C/D replacement to a dealer. Do not force the 120A ALT link with the blade-fuse puller or pry against the fuse block. If internal access is required, use the VIN-specific Toyota repair procedure.
How often should I inspect the ALT fuse?
Toyota does not specify a six-month inspection interval. Check the link when charging-system symptoms appear, after reverse-polarity battery or jump-start incidents, after charging-system repairs, or when the fuse block shows heat or corrosion damage.
What are the symptoms of a blown ALT fuse?
Possible signs include a charging warning light, a battery that does not remain charged, weak electrical equipment, loss of some high-current circuits, stalling after the battery discharges, and a later no-start. These symptoms can also come from an alternator, battery, belt, or wiring fault.
Is it safe to drive with a blown ALT fuse?
No. The vehicle may run briefly on stored battery power, but it can stall, fail to restart, or lose important electrical functions. Diagnose the charging system rather than relying on the remaining battery charge.
Why did the replacement ALT fuse blow again?
The original overload has probably not been repaired. Possible causes include a shorted alternator, damaged charging cable, reverse-polarity damage, a grounded battery cable, heat-damaged fuse-block terminals, or faulty aftermarket wiring. Do not install another fuse until the circuit has been diagnosed.
Where should I buy a replacement 120A fuse link?
A Toyota dealer or reputable parts supplier can provide the link. Toyota dealer catalogs list part 90982-08274 as a 120A engine-compartment fusible link for 2013 RAV4 2.5L applications. Verify by VIN before ordering; do not buy by amperage alone.
Is the 120A ALT fuse an owner-serviceable fuse in Toyota’s manual?
Toyota’s owner’s manual gives owners a general fuse-check procedure, says the pullout tool is only for Type A fuses, and says to contact a Toyota dealer for Type C and D fuses. It does not publish the internal fuse-block disassembly steps for the 120A ALT-link repair. Use VIN-specific Toyota repair information if internal service is required.
What is the Toyota part number for the 120A fusible link?
Current Toyota dealer catalogs list 90982-08274 as a 120A engine-compartment fusible link for 2013 RAV4 2.5L applications. Treat that as a catalog reference, not a universal fitment guarantee; confirm the replacement against the VIN and original fuse-block configuration before purchase.
Conclusion
For the U.S.-market conventional 2013 Toyota RAV4 in OM42809U, ALT fuse No. 29 is the 120A link. Confirm the layout, diagnose the overload, and do not substitute a higher rating. Toyota’s owner manual does not provide the internal fuse-block disassembly procedure, so any repair that goes beyond the owner-level fuse check should follow VIN-specific Toyota repair information.
After repair, verify that the charging warning light turns off and that the affected systems operate normally. If the replacement opens again, the warning remains on, or the fuse block is burned or melted, stop replacing fuses and have the charging circuit and fuse block diagnosed.
Sources
- Toyota 2013 RAV4 Manuals and Warranties — official access point for model-specific owner documentation.
- Toyota 2013 RAV4 Owner’s Manual OM42809U — fuse locations, ALT and ALT-S/ICS ratings, fuse-check procedure, and fuse-replacement cautions.
- Toyota Technical Information System — Toyota’s source for VIN-appropriate repair procedures and service specifications.
- Toyota Dealer 120A Fuse Link Reference — dealer listing for Toyota 90982-08274, a 120A fusible link; confirm exact fitment by VIN.

