The DJI Fly settings to change first are the ones that protect your drone: Max Altitude, Auto RTH Altitude and Obstacle Avoidance Action in the Safety tab, then video quality and storage in the Camera tab. Tap the three dots at the top right of the camera view to open Settings. The tabs are Safety, Control, Camera, Transmission and About. Menu names can differ a little between drones and app versions.
What Should Beginners Change First in DJI Fly?
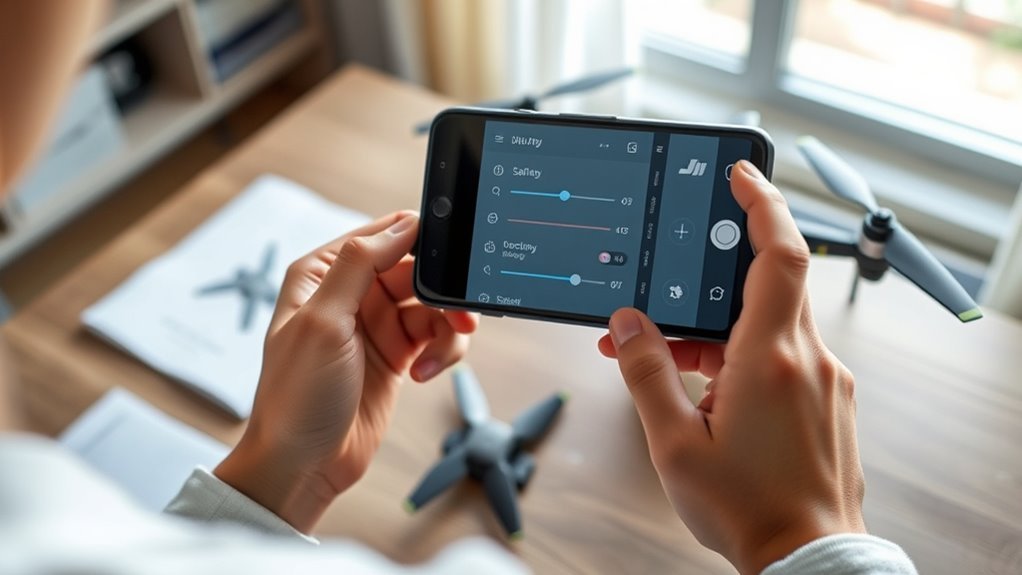
Work through this list before your first flight:
- Safety, Max Altitude: set 120 m (about 400 ft). This matches the FAA limit for recreational flying in uncontrolled airspace and most European limits.
- Safety, Auto RTH Altitude: set it above the tallest tree or building near you.
- Safety, Obstacle Avoidance Action: choose Brake while you learn. The drone stops in front of an obstacle. Bypass flies around it, which can surprise a new pilot.
- Camera, video: start with 4K at 30 fps and the Normal color mode, if your drone offers them.
- Camera, storage: pick the microSD card, and make sure it has free space.
- Safety, Find My Drone: learn where it is before you need it.
Set Flight Limits in DJI Fly
Flight limits live in the Safety tab:
- Max Altitude: the ceiling above your takeoff point, not above the ground under the drone. Many models default to 120 m.
- Max Distance: how far the drone can fly from you. Set it so the drone always stays in sight.
- Auto RTH Altitude: the height the drone climbs to before it flies home. The Air 3S manual lists a default of 100 m. Set it above the tallest obstacle around you.
- RTH type: Optimal picks the best path home. Preset uses your altitude setting.
Return to Home starts in three ways: you press the button, the battery runs low, or the signal is lost.
Airspace warnings have changed too. DJI has moved from hard No-Fly Zones to warnings: in the US during 2025, and in the rest of the world from 17 November 2025, when it said its remaining No-Fly Zones become Enhanced Warning Zones. The app now warns you instead of always blocking takeoff. You are still responsible for the airspace. In the US, check the FAA’s B4UFLY app, and use LAANC for controlled airspace.
Use Beginner Mode (If Your Drone Has It) and Test RTH
Not every DJI drone has a Beginner Mode. On the Avata 2 it sits in the Control tab and limits speed and altitude. If your drone has no Beginner Mode, use Cine mode and a low Max Altitude and Max Distance instead. Cine mode slows flight inputs and gimbal movement.
Test Return to Home once in an open field with nothing tall around. Set a safe Auto RTH Altitude first. Press and hold the RTH button on the controller, or choose RTH on the screen. A green line shows the route home. To cancel, tap the red X or the Pause button.
Adjust Camera Settings in DJI Fly
The Camera tab holds photo settings (format, aspect ratio, resolution), video settings (format, color mode, coding format, bitrate) and extras such as gridlines, histogram, anti-flicker, white balance and storage. Exposure controls sit on the camera screen.
Exposure Controls
Auto exposure is fine for beginners. In manual mode, you set three things:
- ISO: keep it low in bright light for less noise. Raise it in dim light.
- Shutter speed: for video, a common rule is double your frame rate. At 30 fps, use 1/60.
- EV (exposure compensation): brightens or darkens the picture in auto mode.
White balance can be a preset (sunny, cloudy) or a Kelvin value. Use one fixed value for a whole clip so the color does not shift. Some drones also have an adjustable aperture.
Photo And Video Formats
- JPEG or RAW (on drones that support RAW): JPEG is small and ready to share. RAW keeps more detail for editing but makes big files.
- H.264 or H.265: H.264 plays almost everywhere. H.265 makes smaller files but needs a newer phone or computer to edit smoothly.
- Color mode: Normal is ready to share. Newer drones also offer D-Log M or HLG, which need color grading. The Avata 2 offers D-Log M.
- Storage: choose microSD or, on drones that have it, internal storage.
Choose the Right Photo and Video Quality
Higher quality means bigger files and more battery use on your phone or controller. Pick the lowest setting that gives you the result you need.
Photo Resolution Choices
Many drones offer a standard 12 MP mode and a higher-megapixel mode. Use the standard mode for sharing and everyday shots. Use the high mode when you plan to crop or print, and shoot RAW if your drone offers it.
Video Quality Settings
- 4K at 30 fps: a good default for most scenes.
- 4K at 60 fps: for fast action or smooth slow motion.
- 1080p: saves space on long flights.
Options differ by drone. Start with Normal color, and move to D-Log M only when you are ready to edit the color yourself.
Use Find My Drone in DJI Fly
Find My Drone is in the Safety tab. You do not switch it on. Open it after you lose the drone. It shows a map with the drone’s last recorded position as a blue triangle and your own position as a blue circle.
It is not live tracking. It shows where the drone was when the link to the controller dropped. It is less accurate if the drone was fast, high, in Return to Home or in strong wind. It works best for slow, low flights.
The Most Important DJI Fly Settings for Beginners
| Setting | Where | Suggested value |
|---|---|---|
| Max Altitude | Safety | 120 m (400 ft) |
| Max Distance | Safety | Within your sight |
| Auto RTH Altitude | Safety | Above the tallest obstacle nearby |
| Obstacle Avoidance Action | Safety | Brake while you learn |
| Find My Drone | Safety | Know where it is before you fly |
| IMU and Compass | Safety, then Sensors | Calibrate only when the app asks |
| Gimbal Calibration | Control | Only if the horizon looks tilted |
| Buttons and stick mode | Control | Mode 2 is the default. Set C1 and C2 if you want shortcuts. |
| Resolution and frame rate | Camera | 4K at 30 fps |
| Storage | Camera | microSD card with free space |
| Firmware | About | Check for updates before you fly |
| Flight mode | Switch on the controller | Normal. Use Cine for smooth footage. |
Sport mode turns off obstacle sensing, so skip it until you know the drone well. To learn the automatic shooting modes, read our guide to DJI QuickShots, MasterShots and ActiveTrack 360.
Frequently Asked Questions
Is the DJI Fly App Still Available?
Yes. On iPhone, get it from the App Store. On Android it is not on Google Play. Download it from DJI’s website and allow installs from unknown sources. The current Android file asks for Android 7.0 or later. The DJI RC 2 controller has the app built in. DJI Fly covers the Mini, Air, Mavic 3 and Mavic 4, Neo, Flip and Avata drones. Enterprise drones use DJI Pilot 2.
How to Use a DJI Drone for Beginners?
Charge the battery, install DJI Fly, and activate the drone with a DJI account. Activation needs an internet connection. Install any firmware update, then set the Safety items above. Fly in an open area in Normal mode. Before takeoff, check that the GNSS indicator is white and the app says Home Point Updated. Our DJI first flight guide has the full steps.
Do I Have to Calibrate My Drone Every Time I Fly It?
No. Calibrate when the app asks, or when something looks wrong.
- IMU: after you travel to a new area, after a firmware update, or if the app shows an IMU error. Use a flat surface and at least 50 percent battery. Do not move the drone. Path: Safety, Sensors, IMU.
- Compass: when the app shows a compass warning. Stand in an open area away from metal, power lines and magnets. Path: Safety, Sensors, Compass.
- Gimbal: if the horizon looks tilted. Path: Control, Gimbal Calibration.
Conclusion
Set Max Altitude, Auto RTH Altitude and Obstacle Avoidance Action first. Then choose a simple video setting, such as 4K at 30 fps, and check your storage. Test Return to Home once in an open field. Leave everything else alone until you need it. For the full first-flight steps, read our DJI first flight guide.
Last checked: October 2026.

