Many drone pilots now prefer ExpressLRS for its low latency and long range. Setting up ELRS requires a clear approach to binding and configuration. You must ensure your transmitter and receiver are compatible before you begin. Let’s explore the best methods for binding and troubleshooting to get your drone in the air.
Quick Answer
- Ensure your transmitter and receiver share the same major firmware version (e.g., both on 3.x).
- Setting a Binding Phrase is the most reliable way to connect your devices automatically.
- You can also bind using the Betaflight Configurator, a physical button, or a Web UI.
- The 3-Power-Cycle method is a great backup if your receiver lacks a physical button.
- A solid LED light on the receiver confirms a successful bind.
Overview of Express LRS

ExpressLRS is an open-source radio control link. It gives FPV drone pilots reliable communication with very low latency. This system operates on two main frequency bands. The 2.4 GHz band is ideal for crowded environments and typical freestyle flying. The 900 MHz band excels in extreme range and signal penetration.
Binding your FPV drone with ExpressLRS is simple once you know the basics. You must verify both modules are compatible and operate on the same frequency. You can access the latest firmware updates for your modules through the project’s GitHub repository or the ELRS Configurator. This keeps your system secure and improves overall performance.
What is a Binding Phrase?
A Binding Phrase is a unique text password you set on both your transmitter and receiver. When both devices power on, they use this phrase to find each other and connect automatically. This is the most popular and secure way to bind ExpressLRS hardware today. It also prevents your drone from accidentally connecting to another pilot’s controller.
Compatibility Check
You must perform a compatibility check between your TX Module and Receiver before trying to bind them. Mismatched components will fail to connect. Keep these rules in mind:
- Version Match: The first number in the firmware version of your TX Module and receiver must match. For example, version 3.1.2 will work with 3.0.1.
- Firmware Compatibility: SPI-based receivers on Betaflight 4.3.1 or older require ExpressLRS 2.x firmware. SPI receivers on Betaflight 4.4.0 and newer need 3.x firmware.
- Incompatibility Alerts: A TX Module on version 3.2.0 will not work with a receiver on version 2.4.0.
- Binding Phrase: Confirm both devices are configured with the exact same Binding Phrase if you choose that method.
New Receivers and Initial Binding Process
New receivers usually come from the factory without a Binding Phrase. They will automatically enter binding mode the first time you power them on. You will know the receiver is in this mode when its LED blinks rapidly. To bind, power on your transmitter and select “Bind” in the ExpressLRS LUA script. The receiver’s LED will turn solid once the connection is successful.
| Status | Indicator |
|---|---|
| Binding mode active | Rapidly blinking LED |
| Successful binding | Solid LED |
| Firmware compatibility check | Match major transmitter/receiver versions |
| Optional binding method | “Bind Receiver” button in Betaflight |
Double-check your firmware versions if the binding fails. Updating both modules to the latest matching version usually resolves the issue.
Method 1: Bind Button in Betaflight Configurator
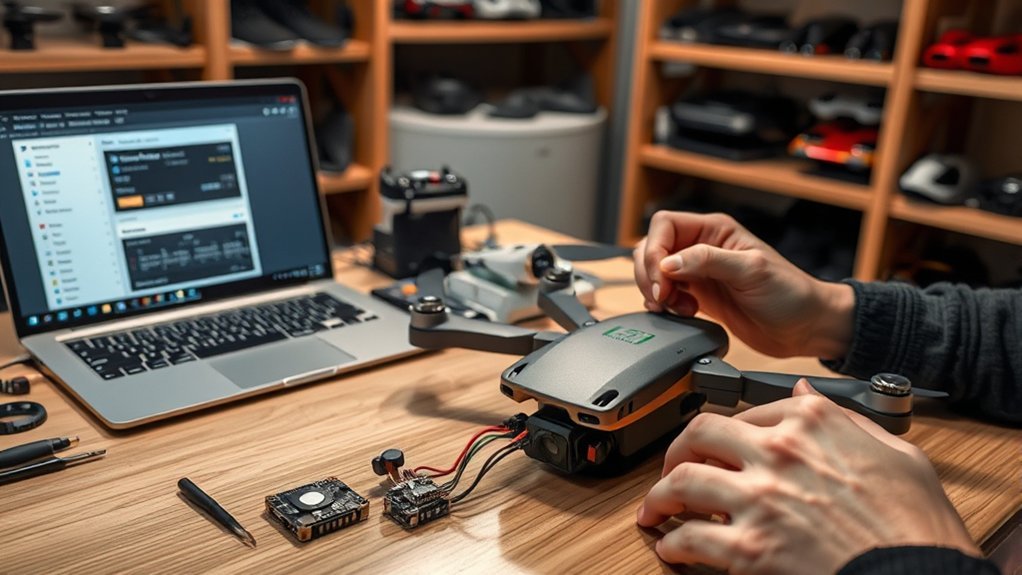
Using the Bind Button in Betaflight Configurator makes the process very easy. This works best for receivers running recent ELRS 3.x firmware. Connect your flight controller to your computer and power the receiver. Go to the Receiver tab in Betaflight and click “Bind Receiver” while your transmitter is in bind mode. The receiver’s LED will turn solid to confirm a successful connection.
Betaflight Binding Steps
Follow these quick instructions to use the software bind method:
- Open Betaflight Configurator and go to the Receiver tab.
- Click the “Bind Receiver” button to send the command to your drone.
- Activate bind mode on your radio transmitter using the LUA script.
- Wait for the receiver’s LED to turn solid.
If you use older firmware, you might not see this button. You will need to use the Binding Phrase or LUA script instead.
Requirements for this Method
Your receiver should be running ELRS firmware version 3.4 or newer to ensure the Betaflight bind button works perfectly. Make sure your TX module and receiver firmware versions share the same major release number. Mismatched versions will ignore the bind command completely.
Method 2: Pressing Physical Bind Button
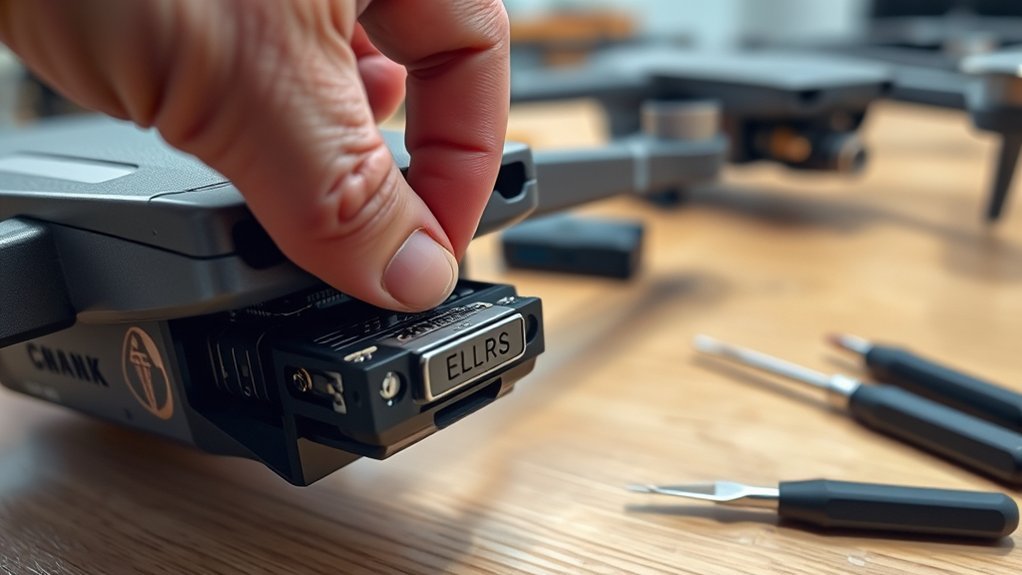
Some receivers feature a small physical bind button. Press and hold it for 2 seconds until the LED blinks rapidly. This signals that the receiver is ready to pair. Activate bind mode on your radio transmitter. The LED will turn solid once connected. If your receiver is buried deep inside your drone frame, you may need to use one of the other methods.
Using the Button Properly
The physical button serves multiple purposes on newer firmware. A 2-second press enters bind mode. A 7-second press activates WiFi mode so you can update the firmware. A 15-second press completely resets the receiver. Always watch the LED to know what mode you are in. Double-check your transmitter to confirm it is actually broadcasting a bind request.
Method 3: Entering Bind Phrase in Web UI
You can enter a Binding Phrase using the receiver’s Web UI. Your receiver must have firmware version 3.0 or newer for this to work well.
- Power the receiver and wait 60 seconds for the LED to blink rapidly, indicating WiFi mode is active.
- Connect your computer or phone to the “ExpressLRS RX” WiFi network using the password ‘expresslrs’.
- Open a web browser and go to the IP address 10.0.0.1.
- Type in your chosen Binding Phrase. Use at least 8 letters and numbers.
- Save the settings and reboot the receiver. Do the same for your transmitter module.
Method 4: Setting Binding Phrase by Flashing Firmware
You can set your Binding Phrase right when you update your firmware. This allows your devices to bind automatically the moment they power up. Open the ExpressLRS Configurator on your computer. Enter your desired Binding Phrase in the settings box. Flash this new firmware onto both your receiver and your transmitter module. The receiver’s LED will turn solid immediately when both devices power on. This method ensures you are running the latest firmware while sorting out your connection at the same time.
Method 5: 3-Power-Cycle Method
The 3-Power-Cycle Method forces your receiver into bind mode. This is extremely helpful for receivers that do not have a physical bind button and do not have a Binding Phrase set.
How to Power Cycle
- Set your TX module to bind mode using the ExpressLRS LUA script.
- Plug a battery into your drone to power the receiver, then immediately unplug it.
- Repeat this plug-and-unplug process two more times quickly.
- Leave the battery plugged in on the third try. The receiver LED should blink rapidly.
- The LED will turn solid once it connects to your transmitter.
Fixing Power Cycle Issues
The timing of the 3-Power-Cycle method can be tricky. You must plug and unplug the battery quickly. If the LED does not blink rapidly after the third plug-in, unplug everything and try again with a slightly faster rhythm. Confirm your TX module is still in bind mode, as it sometimes times out if you take too long.
Method 6: Binding via CRSF Protocol
You can manage binding directly through the CRSF protocol on your radio. Open your radio’s system menu and navigate to the ExpressLRS LUA script. Select the “Bind” option. This sends a signal to any receiver currently in bind mode. Watch the LED on your drone. A solid LED means the binding was successful. This method relies heavily on your transmitter and receiver sharing the exact same major firmware version.
Troubleshooting Binding Issues
If you cannot get a solid LED light, check your compatibility and settings. Here are four common fixes:
- Check Firmware Versions: Confirm your TX Module and receiver share the same major firmware number.
- Verify Power: Make sure the receiver is getting steady power from the flight controller. The LED should light up immediately.
- Reset Model Match: If the bind fails, toggle the Model Match setting in your LUA script from On to Off, then back to On.
- Double-Check Spelling: If you use a Binding Phrase, confirm you spelled it exactly the same way on both devices. Passwords are case-sensitive.
Related Guides
Frequently Asked Questions
How do I bind my controller to a drone with ELRS?
Power on both devices and ensure their firmware versions match. Put the receiver into bind mode using the physical button, the 3-power-cycle method, or Betaflight. Then, activate bind mode on your controller via the LUA script. A solid LED confirms the connection.
How do I put an ELRS receiver into binding mode?
If a receiver has no Binding Phrase saved, it enters bind mode automatically on startup. You can also press the physical bind button for 2 seconds, or plug and unplug the power three times quickly.
Can I use Betaflight to bind my drone?
Yes. Connect your drone to Betaflight Configurator, navigate to the Receiver tab, and click the “Bind Receiver” button. This requires newer ELRS firmware.
What is the ELRS Configurator?
The ELRS Configurator is a computer program used to update and customize ExpressLRS devices. You use it to flash new firmware, set your Binding Phrase, and configure your hardware options.
Final Thoughts
Setting up ExpressLRS takes a little patience the first time you do it. Do not worry if you encounter a few errors along the way. Use the Binding Phrase method for the most reliable experience. Double-check your firmware versions if the modules refuse to talk to each other. Once you secure a solid connection, you will enjoy one of the most reliable control links available in the hobby.
