If you’re ready to try fly fishing, start with simple gear, basic casting practice, and a clear plan for where to fish first. You do not need a huge collection of rods, reels, or flies to enjoy your first day on the water. With the right setup and a few beginner-friendly habits, you can learn faster, protect fish, and feel more confident every time you cast.
Quick Answer
To start fly fishing, use a 9-foot 5-weight or 6-weight rod, a matching reel, weight-forward floating line, leader, tippet, nippers, hemostats, polarized sunglasses, and a small selection of flies. Practice the overhead cast first, then fish easy ponds, streams, or stocked waters while learning safe fish handling.
Key Takeaways
- A 9-foot 5-weight or 6-weight fly rod is the most versatile beginner setup for trout, panfish, and small bass.
- Start with weight-forward floating line because it casts well and works for dry flies, nymphs, and many basic streamer setups.
- Practice casting in an open area before fishing so you can focus on line control instead of fighting your gear.
- Look for fish near current seams, riffles, undercut banks, shade, drop-offs, and other feeding or shelter areas.
- Handle fish with wet hands, limit air exposure, and support the body if you plan to release your catch.
At a Glance
| Time Required | 1 to 2 hours of casting practice before your first short fishing trip |
| Difficulty | Beginner-friendly, but casting and line control need regular practice |
| Tools Needed | Fly rod, reel, fly line, leader, tippet, flies, nippers, hemostats, sunglasses, and a landing net |
| Cost | Entry-level kits can be affordable, but buy dependable basics instead of many cheap extras |
Getting Started in Fly Fishing
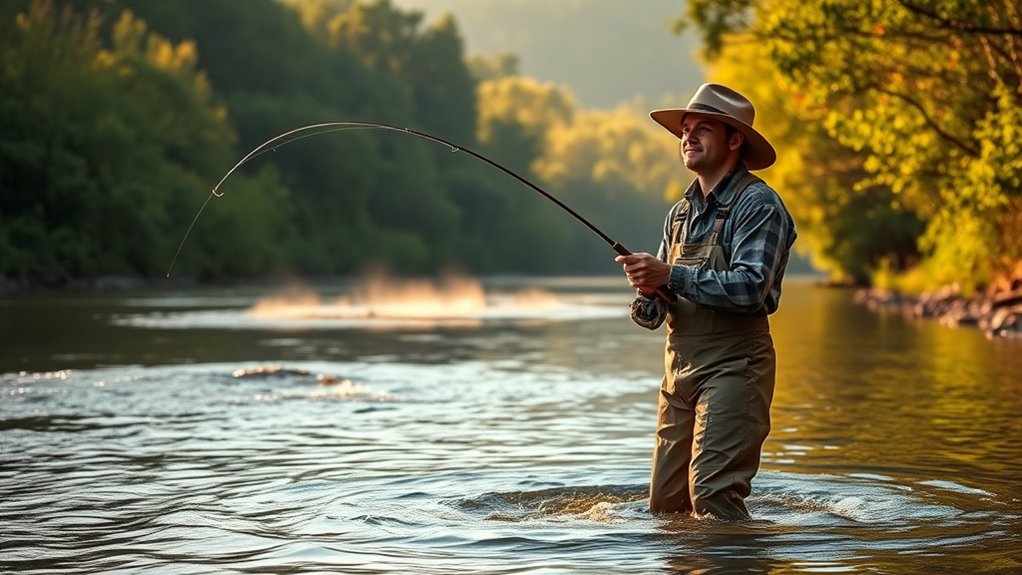
Have you ever wondered how to start your journey in fly fishing? It can feel a bit overwhelming at first because the sport has its own gear, knots, casting terms, and fly patterns.
Keep your first setup simple. A 9-foot, 5-weight or 6-weight fly rod gives most beginners enough control for trout, panfish, and small bass. Pair it with a matching reel, weight-forward floating line, a tapered leader, and a small spool of tippet.
You can learn the basics through local classes, fishing clubs, guide days, books, videos, and blogs. Even one short lesson can help you avoid common casting mistakes and build confidence faster.
Once you’ve got your gear, practice in a yard, park, small pond, or open shoreline before trying harder water. This helps you develop casting and line management skills without the pressure of fast currents, trees, or rising fish.
Pro Tip: Remove the fly and tie on a small piece of yarn when practicing in the yard. It lets you see your cast without risking a hook in your clothing, skin, or nearby objects.
Essential Fly Fishing Gear
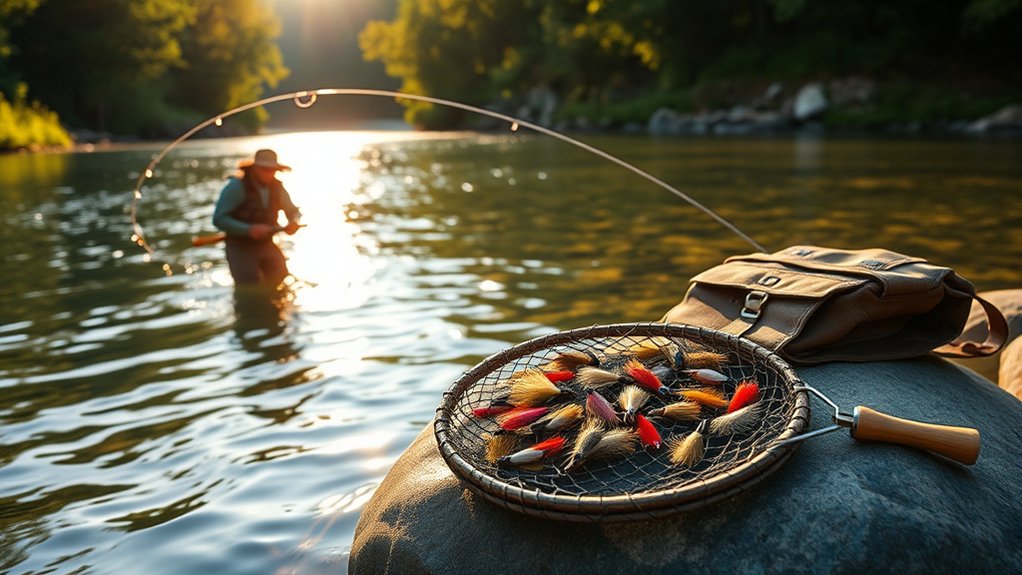
When you immerse yourself in fly fishing, having the right gear makes your time on the water safer, easier, and more enjoyable.
Start with a versatile 9-foot, 5-weight or 6-weight fly rod paired with a matching reel and fly line. This setup helps you handle many beginner fishing situations without buying several rods.
A versatile 9-foot, 5-weight or 6-weight fly rod with a matching reel and floating line gives beginners a balanced setup for many freshwater situations.
Don’t forget polarized sunglasses. They reduce glare, help you spot fish and structure, and protect your eyes from hooks, branches, and bright reflections.
A net with a rubber ghost basket is useful for gentle catch and release because it supports the fish and helps reduce scale and slime-coat damage.
Equip yourself with basic accessories like nippers, pliers or hemostats, tippet, leaders, floatant, split shot, strike indicators, and a selection of assorted flies for quick adjustments on the water.
While neoprene waders and wading boots improve comfort in cold or rocky water, they are not always necessary for warm-weather bank fishing, pond fishing, or shallow summer streams.
With these essentials, you’ll be well-prepared to enjoy the serenity and thrill of fly fishing, whether you’re wading in a stream or casting from the shore.
Beginner Gear Checklist
- Fly rod: A 9-foot 5-weight or 6-weight rod works well for most new anglers.
- Fly reel: Match the reel size to the rod and line weight for better balance.
- Fly line: Choose weight-forward floating line for easy casting and broad use.
- Leader and tippet: Use tapered leaders and tippet material to connect your fly naturally.
- Flies: Carry dry flies, nymphs, and streamers in a few common sizes.
- Tools: Bring nippers, hemostats, forceps, floatant, split shot, and a small fly box.
- Safety gear: Wear polarized sunglasses and consider a hat with a brim.
- Landing net: Use a rubber or soft-mesh net for easier fish handling.
Understanding Fly Rods
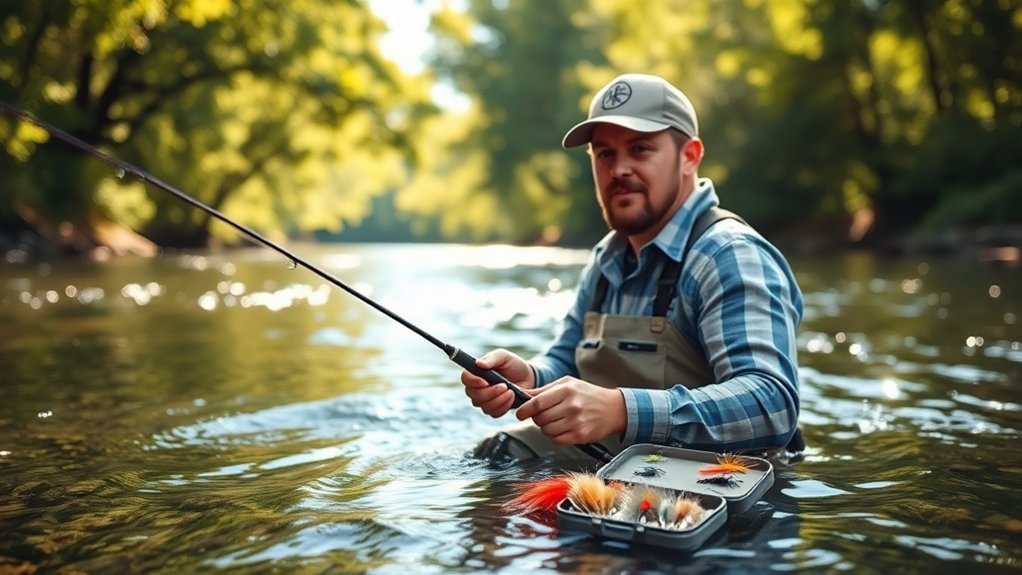
When you’re choosing a fly rod, understanding weight and action is key to your success on the water.
A 5-weight or 6-weight rod works well for beginners because it offers the versatility needed for a range of fish species and water types.
Additionally, knowing the difference between slow, medium, and fast action will help you select a rod that matches your casting style, fly size, wind conditions, and fishing environment.
Rod Weight Selection
Selecting the right rod weight is essential for a successful fly fishing experience. Fly rods range from very light models for tiny streams to heavy models for saltwater and large game fish.
Weights 1 to 3 suit small fish, tiny flies, and tight streams. Weights 4 to 6 handle trout, panfish, and small bass. Heavier rods help with large flies, windy conditions, strong currents, and bigger fish.
A standard 9-foot rod offers versatility in various environments, while longer rods help with line control, mending, and bigger water. Shorter rods can help when you fish brushy creeks or tight banks.
Your choice of rod weight directly influences your casting ability. Using a rod that is too light can make wind, weighted flies, or larger fish harder to manage.
For beginners, a 9-foot 5-weight or 6-weight rod is highly recommended. It balances ease of use with adaptability, allowing you to tackle different fishing scenarios comfortably.
With the right rod weight, you’ll improve your casting precision, line control, hook sets, and overall fishing effectiveness.
Action Types Explained
Understanding fly rod action is essential for improving your casting performance and enhancing your overall fishing experience.
The action type of your rod directly influences your timing, loop shape, accuracy, and power. Here’s a quick breakdown:
- Slow Action Rods: Bend from butt to tip, which can help with delicate presentations, short casts, and smaller fish.
- Medium Action Rods: Bend from the mid-section, offering versatility; great for beginners who need adaptability.
- Fast Action Rods: Bend mostly near the tip, designed for windy conditions, larger flies, and longer casts.
- Choosing Wisely: The right action helps control your fly’s movement in various environments, so think about your target species and conditions.
Selecting the right action can make all the difference in your fishing adventures. Many beginners do best with a medium or medium-fast rod because it offers feedback without feeling too stiff.
Fly Reel Basics
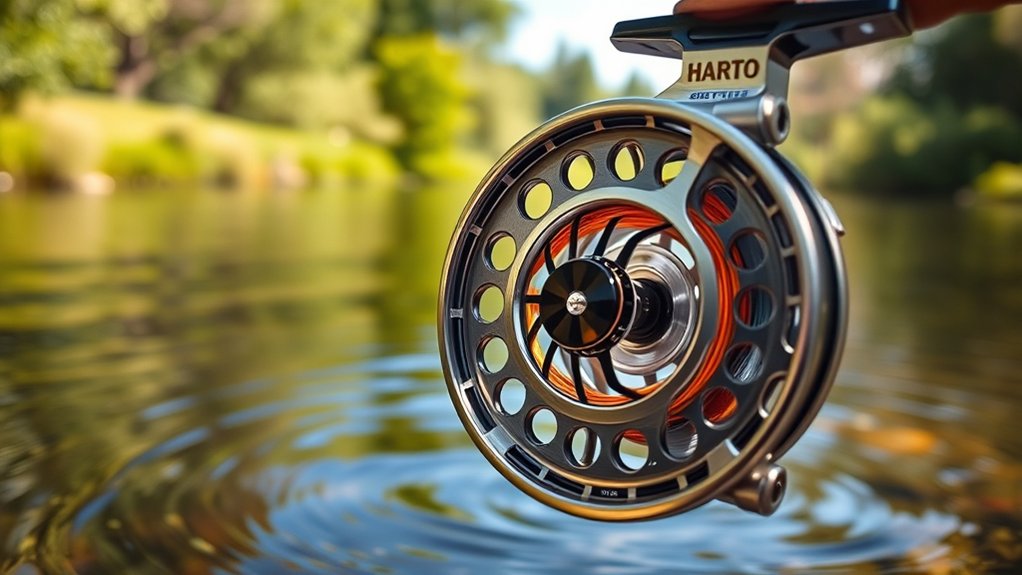
A fly reel is more than just a line holder. It stores backing, protects your line, balances your rod, and helps control fish when they run.
When choosing a reel, consider the arbor size. Larger arbor reels retrieve line faster, which can help during a fish fight or when you need to pick up loose line quickly.
You’ll also want to pay attention to the drag type. Disc drag systems offer smooth tension control for larger fish, while click-and-pawl systems are simpler and can work well for beginners using lighter rods.
Consider arbor size for retrieval speed, then choose a drag system that fits your target fish, budget, and skill level.
Be certain the reel weight matches your rod weight, such as pairing a 5-weight reel with a 5-weight rod, to support ideal balance and comfortable casting.
If you’re fishing with lighter setups, remember that the reel’s performance becomes less significant because it often mainly stores the line. For larger trout, bass, carp, steelhead, salmon, or saltwater fish, drag quality matters much more.
Fortunately, there are many beginner-friendly reels available, so you can find a reliable option without overspending. Focus on smooth operation, simple maintenance, and a size that matches your rod and line.
Types of Fly Lines
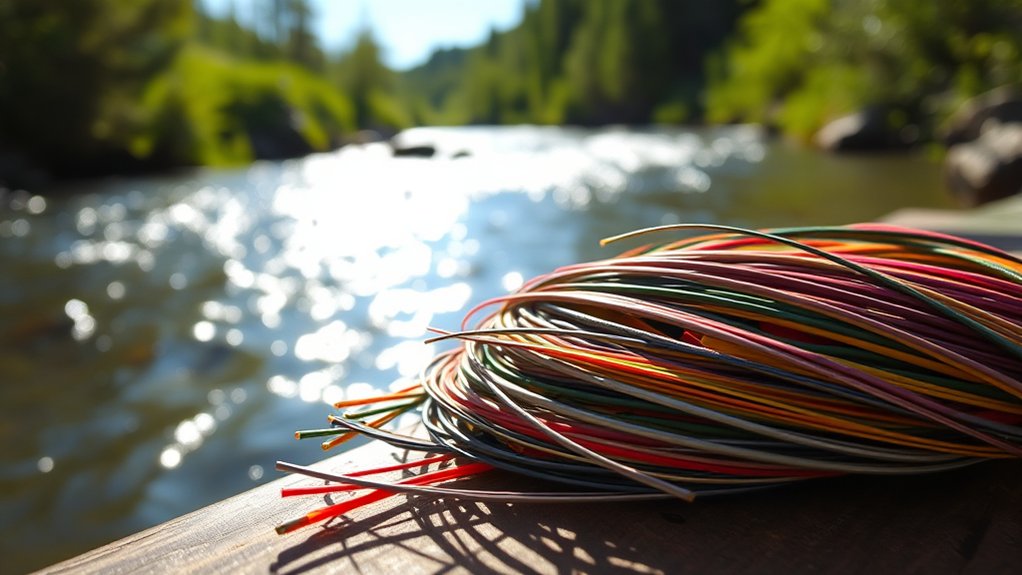
When you plunge into the world of fly fishing, choosing the right type of fly line can greatly impact your success on the water.
Each type of line serves a specific purpose, helping you present your flies effectively to different fish species. Here’s a quick overview:
- Floating Lines: These rest on the surface, perfect for dry fly fishing, nymphing, and targeting fish that feed near the top.
- Intermediate Lines: They sink slowly, allowing you to fish in the water column when fish aren’t rising.
- Sinking Lines: Designed to sink at various rates, these lines help you reach deeper water quickly, which can help when fish hold near the bottom.
- Weight-Forward Lines: Concentrated weight in the first section helps casting distance and accuracy, making them a favorite among anglers.
Understanding these types will help you make informed choices and enhance your fishing experience.
Leaders, Tippet, and Knots
Your fly line is thick and visible, so you need a leader and tippet to connect the fly in a natural way. A tapered leader starts thicker near the fly line and gets thinner near the fly.
For many beginner trout setups, a 7.5-foot to 9-foot tapered leader works well. Add tippet when the leader gets shorter or when you need a lighter connection for small flies.
Learn a few dependable knots before your first trip. The improved clinch knot connects your fly, the surgeon’s knot joins leader and tippet, and the nail knot or loop-to-loop connection attaches leader to fly line.
Note: Match your tippet size to your fly size and fish behavior. If fish refuse your fly in clear water, a thinner tippet and better drift may help more than changing flies.
Casting Techniques for Beginners
Mastering casting techniques is vital for any beginner eager to embrace the art of fly fishing. Start with the basic overhead cast, which has three parts: the back cast, a pause to let the line straighten, and the forward cast.
This technique supports proper line control and more accurate presentations. Before moving on, focus on perfecting the forward cast because it’s the foundation for your future skills.
In tight fishing spots where backcasting isn’t possible, practicing the roll cast will prove invaluable. It helps you cast with limited room behind you and works well near banks, brush, and current seams.
Begin your cast with the rod tip low to the water, minimizing slack in the line for better accuracy and distance. Smooth acceleration matters more than raw strength.
Understanding how to transfer momentum from the rod to the line is essential, so take time to practice in open spaces. With patience and practice, you’ll soon cast with more control and feel ready to tackle the water ahead.
Basic Overhead Cast
- Start with line on the water or grass: Keep the rod tip low and remove slack from the line.
- Lift into the back cast: Raise the rod smoothly and stop high so the line can unroll behind you.
- Pause briefly: Let the line straighten before starting forward.
- Accelerate forward: Move the rod forward smoothly and stop the rod tip to form a clean loop.
- Lower the rod tip: Follow the line down so the fly lands softly.
Roll Cast Basics
The roll cast is one of the most useful beginner casts because it works when trees, rocks, or high banks block your back cast. It also helps reset your line before another cast.
Bring the rod tip back slowly until the line forms a D-shape beside you, then drive the rod forward with a firm stop. The line should roll across the water and carry the fly toward your target.
Common Casting Mistakes
- Rushing the pause: If you cast forward too soon, the line collapses behind you.
- Using too much wrist: Large wrist movement opens your casting loop and reduces accuracy.
- Trying to overpower the cast: Smooth timing works better than force.
- Ignoring slack line: Slack makes it hard to load the rod and control the fly.
- False casting too much: Extra casts can spook fish and create tangles.
Choosing Flies for Beginners
Fly selection can feel confusing at first, but you only need a few proven patterns to begin. Think in three main groups: dry flies, nymphs, and streamers.
Dry flies float on the surface and imitate adult insects. They are exciting because you can see the fish rise and take the fly.
Nymphs sink below the surface and imitate immature aquatic insects. Fish often feed underwater, so nymphs can be very effective when nothing is rising.
Streamers imitate baitfish, leeches, crayfish, and other larger prey. They work well when you want to cover water or target more aggressive fish.
Starter Fly Box
- Dry flies: Elk Hair Caddis, Parachute Adams, Blue-Winged Olive, and small ant or beetle patterns.
- Nymphs: Pheasant Tail, Hare’s Ear, Prince Nymph, Zebra Midge, and simple beadhead patterns.
- Streamers: Woolly Bugger, small baitfish patterns, and leech-style flies.
- Attractor flies: Stimulators and other visible patterns can help when fish are opportunistic.
Match fly size and color to what you see near the water. If insects are hatching, choose a similar shape and size. If you see no surface activity, start with a nymph or small streamer.
Fish Behavior and Habitats
Understanding fish behavior and their preferred habitats can greatly enhance your fly fishing experience. When you’re aware of where fish like to hold and when they’re most active, you’ll improve your chances of landing a memorable catch.
Here are some key points to take into account:
- Water Temperature: Trout often feed best in cool, oxygen-rich water, and many become more active when temperatures sit in a comfortable range.
- Shelter: Look for logjams, undercut banks, boulders, shade, weed edges, and deep holes where fish seek refuge from predators and current.
- Feeding Areas: Riffles, seams, eddies, and current breaks can collect insects and make feeding easier for fish.
- Low-Light Conditions: Fish are often more willing to feed at dawn and dusk because lower light can make them feel safer.
Reading the Water
Reading water means looking for places where fish can hold safely while food comes to them. In streams, focus on seams where fast and slow water meet. These lanes often carry drifting insects.
In ponds and lakes, look for weed edges, drop-offs, shaded banks, inlet areas, and places where wind pushes food toward shore. Fish may cruise these areas at different times of day.
Approach slowly and avoid stomping near the bank. Sound and vibration can travel through shallow water and spook fish before you make your first cast.
Proper Fish Handling Techniques
Proper fish handling techniques are vital for preserving the health of your catch and supporting a successful release. Start by wetting your hands before touching the fish because this helps protect its slime coat.
Minimize the time the fish spends out of water. If you’re planning to release it, keep it submerged as much as possible while quickly removing the hook.
Use barbless hooks or pinch down barbs to ease the release process and reduce injury. Support the fish horizontally, especially if it is large, and avoid squeezing the belly or holding it by the gills.
Here’s a quick reference table for best practices:
| Technique | Purpose |
|---|---|
| Wet your hands | Protects the slime coat |
| Minimize air exposure | Reduces stress and injury |
| Support the body | Prevents damage to internal organs |
| Gently release | Helps the fish recover before swimming away |
Warning: Check local fishing regulations before you fish. Seasons, size limits, bag limits, bait rules, barbless-hook rules, and catch-and-release areas can change by waterbody and species.
Beginner Safety and Etiquette
Fly fishing is more enjoyable when you protect yourself, respect others, and leave the water better than you found it. Wear eye protection, especially on windy days, and look behind you before every cast.
Move carefully when wading. Use a wading staff in strong current, shuffle your feet in slippery areas, and avoid crossing water that feels too deep or fast for your skill level.
Give other anglers plenty of room. Do not step into a run someone is already fishing, and avoid casting over another person’s line. If you are unsure where to enter, ask politely.
Pack out used line, snack wrappers, and damaged flies. Small pieces of tippet can harm birds, fish, and other wildlife.
Simple First Trip Plan
Your first fly fishing trip should focus on learning, not catching the biggest fish. Choose easy access, open casting room, and fish that are willing to bite.
- Pick beginner-friendly water: Try a small pond, stocked lake, gentle stream, or open shoreline.
- Practice first: Spend 20 to 30 minutes casting without trying to catch fish.
- Start with one setup: Use a floating line and a simple dry fly, nymph, or small streamer.
- Watch the water: Look for rises, insects, baitfish, shade, current seams, or cruising fish.
- Make short casts: Accuracy and gentle presentation matter more than distance.
- Adjust slowly: Change fly depth, drift, or retrieve before changing every fly in your box.
Frequently Asked Questions
What types of flies should beginners use for fly fishing?
You should start with dry flies, nymphs, and streamers. These patterns imitate insects, larvae, baitfish, and other prey. A small starter box with Parachute Adams, Elk Hair Caddis, Pheasant Tail nymphs, Hare’s Ear nymphs, Zebra Midges, and Woolly Buggers can cover many beginner situations.
How do weather conditions affect fly fishing success?
Weather conditions can greatly impact your fly fishing success. Overcast skies may encourage fish to feed more confidently, while bright sunlight can push fish toward shade, deeper water, or cover. Wind can make casting harder, but a light ripple can also help hide your movement.
What are common mistakes beginners make while fly fishing?
Beginners often rush the cast, use too much wrist, ignore slack line, choose the wrong fly depth, or change flies too often. Another common mistake is forgetting to observe the water before casting. Watch for rises, insects, current seams, shade, and fish movement first.
How can I find local fishing spots for beginners?
Explore nearby rivers, ponds, lakes, and public access areas. Ask local anglers, visit fly shops, check state fish and wildlife resources, and look for stocked waters or community fishing areas. For your first trips, choose open banks, gentle current, and easy parking instead of technical water.
Are there any fly fishing etiquette rules I should know?
Yes, you should respect others’ space, avoid casting over lines, do not crowd productive spots, and move quietly near the water. Ask before stepping into a section another angler is fishing. Pack out your trash, follow local rules, and handle fish carefully if you practice catch and release.
Do I need waders to start fly fishing?
No, you do not always need waders to start. You can learn from shore, docks, shallow banks, ponds, and warm summer streams. Waders and wading boots become more useful when you fish cold water, rocky bottoms, or areas where you need better access and footing.
What is the easiest fly cast for a beginner?
The overhead cast is usually the best first cast to learn because it teaches timing, line control, and loop formation. After that, learn the roll cast. It helps when you have trees, banks, rocks, or brush behind you and cannot make a full back cast.
Conclusion
Now that you’ve got the basics, it’s time to embrace the adventure. Equip yourself with the right gear, master your casting techniques, and explore beginner-friendly water with patience.
As you connect with nature, observe fish behavior, and respect their habitats, you’ll improve your skills and deepen your appreciation for the sport. Keep your first setup simple, practice often, and focus on clean presentations instead of perfect casts.
So grab your rod, enjoy the thrill of the catch, and create unforgettable memories. Fly fishing isn’t just a hobby; it’s a journey waiting for you.
Sources
- Take Me Fishing: Fly Fishing Basics — beginner gear, setup, and basic fly fishing guidance
- National Park Service: How to Safely Catch and Release — fish handling and release best practices
- U.S. Fish & Wildlife Service: Fishing — general fishing access, conservation, and public fishing information
- Take Me Fishing: Polarized Sunglasses — eye protection and glare reduction for anglers