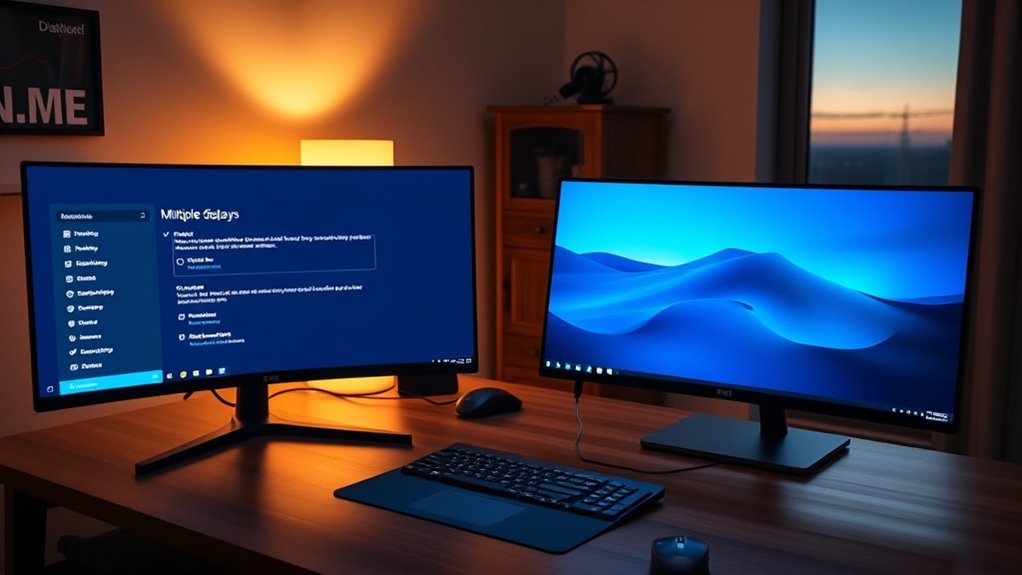
Adding a second monitor in Windows 11 starts with checking laptop ports and matching the correct cable, such as HDMI or DisplayPort. After connecting the display, Windows should detect it automatically, or it can be found in Settings > System > Display. From there, select Extend mode, arrange the screens, and adjust resolution, scaling, and refresh rate as needed. If the laptop stays closed, set lid close action to Do nothing, and more setup tips can help next.
Key Takeaways
- Check your laptop’s ports and your monitor’s cable type, then connect the display using HDMI or DisplayPort if possible.
- Open Windows 11 Display settings or press Windows key + P, then choose Extend for a second-screen setup.
- Use the Detect and Identify buttons to find missing monitors and match screen numbers to your physical layout.
- Adjust resolution, scaling, and refresh rate in Display settings for clear and comfortable viewing.
- Set lid close action to Do nothing and update graphics drivers to keep dual monitors working properly.
Check Your Laptop Ports and Monitor Cables
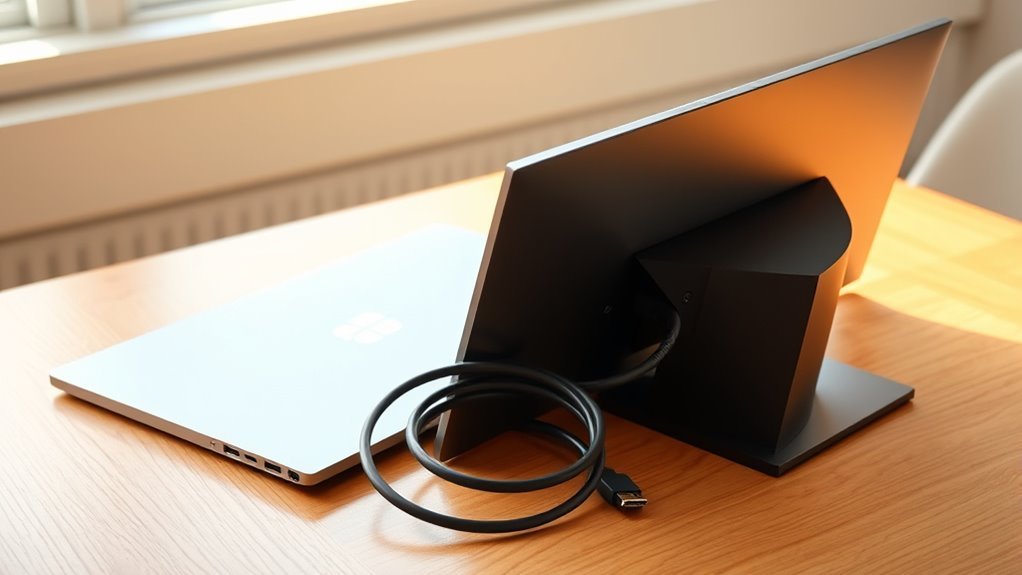
Start by checking the ports on the laptop to see which connection options are available, such as HDMI, DisplayPort, USB-C, or VGA. This review of laptop ports determines the most direct path to a second screen and helps avoid unnecessary adapters.
Next, match the monitor cables to those ports, choosing HDMI or DisplayPort when possible, and use adapters only when the connection types do not align. The monitors should be checked for supported resolution and refresh rate, with 1080p at 60Hz serving as a common baseline.
If a docking station is part of the setup, it must be compatible with both the laptop and the displays. Every cable should be seated firmly, because loose connections can produce flicker or prevent detection.
Careful preparation gives the user a stable, functional setup and the freedom to extend the workspace without technical obstruction.
Connect and Detect the Second Monitor
With the cables already matched to the available ports, the second monitor should be connected directly to the laptop or docking station using the correct input, such as HDMI or DisplayPort.
Once the link is secure, Windows 11 may detect the display automatically and open the path to a broader workspace. If it does not appear, a right-click on the desktop and a selection of Display settings will reveal the controls needed to proceed.
In that panel, the Detect button can be used to prompt the system to find the monitor. After the screen appears, the monitors can be rearranged by dragging their icons to match the real-world layout. This helps the desktop move in a way that feels natural and freeing.
The multiple display menu should then be checked to confirm the setup, preparing the system for an extended desktop.
Switch Windows 11 to Extend Mode
Once the second display is detected and placed correctly, Windows 11 can be switched to Extend mode to create one larger workspace. The quickest path is the Windows key + P shortcut, which opens the display menu.
From there, selecting Extend tells Windows to treat the screen as a separate canvas, giving the user freedom to move windows between the main display and the second monitor.
For a more detailed setup, Display Settings can be opened through Start > Settings > System > Display. There, it should be confirmed that both external monitors are detected before further changes.
The Identify button can label each screen for clearer control. Resolution and scaling may then be adjusted for each display to improve clarity.
Finally, enabling Remember window locations based on monitor connection helps keep apps organized when devices are disconnected and reconnected.
Arrange Your Monitors in Display Settings
In Display Settings, the monitors should be arranged to match the physical setup, making cursor movement feel natural between screens. From Start > Settings > System > Display, each connected screen can be identified by selecting Identify, which shows numbers on the panels. This gives clear control and helps arrange the layout without confusion.
Arrange monitors in Display Settings to match your physical setup for natural, intuitive cursor movement.
In display settings, the monitor icons can then be dragged and dropped until their positions mirror the desk arrangement. This simple step supports a freer, smoother workflow.
- Open Display and confirm every monitor is recognized.
- Use Identify and drag the icons to match reality.
- Select Apply, then move the pointer across screens to test the setup.
If a screen is missing, the Detect option in Multiple displays can prompt Windows 11 to find it. Resolution and orientation may also be adjusted here for a more liberated viewing experience.
Set Your Main Display for Apps
Choosing the right main display can improve daily freedom by placing frequently used tools where they are easiest to reach.
It also supports a more independent workflow, since important programs open on the preferred screen.
Once saved, the setting remains active until changed again, allowing the user to shape the desktop around personal needs rather than the other way around.
Fix Duplicate Screens and Wrong Layouts
If the monitors appear duplicated or the desktop layout feels wrong, the display settings offer a quick fix. Right-click the desktop, open Display settings, and under Multiple displays choose Extend these displays. This lets each monitor serve its own space, giving the user freedom from mirrored screens.
- Use Windows key + P and select Extend to switch modes fast.
- If a monitor is missing, click Detect so Windows can find it.
- Drag the monitor icons until the layout matches the physical setup.
For those who move between desks, enable Remember window locations based on monitor connection in Multiple displays. That setting helps keep windows from collapsing when undocking and supports a smoother return to work.
With these steps, it becomes easier to fix duplicate screens and keep locations based on monitor arrangement aligned with real-world placement. The result is a clean, controlled workspace that responds to the user instead of restricting them.
Adjust Resolution, Scaling, and Refresh Rate
The second monitor’s resolution can be changed in Start > Settings > System > Display by selecting the display and choosing the preferred option under Scale and Layout.
Its scaling can also be adjusted in the Display settings to make text, apps, and other items appear larger or smaller.
For smoother performance, the refresh rate should be set in Advanced display settings to a value that matches the monitor’s specifications, with 60 Hz or higher recommended when possible.
Change Display Resolution
- Choose the monitor, then open the resolution dropdown.
- Select a suitable resolution from the available options.
- Click Apply to confirm, then verify the result.
If the image looks distorted or too small, revisit the menu and test another setting.
The monitor manual or specifications usually reveal the native value.
A clear, correct resolution helps users claim a more flexible, readable workspace without unnecessary strain.
Adjust Scaling Settings
With the resolution set, attention can turn to scaling and display performance in Settings > System > Display.
There, the user can open the second monitor panel and adjust the scaling settings to improve readability and comfort. Windows 11 allows each display to use its own scale percentage, so the second monitor can be tailored without limiting the first.
When possible, matching both monitors to the same scaling level helps create a more consistent experience and reduces visual friction. The Identify button can confirm which screen is being adjusted, preventing mistakes.
If clarity still feels off, the resolution drop-down can be revisited for that display. These options give the user direct control over how freely content appears across connected screens.
Set Refresh Rate
- Select the target monitor.
- Choose a suitable resolution under Scale and layout.
- Confirm the chosen refresh rate, then keep or revert if Windows prompts.
A 100% scale is standard, yet 125% or 150% can improve readability on high-resolution screens.
The selected refresh rate should match the graphics card’s support, since unsupported values may cause instability or display issues.
Keep Dual Monitors Working With the Lid Closed
To keep dual monitors active when the laptop lid is closed, the power settings must be changed so the system does not sleep or shut down the displays.
On Windows 11, the user should open Start > Settings > System > Power & battery, then choose Additional power settings and set Lid close action to Do nothing. This allows dual monitors to stay active without surrendering control to the laptop lid.
Both external displays should be connected with HDMI or DisplayPort and verified in display settings. Next, press Windows key + P and select Extend so the desktop spans both screens while the built-in panel stays dark.
Updated graphics drivers help maintain stable output and full compatibility. If the system still sleeps, adjust the plugged-in sleep timer in Power & battery.
With these steps, a freer, uninterrupted workspace remains available.
Frequently Asked Questions
How to Make 2 Monitors Show Different Things in Windows 11?
It is done by choosing Extend in Windows+P, not screen mirroring options. In dual display configurations, each monitor can show separate content. Then, in Display settings, identify, arrange, and apply the desired layout.
How Do I Set up Two Monitors on Windows 11?
They connect both monitors using proper cable types, open display settings, choose Extend, then refine monitor arrangement, resolution adjustments, and color calibration. For performance optimization, task management, and workspace efficiency, Windows key + P helps swiftly.
Can I Run 2 Monitors From 1 HDMI Port?
Yes—two monitors can run from one HDMI port, though 4K splitters often reduce flexibility. HDMI splitters mirror only; Display adapters or DisplayPort MST enable true Multi monitor setups, if Graphics cards and bandwidth support it.
How Do I Get My 3 Screens to Show Different Things?
He should open display settings, choose Extend these displays for all three screens, then arrange them in screen arrangement order. Using Identify, he matches monitors, adjusts graphics options, and boosts multitasking efficiency.
Conclusion
Like a well-tuned workshop with two windows, a Windows 11 setup thrives when each screen has its place. By checking ports, connecting the monitor, extending the display, and arranging the layout, the system becomes easier to navigate. A clear main screen, proper resolution, and stable lid-closed mode keep the setup running smoothly. When the digital workspace is aligned, the user can work faster, see more, and avoid the chaos of duplicated shadows.
