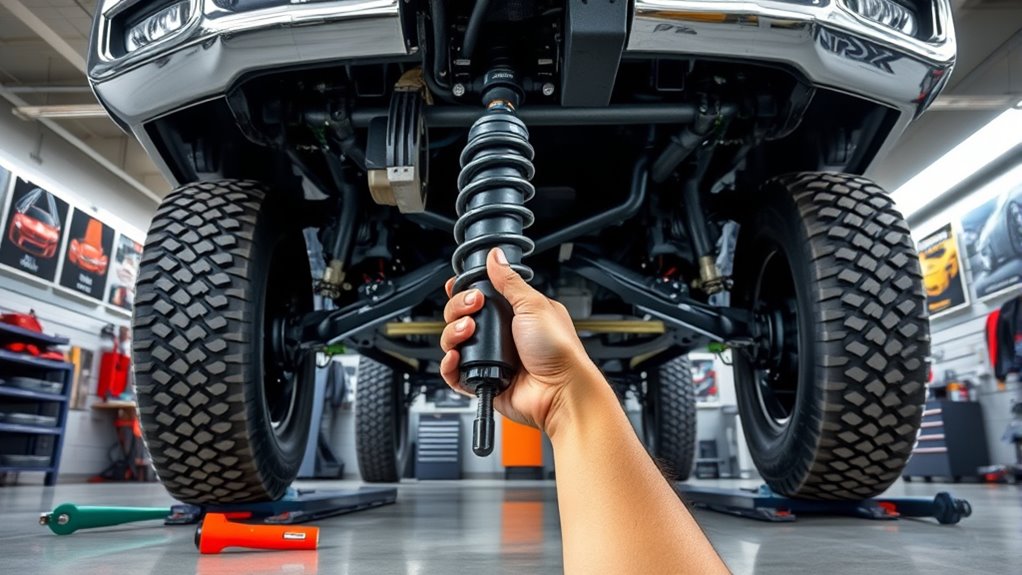
Replacing shocks on a Ford F350 Super Duty is a practical DIY job when you use the right tools, support the truck safely, and work one mounting point at a time. Start by parking on a flat surface, loosening the wheel nuts if needed, lifting the truck, and supporting it with heavy-duty jack stands. Then remove the old shock, prepare the new hardware, align the shock correctly, and tighten all fasteners securely before lowering the truck.
Quick Answer
To replace shocks on a Ford F350 Super Duty, safely raise and support the truck, remove the wheel for access, loosen the upper and lower shock bolts, remove the old shock, install the new shock with the correct washers, bushings, spacers, and grommets, then tighten everything securely and check alignment before driving.
Key Takeaways
- Always support the F350 with jack stands before working under or around the suspension.
- Penetrating oil helps loosen rusty shock bolts and lowers the chance of rounded or broken fasteners.
- Use the correct washer, spacer, rubber grommet, and bushing setup supplied with the replacement shock.
- Hand-start bolts before using an air tool so the shock stays aligned and threads do not cross.
- After installation, inspect bolt tightness, rubber bushing compression, brake lines, hoses, and steering-line clearance.
At a Glance
| Time Required | About 1 to 3 hours, depending on rust, tools, and experience |
| Difficulty | Moderate DIY job for owners comfortable lifting a heavy-duty truck |
| Tools Needed | Floor jack, heavy-duty jack stands, wheel chocks, ratchet, sockets, ratcheting wrench, penetrating oil, torque wrench, and optional air tool |
| Cost | Varies by shock brand, labor choice, and whether you replace two or all four shocks |
Preparing the Vehicle for Shock Replacement
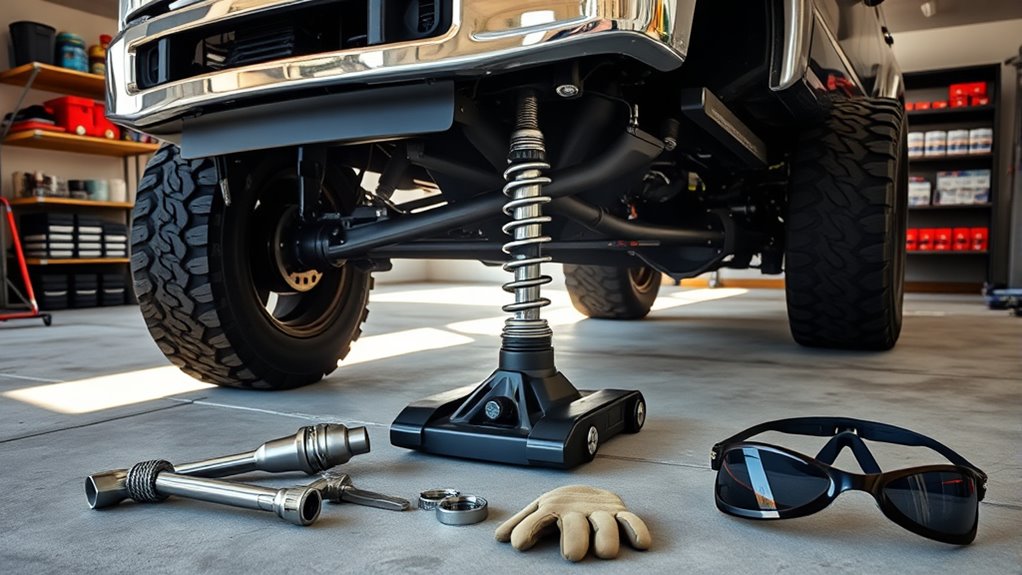
Before you begin replacing shocks on your Ford F350 Super Duty, make sure the vehicle is parked on a flat, solid surface. Set the parking brake, place wheel chocks on the opposite wheels, and keep the truck stable before lifting it.
Use a floor jack rated for the weight of a heavy-duty truck, then support the vehicle with properly rated jack stands. Never rely on the jack alone. This prevents unwanted movement while you work around the suspension.
Warning: A Ford F350 Super Duty is a heavy truck. Use jack stands rated for the vehicle, place them on solid lift points, and never put any part of your body under a vehicle supported only by a jack.
Once the truck is elevated and stable, remove the wheel for better visibility and access to the shock absorber. Look for the upper and lower shock mounting points before removing any hardware.
Next, identify the shock absorber’s top and bottom bolts. Apply penetrating oil to rusty or dirty bolts and let it soak for several minutes. This helps loosen the hardware and reduces the risk of rounded fasteners.
Use a ratcheting wrench for the top bolt where space is tight. A ratchet, breaker bar, or air tool can help with the lower bolt. After removing the old shock, discard worn washers, bushings, or grommets if your replacement shock includes new hardware.
Remember that upgrading shocks can improve ride control, handling, and stability, especially when towing, hauling, or driving on rough roads. With the truck safely prepared, you can move on to the tools and techniques needed for the job.
Essential Tools and Techniques for the Job
To replace the shocks on your Ford F350 Super Duty safely and efficiently, gather the correct tools before starting. Having everything nearby prevents interruptions while the truck is already lifted.
Understanding the hardware layout also matters. Some shocks use different washer, sleeve, spacer, and rubber bushing arrangements, so compare the new shock to the old one before installation.
Here’s what you’ll need:
- Ratcheting wrench: Useful for reaching the upper shock nut or bolt in tight spaces.
- Ratchet, socket set, or breaker bar: Helpful for loosening lower shock bolts.
- Air gun or impact wrench: Useful for faster removal, especially on stubborn hardware.
- Penetrating oil: Helps loosen rusty bolts and reduce the chance of broken hardware.
- Floor jack and jack stands: Required for safe lifting and support.
- Wheel chocks: Help keep the truck from moving while lifted.
- Torque wrench: Best for final tightening according to the vehicle service information or shock manufacturer’s instructions.
- New washer, spacer, rubber grommet, and bushings: Essential for proper fit when supplied with the replacement shock.
Always hand-start bolts before using power tools. This helps prevent cross-threading and keeps the shock aligned in its mounting brackets.
Don’t forget safety. Keep jack stands under the vehicle, wear eye protection when working below rusty parts, and avoid placing fingers between the shock and bracket while aligning the mounting holes.
Pro Tip: Before removing the old shock, take a quick photo of the washer, bushing, spacer, and grommet order. That photo can save time when you install the new shock hardware.
Removing the Old Shock Absorber
With your tools ready and safety measures in place, lift the Ford F350 Super Duty using a reliable jack and secure it with heavy-duty jack stands.
A safe shock replacement starts with stable support. Lift the truck carefully, set it on jack stands, and confirm it cannot shift before removing the shock.
Remove the wheel to access the shock absorber more easily. If the bolts are rusty, apply penetrating oil to the top and bottom mounting points and give it time to work.
Use a ratcheting wrench or an air gun to loosen the top bolt while holding the shock steady with your other hand. Keep your fingers clear of pinch points because the shock can shift once the mounting hardware loosens.
For the lower bolt, use a ratchet, breaker bar, or air tool. If the bolt is stubborn, apply more penetrating oil and work it back and forth instead of forcing it. Forcing a rusted bolt can damage threads or break hardware.
Discard the old washer and bushing if the new shock includes replacements. Hardware can vary by shock absorber type, so match the new parts carefully. Once both bolts are removed, detach the old shock absorber from its mounting points and confirm no old sleeve, washer, or damaged bushing remains stuck in the bracket.
Installing the New Shock
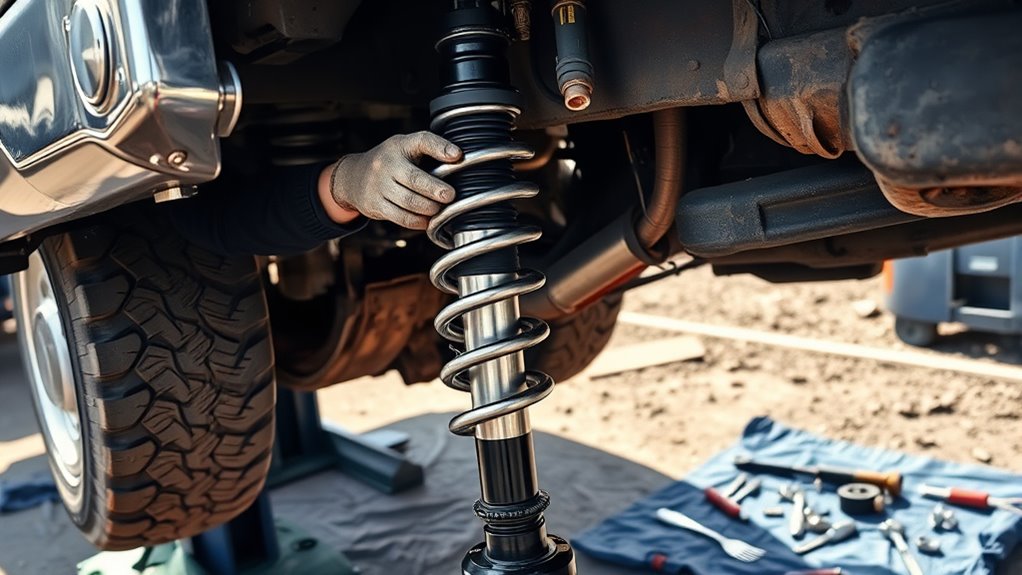
Once you’ve removed the old shock, compare it with the new one. Check the overall length, mounting style, bushing setup, and included hardware before fitting it into place.
Follow these shock installation tips for a secure setup:
- Prepare the components: Use the new washer, spacer, rubber grommet, and bushing arrangement supplied with the shock. Correct hardware placement helps the shock sit firmly and work as designed.
- Position the shock: Insert the new shock into place and line up the lower mounting hole. Hand-tighten the lower bolt first so the shock stays stable.
- Check the rubber insulator: Position the rubber insulator correctly so nearby lines, including the power steering line, are protected from vibration and rubbing.
- Tighten the top nut: Secure the top nut until the rubber bushings compress properly. Do not crush the bushings flat unless the manufacturer’s instructions specifically call for it.
- Finish the lower bolt: After the top is seated and the shock is aligned, tighten the lower bolt securely with a ratchet or air tool.
If your replacement shock has a strap or retainer, do not cut it until the shock is positioned where it can expand safely. Some shocks extend on their own, so keep hands and face clear of the mounting path.
Securing the Lower Bolt
Ensuring the lower bolt is properly secured is essential for the stability and performance of your vehicle’s suspension system. Start by hand-tightening the bolt and making sure the new shock aligns cleanly within the frame.
Correct alignment is vital because a crooked shock can place stress on bushings, brackets, and mounting hardware. After hand-tightening, use an air tool, ratchet, or torque wrench for final tightening. Avoid over-tightening, which can damage rubber bushings or hardware.
Reuse the rubber insulator only if it is still in good condition. If it is cracked, flattened, or damaged, replace it with the correct part.
| Step | Action | Importance |
|---|---|---|
| 1 | Hand-tighten bolt | Initial alignment check |
| 2 | Align shock in frame | Prevents binding and bushing stress |
| 3 | Use air tool, ratchet, or torque wrench | Secure fastening |
| 4 | Position or reuse rubber insulator | Helps prevent line damage |
| 5 | Double-check tightness | Avoids loose hardware and noise |
Regularly confirm all components are secure to maintain dependable ride quality and suspension performance.
Ensuring Proper Placement and Alignment
As you move from securing the lower bolt to checking final placement, focus on the precise position of the new shock. Proper alignment supports shock function, ride control, and vehicle handling.
Follow these steps to keep the installation clean and safe:
- Position correctly: Install the shock with the rubber insulator protecting the power steering line or nearby hoses from damage.
- Verify alignment: Confirm the shock absorber lines up with the frame and bracket without being twisted or forced into place.
- Secure components: Hand-tighten the lower bolt first to maintain alignment and reduce the chance of cross-threading.
- Inspect and adjust: After installation, visually inspect the shock, mounting points, bushing compression, and nearby lines.
A shock should not rub against brake lines, steering parts, wiring, or the frame. If anything looks pinched or too close, stop and correct the placement before lowering the truck.
Note: Final torque values can vary by model year, suspension setup, and shock design. Use your service manual or the shock manufacturer’s instructions for exact torque specifications.
Final Tightness and Position Check
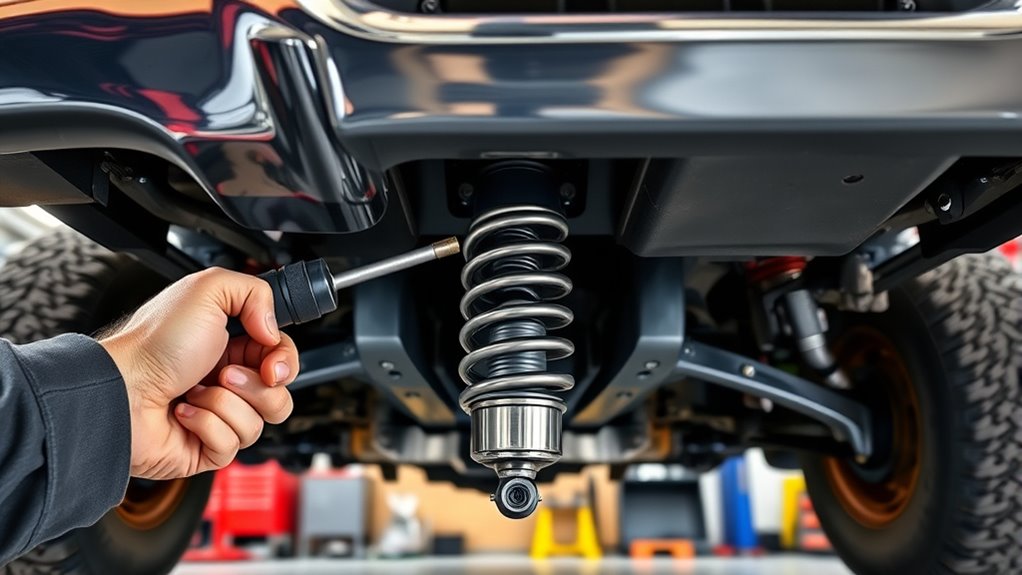
Make certain all bolts are securely fastened by initially hand-tightening the lower bolt, then using a ratchet, torque wrench, or air tool for final tightening.
Check the alignment of the shock to confirm it is properly positioned within the frame and does not interfere with other components.
Inspect the rubber bushings and insulators to make sure they are seated correctly, compressed evenly, and protecting nearby hoses or lines.
Verify Bolt Security
Start by hand-tightening the lower bolt of the newly installed shock, then use a ratchet, torque wrench, or air tool to secure it firmly. This step is essential for reliable shock performance.
Follow the bolt torque specifications provided in your Ford F350 Super Duty service information or the shock manufacturer’s guide. A final tightness check helps prevent noise, uneven wear, and loose suspension hardware.
- Check bolt tightness: Confirm the lower and top mounting hardware are tightened securely.
- Inspect rubber bushings: Verify the top nut is tightened until the rubber bushings are compressed enough to hold the shock firmly.
- Verify bolt security: Conduct a final inspection so bolts do not loosen during operation.
- Check the rubber insulator: Confirm the rubber insulator is correctly positioned to protect the power steering line or nearby components.
Inspect Shock Alignment
With bolt security verified, focus on the alignment of the shock absorber.
Different shock types require precise placement to function efficiently. Make sure the shock is centered in the bracket and not twisted, angled, or rubbing against nearby parts.
Confirm the rubber insulator is in place and protecting the power steering line from potential damage.
Tighten the top nut until the rubber bushings are properly compressed, securing the shock effectively.
Perform a careful inspection of the lower bolt and confirm it is adequately tightened to prevent loosening during operation.
Double-check all components related to the shock and make sure every fastener is secure.
Proper alignment is vital for vehicle stability, so verify all elements before lowering the vehicle back to the ground.
Safety Tips to Consider During Replacement
Before starting the shock replacement on your Ford F350 Super Duty, make certain the vehicle is securely jacked up and supported with jack stands to prevent accidents.
With the wheel off, take a moment to look at the brakes as well. Pad thickness, rotor faces, and hose routing are all easy to check at this point, and if the friction material is close to worn out, our guide to Super Duty brake pads covers the front and rear sets suited to towing and hauling.
Always fasten components tightly to avoid loosening during operation, which could compromise safety.
Use penetrating oil on rusty bolts to ease removal, reduce breakage risk, and make the replacement process smoother.
Proper Jack Support Techniques
When replacing shocks on your Ford F350 Super Duty, proper jack support is essential for safety and efficiency. Here’s how to maintain vehicle stability through correct jack placement and support techniques:
- Jack placement: Position a high-quality jack on a flat, stable surface to prevent slippage. Make sure it contacts a proper lift point on the vehicle’s frame or recommended lifting area.
- Jack stands: Use heavy-duty jack stands for additional support. Place them under stable support points to reduce the risk of the vehicle falling.
- Double-check stability: Verify that both the jack and stands are correctly positioned before starting any work.
- Inspect equipment: After wheel removal, inspect the jack and stands for damage, slipping, or shifting before continuing.
Securely Fasten Components
After confirming your Ford F350 is properly supported, focus shifts to securely fastening the new shock components for maximum performance and safety.
Begin by inspecting all bolts for rust or corrosion, applying penetrating oil if needed. Hand-tighten the lower bolt first to help ensure correct alignment. Use a ratchet, torque wrench, or air tool to apply proper final tightness.
Verify the top nut compresses the rubber bushings adequately. This is important for component integrity and shock longevity.
Next, conduct a thorough inspection of all fastened components. Confirm that every part is secure and the rubber insulator is correctly positioned. This helps prevent damage to nearby parts, including the power steering line.
Regular maintenance checks are important to ensure ongoing component integrity, safety, and suspension performance.
Recap of Key Steps in the Process
Once you’ve gathered your tools and are ready to replace the shocks on your Ford F350 Super Duty, begin by safely jacking up the vehicle and removing the wheel. This gives you clear access for shock maintenance and suspension upgrades.
Follow these key steps:
- Apply penetrating oil: Use it on rusty bolts to ease removal, then use a ratcheting wrench, ratchet, breaker bar, or air gun for the mounting hardware.
- Remove old components: Discard worn washers and bushings, then install the new shock with the correct washer, spacer, and rubber grommet setup.
- Hand-tighten and secure: Hand-tighten the lower bolt first, then use an air tool, ratchet, or torque wrench while ensuring the rubber insulator protects the power steering line.
- Verify installation: Confirm all components are secure and the shock is correctly positioned within the frame.
- Reinstall the wheel: Put the wheel back on, tighten the lug nuts in a star pattern, lower the truck carefully, and complete final tightening according to the vehicle’s wheel torque specification.
- Test carefully: Drive slowly at first and listen for clunks, rubbing, or unusual movement before returning to normal driving.
Encouragement for DIY Enthusiasts
With the key steps for replacing shocks on your Ford F350 Super Duty fresh in mind, let’s focus on what makes this project rewarding for DIY enthusiasts.
Taking on this task can save on labor costs while building confidence with basic suspension work. By using tools like ratcheting wrenches, sockets, penetrating oil, and an air gun, you can make the job more efficient and manageable.
Safety is always the priority, so use jack stands for a secure work environment and take your time around heavy parts and rusty hardware.
This hands-on experience deepens your understanding of vehicle mechanics and prepares you for future maintenance tasks.
Completing the shock replacement project gives you valuable skills and improves your ability to maintain your truck independently.
Related Guides
Frequently Asked Questions
How often should shocks be replaced on a Ford F350 Super Duty?
Many truck owners inspect shocks around every 50,000 miles, but replacement depends on driving conditions, towing, hauling, road quality, and shock condition. Replace them sooner if you notice leaks, excessive bouncing, nose dive, poor ride control, or uneven tire wear.
Can I replace just one shock, or should I do all four?
It is usually better to replace shocks in pairs on the same axle, and many owners replace all four for balanced ride control. Replacing only one shock can create uneven damping, which may affect handling, braking feel, and tire wear.
What signs indicate that my shocks need replacement?
Common signs include leaking shock fluid, excessive bouncing, longer stopping feel, front-end dive during braking, rear squat, uneven tire wear, clunking from the suspension, and a rough or unstable ride over bumps.
Are there any warranty considerations when replacing shocks?
Yes. Check your vehicle warranty and the shock manufacturer’s warranty before replacing shocks. Use parts that fit your exact Ford F350 Super Duty year, trim, drivetrain, and suspension setup to avoid fitment problems or warranty disputes.
What are the best brands for replacement shocks?
Bilstein and Monroe are popular choices for Ford F350 Super Duty owners. Bilstein shocks are often chosen for firm control and durability, while Monroe shocks are commonly selected for comfort and everyday ride quality. The best choice depends on towing, hauling, budget, and ride preference.
Do I need an alignment after replacing shocks?
A shock replacement alone does not always require an alignment, but you should consider one if you changed other suspension parts, notice pulling, see uneven tire wear, or feel the steering wheel is off-center after the repair.
Should I replace front and rear shocks at the same time?
Replacing all four shocks at the same time gives the most balanced ride. If your budget is limited, replace both shocks on the same axle together instead of replacing only one side.
Conclusion
Replacing shocks on your Ford F350 Super Duty is like tuning a strong, hardworking machine. Each bolt, bushing, washer, and spacer must be positioned correctly so the suspension can do its job safely.
With proper jack support, the right tools, careful alignment, and a final tightness check, this DIY project can improve ride control and help restore confidence behind the wheel. Take your time, protect nearby lines, follow the correct hardware order, and inspect everything before your first test drive.
A successful shock replacement does more than save money. It builds your mechanical skill and prepares you for future truck maintenance with more confidence.

