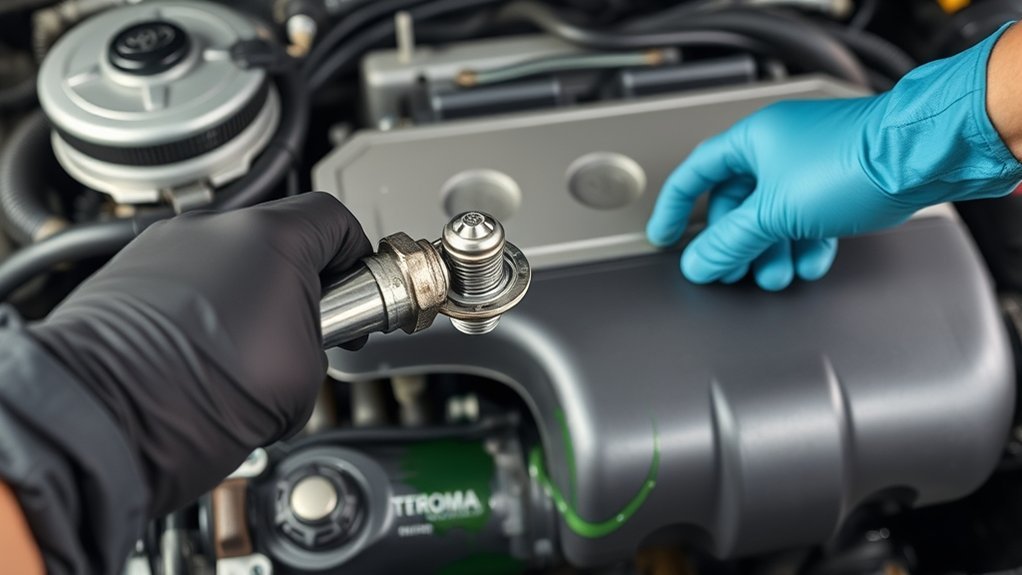
To replace the thermostat on a 2000 Toyota Tacoma, first identify whether the truck has the 2.4-liter 2RZ-FE, 2.7-liter 3RZ-FE, or 3.4-liter 5VZ-FE engine. All three use a thermostat at the water inlet connected to the lower radiator hose, but installation orientation differs: the four-cylinder procedures align the jiggle valve with the water-inlet housing mark, while the 3.4-liter 5VZ-FE procedure installs the jiggle valve downward. The published water-inlet torque is 20 N·m. Work only on a completely cold cooling system.
Last updated: September 22, 2026 — engine-specific thermostat orientation, torque, test specifications, coolant guidance, internal links, FAQ relevance, and schema were reviewed.
Quick Answer
Let the engine cool completely, identify the engine, drain enough coolant to lower the level below the thermostat, and disconnect the lower radiator hose from the water inlet. On the 2RZ-FE and 3RZ-FE, align the thermostat jiggle valve with the protrusion or top mark on the water-inlet housing. On the 5VZ-FE V6, install the jiggle valve downward. Fit a new gasket, tighten the water inlet to 20 N·m, refill with the specified coolant, bleed the system, and check for leaks after a complete heat cycle and cool-down.
Key Takeaways
- The 2000 Tacoma used 2.4L 2RZ-FE, 2.7L 3RZ-FE, and 3.4L 5VZ-FE engines, so identify the engine before ordering parts.
- Never open the radiator cap or thermostat housing while the engine is hot or pressurized.
- The 2RZ-FE/3RZ-FE four-cylinder procedure aligns the jiggle valve with the water-inlet housing mark; the 5VZ-FE V6 procedure places it downward.
- Use a new thermostat gasket. The published water-inlet fastener torque is 20 N·m.
- After refilling, bleed trapped air, confirm normal cabin heat and temperature, and inspect the system again after it cools completely.
At a Glance
| Time Required | Plan several hours including engine cool-down, repair time, refilling, bleeding, and leak checks |
| Difficulty | Intermediate DIY repair |
| Tools Needed | Drain pan, metric sockets and extensions, pliers, hose-pick tool, low-range torque wrench, plastic scraper, funnel, gloves, and eye protection |
| Cost | Varies by engine, thermostat brand, gasket, coolant quantity, and local pricing |
2000 Toyota Tacoma Thermostat Specifications by Engine
The most important installation difference is thermostat orientation. The factory procedures also provide measurable thermostat-opening and valve-lift specifications that can be used when testing the removed part.
| Engine | Jiggle-Valve Position | Water Inlet | Opening / Lift Test |
|---|---|---|---|
| 2.4L 2RZ-FE | Align with the protrusion on the water-inlet housing; up to 15° to either side of the prescribed position | 2 nuts; 20 N·m (15 ft-lb in the published procedure) | 80–84°C (176–183°F); at least 8 mm lift at 95°C (203°F) |
| 2.7L 3RZ-FE | Align with the protrusion/top mark on the water-inlet housing; up to 15° to either side of the prescribed position | 2 nuts; 20 N·m (15 ft-lb in the published procedure) | 80–84°C (176–183°F); at least 8 mm lift at 95°C (203°F) |
| 3.4L 5VZ-FE | Jiggle valve downward | 3 nuts; 20 N·m (14 ft-lb in the published procedure) | 80–84°C (176–183°F); at least 8.5 mm lift at 95°C (203°F) |
Torque note: The metric specification is 20 N·m. Toyota’s published English-unit procedures round that value to 15 ft-lb on the four-cylinder procedure and 14 ft-lb on the 5VZ-FE procedure. Follow the factory information for your exact engine and market.
Evidence note: This guide synthesizes Toyota owner information and model-specific repair-manual data. It does not claim that the author personally performed this repair on every 2000 Tacoma engine configuration.
Why You Should Care About Your Thermostat
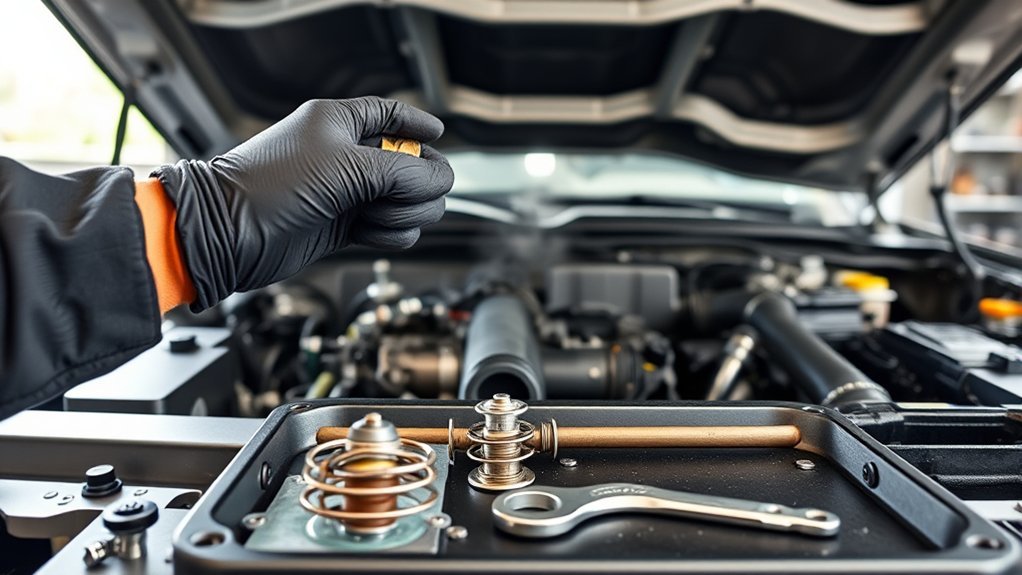
Your Tacoma’s thermostat controls when coolant flows through the radiator. A thermostat that sticks closed can contribute to overheating. One that sticks open can cause slow warm-up, weak cabin heat, and an engine that runs cooler than intended.
Those symptoms do not prove that the thermostat has failed. Low coolant, trapped air, a weak radiator cap, a damaged hose, a restricted radiator, a worn water pump, a fan problem, or a faulty temperature sender can create similar symptoms.
Replace the thermostat after diagnosis, not simply because the temperature gauge moved. Check coolant level and leaks first, then compare thermostat behavior with the specification for your engine.
Confirm Your Engine and Diagnosis First
The 2000 Tacoma specifications show 2.4-liter and 2.7-liter four-cylinder applications plus a 3.4-liter V6 across the model range. Check the under-hood emissions label, engine identification, or a VIN-based parts catalog before ordering the thermostat or gasket. For factory procedures, use the Toyota Technical Information System.
Common Signs of a Stuck-Closed Thermostat
- The temperature gauge rises toward hot soon after startup.
- The engine overheats even though the coolant level appears correct.
- Coolant may be forced into the overflow reservoir.
- The radiator or lower hose may remain relatively cool while engine temperature rises abnormally.
Stop the engine if the gauge enters the hot range or you see steam. Continuing to drive an overheating engine can cause major engine damage.
Common Signs of a Stuck-Open Thermostat
- The engine takes unusually long to reach normal temperature.
- Cabin heat remains weak in cool weather.
- The temperature gauge stays below its usual position during steady driving.
- Fuel economy may decrease because the engine remains cold longer.
Note: A scan tool that displays engine-coolant temperature can help confirm warm-up behavior, but the removed thermostat can also be tested directly against the factory opening and valve-lift specifications listed below.
Tools You’ll Need for the Job
Gather the correct thermostat, a new gasket, compatible coolant, and the tools needed for your engine. Do not order the thermostat by model year alone when an engine- or VIN-specific lookup is available.
Essential Tools Required
- Large drain pan with a secure lid
- Metric socket set, ratchet, extensions, and combination wrenches
- Low-range torque wrench suitable for a 20 N·m fastener specification
- Pliers for spring-style hose clamps
- Hose-pick tool or a blunt plastic tool for loosening a stuck hose
- Plastic gasket scraper and lint-free cloths
- Funnel suitable for coolant
- Nitrile gloves and safety glasses
- Wheel chocks
Socket and Fastener Notes
The published four-cylinder thermostat procedure secures the water inlet with two nuts, while the 5VZ-FE procedure uses three. Use the correctly fitting six-point metric socket for the hardware on your truck rather than forcing a loose socket onto a corroded fastener.
If a nut resists, clean the exposed threads and apply controlled force. Do not use an impact wrench on the small water-inlet fasteners or aluminum cooling-system components.
Parts, Coolant, and Service Information
Match the thermostat’s opening temperature, dimensions, and gasket to the original part or a VIN-confirmed replacement. The factory procedures for these engines install a new gasket with the thermostat.
The 2000 Tacoma owner’s information specifies Toyota Long Life Coolant or equivalent ethylene-glycol coolant that provides corrosion protection for aluminum components. When using concentrate, follow the coolant manufacturer’s directions and use demineralized or distilled water. Toyota recommended a 50% solution for protection to about -35°C (-31°F), 60% for approximately -50°C (-58°F), and no more than 70% coolant concentration. Do not choose coolant by color alone.
2000 Tacoma Cooling-System Capacity
These are total cooling-system capacities from the model-year owner information. A thermostat replacement normally requires draining only enough coolant to lower the level below the water inlet, so the amount you actually remove may be much smaller.
| Configuration | Manual Transmission | Automatic Transmission |
|---|---|---|
| 2WD except PreRunner — 2RZ-FE | 8.0 L (8.5 US qt) | 7.8 L (8.2 US qt) |
| 2WD except PreRunner — 5VZ-FE | 9.7 L (10.3 US qt) | 9.5 L (10.0 US qt) |
| 4WD / PreRunner — 3RZ-FE | 8.3 L (8.8 US qt) | 8.2 L (8.7 US qt) |
| 4WD / PreRunner — 5VZ-FE | 10.1 L (10.7 US qt) | 10.0 L (10.5 US qt) |
Toyota’s manuals and warranties portal and Toyota TIS are the best starting points when you need information tied to a specific VIN or market.
Warning: Never remove a radiator cap, drain plug, hose, or thermostat housing from a hot engine. Pressurized coolant can erupt and cause severe burns. Let the engine and radiator cool completely before opening the system.
Step-by-Step Guide to Removing the Old Thermostat
- Park safely: Place the truck on level ground, set the parking brake, chock the wheels, and let the engine cool fully.
- Verify the engine: Confirm whether you have the 2RZ-FE, 3RZ-FE, or 5VZ-FE so the replacement part and installation orientation match.
- Disconnect the battery when required: Disconnect the negative terminal if the work places tools near an exposed live electrical connection.
- Open the system only when cold: Slowly remove the radiator cap after confirming the radiator and upper hose are cool and no pressure remains.
- Drain enough coolant: Position the drain pan and drain the radiator until the coolant level is below the thermostat/water-inlet location. Close the drain before continuing.
- Locate the thermostat: Follow the lower radiator hose to the water inlet at the water-pump area. The thermostat sits behind that inlet on these engine procedures.
- Disconnect the lower radiator hose: Move the clamp back, twist the hose gently to break the seal, and remove it without damaging the inlet neck.
- Remove obstructing parts if necessary: Move only the brackets or components required for safe access, and keep their fasteners organized.
- Remove the water inlet: The four-cylinder procedure uses two retaining nuts; the 5VZ-FE uses three. Catch the coolant that remains behind the inlet.
- Record the existing installation: Photograph the thermostat and gasket before removal, but use the engine-specific orientation in the factory procedure as the final reference.
- Remove the thermostat and gasket: Lift both parts out without gouging the sealing surface.
Pro Tip: Photograph the housing mark and old thermostat before removal. On the four-cylinder engines, that housing mark is part of the orientation reference; on the 5VZ-FE, the factory procedure specifically calls for the jiggle valve to face downward.
Inspecting and Preparing Your New Thermostat for Replacement
Compare the new thermostat with the old one before installation. Check the flange diameter, depth, opening-temperature marking, jiggle valve, and gasket fit. Return the part if a critical feature differs and compatibility cannot be confirmed for your engine.
Inspect the water inlet and adjoining sealing surface for cracks, corrosion, pitting, or a damaged hose neck. Replace a structurally damaged component rather than trying to stop a leak with excess sealant.
Remove old gasket material carefully with a plastic scraper. Keep debris out of the coolant passage and wipe the sealing surface with a lint-free cloth.
Install a new thermostat gasket. Do not add RTV silicone unless the exact factory procedure or gasket manufacturer specifically requires it.
How Do You Test the Old Thermostat?
The factory procedure tests the thermostat by immersing it in water and heating the water gradually while monitoring temperature and valve movement. Replace the thermostat if it does not meet the specification for the engine.
- 2RZ-FE / 3RZ-FE: The valve should begin opening at 80–84°C (176–183°F) and reach at least 8 mm (0.31 in.) of lift at 95°C (203°F).
- 5VZ-FE: The valve should begin opening at 80–84°C (176–183°F) and reach at least 8.5 mm (0.335 in.) of lift at 95°C (203°F).
- Cold closing check: The published procedures also require the valve to be fully closed at low temperature.
A thermostat that passes a bench test does not automatically prove that the rest of the cooling system is healthy. Continue diagnosing coolant level, leaks, radiator condition, fan operation, water-pump circulation, the cap, temperature-sensor data, and trapped air when symptoms remain.
Mistakes to Avoid When Replacing Your Thermostat
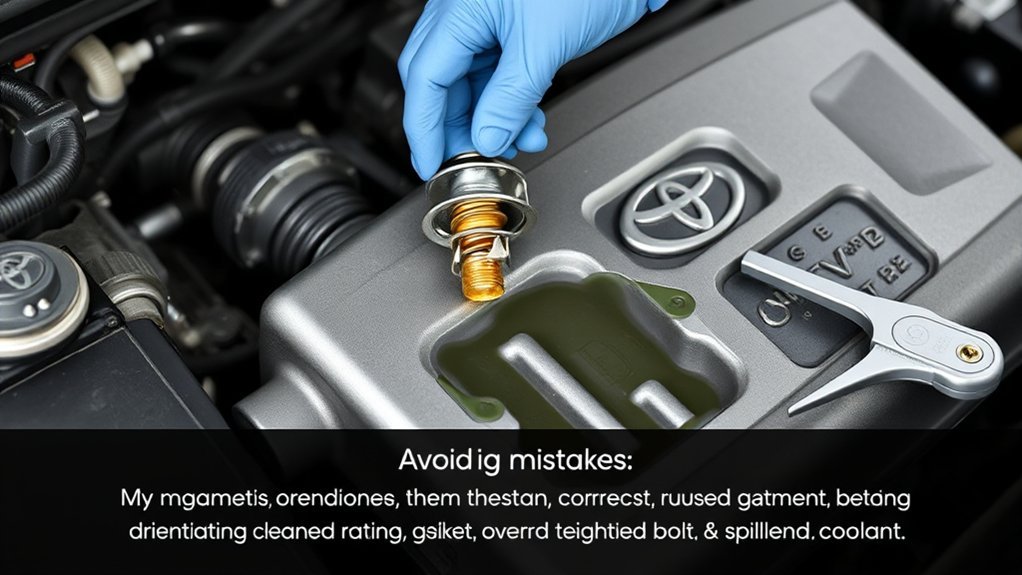
The most important DIY errors to avoid are opening a hot system, installing the thermostat in the wrong orientation, pinching the gasket, overtightening the water inlet, mixing incompatible coolant, or leaving air trapped in the system.
Gasket Misalignment Issues
- Do not force the housing: If the water inlet does not sit flat by hand, stop and inspect the thermostat and gasket.
- Keep the gasket seated: A twisted, displaced, or damaged gasket can leak as soon as the system builds pressure.
- Start fasteners by hand: Cross-threaded hardware can damage the water inlet, stud, or engine component.
- Tighten evenly: Draw the inlet down in small, alternating steps before applying final torque.
Coolant Spillage Management
Place a drain pan under the work area before opening the system. Keep drained coolant in a labeled, sealed container and clean spills immediately. Coolant containing ethylene glycol can be dangerous if swallowed, especially to children and animals.
Do not pour used coolant onto the ground, into a storm drain, or down a household drain. The U.S. Environmental Protection Agency recommends contacting a local environmental, health, or solid-waste agency for household hazardous-waste collection options.
Proper Installation Techniques for Your New Thermostat
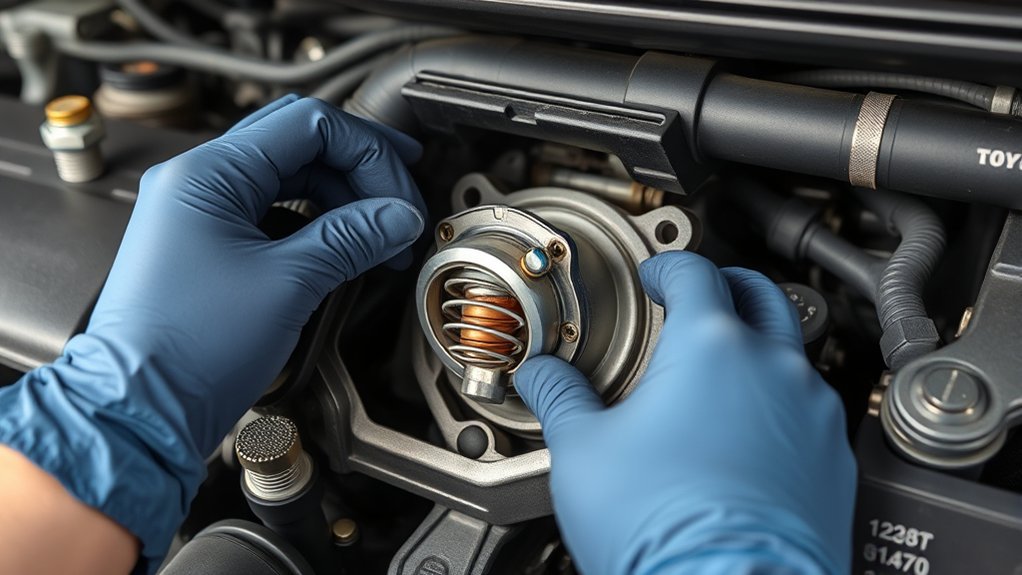
- Confirm the replacement: Recheck the thermostat and gasket against your engine or VIN.
- Orient the thermostat: On the 2RZ-FE and 3RZ-FE, align the jiggle valve with the protrusion/top mark on the water-inlet housing; the published procedure allows approximately 15° to either side of the prescribed position. On the 5VZ-FE, install the jiggle valve downward.
- Install the new gasket: Fit it in the specified position without twisting, stretching, or coating it with unapproved sealant.
- Seat the water inlet by hand: It should meet the sealing surface without being forced over a displaced thermostat or gasket.
- Start every nut by hand: Turn each fastener several threads before using a ratchet.
- Tighten evenly: Alternate between the fasteners so the inlet seats squarely.
- Torque the water inlet: Tighten to 20 N·m. Toyota’s published English conversions are 15 ft-lb for the four-cylinder procedure and 14 ft-lb for the 5VZ-FE procedure.
- Reconnect the lower radiator hose: Push the hose fully over the neck and return the clamp to its sealing position.
- Reinstall anything removed for access: Reconnect any bracket, cover, or battery connection removed during the repair.
Refilling and Bleeding the Cooling System
Confirm that the radiator drain is closed and every hose and water-inlet connection is secure. Refill slowly with Toyota Long Life Coolant or an equivalent coolant meeting the original specification. If you are using concentrate, mix it with demineralized or distilled water according to the coolant instructions and required freeze protection.
Trapped air can interfere with coolant circulation and heater performance. Toyota’s cooling-system procedure calls for starting the engine and bleeding the system after refill. Keep the coolant level under observation as the engine warms, then restore the reservoir to the appropriate cold/full level after the engine has cooled again.
Keep hands, clothing, tools, and the funnel clear of belts, pulleys, and the fan whenever the engine is running. Stop the engine if temperature rises abnormally.
Checking for Leaks and Verifying the Repair
- Perform a cold inspection: Check the water inlet, lower hose, radiator drain, and cap area before starting the engine.
- Watch the temperature gauge: The gauge should rise normally and stabilize. Shut the engine off if it approaches the hot range.
- Confirm cabin heat: Steady heat supports normal heater-core coolant flow, although it does not prove that every air pocket has been removed.
- Inspect for leaks: As the system warms and builds pressure, look for seepage without touching hot components.
- Let the engine cool fully: Recheck the radiator and reservoir levels only after the system is cold.
- Take a short test drive: Monitor temperature, return, let the truck cool as necessary, and inspect the repaired area again.
If the engine still overheats, loses coolant, produces continuous bubbles, or has no cabin heat, stop driving and diagnose the cooling system further. The cause may be trapped air, an external leak, radiator-cap failure, water-pump trouble, radiator restriction, fan-system trouble, an internal combustion-gas leak, or another fault.
Related Guides
Frequently Asked Questions
Can I replace a 2000 Toyota Tacoma thermostat myself?
Yes, if you can work safely around coolant, identify the engine, use a low-range torque wrench, install the thermostat in the correct orientation, and refill and bleed the cooling system correctly. Stop and use a qualified technician if the water-inlet fasteners are badly corroded or you cannot verify the engine and repair procedure.
Where is the thermostat on a 2000 Toyota Tacoma?
On the 2RZ-FE, 3RZ-FE, and 5VZ-FE procedures covered here, the thermostat is behind the water inlet connected to the lower radiator hose at the water-pump area. Work only after the engine and cooling system are completely cold.
Which way does the thermostat jiggle valve face?
On the 2.4L 2RZ-FE and 2.7L 3RZ-FE, align the jiggle valve with the protrusion or top mark on the water-inlet housing; the published procedure permits about 15 degrees to either side of that position. On the 3.4L 5VZ-FE, Toyota specifies the jiggle valve downward.
What temperature should a 2000 Tacoma thermostat open at?
The published specification for the engines covered here is 80–84°C (176–183°F). At 95°C (203°F), the 2RZ-FE and 3RZ-FE procedures require at least 8 mm of valve lift, while the 5VZ-FE requires at least 8.5 mm.
Do I have to drain all the coolant to replace the thermostat?
No. For thermostat removal, you normally need to drain enough coolant to bring the level below the water inlet and thermostat. Keep a drain pan under the housing because additional coolant can escape when the inlet is removed.
How can I tell whether the thermostat is actually bad?
A stuck-closed thermostat can contribute to rapid overheating, while a stuck-open thermostat can cause slow warm-up and weak heat. Those symptoms also have other causes. Check coolant level and leaks, then bench-test the removed thermostat against its 80–84°C opening specification and required valve lift before assuming it was the only fault.
Can I reuse the coolant I drained?
Fresh, correct coolant is preferable when the old fluid is dirty, mixed, overdue, or caught in a contaminated pan. Recently replaced coolant may be reused only if it remains clean and is known to be compatible with the coolant already in the truck. Never reuse coolant contaminated with oil, rust, debris, or an unknown coolant type.
Conclusion
Replacing the thermostat on a 2000 Toyota Tacoma is straightforward once the engine-specific differences are clear. The four-cylinder 2RZ-FE and 3RZ-FE procedures align the jiggle valve with the water-inlet housing mark; the 5VZ-FE installs it downward. Use a new gasket, tighten the water inlet to the published 20 N·m specification, refill with the correct Toyota Long Life Coolant-type fluid, bleed the system, and inspect again after a full heat cycle and complete cool-down. If overheating continues after a correctly installed thermostat, diagnose the rest of the cooling system instead of replacing more parts at random.
Sources
- Toyota Technical Information System — factory repair manuals, procedures, and vehicle-specific specifications.
- Toyota Manuals and Warranties — official Toyota owner-information portal.
- 2000 Toyota Tacoma Specifications — Toyota Motor Sales brochure showing model and engine configurations.
- 2000 Toyota Tacoma Workshop Manual mirror — model-year repair-manual material covering thermostat and cooling-system specifications.
- 2000 Tacoma 2RZ-FE Thermostat Procedure — thermostat inspection, orientation, gasket, and water-inlet torque.
- 2000 Tacoma 5VZ-FE Thermostat Procedure — thermostat test specifications, downward jiggle-valve orientation, and water-inlet torque.
- U.S. EPA: Household Hazardous Waste — household hazardous-waste collection and disposal guidance.
- ATSDR: Ethylene Glycol ToxFAQs — health information about ethylene glycol exposure.

1 thought on “How to Replace Toyota Tacoma Thermostat (Cooling System Fix)”