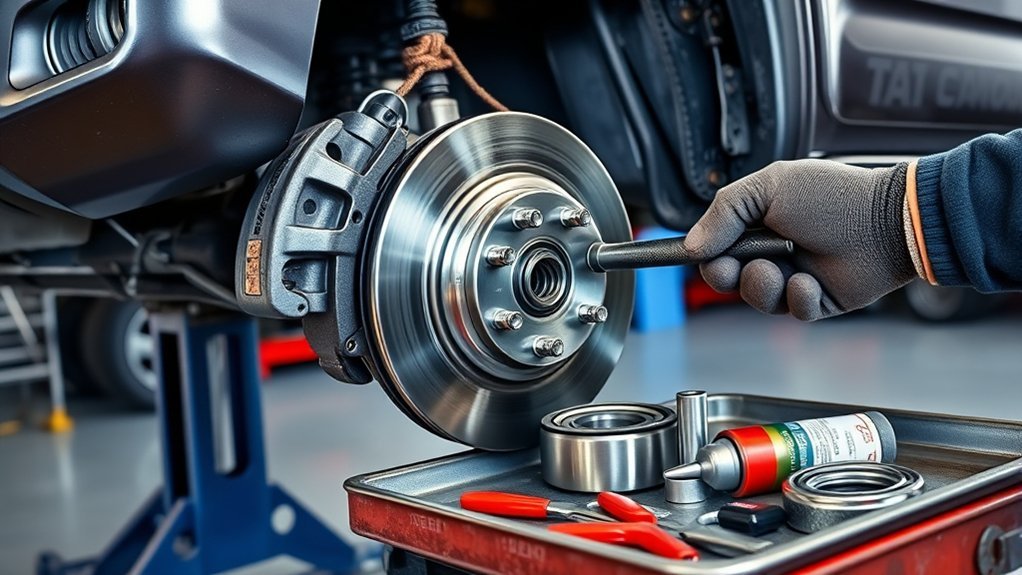
To replace a Toyota Tacoma wheel bearing safely, first identify the truck’s model year, VIN, front or rear axle, drivetrain, ABS equipment, and bearing design. Tacoma wheel ends are not all serviced the same way: the job may involve a press-fit bearing, a hub-and-bearing assembly, a serviceable tapered bearing, or a rear axle-shaft bearing. Diagnose the wheel end before buying parts, then follow the exact Toyota repair procedure and torque specifications for that configuration.
Last updated: September 19, 2026. This revision adds a repair-path decision table, a current U.S. cost benchmark, diagnosis guidance, alignment and pair-replacement FAQs, and updated technical/schema compliance.
Quick Answer
Confirm the exact wheel end and bearing design before disassembly. Support the Tacoma on rated stands, protect the brake hose and ABS sensor wiring, use the correct puller or press adapters for the design, replace specified single-use hardware, and torque every fastener to the VIN- and configuration-specific Toyota specification. If the wheel has severe play, grinding, abnormal hub heat, or visible instability, do not drive it to “test” the diagnosis.
Key Takeaways
- Tacoma wheel-bearing procedures vary by model year, front or rear axle, drivetrain, and bearing design.
- Never use a universal axle-nut torque value or preload sequence.
- A sealed bearing should not be opened or repacked unless its manufacturer specifically requires it.
- Use a press only with adapters that load the correct bearing race.
- Protect the brake hose, ABS sensor, wiring, tone ring, and magnetic encoder throughout the job.
- Replacing both sides is not automatically required; inspect the opposite side and replace it based on condition, symptoms, and the applicable service information.
- Severe grinding, looseness, overheating, or wheel instability requires immediate professional inspection.
At a Glance
| Time Required | Varies by axle, bearing design, corrosion, and access to a suitable press. Confirm the complete procedure before scheduling the repair. |
| Difficulty | Advanced. Press-fit and rear axle-shaft bearings may require professional equipment and experience. |
| Tools Needed | Floor jack, rated jack stands, wheel chocks, sockets, breaker bar, calibrated torque wrench, brake-caliper hanger, snap-ring pliers, puller or press equipment, and model-specific adapters. |
| Cost | As a current U.S. benchmark, RepairPal lists an estimated Toyota Tacoma wheel-bearing replacement range of $532–$874, before taxes, fees, and location adjustments. Your actual cost can vary substantially by axle, bearing design, parts choice, corrosion, related damage, and press labor. |
Choose the Right Tacoma Wheel-Bearing Repair Path
The safest way to plan this repair is by bearing design, not by assuming that one Tacoma procedure fits every year. Confirm the design in Toyota service information and by VIN before ordering parts.
| Bearing Design | What the Job Usually Involves | DIY Decision Point |
|---|---|---|
| Press-fit cartridge bearing | The bearing is removed and installed with controlled press force while the correct race is supported. | Use a correctly sized press setup or outsource the press work. Do not hammer the bearing into place. |
| Hub-and-bearing assembly | The assembly is removed from its mounting surface and replaced as a matched unit when that is the specified design. | Confirm VIN fitment, ABS compatibility, fastener replacement requirements, and torque values before assuming it is a simple bolt-on job. |
| Serviceable tapered bearing | The bearing may require cleaning, inspection, specified grease, seal replacement, seating, back-off, and preload adjustment. | Do not apply sealed-bearing instructions to an adjustable bearing. Follow the exact packing and preload procedure. |
| Rear axle-shaft bearing | The axle shaft, seals, retainers, ABS-related parts, or press-fit components may need to be removed as an assembly. | Professional press work is often the practical choice when the required fixtures or axle-bearing tools are unavailable. |
If a verified pre-assembled component is available for your exact Tacoma application, it may reduce press work, but it does not eliminate the need to confirm fitment, ABS design, reusable versus single-use hardware, and final torque requirements.
Essential Steps for Replacing Toyota Tacoma Wheel Bearings

Start by identifying the exact wheel end you are repairing. Record the model year, VIN, front or rear axle, 2WD or 4WD configuration, and trim. Some Tacoma applications use a press-fit bearing, while others may use a serviceable bearing, hub unit, or rear axle-shaft arrangement.
Confirm the Bearing Is Actually the Problem
Do not tear down the wheel end based on noise alone. Compare both sides, inspect the tire tread for cupping or damage, check for brake drag, rotate the raised wheel by hand, and check wheel play while watching the ball joints and steering joints so movement is not misdiagnosed as bearing looseness. A humming or growling sound that changes with road speed can support the diagnosis, but a turn-loading test by itself does not prove which bearing is bad.
If an ABS or stability-control warning is present, scan the system before disassembly when possible. A damaged wheel-speed sensor, wiring fault, encoder problem, tone-ring issue, or connector fault can accompany a wheel-end problem and may need separate repair.
Use Toyota’s Technical Information System to obtain the repair procedure and torque specifications for your configuration. You can also enter the VIN in the Toyota Parts Center to confirm part fitment.
Warning: Never work under a Tacoma supported only by a hydraulic, bottle, or emergency jack. Park on a solid, level surface, chock the wheels that remain on the ground, and support the truck at approved points with stands rated for its weight.
A general replacement workflow includes these steps:
- Confirm the exact bearing design, required replacement parts, and torque values.
- Check the VIN for open safety recalls or service campaigns.
- Securely lift and support the truck.
- Remove the wheel and the required brake, hub, axle, and sensor components.
- Extract the old bearing or hub without damaging the knuckle, axle, or sensor equipment.
- Inspect and clean every mating surface.
- Install the new bearing with the correct orientation and press support.
- Reassemble the wheel end with required new hardware and model-specific torque values.
- Check the brake pedal, ABS system, wheel rotation, and wheel play before driving.
The correct torque value is the one listed for your exact Tacoma configuration, not a number copied from another year, axle, or bearing design.
Tools You Need for Wheel Bearing Replacement
The required tools depend on whether you are servicing a press-fit bearing, bolt-on hub unit, serviceable tapered bearing, or rear axle bearing. Review the complete repair procedure before buying or renting equipment.
Basic Hand and Safety Tools
- Wheel chocks
- Floor jack with sufficient capacity
- Rated jack stands
- Safety glasses and mechanic’s gloves
- Correct lug-nut socket
- Ratchet, extensions, and metric socket set
- Breaker bar
- Correct axle-nut, spindle-nut, or hub-nut socket
- Calibrated torque wrench covering every required torque range
- Brake-caliper hanger or strong mechanic’s wire
- Pliers, picks, and approved trim or connector tools
Bearing and Hub Service Tools
- Snap-ring pliers when the design uses a retaining ring
- Hub puller, slide hammer, or axle puller specified for the application
- Hydraulic shop press for a press-fit bearing
- Press plates, drifts, and adapters sized to the bearing races
- Bearing separator when required
- Seal driver for serviceable or axle-bearing seals
- Dial indicator if the repair procedure requires runout or play measurement
- Scan tool capable of reading ABS fault codes when sensor problems are present
A branded specialty socket is not automatically required. Use the tool size and style specified for your Tacoma’s actual fastener. Do not substitute a pipe wrench for the correct socket, especially during final tightening.
Pro Tip: Arrange press adapters, replacement snap rings, seals, nuts, cotter pins, and other specified one-time-use parts before disassembly. A missing adapter or fastener can leave the truck disabled after the wheel end is apart.
How to Remove Old Wheel Bearings: A Step-by-Step Guide
The steps below describe a general wheel-end workflow. Your Tacoma may require a different sequence, especially for a rear axle-shaft bearing or a serviceable front hub.
1. Prepare the Truck
Park on a level, solid surface. Set the parking brake when appropriate for the axle being serviced, place the transmission in Park or in gear, and chock the wheels remaining on the ground.
If the procedure requires loosening an axle or hub nut before lifting the truck, loosen it only as directed. Do not remove it completely while the vehicle is supporting its weight.
2. Lift and Support the Truck
Follow the lifting-point information in the correct Toyota owner’s manual. Raise the truck and place rated stands at approved support points. Gently test stability before removing the wheel.
3. Remove the Wheel and Brake Components
Remove the wheel. Take off the brake caliper, bracket, rotor, drum, or parking-brake components required for access.
Hang the caliper from the suspension or frame with a proper hanger. Never let it hang from the flexible brake hose.
4. Protect the ABS Sensor and Wiring
Disconnect the wheel-speed sensor connector when required. Release each wiring clip before moving the knuckle, hub, or axle. Do not pull on the wire.
A rusted sensor may break if forced from its bore. If the factory procedure permits leaving it installed, protect it during removal and press work.
5. Remove the Axle or Hub Fasteners
Remove the cotter pin, locking cap, staked section, axle nut, spindle nut, hub bolts, or retaining hardware specified for the design. Plan to replace any nut, cotter pin, snap ring, or fastener identified as non-reusable.
Do not strike the threaded axle end directly with a steel hammer. Use the specified puller or a protected press tool to separate a stuck spline.
6. Separate the Hub or Knuckle
Remove only the steering and suspension joints needed to free the hub or knuckle. Mark adjustable components when helpful, but do not assume the marks replace a wheel alignment.
Support the assembly as the last fastener is removed. A knuckle, axle shaft, or hub assembly can be heavier than it appears.
7. Extract the Old Bearing
For a press-fit cartridge bearing, remove the snap ring and support the knuckle squarely in the press. When pushing the bearing out of the knuckle, place the removal force on the correct race or surface specified by the procedure.
If the hub leaves part of the inner race attached, use a bearing separator rather than cutting carelessly near the hub. Deep scoring, heat damage, or an undersized hub journal can ruin the new bearing.
For a bolt-on hub unit, remove the mounting bolts and work the unit away from the knuckle without damaging the mating surface. For a rear axle-shaft bearing, follow the axle-removal and seal procedure for that exact rear axle.
8. Clean and Inspect the Parts
Clean the knuckle bore, hub journal, snap-ring groove, mounting face, axle splines, and sensor area. Remove corrosion without enlarging a bore or rounding a locating surface.
Inspect the hub, knuckle, axle, seals, snap-ring groove, brake components, and sensor equipment. Replace damaged parts rather than pressing a new bearing onto a worn or distorted surface.
Installing New Wheel Bearings Correctly
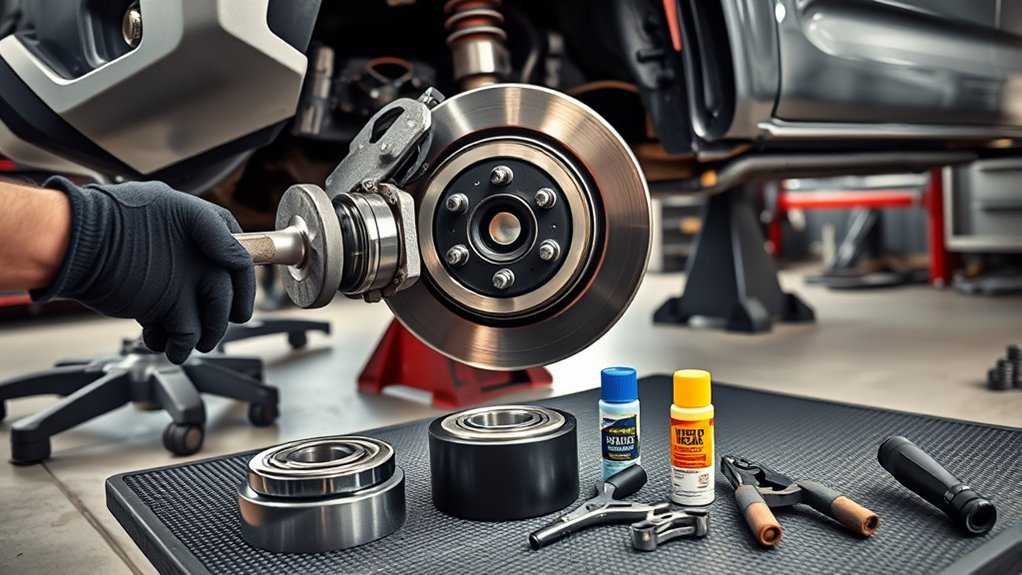
Correct installation depends on clean mating surfaces, proper bearing orientation, controlled press force, and exact fastener torque. Stop if the bearing begins entering the bore at an angle or requires force beyond what the procedure indicates.
Tools Needed for Installation
Prepare the correct press adapters or hub tools before opening the replacement bearing. You may need a hydraulic press, bearing plates, snap-ring pliers, seal driver, axle-nut socket, torque wrench, and sensor-safe hand tools.
Compare the new and old components before installation. Check the overall dimensions, bore, hub journal, seal arrangement, snap-ring groove, mounting flange, sensor encoder, and electrical connector when present.
Step-by-Step Process
- Verify bearing orientation. If the bearing contains a magnetic ABS encoder, identify the encoder side from the component instructions and sensor location. Do not rely on a universal rule about the metal or plastic side.
- Prepare the bore and bearing. Keep the bearing sealed and clean. Do not grind the knuckle bore or coat it with unapproved lubricant to make installation easier.
- Press the bearing into the knuckle. Apply force through the outer race when pressing a cartridge bearing into a knuckle. Pressing through the inner race can transmit force through the rolling elements and damage the new bearing.
- Install the retaining ring. Fit the correct snap ring in a clean groove. Confirm that it is fully seated around its entire circumference.
- Press the hub into the bearing. Support the bearing’s inner race while pressing the hub into it. Without inner-race support, the press can separate or overload the new bearing.
- Install seals and related hardware. Use the correct driver and installation depth. Replace required single-use nuts, cotter pins, snap rings, seals, and locking hardware.
- Reinstall the knuckle, hub, or axle. Route the ABS wiring through every original clip and keep it away from the tire, axle, rotor, and moving suspension parts.
- Reassemble the brakes. Clean the rotor mounting surfaces, reinstall the rotor or drum, and torque the brake fasteners to the exact specification.
- Torque the axle and wheel fasteners. Follow the model-specific tightening sequence, vehicle-loading condition, staking procedure, and final torque. Do not use an impact wrench as the final torque tool. For wheel hardware details, see the Toyota Tacoma lug nut size and torque guide.
- Complete safety checks. Pump the brake pedal until it feels firm, rotate the wheel by hand, check for play, inspect the sensor wiring, and verify that no tools remain under the truck.
Note: A serviceable tapered bearing uses a different lubrication and preload procedure from a sealed cartridge bearing. If your Tacoma has an adjustable bearing, follow its packing, seating, back-off, and final-preload instructions exactly.
Avoid These Common Mistakes When Replacing Wheel Bearings
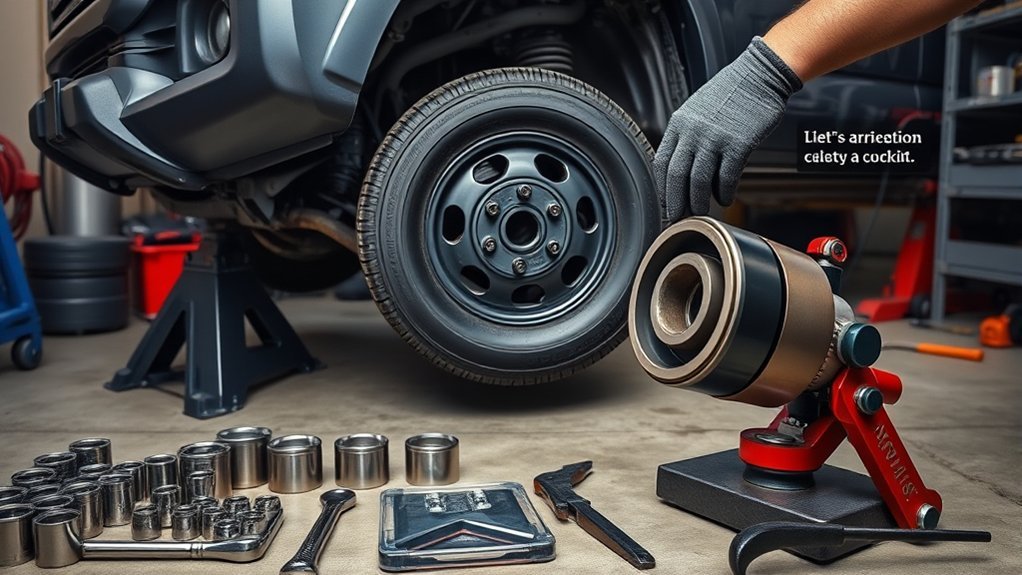
A new bearing can fail quickly when it is installed backward, pressed through the wrong race, contaminated, over-torqued, under-torqued, or paired with a worn hub.
Incorrect Bearing Orientation
Do not assume that the metal side of every Tacoma bearing faces the engine. The orientation may depend on a seal, magnetic encoder, sensor location, or component design.
Before pressing the bearing:
- Check the bearing manufacturer’s markings and instructions.
- Locate the wheel-speed sensor and determine which side must face it.
- Compare the new component with the old one.
- Confirm the orientation in the model-specific Toyota procedure.
- Mark the correct side before positioning the bearing in the press.
Skipping or Misapplying Lubrication Steps
Lubrication requirements depend on the bearing design. Adding grease to the wrong part can damage seals, contaminate the ABS encoder, attract debris, or change fastener clamping force.
| Bearing or Surface | Correct Approach | What to Avoid |
|---|---|---|
| Sealed cartridge bearing | Keep it sealed, clean, and dry unless its instructions state otherwise. | Opening, washing, or repacking it. |
| Serviceable tapered bearing | Use the specified wheel-bearing grease and packing method. | Mixing incompatible grease or leaving voids. |
| Axle splines or seal lips | Apply only the product and amount specified by the repair procedure. | Using excess grease that can reach the sensor or brakes. |
| Wheel studs and axle-nut threads | Keep them in the condition required by the torque specification. | Adding oil or anti-seize unless the procedure specifically requires it. |
Other Installation Mistakes
- Using the wrong press surface: This sends installation force through the rolling elements.
- Reusing damaged hardware: A distorted axle nut, weak snap ring, or damaged cotter pin may not secure the assembly.
- Ignoring a worn hub: A damaged hub journal can create play or destroy the new bearing.
- Hammering the bearing into place: Impact can dent the races and damage the encoder.
- Damaging ABS wiring: A stretched, pinched, or misrouted harness can trigger warning lights.
- Guessing torque: Too little torque can allow movement, while too much can overload the bearing or fastener.
- Skipping the brake check: The pedal may initially travel farther after the caliper has been removed.
Signs That Indicate Your Wheel Bearings Need Replacement
A wheel-bearing problem often becomes more noticeable with road speed, but noise alone does not confirm the diagnosis. Tires, brakes, CV joints, differential components, and suspension parts can produce similar symptoms.
- Humming, growling, or grinding: The noise may rise with road speed or change during a gentle turn as vehicle weight shifts. Treat the turn test as a clue, not proof of which side has failed.
- Excessive wheel play: Movement at the wheel may indicate bearing wear, but ball joints, tie rods, or loose fasteners can also cause play.
- Rough rotation: A raised wheel may feel gritty, notchy, or resistant when turned by hand.
- Steering vibration: Bearing looseness can contribute to vibration, although tire and brake problems are more common causes.
- Uneven tire wear: Severe looseness can affect tire contact, but alignment and suspension faults must also be checked.
- ABS or stability-control warning: A damaged sensor, encoder, tone ring, connector, or wire may accompany a wheel-end problem.
- Heat or odor near the hub: Abnormal heat can indicate severe friction, brake drag, or bearing damage.
Warning: Stop driving and arrange inspection if the wheel has obvious looseness, the hub becomes unusually hot, grinding is severe, the truck pulls unpredictably, or the wheel appears unstable. Continued driving may damage the hub, axle, brakes, tire, or suspension.
Top Tips for Keeping Your Wheel Bearings in Top Shape
Most sealed Tacoma wheel bearings do not have a routine repacking interval. You maintain them by protecting the seals and sensors, correcting related problems, and inspecting the wheel end when symptoms appear.
- Listen for changes in humming or growling during tire rotations and brake service.
- Inspect the ABS wiring, connectors, seals, and hub area for physical damage.
- Correct loose wheel fasteners using the specified torque procedure.
- Repair brake drag, damaged wheels, or suspension problems that place extra stress on the hub.
- Use replacement parts confirmed for the VIN and axle configuration.
- Avoid directing high-pressure water at exposed seals or electrical connectors.
- Check wheel alignment when steering or suspension components were disturbed.
- Keep repair records that identify the axle, installed parts, mileage, and torque source.
If your Tacoma uses a serviceable tapered bearing, follow its specified inspection, cleaning, grease, seal, and preload procedure. Do not apply that maintenance routine to a sealed cartridge or hub unit.
What to Confirm Before a Tacoma Wheel Bearing Replacement
Before starting the repair, answer these questions:
- Which wheel end is affected? Confirm the side and whether the problem is at the front or rear.
- What is the exact vehicle configuration? Record the model year, VIN, drivetrain, trim, and axle information.
- What bearing design is installed? Identify whether it is press-fit, bolt-on, serviceable, or part of a rear axle-shaft assembly.
- Does the bearing interact with an ABS encoder? Confirm the sensor location and required bearing orientation.
- Which hardware must be replaced? Check the procedure for single-use nuts, seals, snap rings, cotter pins, and bolts.
- Do you have the required press equipment? Confirm that your adapters can support the correct race throughout installation.
- Are recalls open? Search the VIN through NHTSA’s recall lookup and Toyota’s recall page before paying for related repairs.
Professional service is the safer choice when the job requires rear axle-shaft pressing, the knuckle or hub is damaged, severe corrosion prevents controlled disassembly, the ABS sensor is seized, or the correct press equipment is unavailable.
Frequently Asked Questions
How do you replace a Toyota Tacoma wheel bearing step by step?
Identify the exact bearing design, obtain the model-specific repair procedure, secure the truck on rated stands, remove the required wheel-end components, extract the old bearing or hub, inspect the mating parts, install the replacement with correct race support and orientation, torque every fastener to specification, and complete brake, ABS, play, and road-test checks.
How much does Toyota Tacoma wheel bearing replacement cost?
RepairPal’s U.S. estimate, last updated September 3, 2026, lists Toyota Tacoma wheel-bearing replacement at $532–$874 before taxes, fees, and location adjustments. Your actual cost can differ by model year, front or rear axle, bearing design, parts choice, local labor rate, corrosion, press work, and whether the hub, knuckle, axle, seal, sensor, or brake components also need replacement. Confirm parts by VIN and get a written estimate for your truck.
What is the correct tightening procedure for a Tacoma wheel bearing?
No single tightening procedure applies to every Tacoma. Use the exact Toyota specification for the model year, axle, drivetrain, fastener, and bearing design. Follow all instructions for dry or lubricated threads, vehicle loading, staged torque, staking, cotter pins, preload, and final adjustment. Never automatically torque the nut and then back it off.
How can you tell whether a Tacoma wheel bearing is bad?
Common signs include speed-related humming or grinding, rough rotation, excess wheel play, hub heat, vibration, and an ABS warning associated with sensor or encoder damage. Because tires, brakes, CV joints, suspension parts, and differential components can cause similar symptoms, inspect the complete wheel end before replacing the bearing.
Can you drive a Tacoma with a noisy wheel bearing?
A faint noise still requires prompt diagnosis because bearing condition can worsen. Do not continue driving when you notice severe grinding, looseness, abnormal hub heat, unpredictable steering, braking changes, or visible wheel instability. Have the truck inspected or transported instead.
Do you need a wheel alignment after replacing a Tacoma wheel bearing?
An alignment check is appropriate when the repair required removing the steering knuckle or loosening steering or suspension components that can affect alignment. A bearing or hub replacement that does not disturb alignment-related adjustments may not require an alignment solely because the bearing was replaced. Follow the Toyota procedure for the exact configuration, and check alignment if the steering wheel is off-center, the truck pulls, or tire wear changes after the repair.
Should you replace both Tacoma wheel bearings at the same time?
Not automatically. Replace the failed bearing and inspect the opposite side for noise, roughness, play, heat, seal damage, and related wheel-end problems. Replacing both sides can be reasonable when both show wear or when labor access makes it practical, but it is not a universal Toyota requirement.
Conclusion
A successful Toyota Tacoma wheel bearing replacement begins with accurate vehicle identification, not a universal torque value or generic bearing rule. Confirm the bearing design, use the exact Toyota procedure, support the truck securely, protect the brake and ABS systems, and apply press force only through the correct race.
Before driving, verify firm brake-pedal pressure, smooth wheel rotation, correct fastener torque, secure sensor wiring, and the absence of wheel play or warning lights. When the required tools, specifications, or press experience are unavailable, professional installation is the safer choice. For related maintenance topics, browse the Toyota Tacoma repair and maintenance guides.
Sources
- Toyota Technical Information System — model-specific Toyota repair manuals, service information, procedures, and specifications.
- Toyota Manuals and Warranties — vehicle-specific owner’s manuals and lifting, wheel, and maintenance information.
- Toyota Parts Center — Toyota parts lookup with VIN and vehicle-fitment tools.
- National Highway Traffic Safety Administration Recall Lookup — VIN searches for unrepaired safety recalls and related vehicle information.
- RepairPal Toyota Tacoma Wheel Bearing Replacement Cost — current U.S. repair-cost benchmark; estimate last updated September 3, 2026.
- MOOG Hub Assembly Installation Tip — guidance to use a torque wrench and the manufacturer’s axle-nut specification rather than an impact wrench for final tightening.
