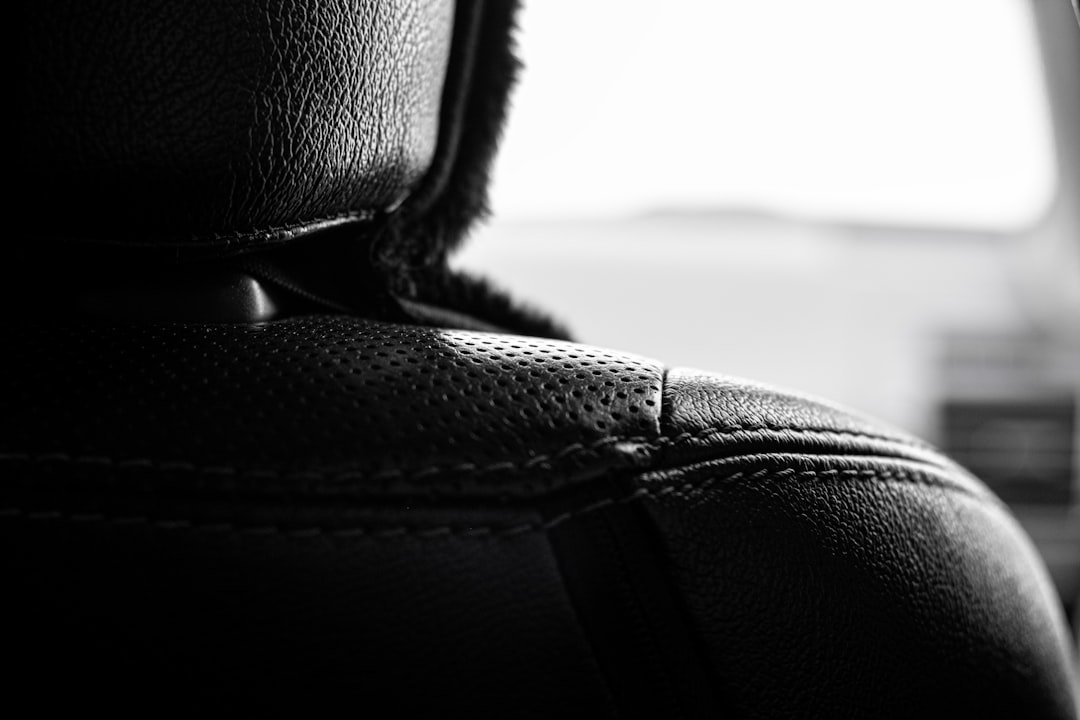
Leather car seats add comfort, style, and value to your vehicle, but they need the right care to stay clean and flexible. Dirt, body oils, sunlight, spills, and heat can dry out leather over time, which may lead to cracking, fading, stains, and a worn appearance.
With a gentle cleaner, microfiber cloths, a soft brush, and a quality leather conditioner, you can clean leather seats safely at home. The key is to remove loose debris first, test products in a hidden spot, use light pressure, avoid soaking the leather, and condition the surface after cleaning.
Quick Answer
To clean leather car seats, vacuum the seats first, test a leather cleaner on a hidden area, wipe the leather with a damp microfiber cloth, gently clean stains with the right method, and apply leather conditioner after the seats dry. Avoid harsh chemicals, abrasive pads, and too much water.
Key Takeaways
- Proper leather seat care helps protect your car interior from cracking, fading, stains, and premature wear.
- Use automotive leather cleaner, microfiber cloths, a soft-bristled brush, and leather conditioner instead of harsh household chemicals.
- Always vacuum first and spot test any cleaner before applying it across the seat.
- Different stains need different techniques, so blot spills instead of rubbing them deeper into the leather.
- Condition leather every few months to help restore moisture and keep the surface soft and flexible.
At a Glance
| Time Required | 30 to 60 minutes for basic cleaning; longer for stains or deep conditioning |
| Difficulty | Easy to moderate |
| Tools Needed | Vacuum with brush attachment, microfiber cloths, soft-bristled brush, leather cleaner, leather conditioner, and clean water |
| Cost | Low to moderate, depending on the cleaner, conditioner, and stain-removal products you choose |
Why Proper Leather Seat Care Matters
Leather seats are often associated with luxury and comfort because they improve the look and feel of a vehicle interior. However, leather is a natural material, and it can suffer wear and tear when you neglect it or use the wrong cleaning products.
Over time, dirt, body oils, sunlight, heat, and spills can lead to cracking, fading, discoloration, stiffness, and general deterioration. This affects how your seats look and feel. It can also reduce the resale appeal of your vehicle if the interior looks poorly maintained.
Leather seats are also a significant investment. Regular cleaning and conditioning can help stop dirt and grime from settling into the surface. This protects the material and keeps the seats more comfortable for daily driving.
By setting aside time for proper leather care, you can keep your seats soft, clean, visually appealing, and durable for years.
Gathering the Necessary Cleaning Supplies
Before you clean leather seats, gather the right supplies. Start with a high-quality leather cleaner made for automotive interiors. These cleaners are designed to remove dirt and stains without stripping too much moisture from the leather.
Avoid harsh chemicals, bleach, ammonia-based cleaners, and strong all-purpose cleaners. These can dry out the leather, cause discoloration, or weaken the finish. You should also avoid rough scrub pads because they can scratch the surface.
You will also need several soft microfiber cloths. Microfiber is gentle on leather and helps lift dirt without leaving scratches. A soft-bristled brush can help clean seams, textured areas, and small crevices where dirt collects.
For conditioning, choose a premium leather conditioner made for vehicle interiors. This product helps restore moisture and suppleness after cleaning. A vacuum cleaner with a brush attachment is also useful because it removes loose debris before you apply any liquid product.
- Automotive leather cleaner
- Leather conditioner
- Soft microfiber cloths
- Soft-bristled detailing brush
- Vacuum cleaner with a brush attachment
- Small bowl of clean water
- Cotton swabs for small stains and seams
- Leather-safe stain remover for stubborn marks
Warning: Never soak leather seats with water or cleaner. Excess moisture can seep into seams, padding, and perforations, which may cause staining, odors, mildew, or hidden damage.
Preparing the Leather Surfaces for Cleaning

Preparation is one of the most important parts of cleaning leather seats safely. Before applying any cleaning solution, remove loose dirt, dust, crumbs, sand, and other debris from the seat surface.
Use a vacuum cleaner with a brush attachment and work slowly over the seat cushions, backrests, side bolsters, seams, and crevices. Pay special attention to stitching and gaps where dirt tends to hide. Loose grit can scratch the leather if you rub it across the surface during cleaning.
After vacuuming, wipe the leather with a slightly damp microfiber cloth to remove light surface dust. Do not use a dripping-wet cloth. The cloth should be damp enough to pick up dust but not wet enough to leave water behind.
Next, conduct a spot test with your chosen leather cleaner on a hidden area of the seat. This step helps confirm that the cleaner will not discolor, stain, or damage the leather finish.
After the spot test dries and looks normal, follow the product instructions for application, cleaning time, and removal. Different cleaners have different directions, so do not assume every product works the same way.
Proper preparation sets the stage for safer cleaning, better stain removal, and less risk of damaging the leather surface.
Using the Right Cleaning Technique for Different Types of Stains
| Stain Type | Cleaning Technique |
|---|---|
| Food and Beverage | Blot with a clean microfiber cloth, then use a leather cleaner or mild soap solution after spot testing. |
| Grease and Oil | Blot excess oil, apply a leather-safe cleaner to a cloth, and clean gently without oversaturating. |
| Ink and Dye | Use a leather-specific ink remover when possible, or carefully dab with a cotton swab after testing first. |
| Blood and Bodily Fluids | Use cold water and a mild leather-safe cleaning method. Avoid hot water because it can set some stains. |
| Mold and Mildew | Use a leather-safe cleaner and dry the area fully. For heavy mold, seek professional detailing help. |
Different stains need different cleaning techniques. Water-based stains, such as coffee, soda, or juice spills, should be blotted right away with a clean cloth. Do not rub the stain, because rubbing can spread liquid and push it deeper into the leather.
Oil-based stains, such as food grease, sunscreen, or cosmetics, need a gentle approach. Apply a small amount of leather cleaner to a microfiber cloth instead of pouring it directly onto the seat. Then wipe the stained area with light pressure.
Ink stains can be especially stubborn. A leather-specific ink remover is usually safer than a random household product. If you use rubbing alcohol, test it first in a hidden spot and apply it sparingly with a cotton swab. Too much alcohol can dry or discolor some leather finishes.
After treating any stain, wipe away cleaner residue with a clean damp cloth, let the area dry naturally, and apply conditioner if the product instructions allow it.
Pro Tip: Work from the outside edge of a stain toward the center. This helps prevent the stain from spreading across a larger area.
Removing Stubborn Stains and Spills
Stubborn stains and spills can be challenging, especially when they sit on the leather for too long. Fast action usually gives you the best chance of removing the mark without permanent discoloration.
For a red wine spill, blot the area with a clean microfiber cloth as soon as possible. If the stain remains, a diluted white vinegar and water solution may help on some leather finishes, but only after a hidden spot test. Dampen a microfiber cloth with the solution and gently dab the stain. Do not soak the leather.
For ink stains from pens or markers, use extra care. Dab the stain gently with a cotton swab and a leather-safe ink remover. If you choose rubbing alcohol, use only a tiny amount after testing it first. Avoid aggressive rubbing because it can spread ink or damage the finish.
For sticky residue, such as candy, gum, or spilled drinks, remove loose material first. Then clean the area with leather cleaner on a microfiber cloth. Repeat lightly instead of scrubbing hard.
If a stain does not improve after one or two careful attempts, stop. Repeated scrubbing can make the damage worse. A professional detailer may be able to treat the stain with stronger tools and leather-safe products.
Conditioning and Protecting the Leather Seats

Conditioning leather seats helps maintain their appearance, softness, and flexibility. Over time, leather can lose moisture because of sunlight, heat, air conditioning, body oils, and everyday use.
A quality leather conditioner can help keep the material supple and reduce the chance of dryness, cracking, and fading.
Use a clean microfiber cloth to apply conditioner in small sections. Spread a thin, even layer over the leather rather than using too much product at once. Heavy application can leave a greasy film or attract dust.
After applying conditioner, allow it to absorb for the time listed on the product label. Then buff the surface with a clean, dry microfiber cloth. This step removes excess product and helps the leather feel smooth rather than sticky.
Regular conditioning every three to six months works well for many vehicles. Seats exposed to strong sun, heavy use, pets, or frequent spills may need attention more often. Always follow the conditioner’s label directions because product formulas vary.
Addressing Cracks and Fading in the Leather
Cracks and fading often appear when leather has been exposed to heat, sunlight, friction, or poor cleaning habits for a long time. Minor dryness may improve with cleaning and conditioning, but deeper cracks need more targeted repair.
For small cracks, start by cleaning the area gently. Once the leather is dry, apply conditioner and allow it to absorb. This may soften the leather and reduce the appearance of dryness, but it will not fully repair severe cracking.
For more noticeable damage, a leather repair kit may be necessary. These kits often include fillers, applicators, and color-matching dyes that help reduce visible cracks, scuffs, and faded spots. Follow the instructions carefully and test the product on a hidden area before applying it to a visible seat panel.
If the leather is torn, badly faded, peeling, or deeply cracked, professional restoration is usually the safer choice. A detailer or upholstery specialist can match color, restore finish, and treat the leather without causing further damage.
Regular Maintenance Tips to Keep Leather Seats Pristine
Keeping leather seats clean requires consistent care. A simple maintenance routine can prevent dirt buildup and help the leather stay fresh between deep cleanings.
Vacuum the seats regularly, especially if you carry kids, pets, tools, sports gear, or food in the vehicle. Dirt and grit can act like sandpaper when people slide across the seat surface.
Wipe spills right away with a clean microfiber cloth. Blot the spill instead of rubbing it. For sticky or colored spills, follow up with a leather-safe cleaner as soon as possible.
Use seat covers, towels, or protective throws when you transport pets, sharp objects, muddy gear, or anything that may scratch or stain the seats. Avoid placing tools, keys, metal objects, or heavy bags directly on leather surfaces.
Try to keep food and drinks away from the seats while driving. This lowers the risk of stains, odors, and sticky residue. It also makes your regular cleaning routine much easier.
- Vacuum leather seats at least once a month.
- Clean spills as soon as they happen.
- Condition the seats every three to six months.
- Park in the shade when possible.
- Use sunshades to reduce heat and UV exposure.
- Keep sharp objects away from the seat surface.
- Test every new product before full use.
Dealing with Unpleasant Odors in Leather Seats
Unpleasant odors in leather seats can come from spills, moisture, smoke, sweat, pets, food, or mildew. The best first step is to identify the source and clean the seats thoroughly with an appropriate leather cleaner.
After cleaning, allow the vehicle to air out. Open the doors or windows in a safe, shaded area so trapped odors and moisture can escape. Do not close the car immediately if the seats still feel damp.
For lingering odors, baking soda can work as a natural deodorizer. Sprinkle a light amount over the affected area, allow it to sit overnight, and vacuum it up carefully the next day. Avoid grinding baking soda into the leather with pressure.
If the smell comes from mildew, water damage, or a deep spill that soaked into the padding, professional cleaning may be needed. Surface cleaning may not remove odors that have moved below the leather.
Note: Perforated leather needs extra care because liquids and powders can settle inside the small holes. Use less product and remove residue carefully.
Protecting Leather Seats from Sun Damage
Sun damage is one of the biggest threats to leather seats. UV exposure and heat can fade color, dry out the material, and make the surface more likely to crack over time.
To reduce sun damage, use a windshield sunshade when parking in direct sunlight. Window shades can also help limit heat and UV exposure. Whenever possible, park in a garage, under a carport, or in a shaded spot.
A UV protectant made for automotive leather can provide another layer of protection. Choose a product designed for leather interiors, and avoid greasy products that leave a slippery finish on seats.
Cleaning and conditioning also help with sun protection because dry leather is more vulnerable to cracking. When you maintain moisture and keep the surface clean, the seats usually age more gracefully.
Seeking Professional Help for Deep Cleaning and Restoration
Regular maintenance can protect leather seats, but some problems need professional help. Deep stains, severe fading, mold, mildew, dye transfer, tears, and heavy cracking may not respond well to basic home cleaning.
Professional detailers have specialized tools and leather-safe products for deep cleaning and restoration. They may also offer color correction, stain treatment, odor removal, and upholstery repair services.
When choosing a professional, look for a reputable detailing service that works with automotive interiors and understands different leather types. Ask what products they use and whether they can test an area before treating the full seat.
Professional help can cost more than DIY cleaning, but it may save money if the alternative is replacing damaged upholstery. For valuable vehicles, light-colored leather, or serious stains, expert care is often worth considering.
Common Leather Seat Cleaning Mistakes to Avoid
Leather is durable, but it can still be damaged by careless cleaning. Avoiding a few common mistakes can protect your seats and make your cleaning routine safer.
- Using too much water: Leather should be cleaned with controlled moisture, not soaked.
- Skipping the spot test: Some products can discolor or dull the finish.
- Using harsh cleaners: Bleach, ammonia, and strong solvents can dry or damage leather.
- Scrubbing aggressively: Hard scrubbing can remove finish, spread stains, or create shiny wear spots.
- Skipping conditioner: Cleaning without conditioning can leave leather dry over time.
- Letting spills sit: The longer a spill remains, the harder it can be to remove.
How to Clean Perforated Leather Car Seats
Perforated leather seats need special care because cleaners, water, crumbs, and powders can settle inside the small holes. This can lead to residue, odors, or moisture problems if you use too much product.
Start by vacuuming the seat carefully with a soft brush attachment. Then apply leather cleaner to a microfiber cloth rather than spraying it directly on the seat. Wipe gently across the surface without flooding the perforations.
For small holes that hold dirt, use a soft detailing brush with light pressure. After cleaning, wipe the area with a clean dry cloth. Allow the seat to air dry fully before applying a thin layer of conditioner.
When Mild Soap and Water Is Acceptable
A dedicated leather cleaner is the best choice for most leather car seats. However, mild soap and water can sometimes help in a pinch if you do not have leather cleaner available.
Use only a small amount of mild soap mixed with clean water. Dampen a microfiber cloth, wring it out well, and wipe the leather gently. The cloth should not drip. After cleaning, wipe again with a cloth dampened with plain water, then dry with a clean towel.
Always spot test first. If the leather looks dull, sticky, discolored, or dry after testing, stop and use a proper leather cleaner instead.
Related Interior Care Tip
If you’re looking to keep your car in top condition, you may also be interested in maximizing tool organization with a pegboard. This article offers tips on how to efficiently store and organize your tools for easy access and a clutter-free workspace. Check it out here for more information.
Related Guides
Frequently Asked Questions
What are the best methods for cleaning leather car seats?
The best method is to vacuum first, spot test your cleaner, apply automotive leather cleaner with a microfiber cloth, use a soft-bristled brush for seams, wipe away residue, let the leather dry, and finish with a leather conditioner.
How often should leather car seats be cleaned?
Leather car seats should usually be cleaned every three to six months. Clean them more often if they see heavy use, frequent spills, pet hair, sweat, sunscreen, food, or regular exposure to dirt and dust.
Can I use household products to clean leather car seats?
It is best to use products made for automotive leather. Some household products contain harsh ingredients that can dry, discolor, or damage leather. Mild soap and water may work in a pinch, but you should spot test first and avoid using too much moisture.
How should I protect leather car seats after cleaning?
After cleaning, apply a leather conditioner according to the product directions. You can also use sunshades, park in the shade, clean spills quickly, and avoid placing sharp or dirty items directly on the seats.
What should I avoid when cleaning leather car seats?
Avoid bleach, ammonia, abrasive scrubbers, excessive water, strong solvents, rough brushes, and aggressive rubbing. These can damage the leather finish, cause discoloration, or dry out the material.
Can I steam clean leather car seats?
Steam can be risky on leather because heat and moisture may damage the finish or push moisture into seams and padding. If your seats need steam cleaning, consider using a professional detailer who understands automotive leather.
How do I know if my car seats are real leather or coated leather?
Many modern car seats use coated leather, leather trim, vinyl, or synthetic materials in some areas. Check your vehicle manual or manufacturer information when possible. If you are unsure, use gentle automotive interior products and always spot test first.
Sources
- Consumer Reports — leather car seat cleaning guidance and spot-test reminder
