Pier fishing is one of the easiest ways to start saltwater angling because you can reach productive water without a boat. You’ll catch more when you focus on timing, tides, simple rigs, safe gear, and local rules instead of chasing fancy tackle. Start with a manageable rod, fresh bait, and a plan for where fish hold around pilings, lights, drop-offs, and current seams.
Quick Answer
For successful pier fishing, go during moving tides, especially around dawn, dusk, or the two hours around high tide. Use a 7–9 ft spinning rod, 10–20 lb line, fresh bait like shrimp or squid, and simple rigs that keep bait near pilings, drop-offs, lights, and current breaks.
Key Takeaways
- Moving water matters more than the clock. Plan trips around tide movement, bait activity, and safe weather.
- Pier fish often hold near structure, including pilings, lights, drop-offs, rocks, rail shadows, and current seams.
- Fresh bait usually beats old bait. Shrimp, squid, bloodworms, anchovies, sardines, and live bait all work when they match local forage.
- A simple spinning setup, a few sinkers, hooks, pliers, a net, and a bait bucket cover most beginner pier trips.
- Always check license rules, size limits, bag limits, pier hours, gear restrictions, and weather before you fish.
At a Glance
| Time Required | 2–4 hours for a beginner session, with the best window often near moving tides. |
| Difficulty | Beginner-friendly, but tide reading, safe casting, and fish handling take practice. |
| Tools Needed | Rod and reel, line, hooks, sinkers, bait, pliers, knife, bucket, drop net, cooler, towel, and first-aid kit. |
| Cost | Low to moderate. Costs depend on pier fees, licenses, bait, parking, and gear you already own. |
When to Fish From a Pier

When should you head out to a pier? The best time to fish is usually when water is moving and baitfish are active. Dawn and dusk are strong choices because lower light often brings bait close to the pier, and predators follow.
Use tide charts before every trip. High tide and low tide do not guarantee bites by themselves, but the water movement before and after a tide change often helps concentrate fish. A good starting plan is to fish the two hours before and after high tide, then adjust based on local results.
In colder months, especially in northern areas, fish may feed better during warmer midday periods. In warm climates, night fishing can be productive when pier lights attract baitfish, shrimp, and small forage species.
After sundown can also work well where night access is allowed. Use existing pier lighting when possible, and carry a headlamp or small light for tying knots, handling bait, and staying safe. Avoid shining bright lights directly into other anglers’ fishing areas.
Use simple pier fishing tips to build a pattern. Vary bait size, fish different depths, and move when you see birds, bait, or surface activity. If fish ignore your offering, change bait, leader length, sinker weight, or casting angle before leaving.
Stay aware of pier access rules at night. Some piers close after dark, charge a fee, limit gear, or restrict lights, carts, cast nets, or gaffs. You’ll learn faster when you track the tide, time, weather, bait, and catch results after each trip.
Pro Tip: Keep a simple note on your phone with the tide stage, wind direction, bait used, and where you got bites. After a few trips, your best pier windows become easier to predict.
Where to Find Fish From a Pier

Head for the end of the pier first if conditions allow, since deeper water there often holds larger fish, stronger current, and more bait movement. That said, don’t ignore the middle or near-shore sections. Fish often feed close to pilings, lights, washouts, rocks, grass edges, sandbars, and shaded areas under the pier.
Scan the water for signs of activity. Look for schools of bait, birds working the surface, nervous water, sudden wakes, or small fish jumping. These clues point to feeding fish and help you choose where to cast.
Talk with local anglers or the nearby tackle shop to confirm current hotspots and the best times to fish them. Local advice matters because pier fishing changes with season, water temperature, bait movement, storms, and recent pressure.
End-Of-Pier Hotspots
Because the end of the pier usually reaches deeper water and may sit near rock, drop-offs, sand changes, or marine growth, you’ll often find bigger fish there and better chances of a strong hook-up.
Head to that end of the pier to target larger fish that gather around underwater structures where baitfish school. Fish follow bait, so cast toward visible structure, current seams, and shadow lines, then work lures or bait slowly enough to stay in the strike zone.
Time your visit for moving water instead of only thinking about high tide. Predators may move closer during a rising tide, but some piers fish better on outgoing water when bait drains past pilings and channels. Let the fish and local pattern guide you.
Keep a pier net handy so you can safely land fish caught from the end of the pier. A long drop to the water can break light line, tear hooks free, or injure fish you plan to release.
Watch for birds, bait schools, boat traffic, and current changes that hint at feeding below. Don’t be afraid to move along the rail. Smart anglers explore instead of staying in one dead spot all day.
Signs of Activity
If you want to find fish from a pier, look for clear signs of activity: circling birds, surface splashes, baitfish flickering near the top, and currents funneling toward deeper water. These signs often mark where baitfish and predators gather.
Watch natural signs closely. Birds dipping or diving usually mean bait below. Surface disturbances may signal feeding fish, but they can also come from wind, mullet, rays, or boat wakes, so watch for repeated patterns.
Check for underwater structure like drop-offs, rocks, pilings, troughs, and sandbar edges at the pier’s end and along the sides. Larger fish often hold near cover so they can ambush prey with less effort.
Learn tidal patterns. Rising tides can push bait closer to the beach and pier, while falling tides can pull bait through cuts, channels, and deeper edges. Both can work when current moves food past waiting fish.
Move your pier fishing gear to follow these cues. Cast toward current funnels, pilings, lights, and depth changes, then stay ready. Reading signs of activity helps you find fish more reliably than casting at random.
Pier Structure to Target
Pier structure creates shade, current breaks, and ambush points. Fish do not spread evenly across a pier, so focus on high-percentage targets before covering open water.
- Pilings: Drop bait near the up-current and down-current sides where fish wait for food to drift past.
- Lights: At night, fish the edge of the light line instead of the brightest center. Predators often sit in the shadow and rush bait.
- Drop-offs: Cast where shallow water falls into a channel, trough, or deeper hole.
- Surf line: Near-shore sections can hold whiting, pompano, croaker, perch, and other surf-feeding fish.
- End rails: The end often gives you deeper water and more room for larger species, but it can also be crowded.
Choosing Bait for Pier Fishing
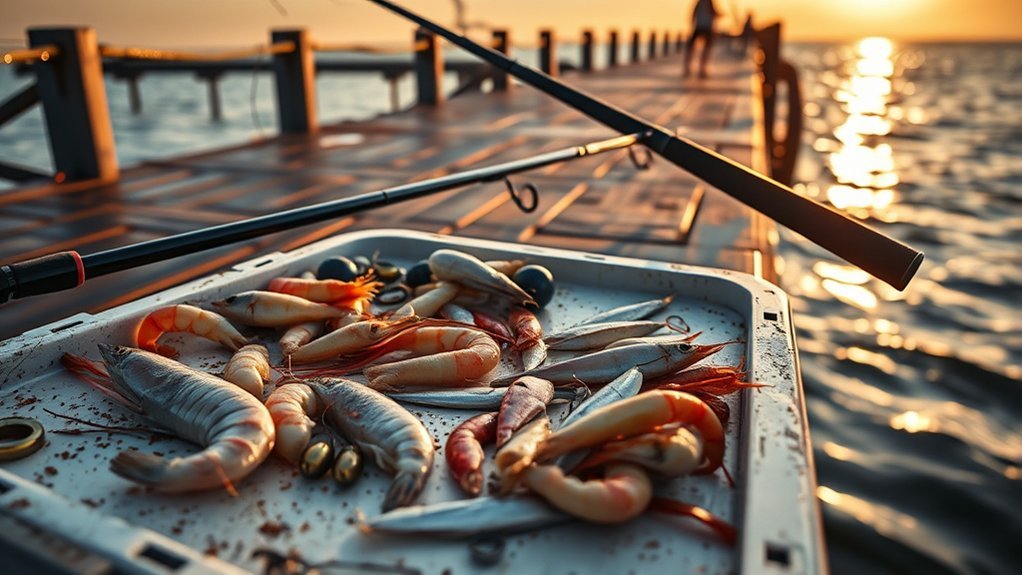
When you pick bait for pier fishing, match it to the local forage and recent conditions so you offer what fish already eat. Common choices like bloodworms, shrimp, squid, anchovies, sardines, cut bait, and live bait work well in many areas.
Fresh bait that matches local forage usually outperforms random bait. Start with shrimp, squid, bloodworms, anchovies, sardines, or live bait, then adjust to your target species.
You’ll free yourself from guesswork by checking local marine life and asking at bait and tackle shops. They often know what has been working, what bait is in the water, and whether fish are feeding near the bottom, mid-water, or surface.
Favor live bait when you can keep it healthy and when local rules allow it. Fish respond to movement, and catching bait with a cast net or sabiki rig can raise your catch rates in many places. Check regulations first because some piers restrict cast nets, sabiki rigs, live bait transport, or bait harvest.
Think about your target species and mimic their natural prey. Smaller fish may prefer small shrimp pieces, bloodworms, or tiny strips of squid. Larger predators may respond better to live baitfish, whole squid, sardines, or fresh cut bait.
Keep bait fresh and healthy. Use aerated buckets for live bait, keep shrimp cool but not crushed, and replace dead or washed-out pieces quickly. Old bait loses scent, texture, and movement, which lowers your odds.
For beginners, these fishing tips for beginners simplify choices and build confidence. Stay adaptable because tides, temperature, water clarity, and recent forage shifts can change the best bait from one trip to the next.
Best Bait by Common Pier Target
Your best bait depends on your coast and season, but these pairings give you a practical starting point.
| Small bottom fish | Shrimp pieces, bloodworms, squid strips, sand fleas, or small cut bait. |
| Predatory fish | Live baitfish, sardines, anchovies, squid, plugs, spoons, or jigs. |
| Crabs and bait stealers | Tougher baits like squid, fish strips, or salted bait that stays on the hook longer. |
| Clear water or pressured fish | Smaller hooks, lighter leaders, natural bait pieces, and a quieter presentation. |
Pier Fishing Rods and Reels
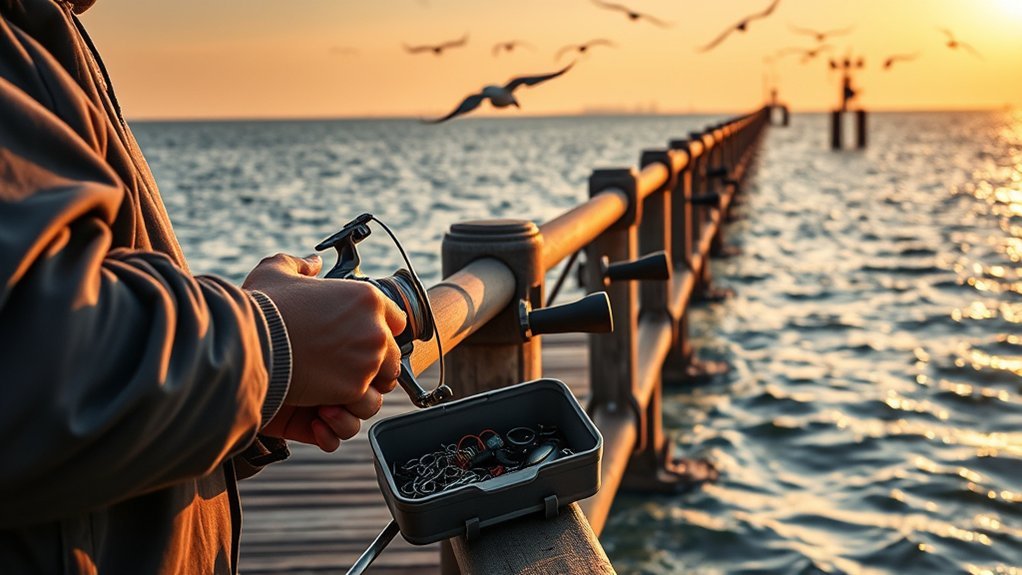
Choosing the right rod and reel will make pier fishing easier and more enjoyable. For most beginners, a 7–9 ft spinning rod paired with a fixed-spool spinning reel is a great starting point.
You’ll find pier fishing rods in that length versatile for bottom rigs, light lures, float fishing, and short casts near structure. A spinning reel helps reduce tangles, so you spend more time fishing and less time fixing knots.
- Choose a 7–9 ft spinning rod for reach, casting control, and line clearance around railings.
- Pair it with a fixed-spool spinning reel to simplify casting and keep the setup beginner-friendly.
- Match line strength to your target species, local structure, and current. Many beginners can start with 10–20 lb monofilament or braid with a suitable leader.
- Use a stiffer rod where bigger fish, heavy sinkers, strong currents, or high pier rails are common.
You want gear that frees you to move and learn. Stiffer rods help set hooks and handle runs, while lighter rods make smaller fish more fun and improve bite detection.
Always check reel instructions for line capacity, drag settings, and setup tips. Rinse saltwater gear lightly with fresh water after fishing, dry it, and store it away from sand and salt spray to keep equipment reliable.
Line, Leader, and Drag Basics
Your main line and leader should match the pier, not just the fish. Around barnacle-covered pilings, rocks, and railings, a stronger leader helps prevent cutoffs. In clear water with finicky fish, lighter leader can get more bites.
- Monofilament: Easy to handle, forgiving, and beginner-friendly.
- Braid: Thin, strong, and sensitive, but it needs good knots and often benefits from a mono or fluorocarbon leader.
- Leader: Use abrasion-resistant leader near pilings, rocks, oysters, or toothy fish.
- Drag: Set it tight enough to control the fish, but loose enough that a sudden run does not snap the line.
Note: Some piers have height, rail, or crowding issues that make very long rods awkward. If space is tight, a balanced 7 ft setup may be easier than a longer surf-style rod.
Essential Tackle and Accessories
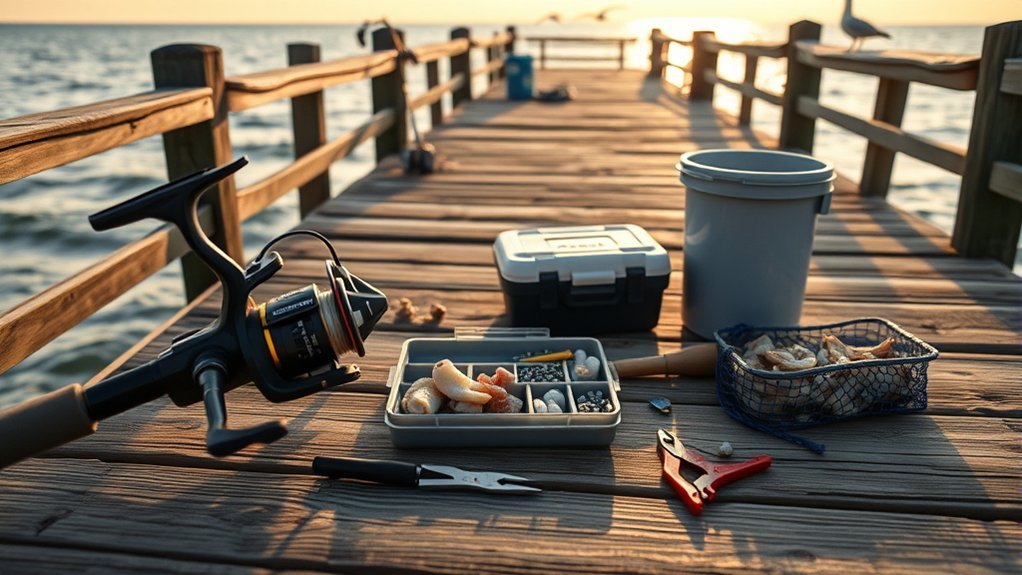
Start with a compact tackle checklist so you don’t forget essentials like a 7–9 ft rod, 10–20 lb line, 2–4 oz sinkers, appropriate hooks, a landing net, and pliers. Adjust line, hook size, and sinker weight for your local species, water depth, and current.
Pack handy pier accessories, including a bait bucket with aerator, sharp knife, cloth, bucket for catch, measuring tool, cooler with ice, and a small first-aid kit. These tools keep your trip safer and more efficient.
With those basics ready, you’ll be set to fish confidently and adapt to conditions on the pier.
Essential Tackle Checklist
One good rule is to pack a compact, dependable set of tackle that covers the basics: a reliable rod-and-reel combo, a range of weights, hooks sized for your bait, and a drop net to land fish safely.
Carry weights or sinkers in 2–4 oz sizes for many pier conditions, then go lighter in calm water or heavier in strong current when legal and practical. Use enough weight to hold bottom without making the rig feel dead.
You’ll also bring essential gear: a sharp knife, pliers, a sturdy bucket, a ruler or measuring board, and a cooler with ice to keep your catch fresh. Choose baits like squid, shrimp, bloodworms, and a few lures that match local baitfish.
Keep a small first-aid kit and sunscreen handy so a cut, hook prick, sunburn, or minor scrape does not end your trip early.
- Rod/reel, line, leader material, essential fishing weights, assorted hooks
- Bait, lures, floats, swivels, beads, and a drop net
- Knife, pliers, towel, bucket, bait bucket, measuring tool, and trash bag
- Cooler, ice, first aid, sun protection, rain layer, and drinking water
Handy Pier Accessories
While the pier’s rail and the tide do much of the work, you’ll want a handful of reliable accessories to make every trip smoother and more productive.
Carry weights or sinkers in 2 oz to 4 oz sizes to hold your live bait steady in currents. Bring a bucket for storing caught fish only when you plan to keep legal fish, and use ice as soon as possible to protect quality.
Use fishing pliers to remove hooks safely and protect both you and the fish. Long-nose pliers are especially useful around toothy fish, deep hooks, and small hooks swallowed by bait stealers.
A battery-powered bait bucket keeps bait lively and increases your chances of catching fish. Change water when needed, avoid overcrowding bait, and keep the bucket shaded during hot weather.
For landing larger fish, have a drop net or a gaff ready so you don’t lose a prize at the rail. Use a gaff only for legal fish you plan to keep, never for fish you may release.
These simple tools free you to focus on being present, confident, and successful on the pier.
Warning: Never swing a heavy fish up a tall pier on light line. Use a drop net, ask for help, or move to a safer landing spot to avoid broken line, flying hooks, or injured fish.
Reading Tides, Currents, and Weather

Because tides, currents, and weather dictate where and when fish feed, learning to read them will make your pier trips far more productive. Aim to fish moving water, watch for stronger currents that pull bait along, and check wind and cloud cover before you go.
You’ll use tide charts or apps to plan strong windows, but always compare the forecast with what you see on the pier. Wind can muddy water, push bait toward one side, make casting harder, or create unsafe waves and slick surfaces.
Watch current speed to find active zones. When current sweeps past pilings, rocks, lights, or drop-offs, baitfish may struggle to hold position. Predators often sit just outside the strongest flow and wait for food.
Overcast, mild conditions often improve bites because fish may feel safer feeding in shallower or brighter areas. Bright sun can push some fish deeper, under the pier, or tight to shade.
That knowledge frees you to choose time and place with intention.
- Check local tide charts and apps to target moving-water windows near high or low tide changes.
- Observe currents because stronger flow often concentrates bait and triggers feeding movements.
- Read weather because wind direction, storms, lightning, swell, and cloud cover affect both safety and fish activity.
- Scout pier structure at different tidal phases to locate consistent hotspots.
Read these signals, act on them, and you’ll fish smarter, not harder, moving with the water rather than against it.
Weather Safety Before You Go
Weather can change a pier trip fast. Check the marine forecast, wind speed, lightning risk, surf height, and small craft advisories before leaving. Even if the fish are biting, leave the pier when lightning, dangerous waves, or strong winds make conditions unsafe.
Wear shoes with grip because piers can get slick from spray, fish slime, bait, and algae. Bring sun protection during the day and a light layer at night because open piers often feel cooler and windier than shore.
Pier Fishing Techniques and Rigs
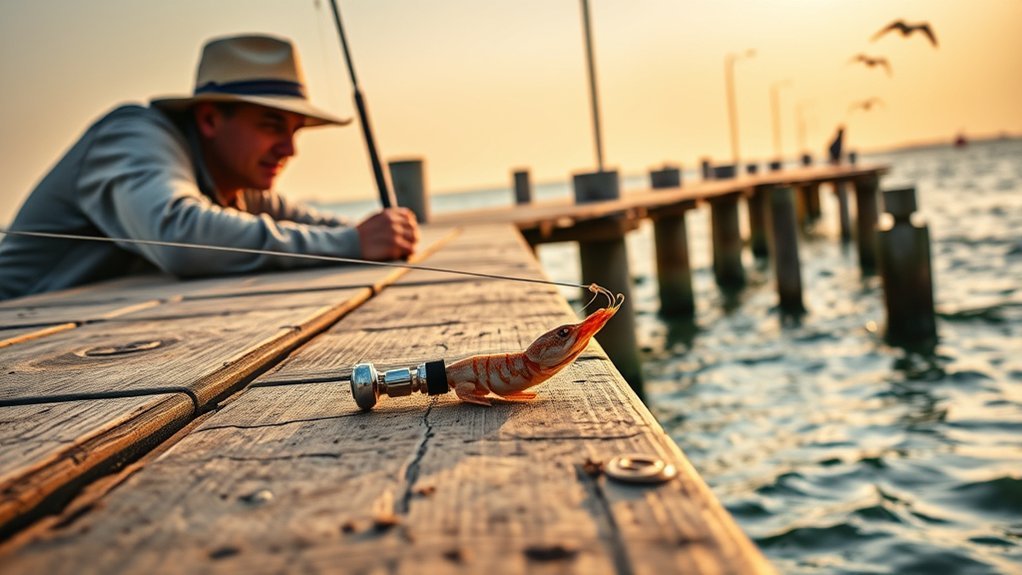
Now that you can read tides, currents, and weather to pick the right time and spot, focus on the rigs and techniques that put bait where fish are feeding. You’ll try simple, effective pier fishing techniques that free you from guesswork.
A drop shot rig suspends bait above the bottom to reduce snags. The Carolina rig uses a sliding sinker and long leader for live or cut bait. A high-low rig lets you present two baits at different heights. A fish-finder rig lets a fish pick up bait with less resistance.
Use a jigging technique with lures around structure to mimic baitfish and trigger strikes. Cast up-current, let the lure or bait sink, and work it back naturally with the flow. Tie a double rig when you want two baits in the water to boost hookups, but only where local rules allow multiple hooks.
Always use secure knots, such as an improved clinch knot, uni knot, or Palomar knot, to prevent breakage and increase fishing success. Wet knots before tightening them, trim tag ends, and retie after catching fish or rubbing structure.
Stay adaptable, learn each rig’s feel, and let confidence grow.
| Rig/Technique | Purpose |
|---|---|
| Drop shot rig | Suspend bait above bottom |
| Carolina rig | Long leader, sliding sinker |
| Double rig / Jigging | Two hooks or mimic baitfish |
Simple Rig Setup for Beginners
If you only learn one basic pier rig, start with a sliding sinker rig. It works for many bottom-feeding fish and keeps your bait near the zone where fish are searching.
- Slide an egg sinker or sinker slide onto your main line.
- Tie the main line to a swivel.
- Add a 12–24 inch leader to the other end of the swivel.
- Tie on a hook that matches your bait size.
- Add bait, cast gently, tighten slack, and watch the rod tip for bites.
Use a shorter leader when current is strong or bait spins. Use a longer leader when fish are cautious or water is clear. If you snag often, switch to a dropper loop, high-low rig, or lighter sinker.
How to Cast Safely From a Pier
Safe casting matters on a crowded pier. Before each cast, look behind you, beside you, and overhead. Hooks can catch people, rails, lights, birds, ropes, carts, and other lines.
Use smooth side casts or gentle overhead casts when space allows. Avoid power casting in crowds. If you need distance, wait for a clear lane or move to a less crowded section.
Hooking, Playing, and Landing Fish
When you feel a bite, avoid jerking too hard. Reel down, lift the rod smoothly, and keep steady pressure. If the fish runs toward pilings, lower the rod angle and guide it away before it wraps the line.
For small fish, lift carefully only when your line and hook can handle it. For larger fish, call for a drop net early. Keep the fish in the water until the net is ready, then guide it headfirst over the net.
Handling, Keeping, and Releasing Fish
Good fish handling protects your catch and helps released fish survive. Wet your hands before touching fish you plan to release, support the body, and keep the fish out of water for as little time as possible.
Use pliers to remove hooks quickly. If a fish is deeply hooked and legal to keep, count it toward your limit if you decide to harvest it. If you must release a deeply hooked fish, cutting the leader close to the hook may cause less damage than pulling hard.
Keep legal fish on ice, not in warm standing water. A cooler with enough ice protects flavor, texture, and food safety. Measure fish before keeping them, and check local rules for closed seasons, slot limits, size limits, and bag limits.
Safety, Rules, and Pier Etiquette
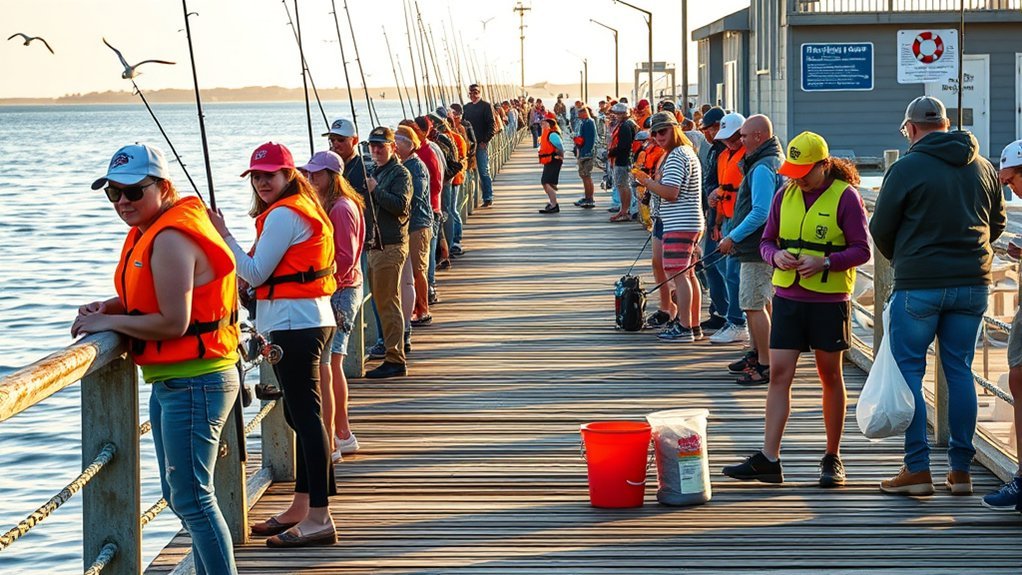
If you want your pier day to be safe and stress-free, start by knowing the rules and respecting others. Check local regulations for licenses, size limits, bag limits, seasons, and legal gear. Also note the pier’s hours, fees, parking rules, and posted bait restrictions.
You’ll feel freer when you prepare. Confirm whether a fishing license is required, pay any fishing fees, and learn designated fishing zones. Some piers separate anglers from walkers, limit the number of rods, or ban overhead casting in crowded areas.
Keep an eye on weather conditions and wear sun protection. Bring a basic first aid kit for cuts, hooks, scrapes, and minor punctures. Carry water, especially on hot days, because salt air and wind can dehydrate you quickly.
Practice pier etiquette to keep space calm and cooperative.
- Check local regulations before you go so you know limits, seasons, license needs, and legal gear.
- Pay pier fees, follow posted rules, and use only allowed bait or rigs.
- Respect other anglers by waiting your turn, avoiding casts over lines, and sharing space.
- Prioritize safety by monitoring weather conditions, wearing proper footwear, and carrying a first-aid kit.
Clean up before you leave. Take broken line, bait containers, hooks, plastic bags, and food trash with you. Discarded fishing line can harm birds, turtles, marine mammals, and other anglers.
Warning: Do not fish during lightning, dangerous surf, or closed pier conditions. No catch is worth a fall, electrical strike, or wave injury.
Beginner Mistakes to Avoid
Most pier fishing mistakes are easy to fix once you know what to watch for. Start simple, stay observant, and avoid changing everything at once.
- Using bait that is too large: If fish keep stealing bait, downsize the hook and bait piece.
- Ignoring current: Cast up-current or near current breaks so your bait moves naturally.
- Fishing one depth all day: Try bottom, mid-water, and surface zones until you find activity.
- Using too much weight: Heavy sinkers can reduce bite feel. Use only enough weight to hold your bait where needed.
- Skipping regulations: Rules can change by species, season, pier, and state. Check before keeping fish.
- Crowding other anglers: Leave space, ask before crossing lines, and communicate when a fish runs sideways.
Frequently Asked Questions
What is the 80/20 rule in fishing?
The 80/20 rule in fishing means a small number of choices often create most of your results. For pier fishing, that usually means focusing on the best tide window, active structure, fresh bait, sharp hooks, good knots, and safe fish handling instead of carrying too much tackle.
What is the 90/10 rule in fishing?
The 90/10 rule in fishing suggests that a small percentage of anglers catch most of the fish because they pay attention to location, timing, bait, presentation, and conditions. On a pier, that means watching tides, moving when needed, fishing near structure, and learning from each bite.
What is the basic rig for pier fishing?
A basic pier fishing rig is a sliding sinker rig with a sinker above a swivel, a 12–24 inch leader, and a hook matched to your bait. It works well for many bottom fish. You can also use a high-low rig, drop shot rig, Carolina rig, or float rig depending on depth and current.
What is the best way to fish on a pier?
The best way to fish on a pier is to plan around moving tides, start near structure, use fresh bait, and adjust depth until you find bites. Cast safely, avoid crossing lines, keep a drop net ready for larger fish, and check local regulations before keeping anything.
Do you need a fishing license to fish from a pier?
In many places, yes, but rules vary by state, pier, age, residency, and species. Some public piers may include license coverage, while others do not. Always check the current state or local fishing rules before you fish.
What bait should beginners use for pier fishing?
Beginners can start with shrimp, squid, bloodworms, anchovies, sardines, or fresh cut bait. These baits are easy to find and work for many pier species. Match bait size to hook size, keep bait fresh, and ask a local tackle shop what fish are eating that week.
Conclusion
You’ve got the basics to start pier fishing with confidence: when to go, where to cast, what bait and gear to use, how to read tides, and how to stay safe and courteous. Focus near structure such as pilings, lights, drop-offs, rocks, troughs, and current seams because these areas often collect bait and attract feeding fish.
Practice simple rigs, watch tides, respect local rules, and keep your sessions focused. You’ll learn fast when you stay observant, make small adjustments, and record what works. Enjoy the steady rewards, small victories, and relaxing rhythm that make pier fishing such a great way to learn saltwater angling.
Sources
- NOAA Tides & Currents — tide and current planning for coastal fishing trips.
- National Weather Service Marine Forecasts — weather, wind, surf, and marine safety checks before pier fishing.
- NOAA Fisheries Recreational Fishing — recreational fishing information and conservation context.
- U.S. Fish & Wildlife Service Monofilament Recovery and Recycling Program — responsible disposal of fishing line to reduce wildlife harm.