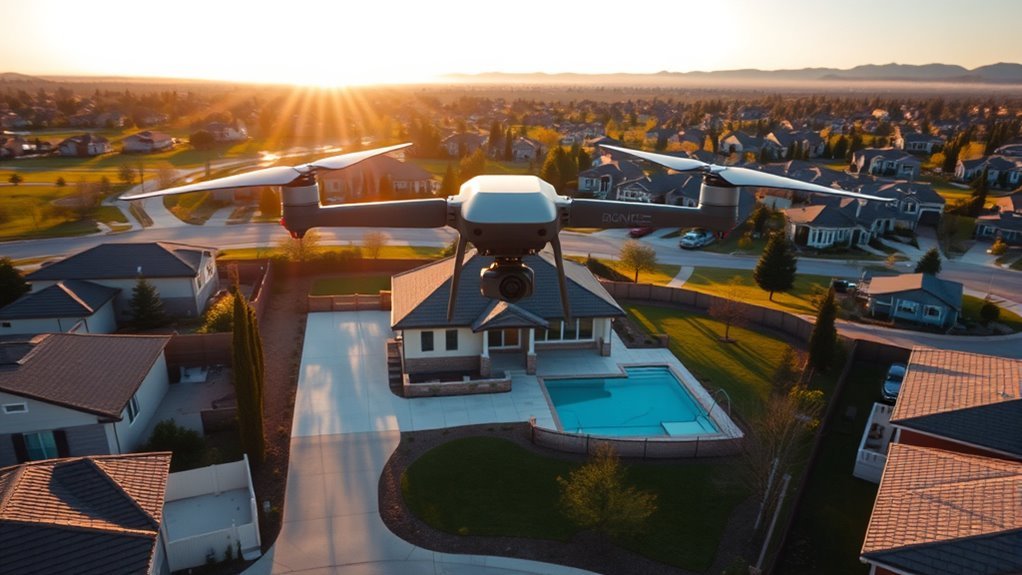
Real estate drone photography depends on more than simply flying high above a property. A strong shot list combines aerial overviews, close exterior details, and wide compositions that show context. The right angles and heights can change how a home is perceived, while camera settings affect sharpness and color. Planning the flight at the proper time of day adds another layer, and the details behind each choice matter more than they first appear.
Real Estate Drone Photography Shot List
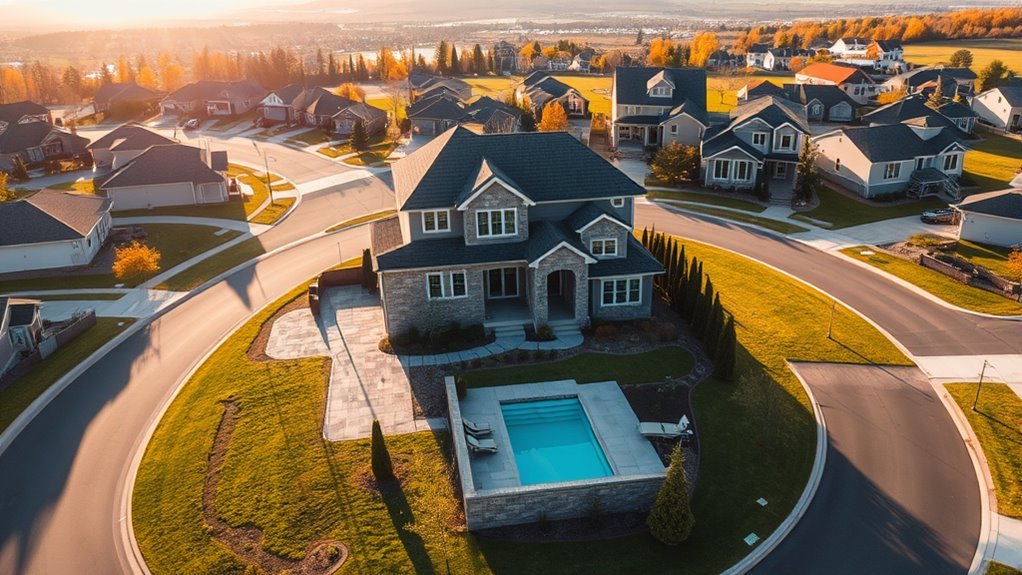
A well-planned real estate drone photography shot list should combine aerial shots, close-ups of distinctive property features, and wide angles that reveal the home’s layout and surrounding environment.
A strong drone shot list blends aerials, close-ups, and wide angles to showcase a property’s layout and surroundings.
In real estate photography, a drone for real estate enables drone pilots to document freedom of movement across the property without visual clutter. The list should include shots from multiple angles, such as overhead, oblique, and low-level views, to present scale and landscaping with clarity.
Varying heights strengthens the sequence: 20–30 feet emphasizes detail, while 100–200 feet adds neighborhood context. Settings matter as well; a shutter speed of at least 1/1000s helps preserve image quality, and ISO should be adjusted to suit changing light.
Golden hour remains the preferred window for softer shadows and richer color. Careful photo editing then refines the final set, ensuring each frame feels polished, balanced, and accurate.
Best Drone Angles for Homes
The best drone angles for homes typically begin with a bird’s-eye view, which gives buyers a clear sense of the property’s full layout and its relationship to the surrounding land. This drone perspective supports aerial photos that feel organized, spacious, and informative for real estate marketing.
| Angle | Effect | Use |
|---|---|---|
| Bird’s-eye view | Complete layout | Site overview |
| 45-degree angle shots | Depth and dimension | Architecture and context |
| Unique features focus | Visual emphasis | Pools, terraces, gardens |
A balanced sequence of 45-degree angle shots follows, adding depth while keeping the home connected to its neighborhood setting. A unique features focus can then isolate details that matter most to potential buyers, especially when golden hour timing enriches color and shadow. Subtle dynamic movement strengthens the visual story without distracting from the property. Careful camera settings keep lines clean, exposure stable, and textures crisp, allowing the drone to present homes with clarity, elegance, and persuasive freedom.
Ideal Drone Heights for Property Photos
For real estate drone photography, ideal heights typically range from 100 to 400 feet, offering a balanced view of the property and its surroundings while preserving enough detail for buyers to assess layout and condition.
Within this span, aerial views become more informative, revealing access points, neighboring context, and site scale without losing spatial clarity. The best heights often fall between 200 and 300 feet for dynamic angles that combine landscape and structure in one frame.
Shooting directly above at 50 to 100 feet can also clarify property boundaries, landscaping, and pool placement with disciplined precision.
Every drone flight should remain below 400 feet to support legal compliance and protect operational freedom.
When lighting conditions are strongest, especially during golden hour, the same heights produce a thorough view with softer contrast and richer detail.
Careful altitude selection lets each property present itself clearly, elegantly, and without unnecessary distortion or distraction.
Drone Camera Settings for Sharp Shots
After the right flight height is chosen, image sharpness depends on how the drone’s camera is configured.
Precise drone camera settings begin with RAW format, which preserves maximum detail and supports later editing, yielding high quality images. A shutter speed of at least 1/200s helps limit motion blur, a crucial safeguard when wind or subtle aircraft movement threatens image clarity.
ISO settings should remain low, typically 100-400 in bright conditions, to reduce noise; they may rise only as light fades. Aperture near f/5.6 to f/8 offers useful depth of field, keeping foreground and background details crisp and balanced.
ND filters are equally valuable, controlling exposure so slower shutter speeds can be used without overexposure under strong sunlight.
Together, these choices create sharper, cleaner photographs that present property with technical restraint and visual freedom.
How to Plan a Real Estate Drone Shoot
A well-planned real estate drone shoot begins with a clear shot list that identifies the property’s most valuable features, such as pools, patios, mature landscaping, and outdoor living areas.
In estate marketing, disciplined real estate shoots depend on purposeful aerial imagery that reveals scale and freedom.
- Define the visual priorities before takeoff.
- Choose ideal angles, including 45-degree views and top-down perspectives.
- Fly at recommended heights between 100 and 400 feet for balanced coverage.
- Schedule timing for best lighting during golden hour, then capture RAW files with suitable camera settings.
This structure helps produce stunning aerial images that hold buyers’ attention and present the property with clarity.
After capture, editing tools refine exposure, color, and detail without distorting the scene.
Careful planning reduces wasted passes and supports a clean narrative, allowing the estate to be seen as open, refined, and ready for confident movement.
Frequently Asked Questions
What Is the 20-60-20 Rule in Photography?
The 20-60-20 rule in photography allocates 20% of images to wide establishing views, 60% to medium shots, and 20% to close details.
This composition technique strengthens storytelling methods, balances aerial perspectives, and showcases property highlights. It also guides lighting effects, equipment choices, and editing software use while respecting legal considerations.
What Are the 12 Camera Shots and Angles for Beginners?
A stitch in time suggests beginners can master 12 camera shots: wide shots, close-ups, medium shots, over-the-shoulder, point-of-view, low angle, high angle, aerial perspectives, ground shots, exterior views, interior highlights, and detail captures.
For virtual tours, drone angles and sunset photography strengthen composition, while twilight shots add atmosphere.
Together, these approaches create precise, professional imagery that expands creative freedom and reveals space with clarity, movement, and visual authority.
What Height for Real Estate Photography?
For real estate photography, the ideal shooting height is usually 100 to 400 feet for residential subjects, balancing drone altitude effects with aerial perspective benefits.
Lower heights, around 50 to 100 feet, support exterior view angles and detail, while 200 to 500 feet suits larger sites.
Good height adjustment techniques improve elevation and composition, with height and lighting guiding clarity.
These aerial photography guidelines aid landscape framing tips and interior height considerations alike.
What Are the Recommended Shot Lists for Real Estate Photography?
Recommended shot lists for real estate photography include exterior façades, interior highlights, property features, aerial views, and neighborhood shots.
A complete set should also capture landscape context, seasonal changes, virtual tours, and marketing strategies tailored to client expectations.
Drone regulations should guide safe aerial capture, while varied angles reveal scale, access, and amenity value.
Such coverage presents liberated spatial clarity, helping buyers understand the home, surroundings, and lifestyle quickly.
Conclusion
Real estate drone photography works best when shot with intention, balance, and timing. A well-planned shot list, varied angles, and heights between 100 and 300 feet can reveal a property’s full appeal, while sharp settings preserve every detail. When golden hour light falls across the roofline and landscape, the result is not just documentation—it is atmosphere. Who would not want a home presented with that level of clarity and visual impact?

