Soldering is one of the first skills FPV beginners need to get right, because weak joints can end a build before it ever flies. The choice of iron, solder, flux, and temperature all affects reliability, while poor prep or too much heat can damage pads and wires. A few simple habits can prevent costly mistakes, but the details matter more than most expect.
Choose the Right Soldering Iron
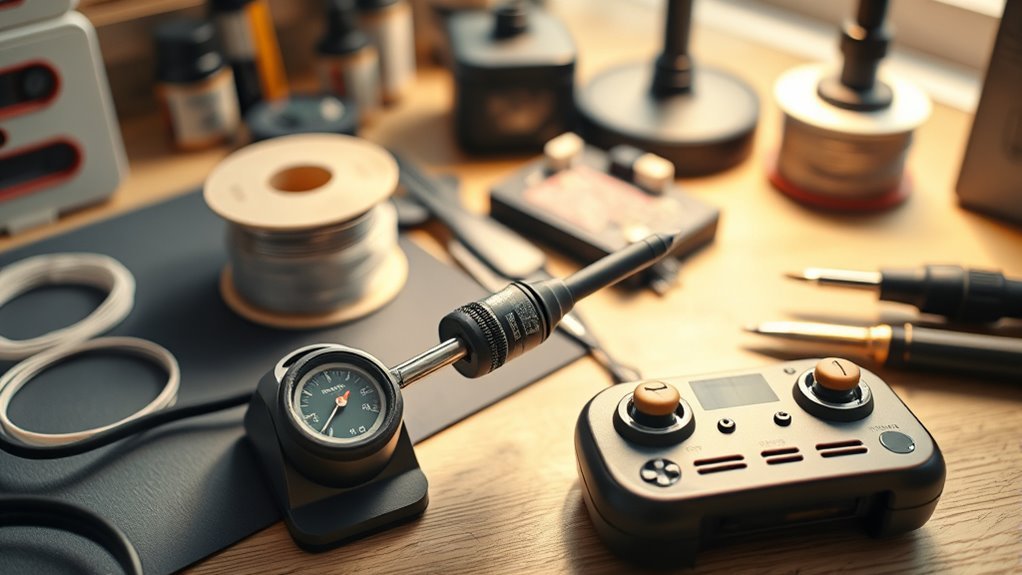
A quality soldering iron with adjustable temperature control is essential for FPV beginners, because it allows heat to be matched precisely to the task. In FPV applications, this control reduces the chance of lifted pads, damaged boards, and weak electrical joints.
A soldering iron that reaches about 350°C is sufficient for most common solder types and supports fast, efficient work. Replaceable tips are important because they let one tool handle fine signal pads, battery leads, and larger connectors without compromise.
Lightweight cordless models, including units powered by 18650 batteries, offer field portability and rapid heat recovery, which supports freedom during track-side repairs. A weak soldering iron should be avoided, since low power often forces prolonged contact, increasing risk and frustration.
A reliable, high-quality tool gives the beginner stable performance, cleaner results, and greater independence during every build.
Pick Solder and Flux for FPV
For FPV work, solder selection should favor SAC305 over standard 60/40 leaded solder because it offers better resistance to vibration-related cracking.
Clean joints depend on adequate flux, with rosin-based or no-clean flux improving wetting on small pads and ESC pins while reducing oxidation.
Extra flux application helps prevent cold joints and supports consistent, reliable solder flow on sensitive components.
Leaded Solder Basics
Leaded solder is the easiest starting point for FPV beginners, with 63/37 alloy being the preferred choice because it flows well and melts at a relatively low 183°C (361°F). Its predictable behavior helps new builders create strong joints without fighting excessive heat.
| Attribute | Value |
|---|---|
| Alloy | 63/37 leaded solder |
| Melting point | 183°C |
| Flow | Excellent |
| Beginner use | Recommended |
Applying flux keeps pads wettable and limits oxidation, which supports reliable connections under vibration. Clean soldering tips and confirm proper tip temperature before feeding solder; this reduces cold joints and protects delicate components. In practical FPV work, that consistency matters: a stable joint preserves power delivery, signal integrity, and the builder’s freedom to assemble gear with confidence.
Flux For Clean Joints
Extra flux is essential for FPV soldering because core flux alone may not fully prevent oxidation on microscopic pads during the joint formation process.
Rosin-based flux improves wetting, helping solder flow into clean, reliable fillets on flight controllers and other dense boards.
For tiny ESC pins, no-clean flux is often preferred because it protects joints without forcing post-solder cleanup that can damage fragile assemblies.
Flux should be applied before heating, especially on high-stress connections, to increase adhesion and joint strength.
Proper selection depends on component size, board contamination, and access around carbon fiber frames.
Used correctly, flux gives beginners more control, reduces cold joints, and supports durable electrical paths that keep FPV systems free to perform with less failure risk and fewer repair cycles.
Alloy Choice Matters
Because FPV solder joints endure vibration, impact, and repeated thermal cycling, alloy selection matters as much as technique. SAC305 (Sn96.5/Ag3.0/Cu0.5) offers strong alloy performance and higher tensile strength, reducing solder fatigue on high-G frames.
Standard 60/40 leaded solder is easier to flow, yet it can crack under load and should not anchor critical power leads. For sensitive parts, low-temperature alloys reduce thermal stress and protect pads and components.
Core flux alone is often insufficient on microscopic pads; extra rosin-based no-clean flux improves wetting, clears oxidation, and helps prevent cold joints, especially on tiny ESC pins.
Good thermal conductivity in the joint comes from clean surfaces, proper alloy choice, and enough flux to let the solder move freely without resistance.
Set the Best Soldering Temperature
A soldering iron set between 350°C and 400°C (662°F to 752°F) is generally ideal for most FPV electronics, as it melts solder efficiently without exposing sensitive components to excessive heat.
Within these soldering temperature ranges, users can make clean joints quickly, preserving board integrity and reducing dwell time. For delicate pads, lowering the iron to about 300°C can improve thermal damage prevention while still supporting reliable solder flow.
Clean, quick joints preserve board integrity, while lowering to 300°C helps protect delicate pads without sacrificing solder flow.
Adjusting temperature settings should also match the alloy: leaded solder typically requires less heat than lead-free SAC305, which resists melting and needs more energy.
Consistency matters as much as the number displayed. If the tip runs too hot, pads can lift and joints can become brittle; if too cool, solder will not wet properly and connections will weaken.
After each joint, the iron should return to the selected temperature before continuing, ensuring stable performance, repeatable results, and a quieter path to precise, liberated FPV builds.
Use the Essential FPV Soldering Tools
Once the soldering iron is set correctly, the next factor in joint quality is the tool set itself. An adjustable temperature iron paired with 63/37 leaded solder gives predictable flow and solid, low-resistance joints in FPV builds.
Flux should be added separately, because extra flux improves wetting and reduces the time heat must be applied to pads and wires. Proper wire strippers and small electronics cutters preserve conductor integrity, supporting stronger connections and cleaner work.
A multimeter is indispensable for continuity checks before power-up, helping prevent shorts, failed flights, and wasted parts. Heat shrink tubing reinforces exposed joints, while zip ties support wire organization and protect the airframe from movement-induced stress.
These tools also support soldering safety by reducing unnecessary rework and accidental damage. Consistent tool maintenance keeps tips clean, cutters sharp, and measurements trustworthy, which preserves performance and makes the process more autonomous, efficient, and reliable.
Prep Wires and Pads the Right Way
Wire preparation begins with clean stripping, using quality strippers to protect the copper strands and preserve joint strength.
The solder pads should then be cleaned with isopropyl alcohol, lightly fluxed, and pre-tinned to improve wetting and reduce cold joints.
With the wire cut to a suitable length, the connection is easier to solder and less likely to carry strain.
Strip Wires Cleanly
Careful wire preparation sets the foundation for reliable FPV solder joints. Using wire insulation techniques with gauge-matched strippers supports proper stripping methods and avoiding wire damage. Strip about 1/4 inch of insulation, exposing enough conductor for solder flow without excess that risks shorts.
| Step | Action | Result |
|---|---|---|
| 1 | Select matching strippers | Clean strands |
| 2 | Remove 1/4 inch | Adequate exposure |
| 3 | Clean pad with alcohol | Better adhesion |
| 4 | Pre-tin wire and pad | Stronger bond |
| 5 | Align wire flat or twisted | Better heat transfer |
Before heating, the pad should be wiped with isopropyl alcohol to remove oxidation or debris. A thin pre-tin layer on both surfaces helps liberation from unreliable joints, while alignment against the pad improves contact and control.
Tin Pads First
Clean pads and leads are essential before any solder is applied, because oxidation and debris can block solder flow and weaken the joint.
Tin pads first with pre tinning techniques: touch a fine conical or blade tip to the pad, then add a thin solder film until the copper looks evenly coated. This reduces resistance to heat transfer and gives the wire a controlled landing zone.
The benefits of pre tinning include faster bonding, cleaner alignment, and stronger joints on crowded FPV boards.
Repeat the process on stripped wire ends so both surfaces match.
Common pre tinning mistakes include using too much solder, overheating traces, and leaving dull, grainy surfaces.
A brief, even reflow should produce a smooth finish before the iron is removed.
Apply Flux Sparingly
With the pads and wire ends already tinned, a small amount of flux can now be applied to both surfaces to improve solder wetting and promote a stronger bond.
Effective flux application techniques favor restraint: too much flux leaves residue, obscures inspection, and complicates cleanup. Surfaces should be cleaned first, since oxide films reduce adhesion and invite cold joints.
Among the common flux types, rosin-based flux offers reducing properties that clear microscopic oxidation on pads and wire strands. A small amount of no-clean flux is useful on tiny ESC pins, where post-soldering freedom from cleanup matters.
The benefits of flux are clearest under FPV vibration: better flow, more durable joints, and fewer failures. Use only what supports precise, reliable connections.
Avoid the Most Common Soldering Mistakes
Avoiding basic soldering mistakes can save an FPV build from unnecessary failures and component damage. A weak iron often produces cold solder joint failures, so a quality soldering station with adjustable temperature is a practical first investment.
Heat damage prevention depends on controlled application: monitor tip temperature, especially when using low-temperature alloys, and avoid lingering on pads or wires.
Workspace organization tips matter as well; a clean bench reduces accidental part swaps, stray screws, and rushed hand movements that compromise precision.
Before connecting power, a multimeter check for continuity and correct voltage helps expose shorts caused by poor workmanship.
USB lead selection also deserves attention: a data-capable cable is required for reliable Betaflight communication, while charge-only cables create needless troubleshooting.
Careful tool choice, disciplined temperature control, and orderly work habits give builders more control over their machines and less dependence on avoidable mistakes.
Test Joints Before First Power-Up
Even after careful soldering, every joint should be tested before the drone is powered. Effective joint testing techniques reduce risk and preserve hard-won freedom from avoidable failures.
Multimeter usage is central: continuity mode should confirm there are no shorts between adjacent pads or rails, while voltage and polarity checks verify each component receives the correct supply. Visual inspection still matters; joints should look shiny and smooth, with solid wetting and no dull, cracked, or blobbed surfaces.
- Inspect each solder point under light.
- Probe for continuity between all nearby conductors.
- Confirm correct voltage and polarity at every component.
- Use a smoke stopper for the first power-up.
The smoke stopper benefits are immediate: it limits current if a short or wiring error remains, helping prevent damage to flight controllers, ESCs, and receivers.
A secure, verified harness allows the builder to power up with confidence and keep the aircraft ready for precise, liberated flight.
Frequently Asked Questions
What Is the Ideal Soldering Temperature for FPV Drones?
The ideal soldering temperature for FPV drones is usually 350°C to 400°C for leaded solder, balancing fast flow with component safety. Proper heat management reduces trace damage and helps joints form cleanly.
Different soldering techniques may require adjustment, and specialized low-temperature alloys may need 250°C to 300°C. Choosing the correct solder wire and temperature supports reliable, liberated field repairs while minimizing cold joints, lifted pads, and unnecessary thermal stress.
What Is the Most Common Mistake in Soldering?
The most common mistake is rushing the joint—one missed moment, and failure follows.
In Soldering techniques, haste creates cold joints and weak adhesion. Soldering equipment must match the task; a weak iron only deepens the problem.
Soldering safety also depends on restraint: clean surfaces, correct alloy, and a multimeter check before power-up.
Precision grants freedom from repair loops, while careless speed traps the builder in avoidable damage.
What Is the Golden Rule of Soldering?
The golden rule of soldering is that all surfaces must be clean and free of oxidation before heat is applied.
Effective soldering techniques require heating the pad and component together, then feeding solder into the joint so it flows smoothly.
Proper wire preparation and controlled temperature help produce a strong solder joint without damage.
Precision, cleanliness, and restraint allow reliable connections, freeing the builder from weak joints, cold joins, and unnecessary rework.
Can I Use Vaseline as Flux for Soldering?
No, Vaseline should not be used as flux for soldering.
Like a key that fits the wrong lock, it cannot clean oxides or support wetting. Its Vaseline properties leave residue and can weaken joints.
Proper Flux types—rosin or no-clean—are the reliable path among Soldering alternatives.
For liberated, practical work, the technician should choose materials engineered for electrical bonding, reducing cold joints and protecting connection integrity.
Conclusion
In the quiet theater of FPV soldering, the iron, the flux, and the multimeter perform the only drama that matters. The wise beginner keeps the tip clean, the temperature near 350°C to 400°C, and the solder modest, not theatrical. Pads are not immune to overconfidence, and neither are wires. A final continuity test, dull but decisive, saves both smoke and regret. Reliable joints, after all, prefer discipline to improvisation.
