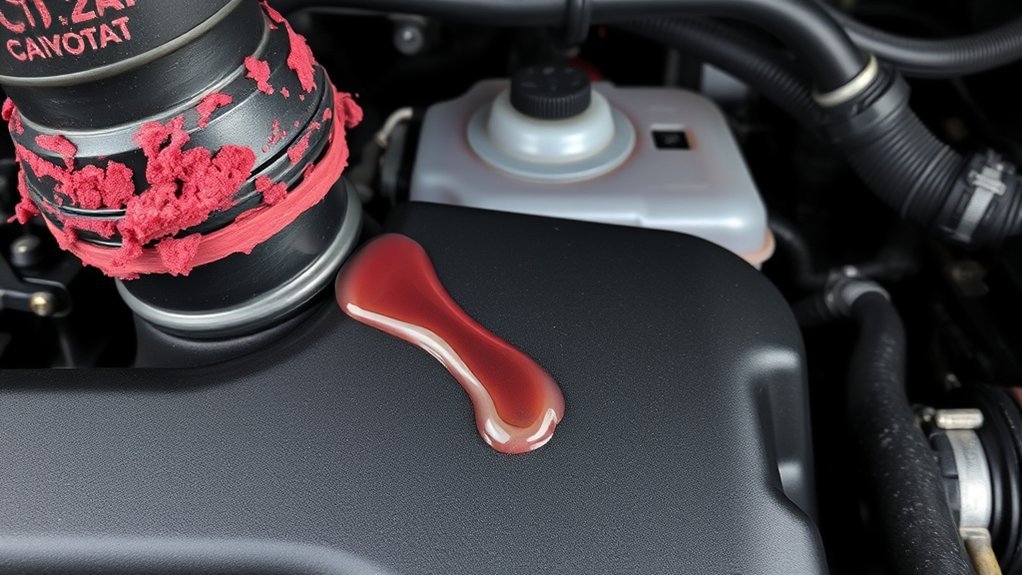
A Toyota Camry coolant leak can begin as a faint smell or a few dried drops, then become an overheating emergency with little warning. The safest approach is to stop driving if the temperature rises or steam appears, let the engine cool fully, identify whether the loss is external or internal, and repair the failed part instead of repeatedly topping off the reservoir.
Quick Answer
A Toyota Camry may leak coolant from a hose, clamp, radiator, reservoir, cap, water pump, thermostat housing, heater core, or internal engine gasket. Check only when the engine is fully cool. Do not keep driving if the temperature warning appears, the gauge rises, steam develops, or the reservoir empties.
Key Takeaways
- Treat steam, an overheating warning, a rapidly rising temperature gauge, or an empty reservoir as a stop-driving condition.
- Inspect the cooling system only after the engine has cooled completely. Never remove a hot radiator or pressurized coolant cap.
- Use the coolant type listed in your exact model-year owner’s manual. Color alone does not confirm compatibility.
- A pressure test can reveal many external leaks, but unexplained coolant loss may require a combustion-gas test or other professional diagnosis.
- Temporary sealers and improvised hose patches are not substitutes for replacing the failed component.
At a Glance
| Time Required | 15–30 minutes for a cold-engine visual inspection; longer if testing or disassembly is needed |
| Difficulty | Beginner for visual checks; intermediate or professional for pressure testing and repairs |
| Tools Needed | Gloves, flashlight, clean paper towels, cardboard, and optionally the correct cooling-system pressure tester |
| Cost | Varies widely by model year, engine, leak source, access, parts, labor rate, and any overheating damage |
Common Symptoms of a Coolant Leak in Your Toyota Camry
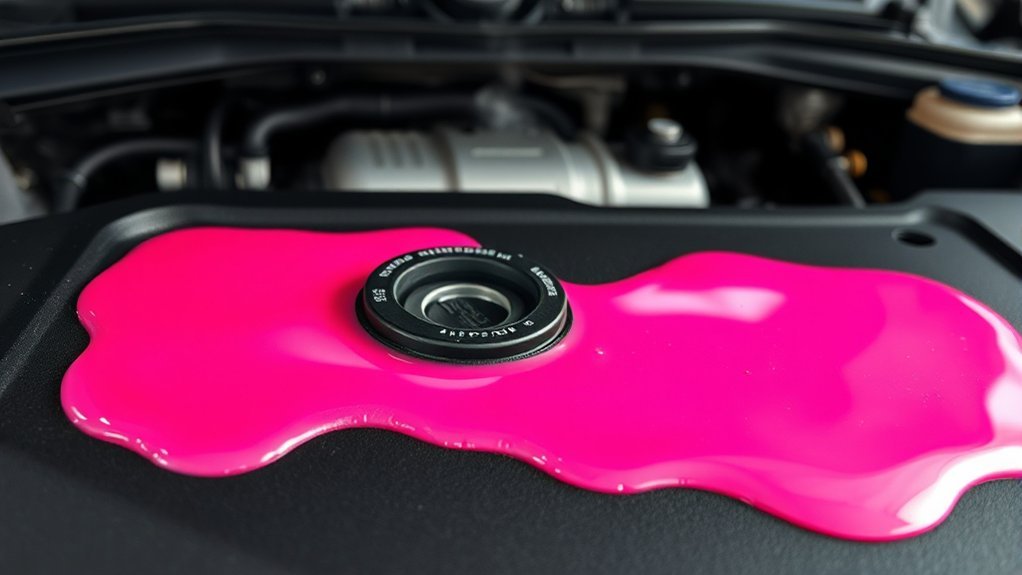
A coolant leak does not always leave a large puddle. Small leaks may evaporate on hot engine parts or leave only a crusty residue. Internal leaks can consume coolant without producing any visible drip.
- Coolant level keeps dropping: The reservoir falls below its normal cold mark after you refill it correctly.
- Colored or slippery residue: You find wet spots or dried deposits around a hose joint, radiator seam, reservoir, water pump, or under-engine shield.
- Sweet or chemical odor: A noticeable smell appears under the hood or through the cabin vents.
- Steam from under the hood: Coolant may be contacting a hot surface or the engine may be overheating.
- Temperature warning or rising gauge: The cooling system may no longer be controlling engine temperature.
- Weak or inconsistent cabin heat: Low coolant or trapped air can reduce heater performance.
- Damp passenger-side carpet or foggy windows: These signs can point to a leaking heater core.
- Persistent white exhaust, rough running, or milky oil: These can indicate an internal leak, but each symptom requires proper testing before a head-gasket diagnosis.
Warning: Pull over safely and shut the engine off if the temperature warning appears, the gauge moves into the hot range, steam rises, or coolant pours out. Continuing to drive can turn a repairable leak into major engine damage. Never open a hot, pressurized cooling system.
Clear water dripping near the passenger side after the air conditioner has been running is often normal condensation, not coolant. Coolant usually feels slightly slippery and may have a distinct odor, but appearance and color vary. Keep children and pets away from every puddle until you know what it is.
Common Causes of Coolant Leaks in Toyota Camrys
The most likely source depends on your Camry’s model year, engine, mileage, previous repairs, and whether it is a gasoline or hybrid model. Hybrid versions may have more than one cooling circuit, so identify the correct reservoir and components through the exact owner’s manual before adding fluid.
| Possible Source | Common Clues | What Usually Needs Attention |
|---|---|---|
| Hose or clamp | Wet connection, split rubber, swollen hose, or dried residue near a fitting | Replace the damaged hose or clamp and inspect nearby hoses of the same age |
| Radiator | Leak at a seam, end tank, drain area, or damaged core | Repair is rarely dependable on a cracked plastic tank; radiator replacement is common |
| Reservoir or cap | Cracked bottle, wet cap area, overflow, damaged seal, or incorrect cap fit | Replace the failed reservoir or use the exact cap specification for the vehicle |
| Water pump | Residue or dripping near the pump, bearing noise, or coolant loss that increases while running | Confirm the source and replace the pump and related seals as required |
| Thermostat housing or gasket | Leak around the housing, temperature fluctuation, or evidence of a failed seal | Replace the gasket, housing, thermostat, or combination specified for the engine |
| Heater core | Coolant smell in the cabin, damp carpet, greasy windshield film, or poor heat | Pressure-test the heater circuit and repair the leaking core or connection |
| Internal engine leak | Repeated loss with no external leak, persistent white exhaust, misfire, bubbles, or contaminated oil | Professional testing for a head gasket, cylinder head, engine casting, or related failure |
A radiator cap is not merely a cover. It is part of the system’s pressure control, so the wrong pressure rating, a damaged seal, debris at the sealing surface, or an incorrect fit can contribute to coolant loss. Do not substitute a cap based only on appearance.
How to Diagnose a Coolant Leak Effectively
Use a systematic cold-engine inspection. The goal is to confirm that the liquid is coolant, find the highest wet or stained point, and decide whether the car is safe to test further.
1. Let the Engine Cool Completely
Park on a level surface, switch the engine off, and wait until the engine and cooling system are fully cool. Wear gloves and keep your face and hands away from caps and hoses that may still be pressurized.
2. Check the Correct Reservoir
Read the cold level against the marks on the proper reservoir. Do not assume every translucent bottle is for engine coolant, especially on a hybrid. If the reservoir is empty, do not start the engine simply to “see what happens.”
3. Inspect From Top to Bottom
Use a flashlight to check the reservoir, cap area, radiator seams, visible hoses, clamps, thermostat housing, and accessible areas around the water pump. Follow stains upward because leaking fluid often runs down and makes the lowest component look guilty.
4. Use Cardboard to Locate a Drip
Place clean cardboard beneath the parked car after confirming it is safe to do so. The drip location can narrow the search, but splash shields and airflow may move coolant away from the actual source.
5. Look for Signs of an Internal Leak
Check the oil dipstick and oil-filler cap for unusual milky contamination. Watch for persistent white exhaust after the engine is fully warm, repeated misfires, or unexplained coolant loss. Condensation during a cold start is normal, so do not diagnose a head gasket from brief white vapor alone.
6. Pressure-Test Only With the Right Equipment
A cooling-system pressure tester can expose small external leaks while the engine remains off. Use the correct adapter and never exceed the pressure specified for the vehicle or cap. Stop if you do not know the correct rating or procedure. A pressure test may not prove or rule out every internal leak.
7. Use Professional Tests When the Source Is Hidden
A technician may use ultraviolet dye, inspect under covers, test the cap, monitor cooling-system pressure, scan temperature data, or perform a combustion-gas test. These checks help separate an external leak from a head-gasket or cylinder-head problem before expensive parts are replaced.
Pro Tip: Clean old residue only after documenting it, then recheck after a short controlled test or professional pressure test. Fresh residue is easier to trace than years of accumulated staining.
Temporary Fixes for Coolant Leaks: What You Should Know
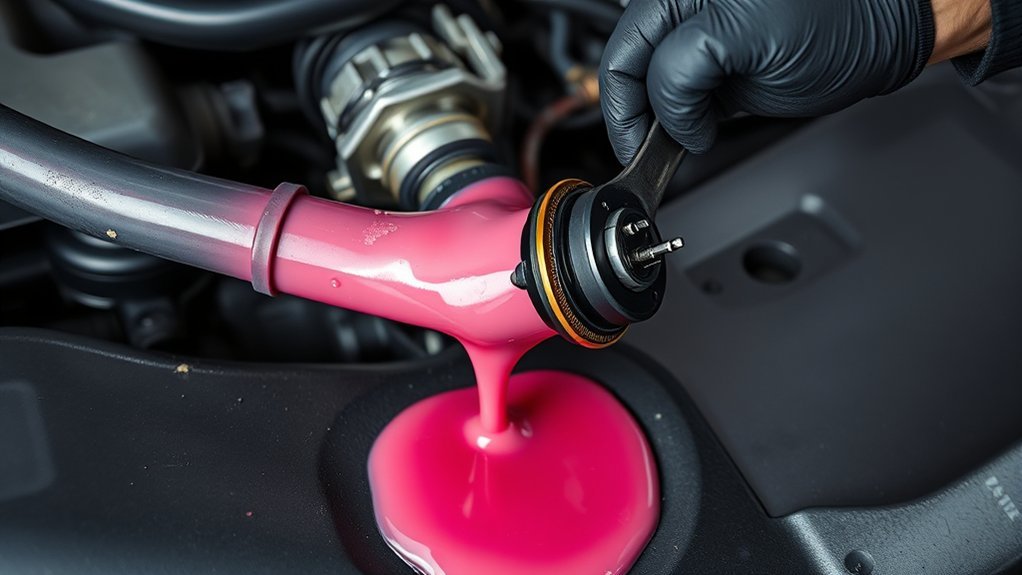
A temporary measure should reduce immediate risk, not create permission to continue a trip. The safest response to a meaningful leak is usually to shut the engine off and arrange a tow.
Stop-Leak Products
Some sealers are marketed for small cooling-system leaks, but compatibility, limitations, and application methods vary. A sealer will not repair a split hose, loose component, failed water pump, badly cracked radiator, or confirmed internal engine damage. It can also make the leak harder to diagnose and may not be appropriate for every cooling system.
Use a product only when its manufacturer explicitly lists it as compatible with your vehicle and coolant, and only as a short-term emergency measure. Tell the repair shop exactly what was added. Do not keep adding sealer when coolant continues to disappear.
Temporary Hose Repairs
Duct tape is not a dependable repair for a hot, pressurized coolant hose. Even a patch that appears dry at idle can fail once the engine warms and system pressure rises. Tightening an obviously loose clamp may stop a seep only when the engine is completely cool and the hose, fitting, and clamp are otherwise undamaged.
A damaged hose should be replaced with the correct part. If you cannot make a proper cold-engine repair with suitable components, tow the car rather than relying on tape, splicing an unsuitable hose, or repeatedly refilling the system.
Why You Should Fix Coolant Leaks Right Away
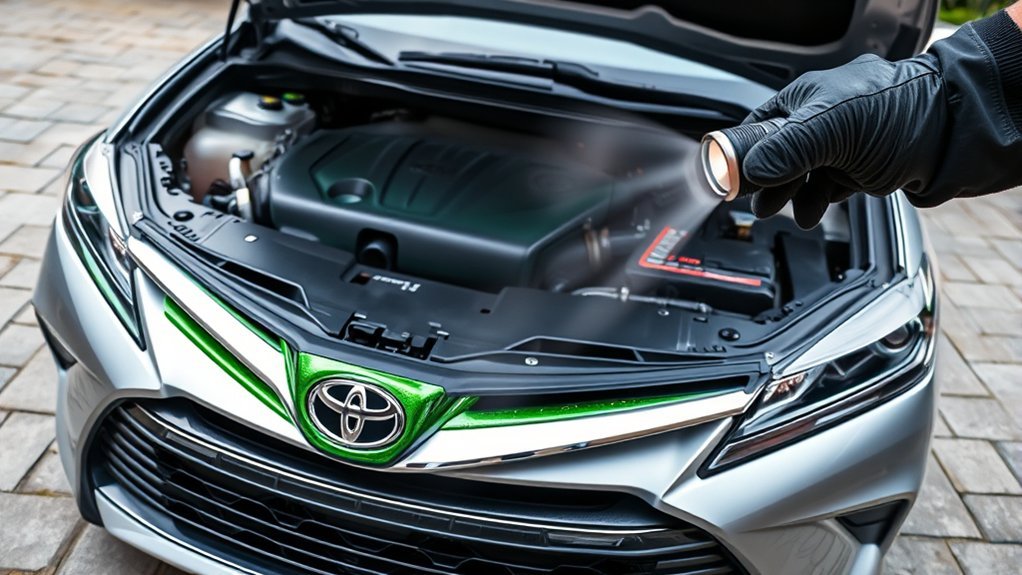
The cooling system controls engine temperature and protects metal, seals, and passages from corrosion. Losing coolant reduces that protection and may allow air pockets to form, which can produce unstable temperatures and poor heater performance.
Prevent Engine Overheating
A small leak can become a large leak when a cracked hose opens, a plastic radiator tank splits further, or a weak seal fails under pressure. Overheating can warp sealing surfaces and damage the head gasket, cylinder head, engine block, or other components. The temperature gauge may not provide much warning after coolant falls below a sensor, so never ignore steam, odor, or rapid coolant loss just because the gauge has not moved yet.
Avoid Costly Repairs
Replacing a clamp or hose early is usually less involved than repairing an engine that has been driven while overheated. A heater core, water pump, radiator, or internal engine leak may require significant labor because access and testing vary by Camry generation and engine.
The costliest part of a coolant leak is often not the leaking part itself, but the overheating damage caused by continuing to drive.
Repair Costs for Coolant Leaks
A single fixed price is not reliable without the model year, engine, location, labor rate, and confirmed failed part. Diagnostic time also matters because a hidden leak may require pressure testing, dye, partial disassembly, or an internal-leak test.
| Repair Type | Relative Cost Level | Main Cost Drivers |
|---|---|---|
| Clamp, cap, or accessible hose | Usually lower | Part quality, coolant replacement, and access |
| Reservoir, thermostat housing, or radiator | Low to moderate | Part design, sensor or fan removal, and refill procedure |
| Water pump | Moderate to high | Engine layout, drive components, seals, and labor access |
| Heater core | Often high | Dashboard or interior access and cleanup |
| Head gasket, cylinder head, or engine damage | High to very high | Testing, machining, teardown, related damage, and parts availability |
Ask for a written estimate that separates diagnosis, parts, labor, coolant, shop supplies, and any recommended related work. A proper estimate should name the confirmed leak source rather than simply state “coolant leak repair.”
How to Prevent Coolant Leaks in Your Toyota Camry
- Check the cold level periodically: A slow change is easier to investigate before the reservoir becomes empty.
- Use the specified coolant: Toyota advises checking the owner’s manual and using the coolant recommended for the vehicle. Do not choose coolant by color alone or mix products without confirmed compatibility.
- Follow the model-year maintenance schedule: Coolant replacement intervals and procedures can differ by generation and powertrain.
- Inspect aging rubber and plastic: Look for cracking, swelling, hardening, stains, damaged clamps, and brittle reservoir or radiator plastic.
- Do not overfill: Fill only to the specified cold mark. Overfilling can create overflow that looks like a leak.
- Recheck after service: A loose clamp, trapped air, spill residue, or incorrect cap can create symptoms soon after cooling-system work.
- Check recalls by VIN: Use the official NHTSA lookup to see whether your specific vehicle has an unrepaired safety recall.
Note: Toyota Camry coolant specifications and reservoir layouts vary by year and powertrain. Use Toyota’s manual lookup for your exact vehicle before topping off, bleeding, or servicing the system.
When to Seek Professional Help for Coolant Issues
Arrange professional diagnosis when the source is not obvious, the leak returns, or the repair requires opening a pressurized system you are not trained to service. Tow the vehicle rather than driving it when any of these conditions apply:
- The engine temperature warning is on or the gauge is in the hot range.
- Steam is rising or coolant is spraying, pouring, or leaving a large puddle.
- The correct reservoir is empty or becomes empty again quickly.
- The engine runs rough, misfires, or produces persistent white exhaust.
- Oil appears milky or coolant appears contaminated with oil.
- The cabin fills with coolant odor, the windshield develops an oily film, or carpet becomes wet.
- You suspect a head gasket, water pump, heater core, or leak hidden behind covers.
- You cannot identify the correct coolant circuit on a hybrid model.
A technician should verify the cause before replacing expensive parts. A pressure drop alone does not identify the failed component, and a single symptom does not prove head-gasket failure.
Expert Advice: How to Evaluate Common Owner Tips
Owner discussions often highlight radiator-cap fit, pressure ratings, blocked sealing surfaces, changing coolant levels, and pressure testing. Those ideas can be useful starting points, but they must be checked against the exact Camry’s specifications.
- Cap fit and pressure: Compare the part number and specification, not just size or appearance. Inspect the sealing surface for damage or debris only when the system is completely cool.
- Coolant-level tracking: Photograph the cold level on level ground and compare it under the same conditions. Expansion makes hot readings unreliable.
- Pressure testing: Use the correct adapter and limit. Watch the entire system because the visible drip may appear far from the source.
- Community anecdotes: Treat them as clues, not proof. A fix that worked on another year or engine may be wrong for yours.
Use your model-year manual, a verified parts catalog, and measured test results to confirm any advice before buying parts or adding chemicals.
Frequently Asked Questions
What could be the reason my Camry is leaking coolant?
Common sources include a hose or clamp, radiator seam, reservoir, cap, water pump, thermostat housing, heater core, or an internal engine leak. The model year and engine matter, so trace the highest fresh residue and confirm the source with a cold-system inspection or pressure test.
What is the most common cause of a coolant leak?
No single cause applies to every Camry. Aging hoses, clamps, radiator seams, caps, pumps, and housing seals are common external sources. A proper inspection is more reliable than assuming the radiator or head gasket has failed.
What is the most common problem with a Toyota Camry?
Camry problems vary by generation, engine, mileage, maintenance, and individual vehicle history, so there is no responsible single answer. For a coolant-loss complaint, diagnose the cooling system directly instead of relying on a general model reputation.
What is the worst year for a Toyota Camry?
A “worst year” label is subjective and does not diagnose your car. Check the vehicle’s service history, inspection results, and open recalls by VIN. A well-maintained vehicle from a criticized year may be in better condition than a neglected example from a highly rated year.
Can I drive a Toyota Camry with a small coolant leak?
Driving is risky because a small leak can worsen without warning. Do not drive if the temperature rises, steam appears, the reservoir is empty, or coolant is escaping rapidly. When the source and rate are uncertain, towing is safer than gambling on a short trip.
Which coolant should I use in my Camry?
Use the exact type and mixture specified in the owner’s manual for your model year and powertrain. Toyota Super Long Life Coolant may be specified for your Camry, but you should confirm fitment rather than relying on bottle color or a universal claim.
Why is coolant disappearing when I cannot find a puddle?
The leak may occur only when the system is hot and pressurized, evaporate on a hot component, collect inside a splash shield, enter the cabin through a heater core, or leak internally into the engine. Pressure testing and internal-leak testing may be needed.
Is the clear water under my Camry a coolant leak?
Clear, odorless water near the passenger side after air-conditioner use is often normal condensation. Coolant may be colored, slippery, or odorous, but those clues are not foolproof. Monitor the cold reservoir level and inspect for residue before deciding.
Will a stop-leak product permanently fix the problem?
No. At best, a compatible product may temporarily reduce a minor seep. It cannot restore a split hose, failed pump, loose part, major radiator crack, or damaged head gasket. A permanent repair requires finding and correcting the failed component.
Conclusion
A Toyota Camry coolant leak deserves prompt, methodical attention. Start with a fully cooled engine, confirm the correct reservoir and coolant specification, inspect for external residue, and use proper testing when the source is hidden. Stop driving when overheating, steam, rapid loss, or internal-leak symptoms appear. Replacing the failed part early is safer and usually less expensive than repairing damage caused by continued overheating.
Sources
- Toyota Manuals and Warranties — model-year-specific owner’s manuals, coolant instructions, warning information, and maintenance guidance.
- Toyota Genuine Super Long Life Coolant — Toyota’s coolant guidance and reminder to confirm the product in the vehicle owner’s manual.
- NHTSA Recall Lookup — VIN-based checks for unrepaired safety recalls and manufacturer communications.
- CDC/NIOSH: Ethylene Glycol — exposure routes, protective measures, symptoms, and first-aid guidance.
- U.S. EPA: Household Hazardous Waste — safe handling and local disposal guidance for potentially hazardous household chemicals.
