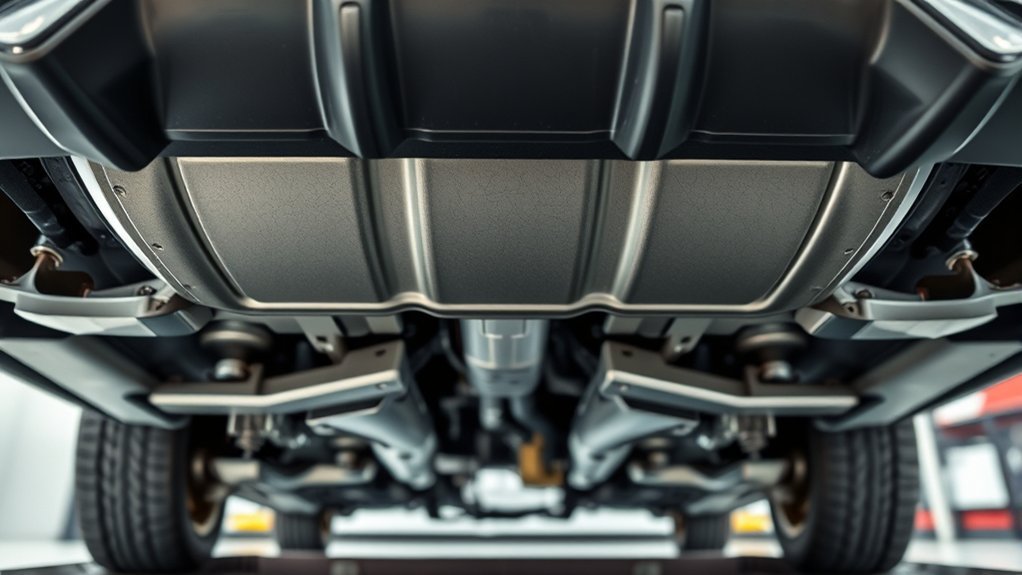
Knowing where to place a jack and jack stands on your Toyota Camry can prevent crushed pinch welds, damaged underbody parts, and a dangerous vehicle fall. Because lifting and support points can change by model year, drivetrain, and market, use your exact owner’s manual for corner lifting and Toyota’s year-specific repair information for central floor-jack and stand locations.
Quick Answer
Use the reinforced side pinch-weld location shown in your exact Toyota Camry owner’s manual for a one-corner lift. To raise the whole front or rear, use only the central floor-jack and support points identified in year-specific Toyota repair information. Never work beneath a Camry held only by a jack.
Key Takeaways
- Use only the reinforced side lifting points shown for your exact Camry; they are generally behind the front wheels and ahead of the rear wheels.
- Do not assume that any crossmember, subframe, control arm, bushing, or flat underbody panel is an approved lifting or support point.
- A jack raises the vehicle. Properly rated jack stands support it during maintenance.
- Work on a hard, level, load-bearing surface, chock the wheels, inspect the equipment, and test stability before approaching the underside.
- Use the exact model-year manual for lift-point diagrams and wheel-nut torque; use local-market Toyota information because specifications can differ by country.
At a Glance
| Time Required | About 20 to 40 minutes as a planning estimate; allow more time if the points are difficult to identify |
| Difficulty | Moderate; stop if the correct points, equipment rating, or ground condition is uncertain |
| Tools Needed | Properly rated floor jack, matched jack stands, wheel chocks, torque wrench, lug socket, and a compatible pinch-weld adapter when required |
| Cost | No service charge if you already own suitable equipment; tool cost varies by capacity, reach, and design |
Warning: Never place any part of your body under a Camry supported only by a hydraulic or scissor jack. Raise the vehicle at an approved point, lower it onto properly rated stands at approved support points, and verify stability before starting work.
Why Knowing Safe Jack Points Matters

A jack concentrates a large share of the vehicle’s weight on a small contact area. Toyota reinforces specific body and understructure locations to accept that load. A thin floor pan, plastic shield, oil pan, transmission case, exhaust component, battery enclosure, or unapproved suspension part can bend, crack, or let the saddle slip.
The safest starting point is the Toyota owner’s manual for your exact year and model. Toyota’s U.S. portal requires vehicle selection because instructions differ. For central floor-jack and jack-stand locations used during service, consult the year-specific repair manual through Toyota’s Technical Information System or use a Toyota-trained service facility. Owners outside the United States should use the official Toyota manual and service information for their local market.
Keep the functions separate: the jack raises or lowers the car, while stands carry the load during maintenance. OSHA Standard 1910.244 requires a jack to have sufficient rated capacity and says a raised load must be secured promptly. Although that rule governs workplaces, the same principle is sound for home maintenance: never rely on hydraulic pressure alone.
Emergency Jack, Floor Jack, and Jack Stands Are Not Interchangeable
- Emergency scissor jack: Intended for temporary one-corner lifting, such as changing a tire, at the point shown in the owner’s manual. It is not a support device for underbody work.
- Hydraulic floor jack: Raises the vehicle at an approved side or central lifting point. Its saddle and any adapter must fit the designated surface.
- Jack stands: Support the vehicle at approved support points after lifting. Do not assume the lifting point and stand point are identical.
If the jack occupies the only visible side point, do not crowd a stand beside it on an unreinforced section of seam. Use the Toyota service procedure for lifting the required end of the vehicle and placing stands, or have a professional perform the lift.
How to Identify Toyota Camry Side Jack Points
Camry owner’s manuals commonly show designated side locations along the rocker-panel pinch welds. The front location is generally behind each front wheel, and the rear location is generally ahead of each rear wheel. Paired notches or stamped marks may identify the reinforced section, but the exact markings and usable contact area depend on the model year.
Do not rely on a distance measured from a door, a photograph from another generation, or a point that merely looks thick. Dirt, undercoating, corrosion, prior collision repair, and bent seams can hide or alter the correct location. Compare the underside with the diagram in your manual before positioning the saddle.
- Correct area: The reinforced portion of the pinch weld shown in the model-year diagram.
- Wrong area: An unmarked section of seam, the flat rocker panel, a plastic cover, or damaged metal.
- Adapter: Use a saddle or rubber adapter designed to fit the seam when required by the jack manufacturer. It must sit flat, remain centered, and avoid transferring the load to unreinforced rocker metal.
Note: The emergency scissor-jack diagram identifies where to lift one corner for a tire change. It does not automatically approve every nearby point for a floor jack or jack stand.
How to Check Jack and Stand Capacity
Read the labels and instructions on the jack and stands before lifting. The jack must have enough capacity for the load it will raise, and the stands must be rated to support the portion of the vehicle placed on them. Do not estimate capacity from the tool’s size or color.
- Confirm how the rating is stated. Depending on the manufacturer, a stand rating may apply to one stand or to a matched pair. Follow the exact label and manual.
- Use matched stands. When supporting the entire front or rear, use the same design and height setting on both sides.
- Inspect locking parts. Do not use stands with bent posts, cracked welds, damaged pawls, missing pins, or unstable bases.
- Stay within travel limits. Never overextend a jack or stand, and never use improvised extensions to gain height.
Front Jack Points for Lifting Your Toyota Camry
For a one-corner front lift, use the reinforced side point behind the appropriate front wheel only when it matches your Camry manual. Center the saddle under the reinforced area and keep the jack aligned so the saddle cannot pull sideways as the vehicle rises.
Lifting the entire front end with a floor jack requires a model-specific central point. Depending on generation and drivetrain layout, Toyota service information may identify a reinforced crossmember or another structural location. Never substitute the engine oil pan, transmission housing, thin sheet metal, radiator support, control-arm bushing, or plastic splash shield.
Front jack-stand locations are also model-specific. A control arm or its rear bushing is not a universal Camry support point. Use only a location shown in the applicable repair information, and make sure the stand saddle does not rest on a bolt head, curved edge, rubber bushing, or moving suspension joint.
Step-by-Step: Lifting the Front of Your Toyota Camry
- Choose the surface. Park on a hard, level, load-bearing surface, preferably concrete. Avoid slopes, gravel, soil, soft or heat-softened asphalt, and any surface that can shift or sink.
- Secure the car. Shift to Park, switch off the powertrain, engage the parking brake, and keep the smart key away from the vehicle. Chock both rear wheels in the directions they could roll.
- Prepare for wheel removal. If you are removing a front wheel, loosen each wheel nut slightly while the tire remains on the ground. Do not remove the nuts yet.
- Inspect the equipment. Confirm that the jack and stands have sufficient ratings, operate correctly, and show no leaks, cracks, bent parts, damaged locks, or missing pins.
- Confirm the point. Match the side or central lifting point to the diagram for your exact Camry. Clean the contact area enough to inspect it for rust, damage, or deformation.
- Raise the vehicle slowly. Center the jack saddle and watch the contact point as the load transfers. Allow a floor jack’s casters to roll normally. Stop if the saddle tilts, the seam folds, or the car moves sideways.
- Place the stands. Set a matched pair of stands at approved front support points and at equal height. Make sure each base sits fully flat.
- Lower onto the stands. Lower the jack slowly until both stands carry the load. The jack must not remain the primary support.
- Check stability. From outside the vehicle, apply a cautious push at a solid body area. If the car shifts, creaks, or a stand moves, raise it and reset the equipment before continuing.
A floor jack is a lifting device, not a support device. The vehicle must rest securely on approved jack stands before you work underneath it.
Pro Tip: Keep the work area clear and place the removed wheel flat beneath a suitable open area near the rocker only when it cannot contact delicate components. Treat it only as an extra precaution, never as a substitute for correctly positioned stands.
Rear Jack Points for Lifting Your Toyota Camry

For a one-corner rear lift, the reinforced side point is generally ahead of the rear wheel, but verify its exact position in your model-year manual. Because the parking brake acts on the rear wheels on most Camrys, it cannot prevent rolling once those wheels are off the ground. Chocking the front wheels is therefore essential.
Do not treat “the rear subframe” as a universal central jack point. Camry rear structures, underbody panels, exhaust routing, all-wheel-drive hardware, and hybrid components vary by generation. Use a central rear lifting point only when Toyota’s repair information clearly identifies the exact structure and contact area for your vehicle.
Place rear stands only at specified support points. Avoid suspension links, stamped arms, bushings, fuel-system components, exhaust parts, battery enclosures, and unreinforced floor sections unless the repair manual expressly approves a particular component and contact area.
Step-by-Step: Lifting the Rear of Your Toyota Camry
- Park safely. Use a hard, level, load-bearing surface, shift to Park, switch off the vehicle, and engage the parking brake.
- Chock the front wheels. Place chocks securely against both front tires in the directions the vehicle could roll.
- Loosen rear wheel nuts if needed. Break them loose slightly before lifting while leaving every nut installed.
- Find the approved point. Use the marked side point for a one-corner lift or the exact central point identified in Toyota service information.
- Lift gradually. Keep the saddle centered and stop if the body, jack, or ground shifts.
- Position matched stands. Set them at approved rear support points, at equal height, with full base contact.
- Transfer the load. Lower the vehicle slowly until both stands are loaded. Confirm that the saddles remain centered and that no stand has tilted.
- Test before work. Perform a cautious stability check from outside. Never crawl beneath the vehicle while correcting a jack or stand.
How to Lower Your Toyota Camry Safely
Clear tools, parts, people, and the removed wheel from under and around the car. Reposition the floor jack at the approved lifting point and raise the vehicle only enough to unload the stands. Remove both stands, confirm the lowering path is clear, and lower the car slowly and evenly.
If a wheel was removed, install the wheel nuts by hand and tighten them in a crisscross pattern until the wheel seats. After the tire is on the ground, finish tightening with a calibrated torque wrench to the specification in your exact Camry owner’s manual. Recheck that the wheel is seated and that no tools remain near the vehicle before driving.
Key Safety Measures for Lifting Your Toyota Camry
- Match capacity to the load. Use a jack and stands with legible ratings sufficient for the portion of the vehicle being raised and supported.
- Use stands in pairs. When supporting an entire front or rear end, use matched stands at equal heights.
- Chock wheels on the ground. The parking brake and transmission are not substitutes for wheel chocks.
- Keep occupants out. Nobody should enter, rock, start, charge, or shift the vehicle while it is raised.
- Protect hybrid and AWD components. Do not place equipment against orange high-voltage cables, battery enclosures, driveshafts, rear drive units, covers, or unidentified underbody parts.
- Keep the powertrain off. On a hybrid, confirm the READY indicator is off and keep the smart key away from the vehicle.
- Stop when uncertain. If the correct point is hidden, damaged, or absent from the documentation available to you, use professional service.
OSHA’s portable-jack requirements state that a jack must have enough capacity for the load, must not be extended beyond its indicated travel limit, and must be followed by securing the raised load. Those workplace rules reinforce the same core home-maintenance practice: inspect the equipment and never trust hydraulic pressure alone.
Common Mistakes to Avoid When Lifting a Toyota Camry
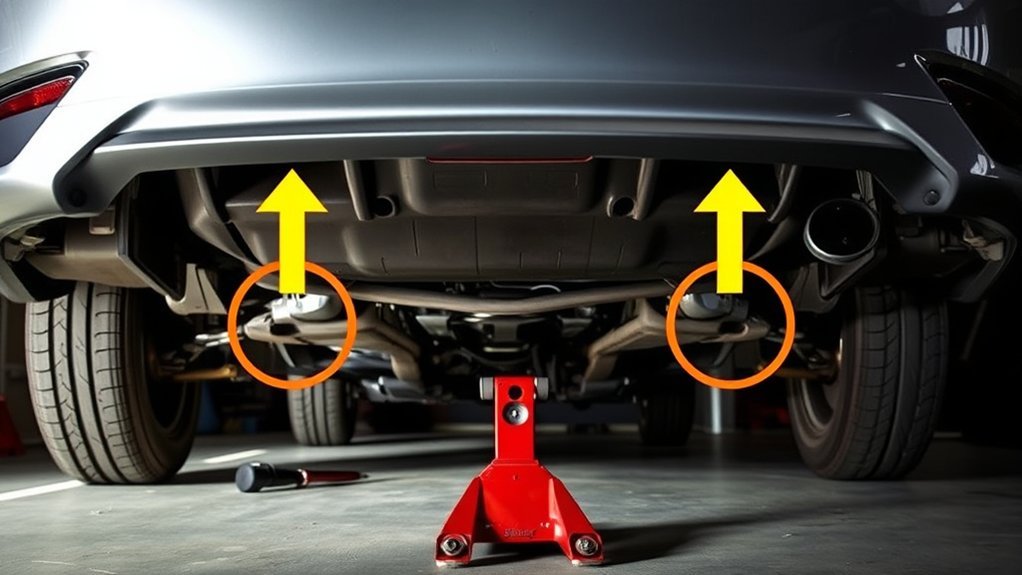
- Using another model year’s diagram: A photo or forum post may show a different underbody design.
- Assuming every pinch weld is reinforced: The marked load-bearing section may be much shorter than the visible seam.
- Placing stands under bushings: Rubber bushings and curved suspension parts can deform or let the saddle slip.
- Lifting on a slope or unstable surface: The jack can roll, lean, or sink as the suspension moves.
- Blocking a floor jack’s casters: A floor jack often needs to move slightly as its lifting arm rises; preventing that movement can pull the saddle off-center.
- Relying on the jack alone: Seals, valves, casters, or contact points can fail or shift without warning.
- Overextending the jack: Never exceed its travel limit or use improvised extensions.
- Working with mismatched stands: Different designs or heights can load the car unevenly.
- Skipping the stability test: Verify that the vehicle is settled before removing a wheel or approaching the underside.
- Guessing wheel-nut torque: Use the model-year specification and a calibrated torque wrench.
Troubleshooting Jack-Point Problems
The Pinch Weld Is Bent or Rusted
Do not load a damaged seam until a qualified technician has inspected it. Moving the jack a few inches can place it on unreinforced metal and cause more damage. A repair shop can identify an alternate factory-approved point or repair the seam correctly.
The Floor Jack Will Not Fit Under the Car
Do not drive onto loose lumber or stack blocks under the jack. Use purpose-built low-profile ramps or a properly rated low-profile jack on level ground. Confirm that the vehicle can enter and leave the ramps without contacting bodywork, and never rely on ramps when the task requires removing the wheels unless another approved support method is used.
The Jack-Stand Saddle Does Not Fit
Use a stand or manufacturer-approved adapter that matches the designated support surface. Do not balance a seam on the edge of a wide saddle or insert loose wood, bricks, hockey pucks, or improvised metal pieces between the stand and vehicle.
The Car Moves as It Rises
Stop and lower it immediately. Recheck the surface, wheel chocks, jack orientation, saddle position, and whether the jack’s casters can roll as designed. A floor jack often moves slightly toward the vehicle while lifting; blocked or jammed casters can pull the saddle off-center.
The Jack and Stand Seem to Need the Same Side Point
Do not squeeze both saddles onto a short reinforced seam or move the stand to nearby thin metal. Use the central lifting and side-support sequence shown in the year-specific Toyota repair manual. If that procedure or the required equipment is unavailable, have a shop lift the vehicle.
Related Guides
Frequently Asked Questions
Where do you place a jack on a Toyota Camry?
For a one-corner lift, use the reinforced side point shown in the owner’s manual, generally behind a front wheel or ahead of a rear wheel. To lift the entire front or rear, use only the central point identified in Toyota’s repair information for your exact model year and market.
Can you lift a Camry by the front crossmember or rear subframe?
Only when the year-specific Toyota repair manual identifies that exact structure and contact area as a floor-jack point. Crossmembers and subframes can contain both strong and weak areas, so a general label is not enough.
Can jack stands go under a Camry’s control arms or bushings?
Do not use a control arm, bushing, or suspension link as a stand point unless Toyota’s repair information specifically approves that component and location. Curved metal, moving joints, and rubber bushings may not seat securely.
What is the 3/4 rule for floor jacks?
The Toyota and OSHA guidance cited here does not establish a rule requiring a vehicle to be raised to three-quarters of its chassis height. Follow the jack manufacturer’s travel limit, the equipment ratings, and Toyota’s model-specific lifting procedure instead.
Can you work under a Camry supported only by a floor jack?
No. A floor jack can lose pressure, roll, tilt, or slip. Support the vehicle with properly rated stands at approved points, lower the load onto them, and verify stability before working near the underside.
Do you need a pinch-weld adapter for a Camry?
Many floor-jack saddles benefit from an adapter that straddles or cushions the seam, but it must fit both the jack and the designated point. It must not redirect the load onto unreinforced rocker-panel metal.
Is the owner’s-manual tire-change point always a jack-stand point?
No. The owner’s manual may show a point intended for the supplied emergency jack. Use a stand there only when the applicable Toyota repair procedure identifies it as an approved support point and the stand saddle fits correctly.
Why does the central jack point differ between Camry generations?
Underbody structures, powertrains, suspension layouts, exhaust systems, all-wheel-drive hardware, and hybrid components change between generations. That is why a central point shown for one Camry may be unsafe on another.
Conclusion
Safe Toyota Camry lifting starts with the correct manual, not a universal diagram. Use the reinforced side points only where Toyota marks them, and use central jack or stand points only when year-specific service information approves the exact contact area. Work on a stable surface, chock the wheels, use correctly rated equipment, lower the vehicle onto matched stands, and confirm stability before beginning maintenance. If a point is damaged, hidden, or uncertain, stop and use professional help.
Sources
- Toyota Manuals and Warranties — access to vehicle- and model-year-specific owner’s manuals for U.S.-market Toyota vehicles.
- Toyota Technical Information System — Toyota repair manuals and factory service information for North American vehicles.
- OSHA Standard 1910.244 — jack capacity, travel limits, inspection, and securing a raised load.


1 thought on “Toyota Camry Jack Points Location Explained (Safe Lifting Points)”