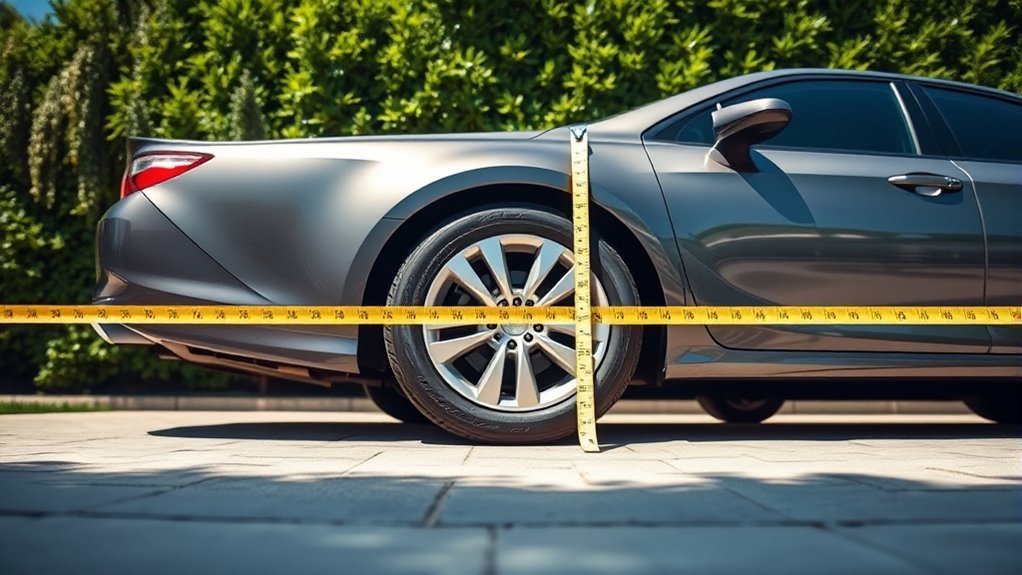
Measuring your Toyota Camry’s wheelbase can help you verify a published specification, document a modification, or check the vehicle after suspension or body repairs. Wheelbase is the horizontal distance between the front and rear wheel centerlines. The easiest driveway method is to project corresponding wheel centers onto level ground and measure between the marks.
Quick Answer
Park your Camry on firm, level ground with the front wheels straight. Mark the ground directly below the center of one front wheel and the corresponding rear wheel, then measure between the marks. Repeat on both sides and compare the result with Toyota documentation for the exact model year and sales market.
Key Takeaways
- Wheelbase is the longitudinal distance between the front and rear wheel centerlines, not the vehicle’s overall length or track width.
- Projecting the wheel centers onto level ground is the simplest driveway method.
- Averaging an outer rim-edge span and an inner rim-edge gap provides a useful higher-precision cross-check.
- Measure both sides, repeat each reading, and keep the steering centered.
- Toyota Camry specifications vary by model year, generation, body style, and market.
- Use the applicable rulebook and its required procedure when measuring for competition inspection.
At a Glance
| Time Required | About 15 to 30 minutes, depending on the method and number of repeated readings |
| Difficulty | Easy |
| Tools Needed | Tape measure, masking tape or chalk, plumb line or carpenter’s square, wheel chocks, notepad, and preferably a helper |
| Cost | No additional cost if you already have the tools; otherwise the cost depends on the measuring and marking tools selected |
How to Measure Your Camry’s Wheelbase
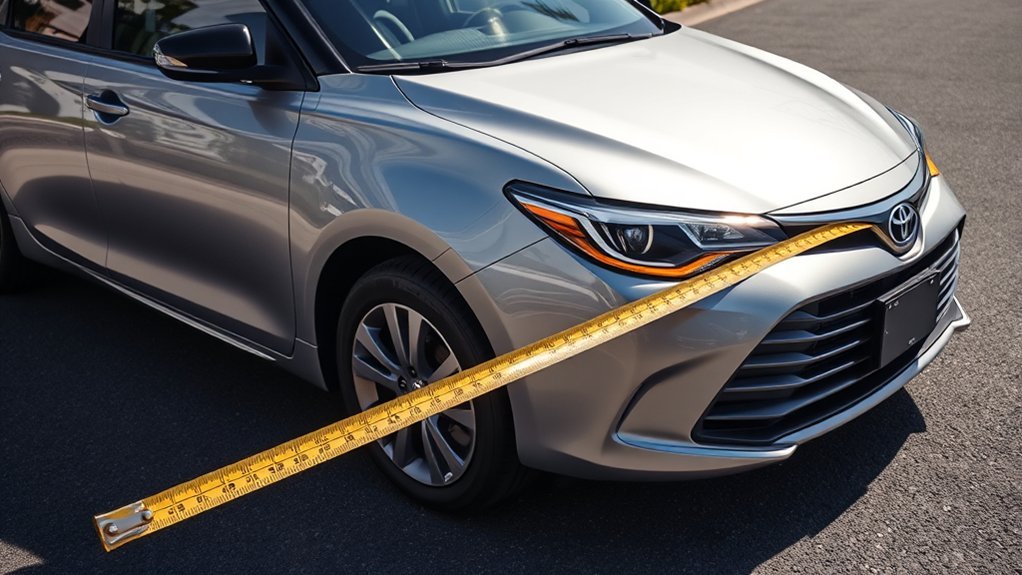
Federal vehicle-classification rules define wheelbase as the longitudinal distance between the front and rear wheel centerlines. The measurement runs parallel to the ground and should not include the bumpers or other body overhang. The current ISO 8855:2011 road-vehicle dynamics vocabulary, which ISO confirmed again in 2024, provides the relevant standardized vehicle-dynamics terminology.
Warning: Park on a firm, level surface, switch off the engine, apply the parking brake, and chock the wheels. You should not need to crawl beneath the car or raise it. Never work under a vehicle supported only by a jack.
Before You Measure
- Use a level surface. A smooth garage floor or level paved area makes vertical projection and tape alignment easier.
- Remove unusual cargo. Measure the car in a normal, repeatable condition rather than with one side heavily loaded.
- Check tire inflation. Set the cold pressures to the vehicle’s tire placard, especially when documenting a modified suspension or repeating the measurement later.
- Settle the suspension. If the Camry was recently raised, lowered, or rolled over an obstacle, move it a short distance on level ground and let it settle before marking points.
- Center the steering. Confirm visually that both front tires point straight ahead.
- Prepare a record sheet. Note the date, model year, market, units, left-side result, right-side result, and measurement method.
Simple Wheel-Center Projection Method
- Choose one side. Start with either the driver or passenger side and use the corresponding front and rear wheels.
- Locate the front wheel center. Identify the true center of the wheel, hub, or axle. Do not assume that a decorative center-cap emblem is perfectly centered.
- Transfer the front center to the ground. Hold a plumb line, carpenter’s square, or straightedge vertically through the wheel center. Mark the ground directly below it with tape or chalk.
- Mark the rear wheel center. Repeat the same process at the corresponding rear wheel.
- Measure between the marks. Keep the tape straight, flat, and parallel to the length of the car. Record the distance in inches, millimeters, or both.
- Repeat the reading. Measure the same pair of marks again before moving them.
- Measure the opposite side. Repeat the complete process using the other front and rear wheels.
- Verify the specification. Compare the results with Toyota documentation for the exact model year, body style, and sales market.
Optional Higher-Precision Rim-Edge Method
The NHTSA vehicle-attribute measurement procedure uses paired rim-edge measurements rather than estimating each wheel center. This method takes longer, but it gives you a useful cross-check and can accommodate different front and rear wheel diameters.
- Expose the rim edges. Remove only wheel trim or hubcaps that are designed to come off easily and that obstruct the rim reference points.
- Measure the outer span. On one side, measure horizontally from the forwardmost edge of the front rim to the rearwardmost edge of the rear rim. Label this reading A.
- Measure the inner gap. Measure from the rearwardmost edge of the front rim to the forwardmost edge of the rear rim. Label this reading B.
- Calculate that side’s wheelbase. Add the two readings and divide by two: Wheelbase = (A + B) ÷ 2.
- Repeat on the opposite side. Record the raw measurements and calculated left- and right-side values separately.
Use a square or other right-angle guide to create vertical reference lines when the front and rear wheels have different diameters or when the tape cannot touch the rim edges at the same height. Keep every measurement parallel to the ground.
Pro Tip: Ask a helper to hold the tape at the first mark or rim reference while you keep it straight at the second point. Write down every raw reading immediately and repeat it before changing the setup.
Wheelbase vs. Overall Length and Track Width
Wheelbase, overall length, and track width describe different dimensions:
- Wheelbase is the longitudinal distance between the front and rear wheel centerlines.
- Overall length runs from the vehicle’s forwardmost point to its rearmost point and includes the front and rear overhangs.
- Track width is the lateral distance between the wheel or tire centerlines on the same axle.
Do not use a bumper, wheel opening, fender edge, rocker-panel seam, or overall-length specification as a wheelbase reference. Those body dimensions can change without moving the axle centerlines.
What Is the Correct Toyota Camry Wheelbase?
Toyota Camrys do not all have one universal wheelbase. The dimension can change with the generation, model year, body style, and country in which the car was sold. Confirm those details before deciding whether your measurement is correct.
For a verified example, Toyota’s official 2025 U.S. Camry brochure lists a wheelbase of 111.2 inches for the LE, SE, XSE, and XLE grades. That converts to approximately 2,824.5 mm. Do not apply this figure automatically to an older Camry, a different body style, or a car produced for another market.
Toyota lists a 111.2-inch wheelbase for every grade in the official 2025 U.S. Camry brochure.
Use Toyota’s manuals and warranties portal to select a model and year, and check the current Toyota Camry specifications page for the latest U.S.-market model information. Static model-year brochures are especially useful when you need a specification that will not change as Toyota updates its current product pages.
Match the Specification to Your Car
Before comparing numbers, confirm the model year from the vehicle records or certification label and identify the sales market. Also note whether the car has had structural repairs, an adjustable suspension, subframe work, or nonstandard suspension components. Those details affect how the measurement should be interpreted even when the published factory specification is known.
Convert Inches and Millimeters
- Inches to millimeters: multiply by 25.4.
- Millimeters to inches: divide by 25.4.
- Example: 111.2 × 25.4 = 2,824.48 mm, commonly rounded to 2,824.5 mm.
Note: Do not use 2,500 mm or 98.4 inches as a universal Toyota Camry wheelbase. Always match the number to the exact model year, body style, and market.
Why Accurate Wheelbase Measurements Are Crucial
An accurate measurement gives you a dependable reference when checking published dimensions, documenting chassis work, inspecting possible structural damage, or preparing a competition vehicle. The value is in the information it provides. Measuring the existing wheelbase does not change the Camry’s performance.
Compliance With Racing Regulations
A racing organization may define wheelbase, permitted tolerances, measuring conditions, and approved equipment in its own rulebook. Some inspectors may use axle centers, wheel-center projections, rim measurements, or another class-specific method.
Follow the applicable rulebook instead of assuming that a driveway measurement will satisfy technical inspection. Record the method, date, units, left-side result, right-side result, tire pressure, ride height, and relevant suspension settings. If the rules conflict with a general measuring method, the competition rules control the inspection.
Documenting Modifications and Repairs
Wheelbase records can help document subframe work, adjustable suspension settings, chassis modifications, or repairs after a collision. Record the raw readings rather than only a final average so another person can reproduce the process.
A wheelbase measurement alone cannot confirm that a body or suspension is straight. Professional collision analysis may also require manufacturer body dimensions, datum points, thrust-angle measurements, alignment readings, and dedicated measuring equipment.
Ensuring Measurement Consistency
Consistency matters because a small change in tape angle, steering position, reference height, or ground-mark location can create a noticeable difference. Use the same tools, reference points, units, vehicle load, and procedure on both sides.
Repeated readings on the same side should be close enough that you can identify the same mark or rim point confidently. If they are not, replace the marks and check whether the tape is straight, the steering is centered, the suspension has settled, and the surface is level.
Best Practices for Accurate Wheelbase Measurement
- Use wheel- or axle-center references. Do not use the bumper, wheel opening, rocker panel, or body seam.
- Work on level ground. A sloped or uneven surface makes vertical projection and tape alignment harder.
- Center the steering. Confirm visually that both front tires point straight ahead.
- Use a repeatable vehicle condition. Remove unusual cargo, check tire inflation, and let the suspension settle.
- Mark reference points vertically. A plumb line or square reduces errors caused by guessing where a wheel center meets the floor.
- Keep the tape flat and straight. Tape sag, bowing, or a diagonal path produces an incorrect reading.
- Use one unit consistently. Record inches to a practical fraction or millimeters to a sensible whole-number precision.
- Measure both sides. This helps reveal setup or marking errors.
- Repeat the process. Do not rely on one reading.
- Retain the raw measurements. Raw values are more useful than an unexplained average.
- Check official documentation. Match the result to the correct model year and market.
Common Challenges When Measuring Wheelbase

Most inaccurate readings come from the setup rather than the tape measure. The following table shows common problems and how to correct them.
| Challenge | How It Affects the Reading | Correction |
|---|---|---|
| Front wheels are turned | Steering position can change the visible reference geometry and make the two sides harder to compare. | Center the steering and confirm both front tires are straight. |
| Tape runs diagonally | A diagonal path reads longer than the true longitudinal distance. | Keep both references on the same side and run the tape parallel to the vehicle. |
| Tape sags, bows, or bends | The measured path becomes longer and difficult to repeat. | Measure along the ground between marks or keep a rim-edge measurement taut and level. |
| Wheel centers are estimated by eye | Small errors at the front and rear wheels can add together. | Use a plumb line, square, or the paired rim-edge method. |
| Decorative center caps are used | The emblem or visible cap may not identify the exact rotational center. | Reference the wheel or hub geometry, or use rim edges instead. |
| Tire edges are used | Sidewall shape, wear, pressure, and uncertain tangent points reduce repeatability. | Use wheel centers or defined rim edges whenever possible. |
| Suspension has not settled | Recent lifting, lowering, or adjustment can leave the vehicle in a temporary position. | Set the car on level ground, move it enough to release tire bind, and let it settle. |
| Left and right readings differ | The cause may be the setup, reference marks, steering position, suspension adjustment, alignment, or previous repair work. | Repeat both methods before treating the difference as a vehicle fault. Seek professional measurement if the discrepancy remains. |
Hub vs. Tire: Measuring Wheelbase
The hub-center or wheel-center method is preferred for a straightforward driveway check because it targets the geometry that defines wheelbase. Projecting those centers onto the floor keeps the tape clear of the body and suspension.
A paired rim-edge method can be more repeatable when the exact center is hard to locate. By averaging the outer span and inner gap, the rim radii cancel mathematically. This is different from taking a single measurement between arbitrary tire edges.
A tire-edge method can provide only a rough check. Tire sidewalls are rounded and can differ in pressure, wear, diameter, and shape, making the true forwardmost and rearwardmost tangent points difficult to locate.
- Use projected wheel or axle centers for a simple specification check.
- Use paired rim-edge measurements for a more structured cross-check or when wheel centers are obstructed.
- Use tire edges only as a rough estimate when neither center nor rim references are practical.
- Do not mix reference systems. Measuring from a tire edge at one axle to a hub center at the other does not represent wheelbase.
- Do not rely on body panels. Bumper and wheel-opening dimensions include overhang and styling differences.
How Wheelbase Impacts Vehicle Performance
Wheelbase influences vehicle geometry, but it does not work alone. Comparing two cars only by wheelbase can be misleading because steering angle, suspension design, tires, track width, mass, body structure, aerodynamics, and electronic controls may differ substantially.
Handling and Stability
When other relevant variables are held constant, a longer wheelbase can produce a more gradual yaw response and greater straight-line composure. A shorter wheelbase can allow a vehicle to change direction more quickly. Actual handling still depends heavily on tires, steering geometry, suspension tuning, weight distribution, and electronic stability control.
Wheelbase should not be described as the main control for body roll. Track width, center-of-gravity height, suspension geometry, spring rates, dampers, bushings, and anti-roll bars have more direct roles in controlling lateral roll.
Ride Comfort
The distance between the axles affects how the front and rear of a vehicle encounter road undulations and how the body pitches. A longer wheelbase may help a vehicle feel more settled over some surfaces, but it does not guarantee a smoother ride.
Seat design, tire sidewalls, suspension travel, springs, dampers, bushings, body stiffness, vehicle speed, and road conditions also shape comfort. For reference, Toyota lists a 111.2-inch wheelbase for the 2025 U.S. Camry range, not 98.4 inches.
Acceleration and Braking
Wheelbase is one variable in longitudinal load transfer. With vehicle mass, acceleration, and center-of-gravity height held constant, a longer distance between the axles reduces the calculated amount of load transferred forward or rearward.
That does not mean a longer-wheelbase car automatically accelerates faster or stops in a shorter distance. Tire grip, road surface, vehicle mass, brake hardware, anti-lock braking, suspension behavior, power delivery, aerodynamics, and driver input remain critical.
Recording Your Wheelbase for Racing Compliance
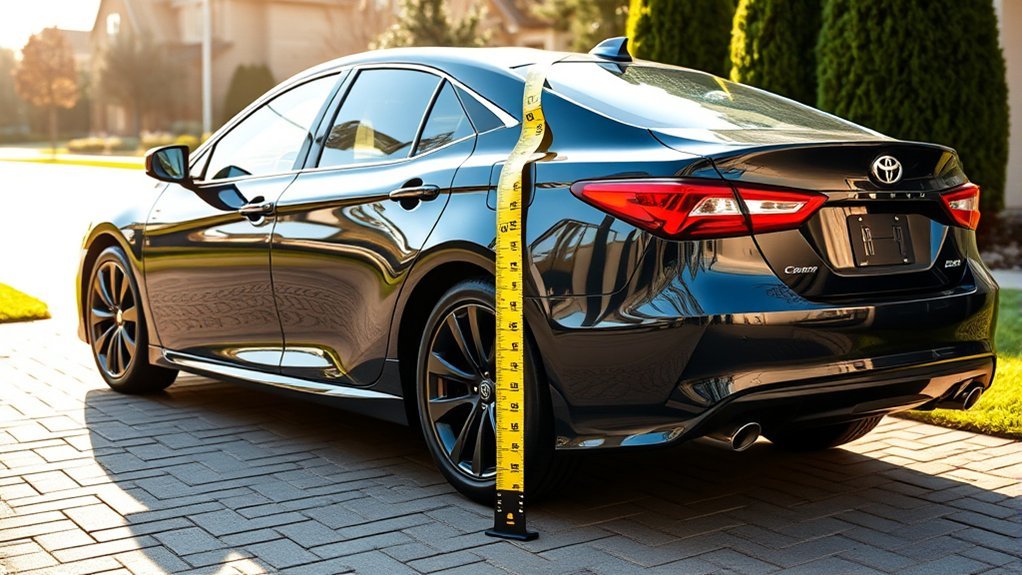
When preparing a Camry for competition, record enough detail for another person to reproduce your measurement. Do not assume every sanctioning body uses the same definition, equipment, rounding rule, or tolerance.
| Record | Why It Matters |
|---|---|
| Rulebook, revision, and class | Identifies the definition, permitted range, rounding rule, and inspection procedure that apply. |
| Measurement method | Shows whether you used wheel centers, ground projections, paired rim edges, or another approved reference. |
| Raw measurements | Allows another person to check the calculation rather than relying only on the final result. |
| Left and right results | Makes discrepancies visible instead of hiding them in an average. |
| Units and precision | Prevents conversion and rounding errors. |
| Vehicle setup | Documents steering position, ride height, tire pressure, ballast, and adjustable suspension settings. |
| Date and inspector | Provides a traceable record after repairs or setup changes. |
| Photographs | Show the reference points, tape alignment, wheel position, and measuring conditions. |
If the left and right values differ, do not simply average them for a compliance report unless the rulebook specifically requires that approach. Repeat the measurements, inspect the setup, and follow the event’s required procedure.
Tips for Maintaining Consistency in Measurements
- Use the same firm, level location each time.
- Use a repeatable load condition and remove unusual cargo.
- Set tire pressures consistently and allow the suspension to settle.
- Set the front wheels straight before placing any marks.
- Use the exact centers of corresponding front and rear wheels, or use the paired rim-edge method throughout.
- Project reference points vertically rather than estimating where they meet the ground.
- Use the same tape measure for all readings.
- Keep the tape parallel to the vehicle and flat against the ground.
- Record the left and right sides separately.
- Keep raw rim-edge readings when using the averaging method.
- Repeat each measurement at least once.
- Photograph the marked points when documentation matters.
- Compare the result only with a specification for the correct model year and market.
When a DIY Measurement Is Not Enough
Arrange a professional alignment, collision-repair, or chassis inspection when the measurement is being used to assess a recently crashed vehicle, a repeatable left/right difference remains after careful remeasurement, suspension mounting points have been repaired, or the car has adjustable components that affect axle position.
A professional shop can compare manufacturer body dimensions, alignment angles, thrust angle, subframe position, and structural datum points. Those measurements provide more diagnostic information than wheelbase alone.
Frequently Asked Questions
How is a car’s wheelbase measured?
Measure the horizontal distance between the front and rear wheel centerlines. At home, project the centers of corresponding front and rear wheels vertically onto level ground, mark both points, and measure between them. You can also average an outer rim-edge span and an inner rim-edge gap.
What does a 160-inch wheelbase mean?
It means the front and rear wheel centerlines are 160 inches apart. It does not refer to the vehicle’s total length, and the number alone does not determine ride quality, safety, or handling.
Which is better, a longer or shorter wheelbase?
Neither is universally better. A longer wheelbase may support a more settled straight-line response and additional cabin space, while a shorter wheelbase may improve maneuverability. Suspension, tires, steering geometry, weight distribution, and intended use are equally important.
What determines a vehicle’s wheelbase?
The manufacturer establishes the axle locations during chassis and body design. Packaging, passenger space, powertrain layout, suspension geometry, turning requirements, crash structure, and intended driving characteristics all influence that decision.
What is the wheelbase of a Toyota Camry?
It depends on the model year, generation, body style, and market. Toyota lists 111.2 inches for every grade in the 2025 U.S. Camry brochure. Check official documentation for your exact vehicle before using that figure.
Why are my left and right wheelbase measurements different?
Common causes include turned front wheels, inaccurate ground marks, a diagonal tape, uneven ground, unsettled suspension, or inconsistent reference points. Repeat both sides carefully. A difference that remains is a reason for professional measurement, not proof by itself of alignment or structural damage.
Can I measure from the wheel center caps?
Only when you can confirm that the visible cap is centered accurately. Decorative emblems and caps are not always reliable measuring references. Use the wheel or hub geometry, project the true center, or use paired rim-edge measurements instead.
Do I need to jack up the Camry to measure its wheelbase?
No. Measure the car while it rests on its tires on firm, level ground. Raising the vehicle is unnecessary, changes the suspension position, and creates avoidable safety risks.
How do I convert wheelbase inches to millimeters?
Multiply inches by 25.4. For example, 111.2 inches multiplied by 25.4 equals 2,824.48 mm. To convert millimeters to inches, divide by 25.4.
Conclusion
To measure your Toyota Camry’s wheelbase accurately, use the front and rear wheel centerlines rather than body panels or arbitrary tire edges. Park on level ground, center the steering, place the vehicle in a repeatable condition, project the wheel centers onto the floor, and measure both sides.
For a more structured cross-check, measure the outer rim-edge span and inner rim-edge gap, then average the two values on each side. Compare the result with official Toyota information for the exact model year and market. If careful repeated readings remain inconsistent, use professional alignment or body-dimension measurements before relying on the result for repairs or competition compliance.
Sources
- ISO 8855:2011 — Road vehicles, vehicle dynamics and road-holding ability vocabulary — provides standardized road-vehicle dynamics terminology and confirms the standard remains current.
- 49 CFR §523.2 — Definitions — defines wheelbase as the longitudinal distance between front and rear wheel centerlines.
- NHTSA Laboratory Test Procedure TP-523-00 — provides official wheelbase measurement procedures using paired rim-edge readings.
- Toyota 2025 Camry eBrochure — lists the official 111.2-inch wheelbase for 2025 U.S. Camry grades.
- Toyota Camry Specifications — provides current U.S.-market Camry specifications and configuration information.
- Toyota Manuals and Warranties — provides model- and year-specific owner documentation.
