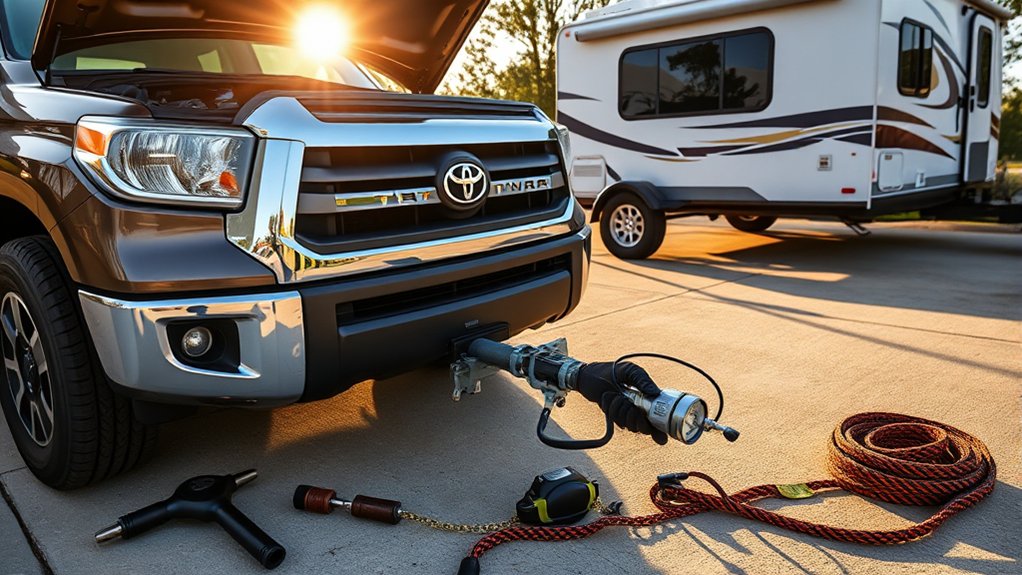
A thorough Toyota Tundra pre-trip inspection can uncover low fluids, tire damage, brake problems, loose towing hardware, electrical faults, and other issues before they interrupt your trip. The exact checks and specifications depend on your Tundra’s model year, powertrain, drivetrain, tire package, load, and trailer setup, so use this checklist together with the owner’s manual and maintenance guide for your truck.
Quick Answer
A Toyota Tundra pre-trip inspection should cover service status, fluid leaks and levels, cold tire pressure and tread, brakes, steering, suspension, battery, lights, underbody protection, emergency gear, and—if towing—the truck’s weight ratings, hitch, safety chains, trailer brakes, and wiring. Repair any safety-critical problem before departure.
Key Takeaways
- Use the tire-pressure placard, owner’s manual, and maintenance guide for your exact Tundra rather than relying on generic specifications.
- Check the truck on level ground with the engine cool, and look for leaks before topping off any fluid.
- Do not depart with a tire bulge, soft brake pedal, grinding noise, steering looseness, overheating, a major leak, or a critical warning light.
- When towing, verify payload, axle limits, combined weight, hitch ratings, trailer brakes, safety chains, wiring, and the fully loaded trailer weight.
- Use only rated recovery equipment and approved attachment points; never improvise with an unrated hook, hitch ball, or damaged strap.
At a Glance
| Time Required | 30–60 minutes; allow longer for a trailer or off-road equipment |
| Difficulty | Easy visual checks; moderate where component access or towing measurements are required |
| Tools Needed | Tire gauge, tread-depth gauge or penny, flashlight, gloves, clean rag, basic toolkit, and trailer scale information if towing |
| Cost | $0 if already equipped; approximately $20–$100 for basic gauges and emergency supplies |
Warning: This checklist is a visual pre-trip review, not a substitute for the model-specific Toyota manual or a professional inspection. Never open a hot cooling system, crawl beneath a vehicle supported only by a jack, or perform a brake or recovery test in traffic. Have a qualified technician inspect any safety-critical defect.
Before You Begin: Match the Check to Your Tundra
Park on firm, level ground, apply the parking brake, switch off the engine, and let hot components cool. Remove enough cargo to reach the spare tire, jack, fuse box, fluid reservoirs, hitch equipment, and recovery tools.
Confirm the model year, engine or hybrid powertrain, two-wheel-drive or four-wheel-drive configuration, tire size, and installed towing equipment. Specifications and maintenance requirements can differ substantially between Tundra generations and trim levels. Toyota provides model-specific documents through its manuals and warranties portal.
Review the service history and compare the current mileage and date with the scheduled-maintenance chart. For example, Toyota’s 2025 Tundra guide calls for recurring fluid, brake, steering, suspension, and tire checks, while towing, heavy loading, dirt-road use, and other demanding conditions can trigger additional maintenance. Use the schedule for your own model year rather than assuming every Tundra follows the same interval.
- Resolve overdue oil changes or scheduled services before a long or heavily loaded trip.
- Investigate red warning lights, a flashing check-engine light, overheating warnings, charging-system warnings, or brake warnings before driving.
- Check your VIN through Toyota’s Safety Recall and Service Campaign lookup.
- Confirm that registration, insurance, roadside-assistance information, and any trailer documents are current.
Note: A maintenance reminder indicates that scheduled service is due; it is not proof that the inspection or service has already been completed.
Essential Fluid Checks for Your Tundra
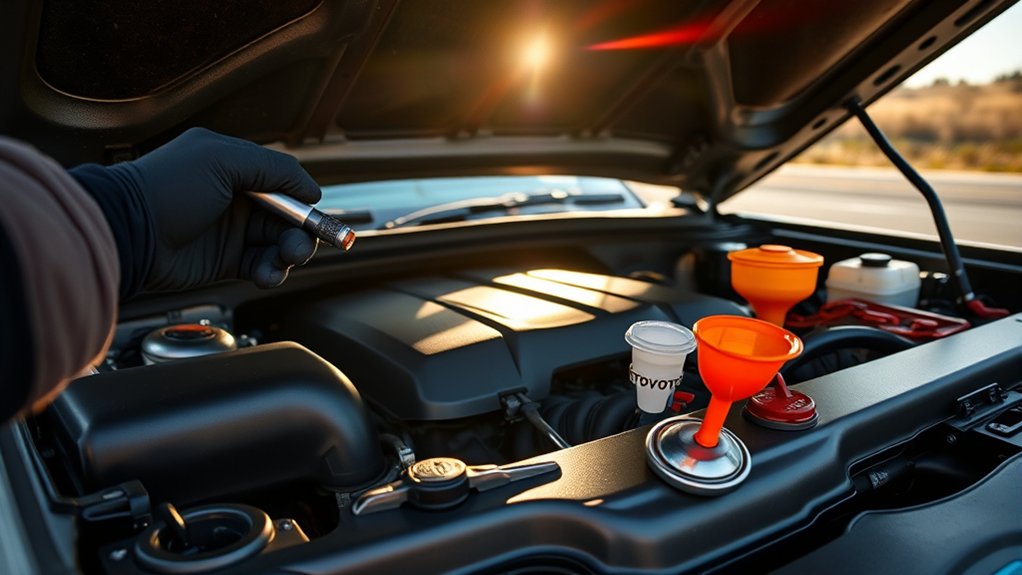
Begin with a walk around and look beneath the engine, transmission, transfer case, differentials, radiator area, and each wheel. A fresh puddle, wet hose, sprayed fluid, or rapidly falling level needs investigation rather than repeated topping off.
Check the Engine Oil
Follow the owner’s-manual procedure, which normally requires level ground and a specified waiting period after the engine is switched off. Remove the dipstick, wipe it clean, reinsert it fully, and check that the level falls within the marked range.
- Add only the oil grade and viscosity specified for the engine.
- Do not overfill; excessive oil can also cause operating problems.
- Arrange service if the oil is overdue, the level repeatedly drops, the oil contains metallic debris, or an oil-pressure warning appears.
Check Coolant and Hoses
With the engine completely cool, inspect the coolant reservoir against its level markings. Look for dried residue, wet hose connections, cracked hoses, abrasion, swelling, or a damaged radiator cap area. Use only the coolant type and mixture specified for the truck.
Warning: Never remove a radiator or pressurized coolant cap while the engine is hot. Escaping steam and coolant can cause severe burns.
Check Brake and Drivetrain Fluids
Inspect the brake-fluid reservoir without introducing dirt. The level should remain between the marked limits. A low level may indicate worn brake components or a leak, so do not automatically top it off and continue driving without finding the cause.
Some older Tundras may provide an owner-checkable transmission dipstick. Many newer systems are sealed and require a temperature-controlled service procedure. For sealed transmissions, transfer cases, and differentials, look for leakage and have suspected loss inspected by a qualified technician.
Check power-steering fluid only if your Tundra has a hydraulic system and the manual provides a reservoir and checking procedure. Do not assume every model has owner-serviceable power-steering fluid.
Check Washer Fluid
Fill the windshield-washer reservoir with fluid rated for the expected temperature. Test the washers and wipers, and replace blades that streak, chatter, split, or leave a large area uncleared.
Pro Tip: After checking the fluids, place a clean sheet of cardboard under the truck for several minutes. New drips are easier to locate against a clean surface than on a stained driveway.
Inspect Tire Pressure, Tread, and Condition
Check all truck tires while they are cold—generally before driving or after the truck has been parked long enough for the tires to cool. Use the recommended pressure on the driver-door placard or in the owner’s manual. The pressure molded into a tire sidewall is a tire limit, not the normal inflation target for the vehicle.
NHTSA recommends checking cold tire pressure, inspecting the tread and sidewalls before long trips, and including the spare tire in the inspection.
Use a tread-depth gauge when possible. For a quick penny test, insert a penny into a main tread groove with Lincoln’s head upside down. If the top of his head remains visible, the tread is at or below the common 2/32-inch replacement threshold. Also replace a tire when its tread is level with the built-in wear bars.
Inspect every tire for:
- Cuts, punctures, exposed cords, bulges, bubbles, or sidewall cracking
- Objects embedded in the tread
- Uneven shoulder or center wear
- Feathering or cupping that may point to alignment, balance, or suspension trouble
- A tire age or condition that conflicts with the tire maker’s replacement guidance
- A load rating that is inadequate for the planned passengers, cargo, and tongue weight
Check the spare tire’s pressure and condition, and confirm that the spare-tire lowering mechanism, jack, wheel tools, and locking-wheel-nut key are present and accessible. Inspect wheel nuts visually; if a wheel was recently removed, follow the correct Toyota or wheel-maker torque and recheck procedure rather than guessing.
When towing, inspect the trailer tires as carefully as the truck tires. Trailer tires may age out or develop sidewall damage before the tread appears worn.
Evaluate Your Tundra’s Suspension and Steering
Suspension and steering defects can become more noticeable when the truck is carrying cargo, pulling a trailer, or driving on rough surfaces. Look for unusual tire wear, a vehicle that sits lower on one side, fluid leaking from a shock, damaged boots, bent hardware, or fresh contact marks.
Inspect Control Arms Thoroughly
Use a flashlight to inspect visible portions of the upper and lower control arms. Look for bending, cracks, severe corrosion, damaged bushings, loose-looking fasteners, or signs that a component has contacted a rock or other obstacle.
Inspect visible shock and strut mounts, sway-bar links, bushings, and spring components. Clunking over bumps, wandering, a crooked steering wheel, excessive bouncing, or a sudden alignment change calls for professional inspection.
Warning: Do not place any part of your body beneath the Tundra while it is supported only by its factory jack or a floor jack. Use approved lift points and properly rated stands on firm ground, or have the inspection performed professionally.
Check Ball Joints and Steering Linkage
Ball joints, dust covers, tie-rod ends, and steering linkage affect wheel control and alignment. A basic visual check can identify a torn boot, missing hardware, impact damage, or leaking grease, but measuring joint play correctly may require lifting and loading the suspension according to a service procedure.
| Inspection Area | What to Look For | Action |
|---|---|---|
| Ball joints and dust covers | Torn boots, corrosion, impact damage, looseness, or escaping grease | Arrange a measured inspection if damage or play is suspected |
| Tie-rod ends and steering linkage | Damaged boots, visible movement, looseness, or bent parts | Repair before towing or high-speed travel |
| Lubrication points | A serviceable fitting identified by the applicable manual | Lubricate only with the specified product and procedure |
| Shock mounts and hardware | Cracks, looseness, leakage, damaged bushings, or missing hardware | Repair or replace damaged components |
Brake System Evaluation: Safety First
The brake system must feel consistent and stop the truck without pulling, grinding, severe vibration, excessive pedal travel, or a warning light. Towing and heavy cargo increase the importance of both the truck brakes and any required trailer brakes.
Inspect Brake Pads and Rotors
Look through the wheel openings where visibility allows. Compare the visible inner and outer pads when possible, and check for severe scoring, cracking, heat discoloration, contamination, or an uneven wear pattern.
Do not rely on one generic pad-thickness figure for every Tundra. Wear limits and measurement procedures may vary by model year, brake package, and component. Toyota’s 2025 maintenance guide, for example, calls for frequent visual inspection and periodic measurement of pad thickness and disc runout. Use the applicable service specification or have a technician measure the brakes.
Squealing can have several causes, but grinding, metal-to-metal noise, a sudden pulling sensation, smoke, or a hot-wheel smell requires immediate attention.
Check Brake Fluid Level and Condition
Inspect the reservoir against its minimum and maximum marks. Do not open the reservoir unnecessarily, and prevent dirt, water, oil, or the wrong brake fluid from entering the system.
If the level is low, inspect for a leak and brake wear instead of simply topping it off. Use only the fluid specification listed in the owner’s manual. Replace brake fluid according to the model-specific maintenance requirements or professional test results—not an assumed universal two-year interval.
Perform a Controlled Brake Test
After the visual inspection, conduct a gentle, low-speed check in a safe area away from traffic. Confirm that the pedal feels firm and consistent, the truck stops straight, the parking brake holds as expected, and no warning appears.
Do not perform aggressive stops to “test” questionable brakes. A soft or sinking pedal, grinding, major vibration, fluid leak, warning light, or severe pull is a reason to stop and arrange repairs.
Warning: Do not tow a trailer to compensate for weak truck brakes, and do not rely on the truck alone when the trailer is required to have its own brakes. Trailer-brake requirements vary by jurisdiction and trailer weight.
Tundra Skid Plates and Underbody Protection Checks
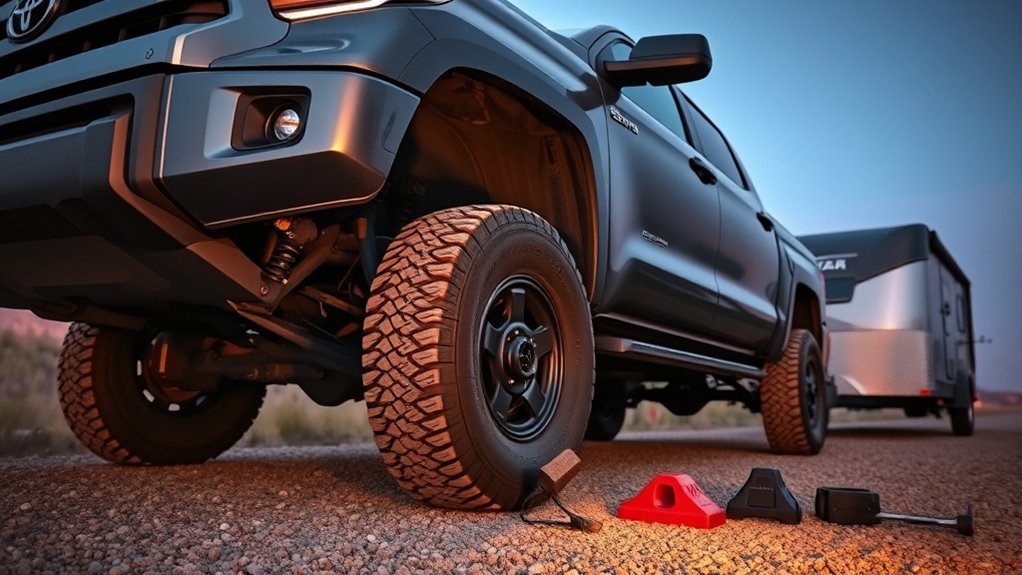
Skid plates help protect vulnerable components, but a bent or loose plate can rub against the engine, transmission, transfer case, exhaust, or driveline. Inspect each visible plate for cracks, deep deformation, missing hardware, loose edges, and fresh impact marks.
Check that the oil pan, transmission area, transfer case, fuel tank, and other protected components have adequate clearance from the plates. Look for fluid trapped on a plate, because it may hide the source of a leak.
Inspect mounting points for tearing, stripped threads, corrosion, and loose hardware. Tighten fasteners only to the correct specification. Overtightening can damage threads or distort a plate.
Also inspect the visible exhaust, heat shields, driveshaft area, brake lines, and spare-tire carrier. Remove packed mud, vegetation, or debris that could hold moisture, contact a rotating part, or create a fire risk around hot exhaust components.
If frequent rock contact has damaged the original protection, choose an upgrade designed for the exact model and verify that it does not obstruct service access, cooling airflow, suspension movement, or ground clearance.
Recovery Gear: What You Need for Off-Roading
Recovery equipment is appropriate only when it matches the vehicle, terrain, attachment points, and recovery method. Inspect every item for cuts, corrosion, deformation, UV damage, missing labels, or an unreadable load rating.
- Rated recovery strap: Use the type specified for the recovery method. A static tow strap and a kinetic recovery rope are not interchangeable.
- Rated recovery points: Confirm that the attachment points are intended for recovery and compatible with the shackle or connecting device.
- Rated shackles or receiver recovery device: Use properly rated components designed for the receiver and expected direction of pull.
- Winch equipment: Carry a controller, tree-protection strap where appropriate, line damper, gloves, and rigging suited to the winch and anchor.
- Traction equipment: Pack traction boards, a shovel, tire gauge, repair kit, and portable compressor.
- Communication and visibility: Carry a charged phone, offline map, whistle, reflective equipment, and a backup communication method for remote travel.
Warning: Never attach a recovery strap to a hitch ball, suspension part, tie-down point not approved for recovery, or damaged hook. Keep bystanders well outside the potential line of recoil. Use a high-lift jack only if you are trained, have a compatible lifting point, and can stabilize the vehicle safely.
A portable winch or high-lift jack is not automatically the safest solution. In many cases, reducing the obstruction, using traction boards, adjusting tire pressure within safe limits, or obtaining professional recovery is safer than a high-energy pull.
Electrical System: Battery, Wipers, and Lights
Start the truck and listen for slow cranking, repeated clicking, or unusual starter noise. A battery that struggles in mild weather may fail during a cold start, after a long stop, or while powering trailer and accessory loads.
With the engine off, inspect the accessible battery area for a loose hold-down, damaged case, corrosion, swollen sides, leaking electrolyte, or loose terminals. Hybrid and conventional Tundras have different systems; do not touch orange high-voltage components or attempt high-voltage service.
Test all required lighting:
- Low- and high-beam headlights
- Front and rear turn signals
- Brake lights and the center high-mounted brake light
- Tail, marker, license-plate, reverse, and hazard lights
- Fog or auxiliary lights, where fitted and legal for road use
- Trailer lights and electric-brake connection, if towing
Check visible wiring for abrasion, pinching, melted insulation, corrosion, poor aftermarket splices, and loose connectors. Replace a blown fuse only with the correct type and rating. A fuse that blows again indicates a fault that needs diagnosis.
Test the horn, windshield washers, wipers, mirrors, cameras, and any trailer-monitoring features you plan to use. Clean the windshield, light lenses, mirrors, cameras, and driver-assistance sensors.
Towing Equipment for Your Tundra: Ensuring Your Hitch Is Ready
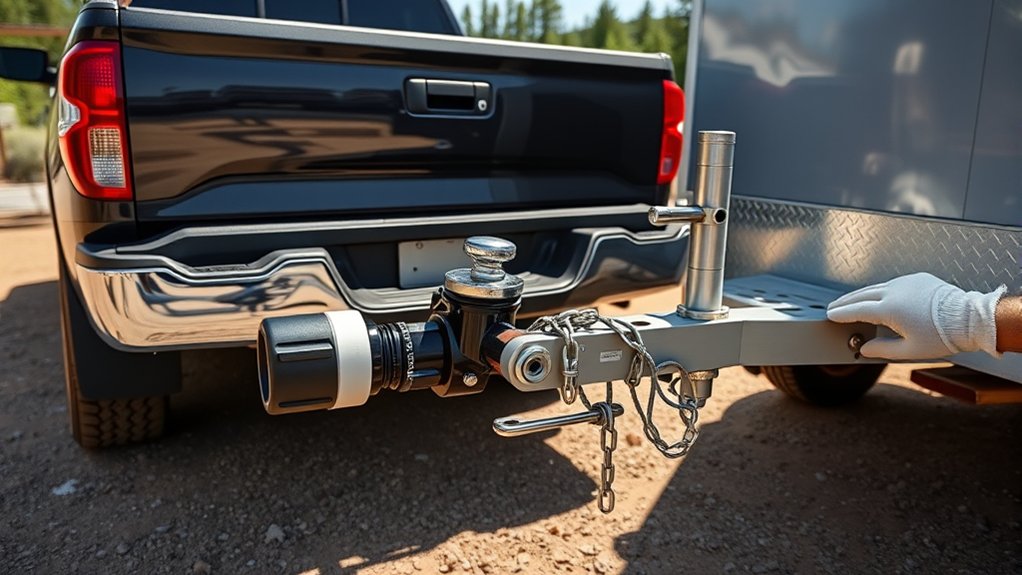
Towing capacity is not one universal number for every Tundra. Toyota currently advertises a maximum of up to 12,000 pounds for eligible 2026 configurations, but cab style, bed length, drivetrain, powertrain, axle ratings, optional equipment, passengers, cargo, accessories, hitch components, and tongue weight can reduce what a specific truck can safely tow.
Verify Every Weight Limit
Before connecting the trailer, identify the ratings for the exact truck, hitch, ball mount, ball, coupler, and trailer. Do not use the highest number printed on one component as the capacity of the complete combination.
- GVWR: Maximum allowable loaded weight of the truck.
- GAWR: Maximum allowable load on each axle.
- Payload: The available capacity for occupants, cargo, accessories, and trailer tongue weight.
- GCWR: Maximum allowable combined weight of the loaded truck and loaded trailer.
- Loaded trailer weight: Trailer, cargo, water, batteries, propane, equipment, and accessories as actually carried.
- Tongue or pin weight: The trailer load imposed on the truck; this consumes payload and affects axle loading.
- Hitch-component ratings: The receiver, ball mount, ball, coupler, weight-distribution equipment, and fasteners must all be suitable for the load.
Load the truck and trailer as they will travel, including passengers and supplies, and use an appropriate public scale when the actual weights are uncertain. Confirm that the truck, each axle, the trailer, and the combined unit remain within every applicable rating.
Toyota warns owners not to exceed the published limits and notes that cargo, occupants, equipment, and vehicle configuration affect the maximum trailer weight. Review Toyota’s current towing guidance and the owner’s manual for your model year.
Inspect the Hitch and Trailer Connection
- Receiver and mount: Check for cracks, impact damage, severe corrosion, elongation around pin holes, missing hardware, or movement.
- Ball and coupler: Confirm the ball size matches the coupler, the coupler fully seats, the latch closes, and the latch pin or lock is installed.
- Hitch pin: Verify the correct pin and retaining clip are fully installed.
- Safety chains: Attach them to approved points, normally crossing beneath the trailer tongue while leaving enough slack for turns.
- Breakaway cable: Connect it to the tow vehicle as directed by the trailer and brake-system manufacturer, separate from the safety chains.
- Trailer brakes: Test the controller, connection, breakaway system, and brake response according to the equipment instructions.
- Wiring: Secure the connector so it cannot drag, pull tight during a turn, or contact the exhaust.
- Trailer tires and wheels: Check cold pressure, tread, sidewalls, wheel fasteners, bearings, and the spare.
- Load securement: Secure cargo against forward, rearward, vertical, and side-to-side movement. Keep the trailer balanced according to its manufacturer’s loading instructions.
- Mirrors and visibility: Adjust towing mirrors and confirm that cameras and blind-spot features do not replace direct observation.
Note: Trailer towing and heavy vehicle loading may qualify as special operating conditions in Toyota’s maintenance schedule. Differential, transfer-case, transmission, chassis-fastener, and other service requirements may change.
Perform a low-speed pull test and brake-controller check in a safe area. After the first few miles, stop where it is safe and recheck the coupler, chains, electrical connector, cargo, tire condition, and any equipment whose manufacturer requires a settling-period recheck.
Essential Emergency Supplies for Your Trip
Build the emergency kit around the route, season, passenger needs, distance from services, and whether you are towing or travelling off road. A city highway trip and a remote winter trail do not require identical supplies.
Pack Essential Tools
- Vehicle jack, wheel tools, spare tire, and locking-wheel-nut key
- Accurate tire gauge, repair kit appropriate for temporary tread punctures, and portable compressor
- Jumper cables or a charged jump starter rated for the vehicle
- Flashlight or headlamp with spare batteries
- Reflective vest, warning triangles, and roadside light
- First-aid kit, gloves, basic hand tools, tape, and cable ties
- Phone charger, paper or offline map, emergency contacts, and roadside-assistance details
- Blankets, warm clothing, rain protection, and a shovel when conditions warrant
- Fire extinguisher suitable for vehicle use, mounted securely and within its service date
Carry replacement fluids only when you know the exact specification and have a safe procedure for using them. A sealed transmission leak, major coolant loss, or brake-fluid leak is not a roadside topping-off problem.
Include Non-Perishable Snacks
Choose shelf-stable food that tolerates the expected vehicle temperature and meets passenger allergy or dietary needs. Granola bars, nuts, dried fruit, crackers, and similar items can help during delays, but rotate them before their quality deteriorates.
Avoid storing food where it can become a projectile during hard braking. Keep it in a closed container secured in the cab or bed.
Prepare a Safe Water Supply
Carry enough drinking water for the route, weather, occupants, pets, and the possibility of delay. Ready.gov’s broader emergency-kit guidance recommends one gallon per person per day for several days, although the practical quantity kept in a vehicle should reflect available space, climate, remoteness, and local emergency planning.
- Store drinking water in clean, sealed containers away from fuel, chemicals, and direct sunlight where possible.
- Rotate stored water and inspect containers for leaks or heat damage.
- Carry additional water for remote travel, extreme heat, passengers with medical needs, or pets.
- Carry manufacturer-specified premixed coolant separately if the route justifies it.
- Use climate-appropriate windshield-washer fluid, not drinking water, in the washer reservoir.
Warning: Do not pour cold water into an overheated engine or remove a hot cooling-system cap. Move to a safe location, shut the engine down, and follow the owner’s-manual overheating procedure.
Final Checklist: Confirm Vehicle Readiness Before Departure
Complete one final walk-around after the truck is loaded and the trailer, if any, is connected. The additional weight can reveal tire, suspension, clearance, and hitch issues that were not visible when the truck was empty.
| Check | Departure Standard |
|---|---|
| Fluids and leaks | Correct levels, no unexplained fresh leak, and no overheating or pressure warning |
| Tires and wheels | Correct cold pressure, usable tread, no bulges or serious damage, and serviceable spare |
| Brakes | Firm pedal, straight low-speed stop, no grinding, major vibration, leak, or warning |
| Steering and suspension | No excessive play, clunking, severe lean, damaged joint boot, or loose component |
| Battery and electrical system | Normal start, secure battery, working lights, horn, wipers, washers, cameras, and trailer wiring |
| Cargo | Weight remains within limits and every heavy item is restrained |
| Towing setup | All ratings verified; coupler, pin, chains, breakaway cable, brakes, lights, and load securement checked |
| Emergency equipment | Accessible, charged, within date, and appropriate for the route and weather |
| Driver readiness | Mirrors adjusted, route and fuel stops planned, phone secured, and driver rested |
Do not depart if you find a tire bulge or exposed cord, a soft or sinking brake pedal, grinding brakes, uncontrolled steering play, a serious fluid leak, overheating, a damaged hitch or recovery point, an overloaded axle, or a critical warning light. Correct the condition or arrange professional service.
Related Guides
Frequently Asked Questions
What are the seven main steps in a Toyota Tundra pre-trip inspection?
Review the truck’s service and recall status; inspect fluids and leaks; check tires and wheels; inspect brakes, steering, and suspension; test the battery, lights, wipers, and other electrical equipment; verify towing or recovery gear; and complete a loaded walk-around with a controlled low-speed test.
Is the Toyota Tundra good for towing?
A properly equipped Tundra can be a capable tow vehicle. Toyota lists a maximum towing capacity of up to 12,000 pounds for eligible 2026 configurations, but many trucks are rated lower. The safe limit for a particular trip depends on the exact truck, available payload, axle ratings, passengers, cargo, tongue weight, hitch equipment, trailer brakes, and loaded trailer weight.
What Toyota Tundra model year should I avoid?
There is no single model year that every buyer should automatically avoid. Certain 2007–2008 Tundras were included in a documented frame-corrosion warranty enhancement, so those trucks deserve a careful frame inspection and history review. For any used Tundra, check the VIN for campaigns, obtain maintenance records, inspect for rust and collision damage, and arrange an independent pre-purchase inspection.
What belongs on a Tundra pre-transport inspection checklist?
Include oil and coolant, visible leaks, tires and spare, brakes, steering, suspension, battery, lights, wipers, warning indicators, cargo securement, emergency tools, vehicle documents, and fuel. When towing, add payload and axle calculations, hitch and coupler checks, safety chains, breakaway equipment, trailer brakes, wiring, trailer tires, and load distribution.
How long before a road trip should I inspect the truck?
Perform the detailed inspection several days before departure so there is time to obtain tires, parts, or service. Recheck cold tire pressure, lights, cargo, fluids, and the trailer connection immediately before leaving.
When should a mechanic inspect the Tundra before a trip?
Arrange professional inspection when service is overdue, the trip involves heavy towing or remote travel, or you notice a leak, warning light, soft brake pedal, grinding, steering play, clunking, uneven tire wear, overheating, battery trouble, or damaged hitch or suspension components.
Conclusion
A Toyota Tundra is ready for a road trip only when its condition and load match the demands of the journey. Check the truck early enough to correct problems, use the specifications for the exact model, and give towing equipment the same attention as the vehicle itself. If a defect affects tires, brakes, steering, cooling, weight limits, or the trailer connection, postpone departure until it is properly resolved.
Sources
- Toyota Tundra Manuals and Warranties — model-specific owner information and access to Toyota documents
- Toyota 2025 Tundra Warranty and Maintenance Guide — scheduled maintenance, fluid inspection, brakes, steering, suspension, and special operating conditions
- NHTSA Summer Driving and Road Trip Tips — cold tire pressure, tread depth, tire damage, spare tires, coolant, fluids, and batteries
- Toyota Vehicles for Towing — current Tundra towing information and configuration caveats
- Toyota Safety Recall and Service Campaign Lookup — VIN-specific recall and campaign checks
- Ready.gov Build a Kit — emergency water, food, lighting, first aid, and communication supplies