
A 360 drone panorama is a stitched spherical image captured from one aerial position. For a clean result, fly in calm conditions, choose a safe location, use your drone’s Pano or Sphere mode when available, and keep exposure and white balance consistent across the source images. If you capture manually, use generous overlap so the stitching software has enough shared detail to align each frame. After the flight, stitch the images with a spherical projection, check the horizon, zenith, nadir, and seams, then export the result for a viewer that supports interactive 360° images.
Last updated: September 11, 2026
Quick Answer
To capture a 360° drone panorama, fly in calm conditions, position the drone in a steady hover, and use Pano or Sphere mode if your model supports it. Keep exposure and white balance consistent, avoid moving subjects when possible, and let the automated mode capture its planned sequence. For manual panoramas, use enough overlap between adjacent frames for reliable alignment. Stitch the images with a spherical projection, inspect the horizon and seams, then export the panorama with the metadata or viewer support required for interactive 360° display.
Key Takeaways
- Calm weather, open space, a clean lens, and enough battery make 360° drone photography safer and easier to stitch.
- Use Pano or Sphere mode when your drone provides it; automatic modes control their own capture sequence and overlap.
- For manual panoramas, roughly 30–40% overlap works well in many textured scenes; increase toward 40–50% when alignment is more difficult.
- Keep exposure, focus behavior, and white balance consistent so adjacent frames blend naturally.
- Inspect the horizon, seams, zenith, nadir, and moving objects before exporting the finished panorama.
- A spherical image needs a compatible 360° viewer or appropriate panorama metadata to display interactively instead of as a flat rectangle.
At a Glance
| Time Required | Automated Sphere capture usually needs only a short flight segment after positioning. Manual multi-row capture takes longer. Stitching and editing time varies with source-file count, resolution, and software. |
| Difficulty | Beginner to intermediate. Automated Sphere capture is straightforward, while manual multi-row shooting and difficult seam repair require more control. |
| Tools Needed | Camera drone, controller, charged battery, memory card, panorama-capable capture method, stitching/editing software, and a compatible 360° viewer or hosting platform. |
| Cost | There may be no extra software cost if your drone app can capture and stitch the panorama. More advanced desktop stitching or hosting tools may require a paid license or plan. |
Choose the Right Capture Workflow
| Method | Best For | Main Watch-Out |
|---|---|---|
| Automated Sphere/Pano mode | Fast, repeatable 360° capture when the drone supports it. | Keep the aircraft steady and let the programmed sequence finish without interrupting it. |
| Manual horizontal panorama | Wide landscape images that do not need full spherical coverage. | Use consistent settings and roughly 30–40% overlap in normal textured scenes. |
| Manual multi-row sphere | Advanced workflows when automatic Sphere mode is unavailable or more control is required. | Coverage, overlap, zenith/nadir gaps, and aircraft movement become much more important. |
Panorama capability is model-specific. For example, DJI currently documents Sphere panorama capture on the Mini 4 Pro and Sphere plus other panorama modes on the Air 3S. Check the manual or current support page for your exact aircraft and firmware.
What Is a 360 Drone Panorama?

A 360 drone panorama, also called a spherical panorama or aerial photo sphere, combines multiple overlapping photographs taken around one aerial viewpoint. A compatible viewer wraps the stitched image around a virtual sphere, allowing the viewer to look left, right, up, down, and behind the original camera direction.
These high-resolution, interactive images are useful for virtual tours, real estate presentations, tourism pages, construction progress records, outdoor storytelling, and visual site documentation. They differ from a normal wide panorama, which may cover only part of the horizontal scene and may remain a flat image.
Many modern camera drones can automate the capture. The aircraft hovers while the camera and aircraft move through a model-specific sequence of overlapping frames. The exact source-image count varies by drone, camera mode, and firmware, so there is no single correct number for every aircraft.
A complete photo sphere is commonly exported using an equirectangular projection. In a normal image viewer, that file can look stretched or distorted. A compatible 360° viewer interprets the spherical projection and lets the viewer look around naturally. Some drone designs cannot point the camera far enough upward to capture the entire zenith, so the finished image may require a small sky repair during stitching.
A strong 360° drone panorama starts before editing. Stable flight, consistent exposure and color, and enough shared image detail give the stitching software cleaner material to align.
Once you have the source files, you can stitch and edit them with your drone’s companion app or desktop tools such as Lightroom, Photoshop, PTGui, or PANOVOLO. The main editing tasks are horizon leveling, seam inspection, color balancing, zenith and nadir cleanup, and export for a compatible viewer.
A 360 panorama is excellent for visual documentation, but it is not automatically a survey-grade orthomosaic or measurable 3D model. If you need map accuracy, measurements, point clouds, or reconstructed geometry, use a dedicated drone photogrammetry workflow instead.
Preparing for the Flight
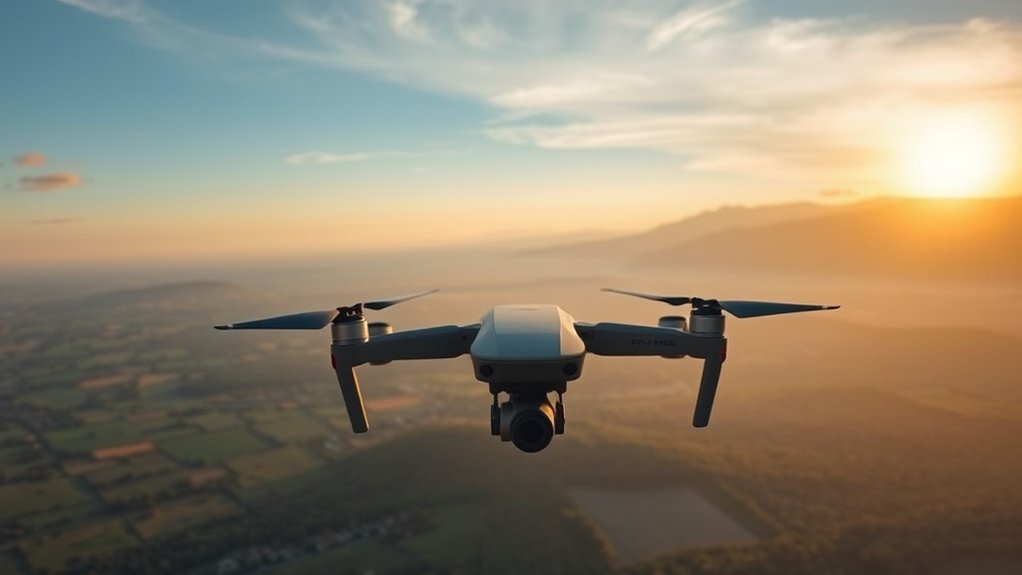
Capturing a clean 360 drone panorama starts with a stable, legal flight. Wind, glare, a low battery, moving subjects, or a crowded launch area can create both safety problems and stitching errors.
Check the weather conditions before flying. Choose conditions comfortably inside your aircraft’s operating limits rather than treating its published maximum wind resistance as a target. Low gusts are especially valuable because sudden movement between frames can shift the camera position and make alignment harder.
Fully charge your drone and controller. Check the memory card, propellers, lens, compass or positioning status, GPS availability where applicable, home point, and return-to-home settings. Leave enough battery reserve to complete the panorama, fly back safely, and land without rushing.
Select a safe, open area with adequate separation from people, trees, power lines, buildings, birds, and other obstacles. Confirm the rules that apply to your country, airspace, property, and type of operation before takeoff.
U.S. flight-safety note: Recreational flyers and ordinary Part 107 operations generally require the drone to remain within visual line of sight, and controlled-airspace operations may require authorization. Review the current FAA recreational-flyer rules or Part 107 operating requirements for the operation you plan to conduct.
Warning: Never focus so heavily on the panorama that you stop monitoring the aircraft and surrounding airspace. End the capture and land if wind, battery level, aircraft warnings, people, wildlife, or other activity makes the flight unsafe.
Keep your drone firmware and flight app in a known-good state, but avoid installing an update immediately before an important shoot. If you update firmware, test the aircraft and panorama mode in a safe area before relying on it for client or travel work.
Before takeoff, clean the lens and decide your capture position, altitude, subject, sun direction, and final use. A position that is too low may place nearby obstacles across several frames, while an unnecessarily high position can reduce foreground detail and make the scene feel distant.
With the location, weather, battery, airspace, and camera plan checked, you can focus on a stable capture instead of troubleshooting basic problems in the air.
[Amazon Products Picked for You]

[DUAL BATTERY CHARGER]: This Dual Battery Charger can charge two different batteries by two channels at the same time(please don't charge two different batteries on the same channel simultaneously). AC input max power 150W(CH1+CH2=150W), 100-240V; DC input max power 240W(CH1+CH2=240W), 11-18V; charge current: 0.1-10A*2; discharge power: 10W; discharge current: 0.1-2A*2.
Package includes:1pcs USB charging cable.
How to Capture a 360 Drone Panorama
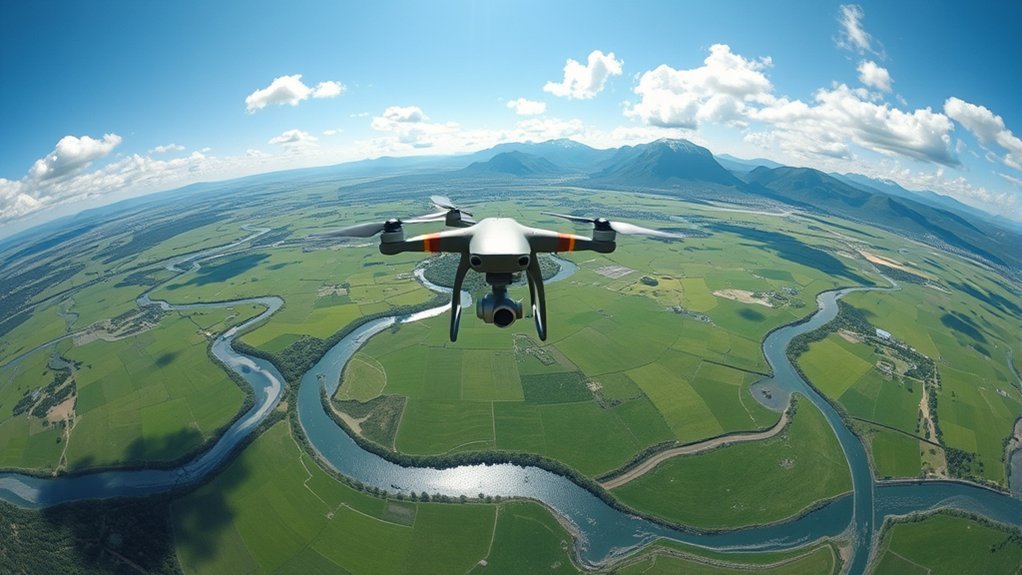
For a full spherical panorama, position the drone where you want the viewer’s virtual viewpoint to be and establish a stable hover. Scenes with mostly stationary subjects are easier to stitch. Moving cars, people, waves, smoke, flags, and fast-moving clouds can appear in different positions across adjacent frames and create ghosting or duplicated objects.
If your drone supports an automated Sphere or 360° panorama mode, use it for the simplest workflow. Once the sequence starts, avoid unnecessary stick input and let the programmed capture finish unless safety requires you to interrupt it.
Keep exposure consistent across the source images. If your aircraft allows manual exposure or exposure locking, check the brightest and darkest parts of the scene before starting the sequence. Protect important highlight detail while avoiding unnecessary underexposure.
Use a fixed white balance rather than allowing Auto White Balance to change from frame to frame. Choose a preset or Kelvin value that suits the actual light, then leave it unchanged for the panorama. Consistency matters more than using one universal Kelvin number.
If your drone offers RAW+JPEG capture for panoramas, keeping both can be useful. JPEG gives you a quick preview or app-based stitch, while RAW/DNG files provide more flexibility for exposure and color correction before a desktop stitch. For a deeper comparison, see RAW vs JPEG for drone photos.
For automated Sphere capture, let the aircraft control its own image sequence. For manual capture, keep camera settings fixed and give every adjacent frame enough shared detail for the stitching software to match.
If you are shooting manually, use roughly 30–40% overlap between adjacent frames in well-textured scenes. Increase toward 40–50% when the scene contains limited texture, repeating patterns, water, difficult geometry, or other areas that are harder to match. Extra overlap costs additional frames, but too little overlap can leave the software without reliable control points.
For a single 360° sphere, keep the drone as close as practical to one position while the camera covers the scene. Translating sideways between source images creates parallax, especially when foreground objects are close to the drone.
Pro Tip: Leave a little extra coverage around important edges when shooting manually. Extra sky, ground, and side coverage gives the stitcher more room to align, level, and crop the result.
Composition still matters in a spherical image. Think about the full environment rather than only the direction the camera initially faces. Check what will appear behind the drone, directly below it, and near likely stitch boundaries.
[Amazon Products Picked for You]

【Avata 360 Accessories】Gimbal bumper is only compatible with DJI Avata 360 drone. It allows you to switch freely between panorama and single-lens modes, and the bumper will not appear in the frame

1-Inch 8K 360° Imaging - With 1-inch-equivalent sensors [1], light and shadow are captured with exquisite clarity. 8K/60fps HDR 360° video provides sufficient resolution for sharp cropped shots.

1-Inch 8K 360° Imaging - With 1-inch-equivalent sensors [1], light and shadow are captured with exquisite clarity. 8K/60fps HDR 360° video provides sufficient resolution for sharp cropped shots.
How to Stitch and Edit Drone Panorama Photos
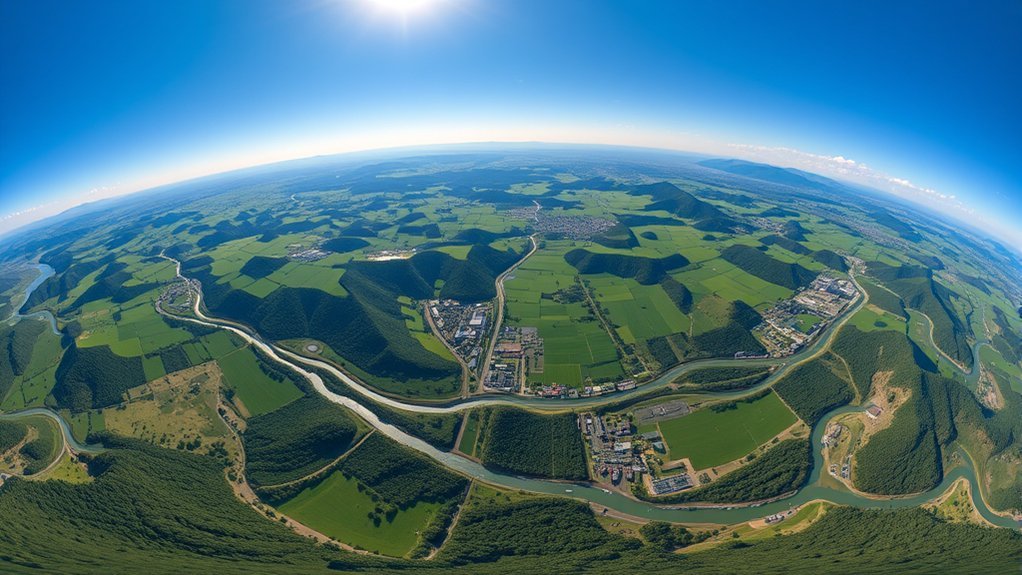
A seamless panorama depends more on clean source images than aggressive repair afterward. Before stitching, inspect the sequence for blur, missing frames, strong exposure changes, moving objects, or a shifted aircraft position.
For manual panoramas, keep overlap, exposure, focus behavior, and white balance consistent. Around 30–40% overlap is a useful working range for many textured scenes, while more difficult areas may benefit from 40–50%. Automated Sphere modes determine their own frame spacing, so do not try to apply a manual overlap percentage to an automatic sequence.
If your drone app creates an automatic 360° image, start by reviewing that result. It can be ideal for quick sharing. Keep the original source files, however, if you may want more resolution, better color control, or manual seam correction later.
For a desktop workflow, tools such as PTGui, Lightroom, Photoshop, and PANOVOLO provide different levels of control. In Lightroom, Adobe provides a Spherical panorama projection specifically for very wide and 360-degree panoramas.
If you need to correct RAW files before stitching, synchronize broad corrections across the sequence rather than independently grading every frame. Large frame-to-frame differences in exposure, white balance, contrast, or sharpening can make seams more obvious.
After the stitch is created, inspect the horizon first. A tilted horizon is immediately noticeable in an interactive viewer. Then inspect building edges, roads, trees, wires, waves, and other features that cross seams.
Check the zenith directly above the viewpoint and the nadir directly below it. Depending on the drone and capture geometry, the zenith may contain an uncovered sky area and the nadir may contain the aircraft, its shadow, a launch pad, or a distorted ground patch. Repair these areas carefully rather than cloning large, obviously repeated textures.
For interactive delivery, export the final image in a projection supported by your chosen viewer. A full photo sphere is commonly stored as an equirectangular image. Compatible services may also depend on spherical metadata to identify the projection, orientation, and full panorama dimensions. Google documents the relevant Photo Sphere XMP metadata.
Note: An equirectangular 360° image normally looks stretched when opened as a standard flat photo. That does not automatically mean the stitch is broken. Test it in a compatible spherical viewer before changing the image.
Common 360 Drone Panorama Mistakes to Avoid
Even a good drone and a strong location can produce a weak panorama if the source frames do not line up cleanly. Most failures come from aircraft movement, changing camera settings, poor manual overlap, moving subjects, or incomplete spherical coverage.
- Flying in too much wind: Wind and gusts can move the drone between frames and make seam alignment harder.
- Using auto white balance: Frame-to-frame color shifts can create obvious bands across the final panorama.
- Letting exposure change dramatically: Adjacent frames may blend poorly when the camera reacts differently to bright sky and dark ground.
- Using too little overlap in manual capture: The stitcher may not find enough matching detail between adjacent images.
- Ignoring moving subjects: Cars, people, waves, flags, and clouds may be duplicated or cut at a stitch boundary.
- Forgetting the zenith or nadir: Full spheres can reveal missing sky, the aircraft, its shadow, the launch point, or stretched ground detail.
- Deleting the source files after an app stitch: Keeping the originals gives you another chance if the automatic stitch has low resolution or visible errors.
If the panorama fails, inspect the source sequence before blaming the software. One blurred image, a skipped frame, an aircraft-position change, or a large exposure shift can affect the entire result.
360 Drone Panorama Troubleshooting
| Problem | Likely Cause | What to Do |
|---|---|---|
| Visible vertical seam | Exposure/color change, weak overlap, parallax, or alignment error. | Review the source frames, synchronize corrections, improve control points if your software allows it, or recapture with steadier positioning. |
| Person, car, or wave appears twice | The subject moved between overlapping frames. | Choose a quieter moment, mask the better source frame during stitching, or retouch the duplicate carefully. |
| Curved or tilted horizon | Projection or leveling error. | Use spherical projection for a full sphere and level the panorama before final export. |
| Hole or strange patch directly overhead | The drone/gimbal could not capture the complete zenith. | Use your stitcher’s zenith-fill workflow or repair the missing sky conservatively. |
| 360 image appears as a flat rectangle online | The site is treating the equirectangular file as a normal image or the required spherical metadata/viewer support is missing. | Test the file in a dedicated 360° viewer and verify the platform’s projection and metadata requirements. |
How to Share a 360 Drone Panorama
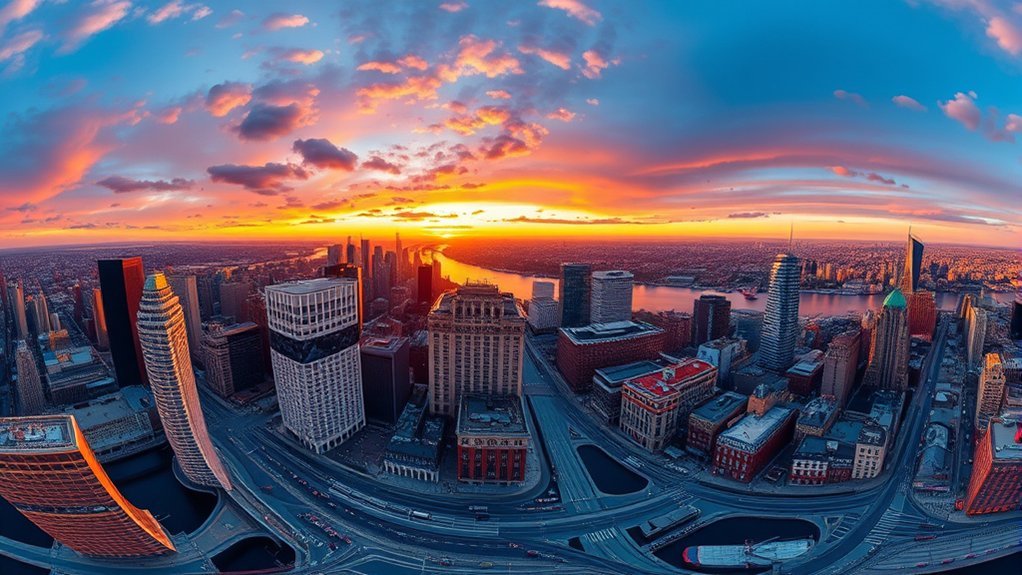
Once the panorama is stitched, choose a delivery method that actually renders a spherical image. Uploading the JPEG to a normal image block may only show the stretched equirectangular file rather than an interactive view.
Useful delivery options include:
- Dedicated 360° viewer or hosting platform: Upload the equirectangular panorama to a service designed to display photo spheres interactively.
- Website embed: Use a compatible viewer, iframe, or WordPress integration that supports spherical panoramas.
- Photo-sharing or mapping service: Confirm that the service currently accepts your projection and metadata before relying on it for delivery.
- Client package: Provide the interactive version plus a normal flat preview image for email, documents, or listings that cannot render 360° media.
- Web-optimized copy: Keep a high-resolution master, then make a smaller delivery version when faster loading is more important than maximum zoom detail.
Before publishing, test the panorama on both desktop and mobile. Drag or swipe all the way around the sphere, look straight up and down, inspect the horizon, and confirm that the image remains sharp enough after the platform applies compression.
If the file looks flat, test the same export in a known 360° viewer before re-editing it. A display or metadata problem is different from a failed stitch.
Frequently Asked Questions
How do you stitch DJI panorama photos together?
Start by keeping the original panorama source files. You can review the automatic stitch created by the DJI app, or export the source images to software such as Lightroom, Photoshop, PTGui, or PANOVOLO for more control. Use a spherical projection for a full 360° panorama, level the horizon, inspect seams and moving objects, repair the zenith or nadir if necessary, then export the finished file for a compatible 360° viewer.
How do you take 360 photos with a drone?
Choose a legal, open location and calm conditions, position the drone in a steady hover, and select Pano or Sphere mode if the aircraft supports it. Keep exposure and white balance consistent and let the automated sequence finish. If you are shooting manually, capture enough overlapping frames to cover the full scene. Stitch the sequence afterward and view the export in software that supports spherical images.
What is the difference between a 360 photo and a panorama?
A normal panorama is usually a wide horizontal or vertical image and may cover only part of the surrounding scene. A full 360° photo, or photo sphere, represents the complete spherical view around one position and is designed for interactive viewing. It is commonly stored using an equirectangular projection and displayed inside a compatible 360° viewer.
How do you shoot a 360 panorama cleanly?
Keep the drone as steady as possible, avoid strong wind and busy moving scenes, and use fixed exposure and white balance when your camera allows it. Let an automated Sphere mode complete its full sequence without interruption. For manual capture, maintain consistent settings and generous overlap so adjacent frames contain enough shared detail for accurate stitching.
Why does my 360 drone photo look flat after uploading?
A stitched photo sphere is commonly stored as an equirectangular image, which looks stretched when displayed like a normal photograph. If the upload remains flat instead of becoming interactive, the platform may not support 360° viewing or may not recognize the required spherical metadata. Test the export in a dedicated 360° viewer before assuming the stitch itself is broken.
What is the best weather for 360 drone panoramas?
Calm, dry conditions with low gusts are easiest because the drone can stay closer to one position while capturing the sequence. Soft, stable light also reduces extreme brightness differences across the sphere. Avoid treating the drone’s maximum rated wind resistance as a normal shooting target, and land if conditions become unsafe.
Do all drones support 360° panorama mode?
No. Panorama features vary by aircraft, camera, app, and firmware. Some camera drones provide an automated Sphere mode, while others offer only wide, vertical, or standard panorama modes. Check the current manual or manufacturer support page for your exact model before planning an automated 360° workflow.
Conclusion
Creating a clean 360° drone panorama depends on four things: safe flight planning, a stable capture position, consistent source images, and a stitching workflow designed for spherical output.
Use automated Sphere mode when your drone supports it. If you capture manually, maintain reliable overlap and fixed camera settings. After stitching, inspect the horizon, seams, zenith, nadir, and moving subjects before exporting the final equirectangular image.
Finally, test the result in an actual 360° viewer rather than judging it only as a flat JPEG. Keep the original source files and a high-resolution master so you can restitch or create new delivery versions later without flying the scene again.
