Fly fishing knots are easiest to learn when you match one knot to each connection in the rig. Use an Arbor Knot for backing to the reel, an Albright or Nail Knot for backing to fly line, a loop-to-loop connection or Nail Knot for fly line to leader, a Double Surgeon’s or Blood Knot for leader to tippet, and a Clinch, Improved Clinch, Uni, or Pitzen Knot for tippet to fly. You do not need to memorize every knot at once; learn the connections you will actually tie on the water first.
Last updated: September 21, 2026
Quick Answer
A beginner can cover a complete fly rig with five connection choices: Arbor Knot for backing to reel; Albright or Nail Knot for backing to fly line; loop-to-loop or Nail Knot for fly line to leader; Double Surgeon’s or Blood Knot for leader to tippet; and Clinch, Improved Clinch, Uni, or Pitzen Knot for tippet to fly. Practice each with the line you actually fish.
Key Takeaways
- Use the Arbor Knot to anchor backing to the reel arbor; it is a simple attachment knot, not a substitute for enough backing.
- For backing to fly line, an Albright Knot is a common choice; a Nail Knot is another slim option when the materials and line construction suit it.
- Use a Double Surgeon’s Knot for a quick leader-to-tippet connection and a Blood Knot when the two line diameters are reasonably close.
- For tying on a fly, start with the Clinch or Improved Clinch Knot; Uni and Pitzen knots are compact alternatives once you can tie them consistently.
- Moisten nylon or fluorocarbon knots with water or saliva, seat the wraps evenly, trim the tag end, and test the connection before casting.
At a Glance
| Time Required | 10 to 20 minutes of practice per session |
| Difficulty | Beginner to intermediate |
| Tools Needed | Fly line, backing, leader, tippet, fly, nippers, and optional knot tool or small tube for Nail Knots |
| Cost | Usually no extra cost if you already have fly fishing line and tippet |
Fly Fishing Knots: Which Knot Goes Where?
A fly-fishing setup has five main connection points. The table below gives a practical default for each one and a common alternative, so you can learn the system from the reel outward.
| Connection | Beginner Default | Alternative |
|---|---|---|
| Backing → reel arbor | Arbor Knot | Use the reel maker’s approved method if different |
| Backing → fly line | Albright Knot | Nail Knot |
| Fly line → leader | Loop-to-loop when both ends have compatible loops | Nail Knot for a permanent low-profile connection |
| Leader → tippet | Double Surgeon’s Knot | Blood Knot for similar diameters |
| Tippet → fly | Clinch or Improved Clinch Knot | Uni, Pitzen, or Non-Slip Mono Loop for specific uses |
Importance of Knot Tying
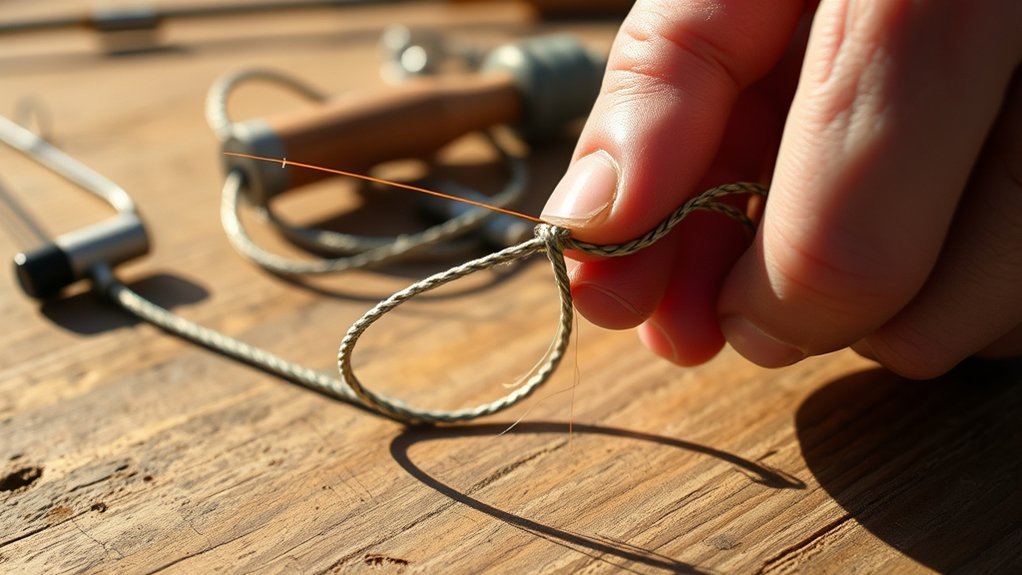
When you’re out on the water, the last thing you want is to lose a fish because of a failed knot. Knot tying is a fundamental skill in fly fishing because every part of your setup depends on secure connections. One weak knot can waste a good cast, damage your confidence, or cost you a fish you worked hard to hook.
Mastering reliable knots also makes you more efficient. You can replace tippet faster, change flies with less frustration, and fix problems without ending your fishing session early. Many novice anglers struggle with this skill, so steady practice gives you a real advantage.
The tippet to fly junction is especially important because it takes direct pressure during hook sets, strikes, and fights. If that knot slips, cuts itself, or weakens from friction, you may lose the fish even when the rest of your setup is sound.
Good knot-tying skill matters more than knowing a long list of knots. Prioritize a small set you can tie correctly in wind, cold, low light, and with wet hands, then add specialized knots only when a specific rig calls for them.
Note: A knot does not need to be fancy to work well. It needs to be appropriate for the connection, tied correctly, moistened, tightened evenly, and checked before use.
Backing to Reel Arbor
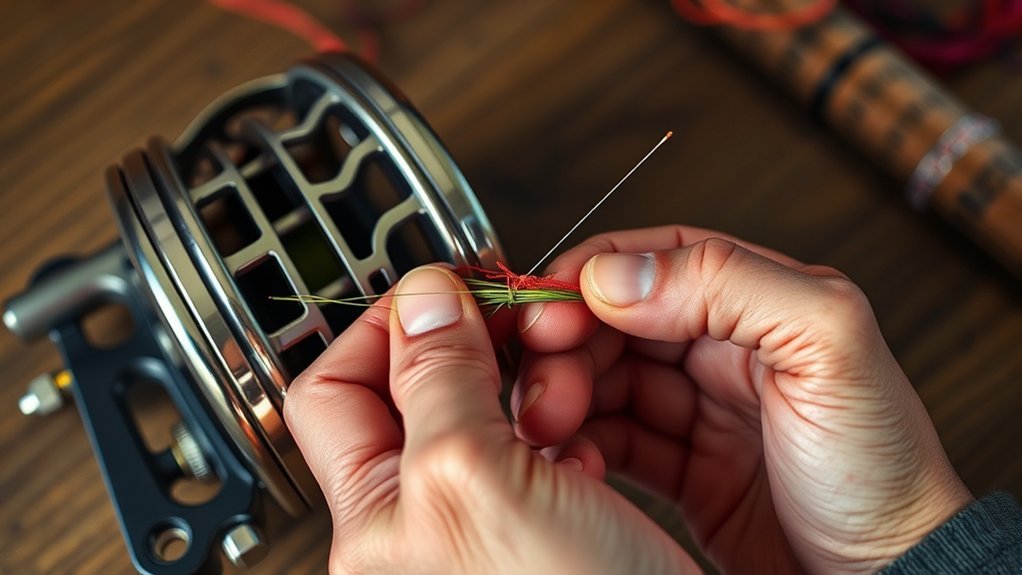
Use an Arbor Knot to anchor the backing to the reel arbor before you begin spooling. The standard form is simple: one overhand knot creates the attachment around the arbor, and a second overhand knot in the tag end acts as the stopper.
Follow these steps:
- Start the stopper: Tie an overhand knot in the tag end of the backing, then wrap the backing around the reel arbor.
- Tie around the standing line: With the tag end, tie a second overhand knot around the standing part of the backing.
- Seat the knot: Tighten the second knot, then pull the standing backing so the stopper knot jams against it at the arbor.
The Arbor Knot is an attachment knot, not a connection you should plan to fight a fish against. Load the reel with the correct amount of backing for the reel and line so a running fish does not reach the arbor knot.
Pro Tip: After tying the Arbor Knot, wind the first few yards of backing slowly and firmly. Tight early wraps help prevent the backing from spinning around the arbor under pressure.
[Amazon Products Picked for You]

Choosing your line is easy: pick 20lb for trout, bass, and most freshwater fly fishing; choose 30lb for salmon, saltwater, or pike, or when you need extra bulk to fill a large reel. Both strengths come in 50m and 100m spools to suit small to large reels, and both run slim enough to load plenty of line without overfilling
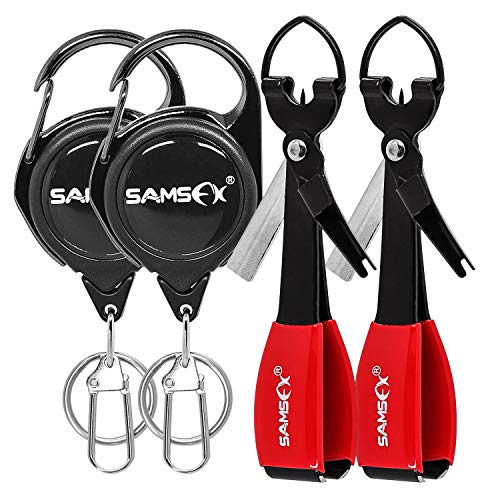
2 sets quick knot tying tool combo, 2 pieces fishing line clippers, 2 pieces fishing zinger retractors & user manual
Easy Fast Safe Sure
Backing to Fly Line
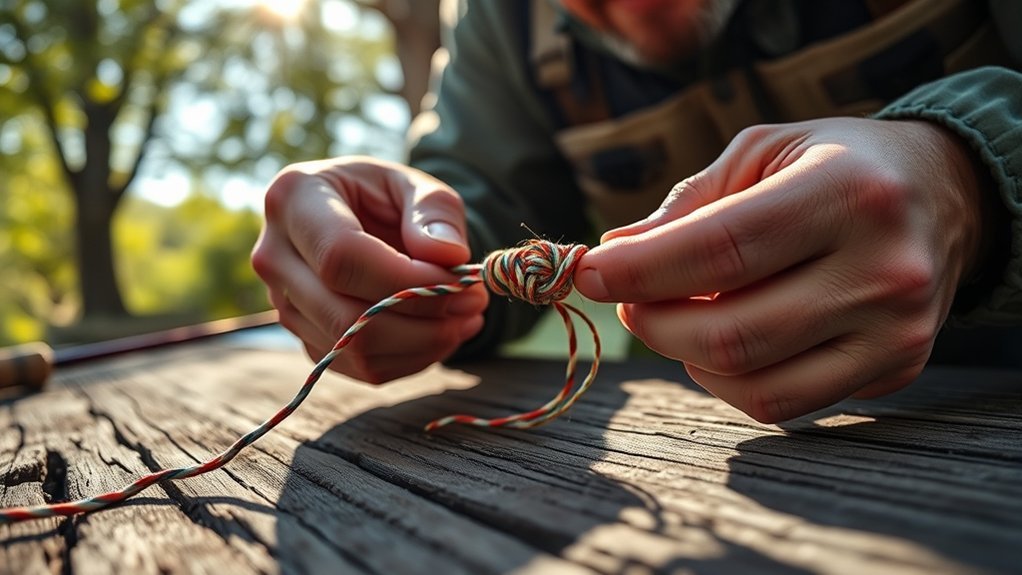
For backing to fly line, the Albright Knot is a common choice because it joins materials with very different diameters. A Nail Knot can also be used for this connection and creates a slim profile, but the exact method depends on the fly line’s construction.
To tie a basic Albright connection:
- Form a loop in the thicker fly-line end and pass the backing through that loop.
- Wrap the backing neatly around both legs of the fly-line loop, working toward the loop opening.
- Pass the backing back through the loop on the same side it entered.
- Moisten if appropriate for the backing material, tighten the connection gradually, and pull firmly on both standing parts to test for slip before trimming.
If your fly line has a manufacturer-made rear loop, follow the line maker’s instructions for attaching backing. A loop system is convenient for changing lines, while a properly tied direct connection is usually slimmer.
Wind the backing onto the reel under even tension. Loose coils can bury into lower layers when a fish runs, so the quality of the spool-up matters almost as much as the knot itself.
[Amazon Products Picked for You]

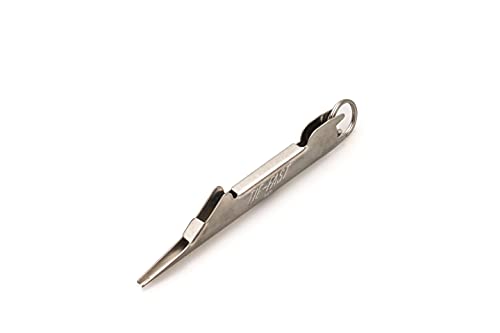
Serviceable to Use: our 2-in-1 fly fishing nail knot tool is made of quality stainless steel, with beautiful black and smooth appearance, not easy to break or rust, not easy to corrode or deform, offering a long service time and providing you with a satisfying using experience

Suitable size. The length of the line tie hook is 3.94 inches and the weight is 10g. It is small and convenient, easy to carry, making it an ideal addition to your fishing tools or fly fishing gear.
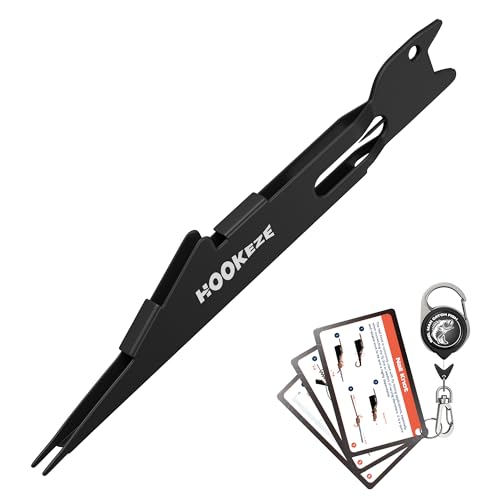
Easy & Safe Nail Knot Tying: Tie perfect nail knots quickly and securely—regardless of your experience level. Whether you're a beginner just learning the ropes or a seasoned angler, this tool takes the frustration out of knot tying. It’s especially helpful for cold hands, gloved fingers, or limited dexterity, making every outing smoother and more enjoyable
Fly Line to Leader
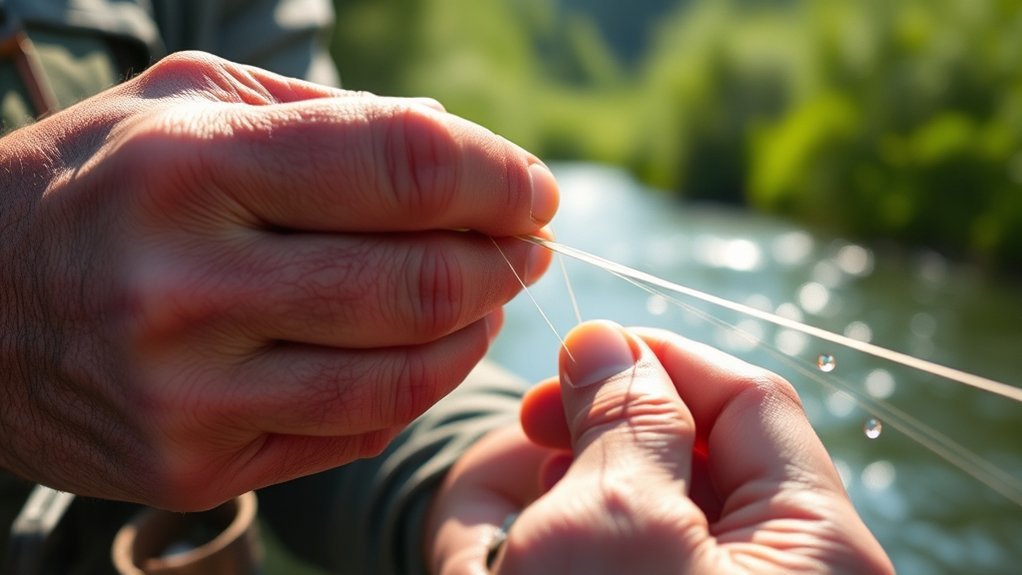
The easiest fly line-to-leader connection for many modern setups is loop-to-loop when the fly line has a permanent loop and the leader has a compatible butt loop. If the fly line has no loop, a Nail Knot gives a permanent, low-profile connection between the leader butt and fly line.
For a loop-to-loop connection:
- Pass the fly-line loop through the leader’s butt loop.
- Pass the entire leader through the fly-line loop.
- Pull the two lines apart until the loops seat cleanly against each other without twisting.
For a Nail Knot, place a small tube or knot tool beside the fly line, wrap the leader butt around the fly line and tube in neat coils, pass the tag end back through the tube, remove the tube, then tighten the coils evenly before trimming.
Do not cut off a sound welded loop simply because a Nail Knot is slimmer. Remove a loop only if it is damaged or if you intentionally want to convert the line to a permanent direct connection.
Warning: If a welded loop is cracked, separating, or badly worn, stop using it until you repair the connection or replace the line. A damaged loop can fail under load.
Leader to Tippet
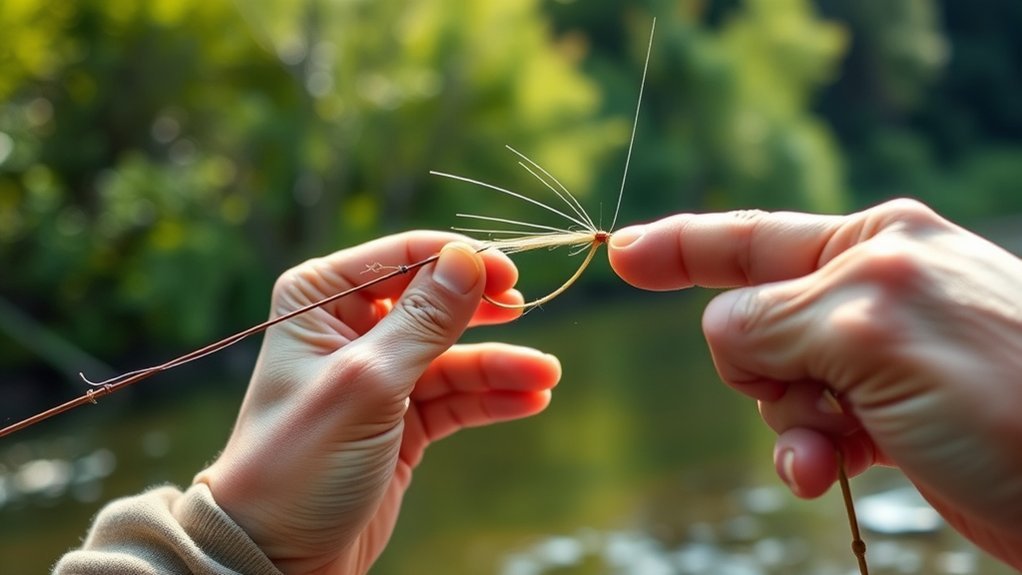
For a leader-to-tippet connection, start with the Double Surgeon’s Knot when you want a fast, forgiving join. Use a Blood Knot when the two line diameters are reasonably close and you want a neater, straighter connection.
To tie a Double Surgeon’s Knot:
- Overlap the leader and tippet by about 4 to 6 inches.
- Form a loop with both strands together.
- Pass both ends through the loop twice, keeping the strands parallel rather than crossed.
- Moisten the knot, pull all four ends so it tightens evenly, then trim the tag ends.
For a Blood Knot, overlap the two lines, wrap each tag end around the opposite standing line, bring both tags back through the center opening from opposite directions, moisten, and pull the standing lines apart so the coils seat symmetrically.
A single Uni Knot is primarily a terminal knot; if you want to join two separate lines with the Uni system, use a Double Uni. In most trout leader work, the Double Surgeon’s or Blood Knot is simpler and more conventional.
Inspect this junction after snags, fish, or abrasion. Replace tippet that looks cloudy, kinked, nicked, or rough before tying a new knot.
Tippet to Fly Connection
The tippet-to-fly knot is the connection you will retie most often. For beginners, the Clinch Knot is a simple starting point, while the Improved Clinch, Uni, and Pitzen knots are useful alternatives. Your best choice depends on tippet diameter, hook-eye size, fly style, and which knot you can tie consistently.
For streamers or other flies where extra movement is useful, a Non-Slip Mono Loop can let the fly pivot more freely than a knot that cinches tight against the hook eye.
Which Knot Should You Use to Tie on a Fly?
Use this decision rule instead of trying to rank every terminal knot:
- Clinch Knot: A simple, beginner-friendly choice for many trout, bass, and panfish flies.
- Improved Clinch Knot: Adds a final pass through the larger loop; use it when it seats neatly with your tippet and hook-eye size.
- Uni Knot: A versatile terminal knot that is easy to inspect because the coils should stack cleanly.
- Pitzen Knot: A compact terminal knot worth learning if you can tie and seat it consistently.
- Non-Slip Mono Loop: Use when you want the fly to move more freely at the connection, especially with streamers or larger patterns.
Do not choose by name alone. Tie the knot with your actual tippet and fly, moisten it, seat it smoothly, and pull-test it. If the coils cross, bunch, or refuse to seat, cut it off and retie.
How to Tie a Clinch or Improved Clinch Knot
For a standard Clinch Knot, pass the tippet through the hook eye, wrap the tag end around the standing line, then pass the tag back through the small loop beside the hook eye. Moisten and tighten by pulling on the fly and standing line until the coils seat neatly.
For the Improved Clinch, follow the same steps but pass the tag end through the larger loop created after it comes through the small eye-side loop. The exact number of wraps should match line diameter and knot behavior; five turns is a common starting point for light trout tippet.
Whichever version you use, inspect the finished knot. The coils should sit next to each other without crossing, and the tag end should not pull back through when you apply a firm, steady test.
General Knot Tips
When tying nylon or fluorocarbon knots, moisten them with water or saliva before tightening. This reduces friction as the wraps slide into their final position.
Testing your knot strength after tying is essential because it confirms your connection can withstand the pressures of fishing. A gentle pull test can reveal a poorly seated knot before a fish does.
Use sharp nippers to trim tag ends close, but not so close that the knot can slip. Leaving a tiny tag end is usually safer than cutting flush against the knot.
Knot Moistening Techniques
Moistening your knots before tightening them is essential for ideal performance because it considerably reduces friction and prevents heat build-up that could weaken the line.
Light lubrication helps the wraps seat smoothly and makes crossed or bunched coils easier to spot before you apply full pressure.
Follow these techniques for effective knot moistening:
- Use Water or Saliva: Lightly wet nylon or fluorocarbon before seating the knot so the wraps can slide into place with less friction.
- Apply Just Enough: Aim for sufficient lubrication to help the knot tighten smoothly without soaking the line.
- Check the Knot: After moistening, verify that the knot is tightly secured, seated correctly, and free from frays or weaknesses before casting.
Incorporating these techniques can considerably improve your knot performance while fishing.
Testing Knot Strength
Before you hit the water, testing your knots is essential to confirm they can withstand the pressures of fishing. Use your fishing line and steady hand pressure to verify that the knots meet your strength requirements.
If you want more precise practice at home, you can use a spring balance to compare how different knots perform with the same line. This helps you see which knots you tie most consistently.
Remember to moisten knots before tightening. This reduces friction and prevents heat buildup that can weaken them. Regularly inspect your knots while fishing because wear and tear can compromise their integrity over time.
For knots like the Improved Clinch Knot, aim for five to seven wraps. Excess wraps may overlap and lead to failure. Finally, verify your knots are snugly tied, as loose knots are more likely to slip and break under pressure.
Recommended Knots for Various Connections
To achieve reliable connections in fly fishing, selecting the right knots for various applications is essential. Each knot serves a specific purpose, ensuring your setup remains strong and functional.
1. Clinch or Improved Clinch Knot: Tie tippet to many common flies.
2. Double Surgeon’s Knot: Add or replace tippet quickly.
3. Blood Knot: Join similar-diameter leader or tippet sections when you want a neat, straight connection.
4. Arbor Knot: Attach backing to the reel arbor when spooling a reel.
5. Albright Knot: Join backing to fly line when you need a dependable connection between materials of different diameters.
6. Nail Knot: Make a low-profile permanent connection from fly line to leader, or use it in compatible backing-to-line setups.
7. Uni or Pitzen Knot: Add a compact alternative for tying tippet directly to a fly.
8. Non-Slip Mono Loop: Add this when you want the fly to move freely at the eye.
You do not need all eight on day one. A beginner who can tie a Clinch Knot, Double Surgeon’s Knot, and loop-to-loop connection cleanly can handle most streamside re-rigging.
[Amazon Products Picked for You]

Everybody Can Tie Their Own Tackle Safely: Prevent fish hook injuries by covering the sharp barb on the fishing hook when tying fishing tackle. Great fishing gift for beginner anglers who are learning to tie their own tackle

Everybody Can Tie Their Own Tackle Safely: Prevent fish hook injuries by covering the sharp barb on the fishing hook when tying fishing tackle. Great fishing gift for beginner anglers who are learning to tie their own tackle

Aerospace-Grade Aluminum Construction:Crafted from aerospace-grade aluminum using CNC precision machining. Delivers superior strength, perfect balance, and long-lasting resistance to corrosion and wear. Ideal for both freshwater and saltwater use
Practice Techniques for Knot Tying
To master knot tying, incorporate visual aids like illustrations and animated guides into your practice routine. Seeing each step makes it easier to understand wrap direction, tag-end placement, and final tightening.
Consistently setting aside time to practice will reinforce your skills and build muscle memory for various knots. Short practice sessions work better than waiting until you are cold, wet, or rushed on the water.
Visual Aids for Learning
A solid understanding of knot techniques is vital for successful fly fishing, and visual aids can greatly enhance your learning experience.
To effectively master knot tying, consider the following resources:
- Illustrations and Guides: Joe Mahler’s Essential Knots & Rigs for Trout is a verified knot-and-rig reference with step-by-step illustrations.
- Animated Tutorials: Use visual knot libraries from established fly-fishing educators to check wrap direction and final knot shape.
- Dedicated Practice Space: Set up a distraction-free area and practice with actual backing, leader, and tippet so the material behaves the same way it will on the water.
Review the same few knots until you know which ones you can tie cleanly and repeatably with your actual fishing line.
Consistent Practice Routine
Establishing a consistent practice routine is essential for mastering knot tying in fly fishing. Dedicate time each week to practice various knots, focusing on both common and less frequently used ones. Utilize visual aids, like Joe Mahler’s book, to enhance your understanding.
Here’s a simple practice plan:
| Practice Focus | Material | Technique |
|---|---|---|
| Common Knots | Monofilament | Test strength after tying |
| Less Common Knots | Dacron Backing | Simulate real-life tension |
| Winding Technique | Pencil/Towel | Mimic fishing conditions |
Incorporate these elements to build proficiency and make your tying more consistent. For a broader practice routine, see knot-tying practice for fishing. If you want material-specific guidance, compare fishing knots for monofilament and fishing knots for fluorocarbon.
Common Knot-Tying Mistakes to Avoid
Even simple fly fishing knots can fail when small details are missed. Most problems come from rushed tying, damaged line, or knots that were never fully seated before casting.
- Forgetting to moisten the knot: Dry tightening creates heat and friction, which can weaken the line.
- Crossing the wraps: Crossed wraps prevent the knot from seating cleanly and may cut into the line.
- Using the wrong knot for the connection: A bulky knot may catch in guides, while a weak knot may slip under pressure.
- Trimming too close: Cutting the tag end flush can cause some knots to slip, especially after a strong pull.
- Ignoring damaged line: Frayed, kinked, or cloudy line should be replaced before tying a new knot.
Slow down when tying, especially in cold weather or low light. A neat knot that takes a few extra seconds is better than a fast knot that fails during a fight.
When to Retie Your Fly Fishing Knots
You do not need to retie every knot after every cast, but you should check your knots often. Fly fishing puts repeated strain on small connections, especially near the fly.
Retie your tippet-to-fly knot after catching a fish, pulling free from a snag, changing flies several times, or noticing abrasion near the hook eye. Also retie if the knot looks uneven, feels rough, or slips during a pull test.
Leader-to-tippet knots can last longer, but they still need inspection. If the connection passes through weeds, rocks, branches, or fish teeth, check it before the next cast.
Backing and fly-line knots require less frequent attention, but you should inspect them at the start of the season and after any hard fight that pulls line deep into the backing.
Additional Resources for Knot Learning
Many anglers find that utilizing a variety of resources can greatly enhance their knot-tying skills. Here are three effective tools to improve your technique:
- Joe Mahler’s Essential Knots & Rigs for Trout: A verified illustrated reference covering fly-fishing knots, leaders, and rigs.
- Orvis Fly Fishing Knots: Step-by-step animations and videos for Arbor, Albright, Nail, Blood, Surgeon’s, Clinch, Uni, and loop knots.
- Animated Knots: A visual knot library that can help you compare tying sequences and final knot shapes.
Additionally, practice knot tying away from the water using discarded materials or backing. This approach builds confidence and proficiency, ensuring you’re ready when it’s time to fish.
Use one visual reference at a time, then tie the same knot repeatedly without looking. The goal is not to memorize dozens of knots; it is to make a few essential connections automatic.
Frequently Asked Questions
What is the 60/20/20 rule in fly fishing?
In fly-fishing leader design, 60/20/20 commonly describes the proportions of a tapered leader: about 60% butt section, 20% taper, and 20% tippet. It is a leader-construction guideline, not a rule for dividing your fishing, gear-prep, and practice time.
What fly fishing knots should a beginner learn first?
Start with a Clinch or Improved Clinch Knot for tying on a fly, a Double Surgeon’s Knot for adding tippet, and loop-to-loop for attaching a looped leader to a looped fly line. Learn the Arbor, Albright, and Nail knots when you begin setting up reels and fly lines yourself.
How do you connect a leader to fly line?
If both the fly line and leader have compatible loops, use a loop-to-loop connection. If the fly line has no loop, a Nail Knot is a standard low-profile way to attach the leader butt directly to the fly line.
What knot should you use to connect leader to tippet?
Use a Double Surgeon’s Knot for a fast, easy leader-to-tippet connection. A Blood Knot is a good alternative when the two line diameters are reasonably similar and you want a neat, straight join.
Do you need to wet fly fishing knots before tightening?
Yes for nylon or fluorocarbon knots: lightly wet the knot with water or saliva before seating it. Lubrication helps the wraps slide into place with less friction and makes it easier to tighten the knot smoothly.
How often should you check or retie fly fishing knots?
Check the tippet-to-fly knot after catching a fish, pulling free from a snag, or finding abrasion near the hook eye. Inspect leader-to-tippet connections after contact with rocks, branches, weeds, or fish teeth, and retie any knot that looks rough, crossed, uneven, or damaged.
Conclusion
Mastering fly fishing knots is less about memorizing names and more about knowing which connection you are building. Start with the knots you use most often on the water: a Clinch or Improved Clinch for the fly, a Double Surgeon’s for tippet, and loop-to-loop when your line and leader are equipped for it.
Then learn the reel-setup knots: Arbor for backing to the reel, Albright or Nail for backing to fly line, and Nail Knot for a permanent fly-line-to-leader connection. Add the Blood, Uni, Pitzen, and Non-Slip Mono Loop as your rigs become more specialized.
Practice with your actual line, moisten and seat each knot carefully, and test it before casting. A small set of clean, repeatable knots will do more for reliability than a long list you cannot tie consistently.
Sources
- Orvis: Arbor Knot — Standard backing-to-reel Arbor Knot steps.
- Orvis: Albright Knot — Includes backing-to-fly-line use and tying steps.
- Orvis: Nail Knot — Permanent low-profile leader-to-fly-line connection.
- Orvis: Loop-to-Loop Connection — Leader-loop to fly-line-loop method.
- Orvis: Surgeon’s Knot — Leader/tippet joining method.
- Orvis: Clinch Knot — Tippet-to-fly tying method.
- Orvis: Non-Slip Mono Loop — Loop knot for allowing a fly to move freely.
- Fly Fishers International: The Loop — Describes the 60/20/20 tapered-leader proportion.
- Simon & Schuster: Essential Knots & Rigs for Trout — Publisher page confirming Joe Mahler’s illustrated knot-and-rig guide.