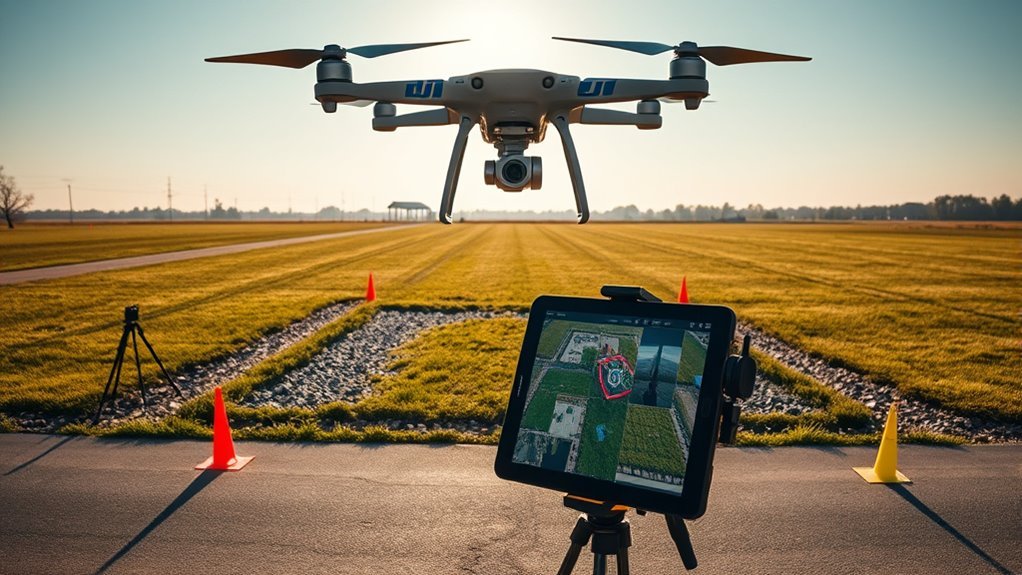
Most modern DJI drones can capture everything you need for a small orthomosaic map: a grid of overlapping, straight-down photos over a defined area. The real work happens before takeoff, in how you plan the flight in DJI Fly or DJI Pilot 2. Get the altitude, overlap, and camera settings right during capture, and stitching the images together later becomes far easier.
Quick Answer
Fly your DJI drone in a grid pattern using Waypoint Flight in DJI Fly (Mini 4 Pro, Air 3, Mavic 3 Classic) or the Mapping mode in DJI Pilot 2 (Mavic 3 Enterprise, Matrice, Phantom 4 RTK). Set the camera to nadir (straight down), fly at roughly 40-90 m altitude, and keep front overlap around 75-85% and side overlap around 65-80%. Process the resulting photos afterward in software such as DJI Terra, OpenDroneMap, or ArcGIS Pro.
Key Takeaways
- DJI Fly (Mini 4 Pro, Air 3, Mavic 3 Classic) supports Waypoint Flight for a repeatable grid, but has no built-in overlap or GSD automation.
- DJI Pilot 2, used with Mavic 3 Enterprise, Matrice, and Phantom 4 RTK, includes a dedicated Mapping route mode with automatic overlap and GSD settings.
- Front overlap of 75-85% and side overlap of 65-80% give you a reliable margin for clean stitching.
- Fly at a steady, moderate speed with the camera locked to nadir to limit motion blur and keep exposure consistent.
- Ground control points improve absolute accuracy but are optional for a small, low-stakes map.
Which DJI Drones Can Capture an Orthomosaic?
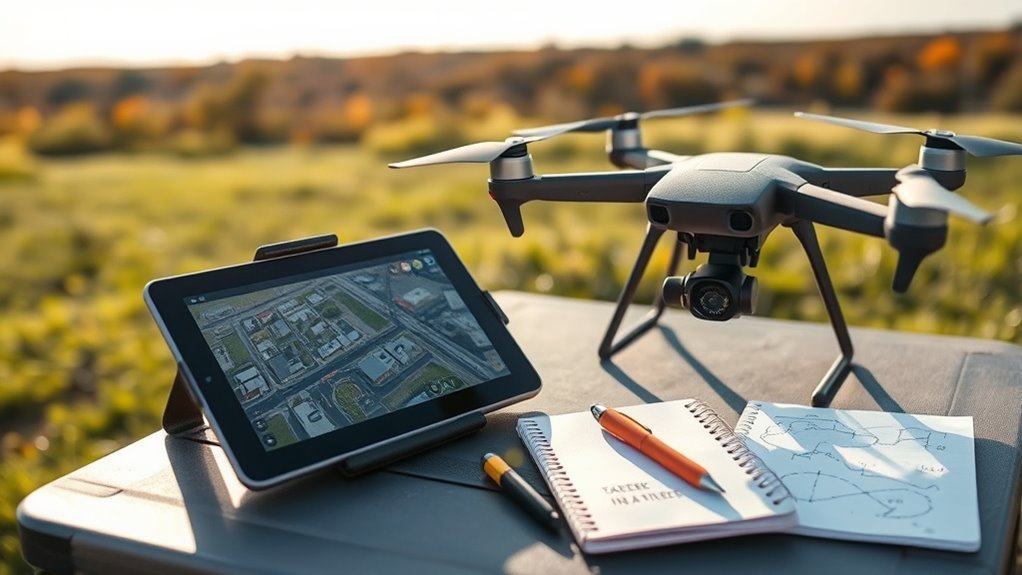
Any DJI drone with a stable gimbal and a decent camera can capture the overlapping images an orthomosaic needs. In practice, a few models make the job much easier because they support automated grid or Waypoint flight:
- DJI Mini 4 Pro – a sub-249 g drone with a 1/1.3-inch, 48 MP sensor and Waypoint Flight in the DJI Fly app.
- DJI Air 3 – dual wide and telephoto cameras, also flown through DJI Fly with Waypoint Flight support.
- DJI Mavic 3 / Mavic 3 Classic – larger sensor, longer flight time, flown through DJI Fly.
- DJI Mavic 3 Enterprise (3E/3T) and Matrice series – enterprise drones flown through DJI Pilot 2, with a purpose-built Mapping mission mode.
The consumer drones above are the practical choice for a small, casual orthomosaic. The enterprise models add RTK positioning and automated overlap control, which matters more as the mapped area grows.
[Amazon Products Picked for You]

Simple and easy way to log every RC flight, including date, aircraft, location, duration, and notes

ADVANCED GPS & SMART FLIGHT MODES – The Contixo F23 Drone Navigates with precision using built-in GPS features including Follow Me, Waypoint Flight, Orbit Mode, and Return to Home, hands-free control at any skill level, giving you total control and safety during every flight.

Customized FAA UAS registration ID Card with your FAA registration information
Choose the Right App: DJI Fly vs. DJI Pilot 2
DJI splits its flight apps by drone line, and the app you use decides how much mapping automation you get.
| App | Compatible Drones | Mapping Capability |
|---|---|---|
| DJI Fly | Mini 4 Pro, Air 3, Mavic 3 / 3 Classic | Waypoint Flight (manual waypoint grid, no automatic overlap/GSD) |
| DJI Pilot 2 | Mavic 3 Enterprise (3E/3T), Matrice 300/350/400, Phantom 4 RTK | Dedicated Mapping route mode with automatic overlap and GSD fields |
If you’re flying a consumer drone in DJI Fly, you’ll build your grid manually with Waypoint Flight, or hand the mission off to a third-party flight-planning app such as Map Pilot Pro, Pix4Dcapture, or DroneDeploy, which can add automated grid coverage on top of DJI’s flight controller.
[Amazon Products Picked for You]

Easily plan and schedule repeatable flights

Weight: 0.75 lbs
【Real FPV Training Feel】The FLYDrone S8 Pro simulator controller is designed for beginner FPV pilots who want to practice before flying a real drone. The Mode 2 layout and non-centering throttle help build throttle control, stick coordination, and real FPV muscle memory in simulator training
Plan the Flight: GSD, Overlap, and Altitude
Before you launch, decide on three numbers: how high you’ll fly, how much each photo overlaps its neighbors, and the resulting ground sample distance (GSD), or the real-world size of one pixel.
| Setting | Typical Range | Why It Matters |
|---|---|---|
| Altitude (AGL) | 40-90 m for a small area | Balances GSD, flight time, and airspace limits |
| Front overlap | 75-85% | Gives stitching software enough shared detail between shots |
| Side overlap | 65-80% | Prevents gaps between adjacent flight lines |
| Flight speed | Automatic, or roughly 3-5 m/s | Slower speeds reduce motion blur |
| Camera angle | Nadir (-90°, straight down) | Produces a true top-down map instead of an oblique view |
DJI Pilot 2’s Mapping mode defaults to roughly 70% side and 80% frontal overlap, which is a solid starting point for most small sites. GSD depends on your specific camera sensor and altitude, so let the app calculate it for you rather than assuming a fixed number.
Note: GSD changes with both altitude and the specific drone’s sensor and lens. Use DJI Pilot 2’s built-in GSD field, or an online GSD calculator with your drone’s exact sensor width and focal length, instead of relying on a single generic number for every model.
Set Up a Waypoint Flight in DJI Fly
For the Mini 4 Pro, Air 3, and Mavic 3 Classic, mapping starts with Waypoint Flight inside DJI Fly:
- Open DJI Fly and tap the Waypoint Flight icon on the left side of the camera view to enable it.
- Add waypoints by tapping the plus icon on the operation panel, tapping directly on the map, or using the RC’s Fn/C1 button, spacing them to form a grid over your area.
- Tap each waypoint number to set its altitude, speed, heading, and gimbal tilt (set the gimbal to -90° for a straight-down shot).
- Tap Next to set route-wide parameters such as global speed, start point, and the behavior on signal loss.
- Tap GO to upload and start the mission; the aircraft flies the route automatically.
DJI Fly’s Waypoint Flight doesn’t calculate overlap or GSD for you, so space your waypoints and set your altitude using the overlap and altitude ranges above, or plan the grid first in a third-party mapping app and import the route.
Create a Mapping Mission in DJI Pilot 2
Enterprise drones such as the Mavic 3 Enterprise series and the Matrice line use DJI Pilot 2, which has a mapping mode built in:
- Tap Flight Route → Create a Route → Mapping.
- Draw the boundary of your target area by tapping the screen, adjusting points as needed, or using Clear to start over.
- Set the Route Altitude and let the app calculate the Ground Sampling Distance (GSD) from that height.
- Adjust Side and Front Overlap from the defaults (around 70% side, 80% frontal) if your site needs tighter coverage.
- Review the estimated flight time and battery count, then start the mission.
Because Pilot 2 calculates overlap and GSD automatically, it’s the more reliable option once you’re mapping regularly or need RTK-level accuracy.
Warning: Automated mapping flights still fall under standard drone rules. Check local airspace restrictions, keep the drone within visual line of sight, and follow the FAA’s Part 107 or Recreational Flyer rules if you’re flying in U.S. airspace.
Fly the Mission and Capture Clean Images
Once the mission is uploaded, a few habits make the difference between a clean orthomosaic and a frustrating reshoot:
- Fly during stable, diffuse light (mid-morning to early afternoon) to avoid harsh shadows that confuse stitching software.
- Lock exposure settings before launch so every photo in the set has consistent brightness.
- Watch battery level against your estimated mission time; a larger area may need more than one battery to finish the grid.
- Keep an eye on wind speed, since gusts can push a lightweight drone like the Mini 4 Pro off its planned flight line.
Warning: Never let the mission fly past your battery’s safe return threshold. Land or swap batteries with margin to spare rather than pushing a grid to completion on a low charge.
From Captured Images to a Finished Orthomosaic
Once you’re back with a folder of overlapping photos, the capture work is done. Processing them into one seamless map is a separate step, handled in software such as DJI Terra, ArcGIS Pro, OpenDroneMap, or Pix4D. If you already have your images and want a detailed walkthrough of merging and stitching them together, see our guide on how to stitch orthomosaic files into one image.
Pro Tip: Keep your raw flight photos organized by mission date and site name before you hand them off for processing. It saves real time when you’re managing more than one small mapping job.
Add Ground Control Points for Better Accuracy
Ground control points (GCPs) are surveyed markers with known x, y, z coordinates that you place on the ground before your flight. They anchor the finished orthomosaic to real-world coordinates, which improves absolute accuracy beyond what the drone’s onboard GPS alone provides.
For a small area, a minimum of four well-spread GCPs, positioned near the edges and center of the site, is a reasonable starting point. RTK-equipped drones such as the Mavic 3 Enterprise reduce how much you depend on GCPs, but adding a few still helps validate the result. After processing, check the residuals or RMSE reported by your processing software to confirm the control points are performing within an acceptable margin.
GCPs matter most when you need to measure distances or areas from the finished map. For a quick visual reference map, they’re a nice-to-have rather than a requirement.
Frequently Asked Questions
Which DJI drone is best for a small orthomosaic map?
For most small sites, the DJI Mini 4 Pro or Air 3 is enough, since both support Waypoint Flight in DJI Fly and capture high-resolution 48 MP images. If you need RTK accuracy or a built-in Mapping mode with automatic overlap, step up to the Mavic 3 Enterprise.
How much overlap do I need for a clean orthomosaic?
Aim for roughly 75-85% front overlap and 65-80% side overlap. DJI Pilot 2’s Mapping mode defaults to about 80% frontal and 70% side overlap, which works well for most small areas.
Can the FAA know you flew a DJI drone?
Yes. Remote ID broadcasts, drone registration records, and flight logs can all identify that a DJI drone flew in a given area. Flying under FAA Part 107 or the Recreational Flyer rules, with Remote ID active, keeps your mapping flight compliant.
What is an orthomosaic image?
An orthomosaic is a geometrically corrected aerial image stitched together from many overlapping photos, so that scale and position stay accurate across the entire map. It’s commonly used for surveying, agriculture, and site documentation.
Do I need ground control points for a small mapping area?
Not always. For a casual or visual-reference map, DJI’s onboard GPS is usually accurate enough. Add a handful of GCPs only if you plan to take real measurements from the finished orthomosaic.
Conclusion
Capturing a small orthomosaic with a DJI drone comes down to the flight, not the processing. Pick a drone that supports Waypoint Flight or DJI Pilot 2’s Mapping mode, plan your altitude and overlap before takeoff, keep the camera nadir and exposure locked, and watch your battery margin. Get that capture right, and turning the images into a finished map, whether in DJI Terra, ArcGIS Pro, or the stitching workflow in our companion guide, becomes a much simpler step.
Last checked: September 2026, against DJI’s official support documentation and current drone specifications.
Sources
- DJI Support: Introduction to Waypoint Flight Mode of DJI Fly
- DJI Mini 4 Pro official specifications
- DJI Air 3 official specifications
- DJI Mavic 3 Enterprise official specifications
- DJI Pilot app, official download center
- FAA: Recreational Flyers & Community-Based Organizations
- FAA: Small Unmanned Aircraft Systems (Part 107) Regulations
