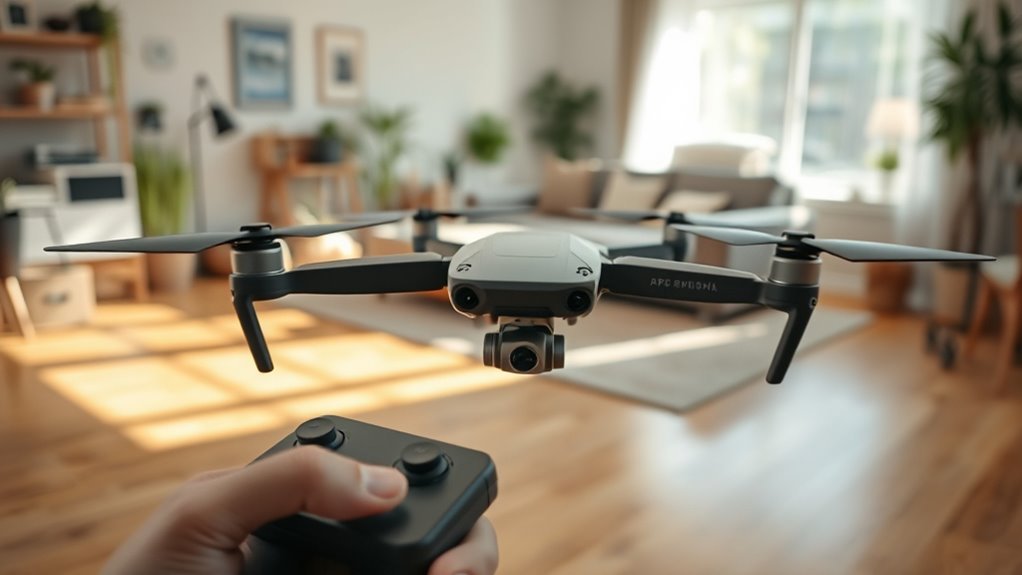
Drone drift during hover usually points to a calibration fault, sensor misalignment, or environmental interference. GPS, compass, and IMU errors can shift the aircraft off position even when the controls seem neutral. A weak battery, wind, or a flawed controller can add to the problem. The useful part is that most of these causes are identifiable and correctable, but the order of checks matters more than many pilots expect.
Why Your Drone Drifts When Hovering
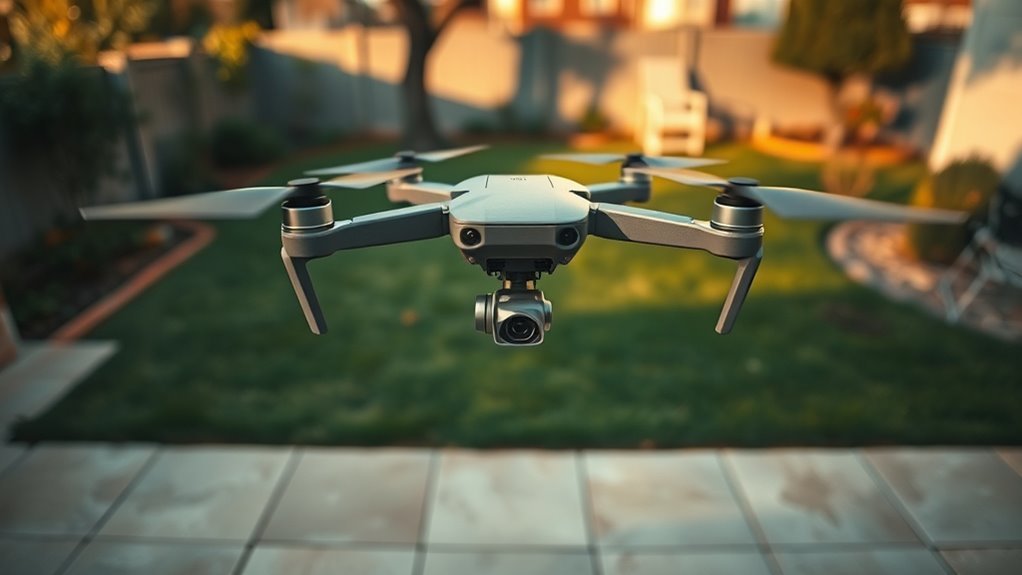
Drone drifting during hover often indicates a calibration or control issue rather than a simple handling error. In practice, drifting usually reflects misaligned sensors, especially improper IMU calibration or compass calibration, which can produce uncommanded yawing and unstable position hold.
Environmental factors also matter; wind, turbulence, and uneven airflow can push the aircraft off station, forcing constant corrections. Frequent recalibration is essential after a hard landing, load change, or unusual flight condition, because sensor drift can accumulate silently.
Wind, turbulence, and airflow can nudge a drone off station, making recalibration essential after disturbances.
Before takeoff, both GPS indicators should be green; red indicators may signal positioning faults that worsen hover instability. Regular maintenance and a clear understanding of the drone’s specifications further reduce recurring errors.
For operators seeking disciplined, independent flight, precise setup is not optional. Stable hovering depends on accurate sensors, verified status, and timely recalibration, not improvisation or overcontrol.
Check Drone GPS, Compass, and IMU Calibration
Before takeoff, the drone’s GPS status should be confirmed as green, since red indicators can signal unstable positioning and hover errors.
Compass recalibration, performed outdoors with the proper app procedure, can correct orientation faults that cause drift.
IMU level calibration should also be repeated after major flights or environmental changes to reduce yaw drift and improve flight stability.
GPS Signal Check
A reliable GPS signal check is essential for stable hovering and accurate flight control. Before takeoff, both GPS indicators should be green; red status can signal weak positioning, threaten Return to Home (RTH) functionality, and worsen drifting issues.
An outdoor setup is preferred because strong satellite reception improves lock quality and reduces error accumulation.
Compass calibration should be completed in the Aeroo Fly app when positioning appears inconsistent, since magnetic misalignment can produce uncommanded yaw and lateral drift.
IMU calibration also matters, especially after flights in rough wind or temperature changes, because sensor offsets can destabilize hover control.
Frequent calibration of GPS, compass, and IMU keeps the aircraft responsive, precise, and freer from unnecessary correction.
Compass Recalibration
When hovering drift appears, compass recalibration becomes a necessary corrective step because it restores accurate orientation and position holding.
Before flight, the operator should confirm that both GPS indicators are green; red lights suggest unreliable positioning and reduced stability.
Compass recalibration should then be performed outdoors, away from metal structures and magnetic interference, to preserve measurement accuracy. The Aeroo Fly app can guide the process with on-screen prompts, and each prompt should be followed exactly.
IMU calibration should also be scheduled regularly, especially after large temperature shifts or flights in altered conditions, because sensor bias can cause uncommanded yawing and drift.
With these checks completed, the drone gains a cleaner reference frame, helping it hold station with greater precision and giving the pilot more reliable control.
IMU Level Calibration
Level IMU calibration is a critical step in reducing hover drift, since an uncalibrated inertial measurement unit can force the pilot to make constant joystick corrections to keep the drone stable.
For reliable IMU calibration, the aircraft should rest on a truly level surface outdoors, where temperature and interference are less likely to distort readings. Any tilt during setup can worsen drifting issues and reduce control responsiveness.
Before lift-off, both GPS indicators should show green; red signals may point to faults that undermine stable flight. Compass calibration should also be confirmed, because incorrect magnetometer data can defeat accurate orientation even after a clean IMU reset.
When these checks are completed carefully, the drone gains a more disciplined reference frame, allowing freer, steadier movement and less unnecessary correction.
Fly in an Open Area
Flying in an open area reduces the chance of hover instability by limiting external interference. To fly in an open area is to preserve clean GPS signals and reduce magnetic interference from surrounding structures.
Large metal objects, rooftops, and reinforced walls can distort compass readings, while power lines may emit electromagnetic fields that confuse onboard sensors. A clear field or wide lot also reduces wind turbulence, allowing the aircraft to hold position with greater consistency.
In confined spaces, buildings create uneven airflow and increase drift during hover. Open terrain further lowers exposure to unintentional obstacles, improving positional reliability and supporting safer, more autonomous flight.
For operators seeking liberation from constant corrections, the practical choice is distance from clutter, elevation hazards, and dense urban structures. A deliberate launch site with unobstructed airspace gives the drone the best chance to remain stable, responsive, and precise while hovering.
Fix Controller Drift and Stick Issues
Controller neutrality should be verified first by confirming that both sticks return cleanly to center without registering unintended input.
The controller should then be recalibrated according to the manufacturer’s procedure to correct drift and restore stable response.
If the left stick still shows bias, the Hall sensors should be inspected during calibration for accuracy and proper zero-point behavior.
Check Stick Neutrality
Ensuring the left stick returns to true center when released is essential for stable hover performance, because even minor offset can command unintended yaw or lateral drift.
Stick neutrality should be verified before each flight by observing whether the controller rests without bias. If yawing issues appear, calibration frequency may need adjustment, but the immediate check is whether the input hardware is physically centered.
A Hall sensors check can reveal sensor imbalance or wear that keeps the stick from zeroing properly. Testing environment matters as well; inspections should occur in an open area free from interference so readings remain reliable.
The controller should also be stored in a neutral position to preserve stick alignment and reduce long-term drift, giving the pilot cleaner control and greater freedom in flight.
Recalibrate Controller Sticks
Even when the stick returns to center visually, residual controller drift can still produce slow yaw or other unwanted inputs, so recalibration is the next practical step.
Recalibrating your drone’s remote controller restores accurate signal mapping and often eliminates yaw drift caused by stick discrepancies. The user manual usually outlines controller calibration techniques, often on page 26, and those steps should be followed exactly rather than improvised.
Calibration should be repeated after long storage, after firmware changes, or whenever the left stick registers slight yaw while centered. A precise remote controller setup supports steadier hover behavior and preserves the operator’s freedom from constant trim correction.
Community reports can also clarify model-specific procedures and confirm whether the recalibration has restored clean, centered response.
Inspect Hall Sensors
Hall sensor inspection is the next practical step when stick drift or unintended yaw persists after calibration. In the remote controller, Hall sensors measure stick position; faults here can produce yaw drift, creeping inputs, or other stick issues that limit precise control.
A technical check should begin with cleaning the controller, then examining the sticks for debris, wear, or physical damage. Any obstruction around the mechanism can distort sensor output.
The controller manual should then be followed for full calibration, since accurate Hall sensors depend on correct setup. Regular recalibration helps maintain responsiveness and preserve flight freedom.
If drift remains after these steps, replacement of the Hall sensors or consultation with technical support is the practical route to restore stable control.
Level the Drone Before Calibration
A level stance is essential before calibration because it places the flight controller in a neutral position, allowing it to register accurate baseline readings and reducing drift during hover.
To level the drone, a bullseye level should be placed on the landing gear and the frame adjusted until perfectly horizontal. If the surface is uneven, shimming the legs with thin materials such as playing cards can remove tilt without stressing the airframe.
Even slight lean can bias the calibration process, causing uncommanded yaw or lateral drift that forces constant joystick correction and undermines autonomous control.
Calibration should be performed outdoors with a strong GPS signal so the controller can lock onto stable references and complete the setup with reliable data.
This simple preparation restores precision, lowers hover error, and gives the pilot cleaner, more liberated flight with less corrective input.
Once level, the drone is better positioned to maintain steady attitude.
Check Your Phone and Flight Settings
Before takeoff, the smartphone should be placed in Aeroplane Mode to reduce wireless interference that can disrupt the drone’s link to the controller. A pilot should check your phone for active radios, then review flight settings for the correct control mode, return logic, and sensor status. A Wi-Fi analyzer can reveal channel congestion; selecting a less crowded band improves command stability and preserves freedom from avoidable signal conflicts.
| Check | Action |
|---|---|
| GPS indicators | Confirm both are green before launch |
| Calibration | Perform compass and IMU calibration outdoors |
| Phone radios | Disable cellular, Bluetooth, and nearby Wi-Fi noise |
| Flight app | Verify settings, then relaunch only after errors clear |
Red GPS indicators suggest unresolved positioning faults that can increase drift. Recalibration is prudent after moving locations or after significant weather changes, because sensor baselines can shift. Outdoor calibration is preferred, since indoor surfaces and interference can distort readings. Precise preparation reduces hover drift and keeps the aircraft responsive.
Rule Out Low Battery and Wind
Battery voltage and wind exposure should be verified next, because either condition can undermine hover stability and produce drift. A drone with a low battery may lose control authority, so hovering becomes less precise and the craft can slide off station.
Wind must also be treated as a primary variable: even a mild breeze can push the airframe, reducing stability and biasing position.
- Check battery status before every flight.
- Fly only in calm weather when possible.
- Review GPS indicators for weak or red signals.
- Recalibrate sensors after windy flights.
If drift persists, a short test flight in still air can isolate the cause. The operator should compare altitude, position, and response to input, then confirm whether wind, low battery, or degraded GPS is involved.
Routine calibration restores performance and supports a more liberated, dependable hovering experience.
Frequently Asked Questions
What Is the Average Lifespan of a Drone?
The average drone lifespan is typically 3 to 5 years, though commercial use can shorten it.
With proper drone maintenance tips, battery life management, and attention to common drone issues, some units last longer.
Drone technology advancements and compliance with flying regulations also affect longevity by reducing stress and damage.
High-quality models generally endure better, offering users more reliable, independent aerial operation through disciplined care and environmental protection.
How Do I Get My Drone to Hover?
It hovers by applying drone stability techniques: confirm GPS calibration tips show both indicators green, then run compass, IMU, and controller calibration outdoors.
Use altitude control methods with tiny throttle inputs until lift counters descent precisely.
Battery balance impact should be checked, since low or uneven cells reduce steadiness.
Environmental factors analysis matters too; calm weather and open space improve lock, reducing drift and helping the craft remain freely suspended.
Why Do Drones Drift?
Drones drift because environmental factors, drone calibration issues, weight distribution, battery performance, and sensor malfunctions disturb flight control.
Wind or turbulence can push the craft off position; poor IMU or compass alignment can create yaw errors; uneven payloads shift balance; weakening batteries reduce thrust consistency; faulty sensors misreport attitude.
Accurate recalibration, balanced loading, solid GPS reception, and routine inspection restore precise hover and free the aircraft from unstable wandering.
Why Is My Drone Going Sideways?
The drone is going sideways because its attitude control is being disturbed by drone calibration issues, wind effects, battery performance loss, sensor malfunctions, or propeller damage.
A misleveled frame can bias IMU data, while weak GPS or red indicators reduce position holding.
Recalibration, propeller inspection, and controller reset are practical corrections.
Stable, liberated flight depends on clean sensors, balanced thrust, and adequate battery voltage for consistent hover.
Conclusion
To sum up, hover drift usually comes down to calibration errors, sensor misalignment, controller issues, or environmental interference. A properly calibrated GPS, compass, and IMU, combined with a level aircraft and clean controller inputs, helps the drone hold position more reliably. Flying in open space and checking battery status and wind conditions further reduces instability. When these factors are addressed, the cause is often found and the fix becomes clear, keeping the drone on the straight and narrow.
