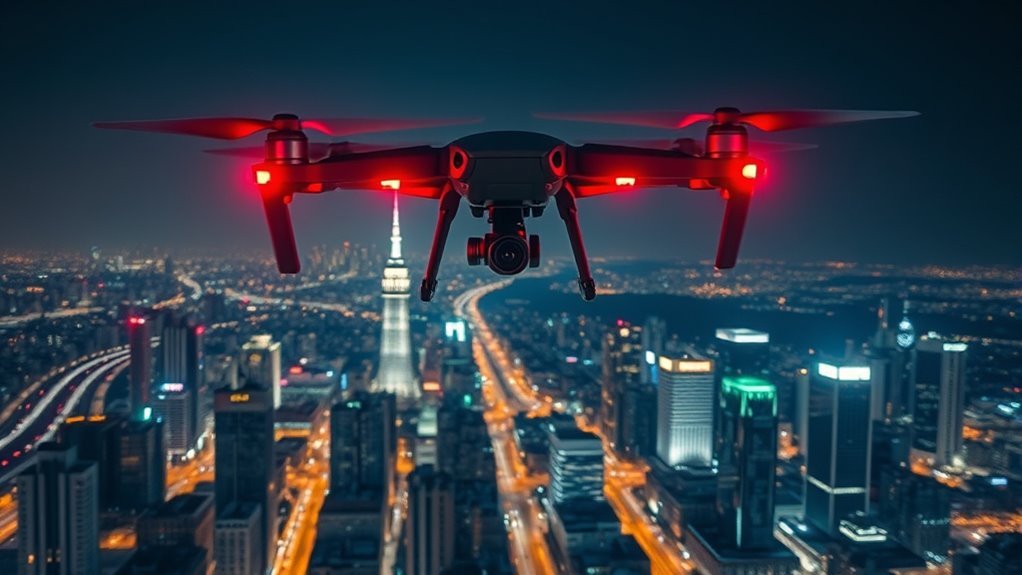
Drone night photography demands careful control of exposure, stability, and image noise. The best results usually come from low ISO values, slower shutter speeds, and a wide aperture to gather limited light. RAW capture helps preserve detail, while long exposure can reveal clean structure in dark scenes. Yet flight stability, location choice, and wind conditions often decide whether the frame succeeds or fails. The critical settings are only part of the equation.
Plan Safe Drone Night Photography
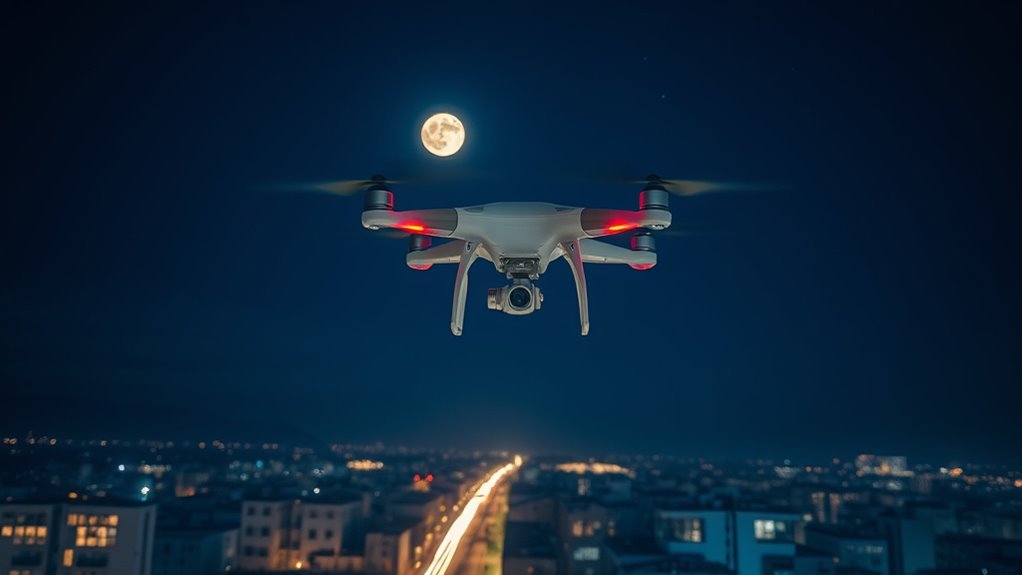
Safe drone night photography begins with thorough daylight scouting to identify launch and landing zones, along with any obstacles that may be difficult to detect after dark. This preparation establishes the operational map before darkness removes visual cues.
The pilot should confirm takeoff and recovery points, note wires, trees, terrain drops, and reflective surfaces, and verify a clear route that supports disciplined flight.
During night operations, the drone should remain within visual line of sight, or within FAA limits of 400 feet altitude and 500 meters horizontally when applicable, preserving control and accountability.
Calm nights are preferable, especially for long exposure work, because lower wind improves stability and reduces motion risk.
A trained visual observer should assist with communication, traffic awareness, and safety oversight, reinforcing compliance and expanding situational awareness.
Such procedure supports precise image capture while keeping the operation controlled, lawful, and tactically free from avoidable hazard.
What Settings Work Best at Night?
Night operations become effective only when the camera is configured for low-light performance, and manual exposure control is the most reliable approach. In night flying, the operator should lock ISO near 100-200 to suppress noise, then apply shutter times of 1.5-4 seconds for measured illumination and controlled light trails. RAW DNG capture preserves tonal range and recovery latitude, supporting disciplined post-processing without surrendering detail.
| Setting | Range | Purpose |
|---|---|---|
| ISO | 100-200 | Minimize noise |
| Shutter | 1.5-4 s | Extend exposure |
| Format | RAW DNG | Retain detail |
| Control | Manual | Stabilize results |
| Filter | ND | Regulate exposure |
ND filters remain valuable when ambient light is unexpectedly strong, because they restrain exposure and help maintain cleaner images. These settings give the pilot deliberate command over the frame, reducing dependence on automation and enabling precise, emancipated image-making after dark.
Balance ISO, Aperture, and Shutter Speed
Balancing ISO, aperture, and shutter speed is essential in drone night photography because each variable directly shapes exposure, noise, and image sharpness.
To balance ISO, aperture, and shutter speed, operators should keep ISO near 100 to 200 so sensor noise remains restrained and detail stays clean. A wider aperture, often around f2.8, admits more light and reduces the need for extreme amplification, preserving tonal depth.
Keep ISO near 100 to 200 and use a wide aperture around f2.8 for cleaner detail.
Shutter speed then becomes the final control point: exposures of 1.5 to 4 seconds can gather sufficient light while still maintaining clarity when the drone is stable. In brighter night scenes, ND filters help regulate incoming light, allowing slower shutter settings without overexposure.
Mastery of this triad grants creative freedom, enabling precise control over exposure, motion blur, and depth of field without surrendering image integrity or compositional intent.
Use Long Exposure for Twilight and Night
Long exposure becomes especially effective during twilight and after dark, when ambient light levels fall enough to permit multi-second captures without excessive highlights.
The strongest twilight window typically lasts about 30 minutes after sunset, when sky glow, city illumination, and terrain detail align into a balanced scene. In this period, long exposure settings around 1.5 to 4 seconds can render vehicle light trails, soften water, and preserve structure without flattening contrast.
ISO should remain near 100-200 to retain clean detail and avoid unnecessary amplification. Shooting in RAW, preferably DNG, gives the widest latitude for later adjustment of tone and color.
When remaining light is still strong at dusk, ND filters permit slower shutter speeds while controlling brightness, supporting deliberate motion rendering without overexposure. This approach gives the operator disciplined control over time, allowing the frame to be shaped by intention rather than constraint.
Reduce Noise in Low-Light Drone Photos
Noise in low-light drone photos is best controlled by limiting sensor amplification and maximizing collected light. A low ISO, ideally 100-400, keeps grain restrained, while long shutter speeds between 1.5s and 4s increase exposure without forcing excessive gain. Shooting RAW (DNG) preserves tonal latitude and detail for later correction. Calm nights are essential because vibration and wind blur edges, making noise appear harsher. Post-processing noise reduction can then suppress residual grain with surgical precision, protecting texture and shadow freedom.
| Control | Effect |
|---|---|
| Low ISO | Reduces graininess |
| Long shutter speeds | Captures more light |
| RAW (DNG) | Retains detail |
| Noise reduction | Smooths residual noise |
When exposure is balanced, the image gains clarity and the frame remains liberated from unnecessary digital clutter. Skilled control of these parameters enables cleaner night imagery with disciplined, technically sound results.
Choose the Best Spot for Night Flights
The launch area should be scouted in advance, with daytime reconnaissance used to identify obstacles and verify that the site provides adequate clearance from people, buildings, and vehicles.
Night flight locations should also be selected for minimal ambient light interference, since reduced light pollution improves visibility and image quality.
A calm, unobstructed area is preferable for stable operation and reliable long-exposure results.
Scout Launch Areas
Scout potential launch areas during daylight to verify that the site is free from public traffic, obstacles, and other hazards before night operations begin.
Careful scout work lets the operator launch from areas with clear sight lines, stable ground, and controlled access, supporting precise night procedures without dependence on guesswork.
The selected site should remain at least 50 meters from people, buildings, and vehicles to preserve safety margins and reduce public concern.
Trees, power lines, and uneven terrain deserve direct inspection because they become harder to judge after dark.
When a location presents uncertain terrain or hidden obstructions, alternative routes and backup launch points should be mapped in advance.
This disciplined approach strengthens autonomy while keeping night flight execution efficient, deliberate, and secure.
Avoid Light Pollution
Away from urban illumination, night flight locations preserve darker skies that improve celestial visibility and image quality. The most effective sites lie far from cities: remote fields, mountain plateaus, and designated dark sky parks.
Their low ambient glow permits cleaner long exposures and reduces the need for aggressive ND filters in post planning. To secure the best result, operators should consult light-pollution maps before departure and select the darkest accessible zone.
A daylight reconnaissance confirms where artificial light sources dominate and helps establish a precise launch point. Moon phase also matters; a new moon delivers the deepest darkness, enabling stars and faint astronomical detail to register with greater authority.
This disciplined site selection grants a freer, more exact night workflow.
Check Obstacles Nearby
Careful reconnaissance before night flight reveals obstacles that are easy to miss in darkness, including trees, buildings, power lines, and uneven terrain.
Drone pilots must check obstacles nearby before takeoff, then choose a launch site at least 50 meters from people, vehicles, and structures. This distance reduces risk, preserves operational freedom, and limits unwanted police attention.
- Walk the area in daylight and identify obstructions.
- Confirm terrain changes that may block line of sight.
- Select calm nights; wind complicates stability during long exposures.
Maintain visual line of sight and stay below 400 feet to satisfy FAA rules while keeping awareness sharp.
A disciplined site survey supports safe, autonomous night imaging and expands creative control without unnecessary constraint.
Use RAW and Manual Focus for Sharper Images
Shooting in RAW preserves maximum image detail and dynamic range, giving greater latitude for correcting exposure and tonal issues in post-processing, which is especially valuable in night photography. The raw format retains subtle highlights and shadow structure, enabling precise recovery without destructive compression. Manual focus should be selected before takeoff and verified on a lit reference point, because autofocus often hesitates in darkness. For sharper results, an ISO of 100-200 and a shutter speed of 1.5-4 seconds support controlled long exposure while limiting noise.
| Setting | Effect |
|---|---|
| RAW | Maximum tonal freedom |
| Manual focus | Reliable sharpness |
| ISO 100-200 | Lower noise |
| 1.5-4 s shutter | Strong ambient capture |
After capture, images should be inspected visually for exposure and focus, since histogram warnings can mislead in low light. This disciplined workflow gives operators cleaner files and more autonomy over the final image, freeing them from avoidable technical constraints.
Avoid Common Drone Night Photography Mistakes
Common night photography errors usually stem from unstable flight, poor coordination, or unnecessary exposure to risk. In drone night photography, precision begins with RAW capture, because it preserves dynamic range for recovery in shadows and highlights during post-processing. A shutter speed from 1.5 to 4 seconds is generally effective, but it must be matched to ambient light and the intended motion effect, such as controlled light trails.
- Calibrate and stabilize the aircraft before takeoff; even mild wind can ruin long exposures with blur.
- Keep flights away from populated areas at night to reduce confusion, panic, and legal scrutiny.
- Maintain continuous communication with the visual observer, using clear callouts for headings, obstacles, and landing decisions.
Disciplined execution frees the operator from avoidable failure. Proper settings, situational awareness, and conservative risk management create cleaner images and safer operations without sacrificing creative range.
Frequently Asked Questions
Should I Turn on Long Exposure Noise Reduction?
Yes, Long Exposure Noise Reduction should be enabled when clean detail matters more than speed. It improves Noise Management by subtracting hot pixels and grain from long exposures, especially in RAW files.
However, it doubles capture time and can limit responsiveness. A measured approach is best: test it in low light, retain it for critical static scenes, and disable it when rapid sequencing or liberated workflow takes priority.
What Are the Best Settings for Long Exposure Night Photography?
The best settings are a modest ISO 100–200, a shutter speed of 1.5–6 seconds, and an aperture near f/2.8, so the scene may breathe without excess strain.
In the Exposure Triangle, this balance preserves detail, gathers ambient light, and limits noise.
Shooting RAW (DNG) is recommended for freedom in post-processing.
In brighter conditions, an ND filter can temper exposure and protect highlights without compromising the long-exposure effect.
What Is the “20/60/20 Rule” in Photography?
The 20/60/20 rule divides a photographic workflow into 20% preparation, 60% shooting, and 20% post-processing.
Preparation includes scouting, testing settings, and planning Composition Techniques.
Shooting should prioritize varied angles, subject isolation, and efficient frame selection.
Post-processing then refines exposure, color, and contrast with precision.
This structure reduces waste, increases intentionality, and frees the photographer to work with disciplined creativity, maximizing control while preserving expressive autonomy throughout the entire process.
What Is the 500 Rule for Night Photography?
The 500 Rule estimates the maximum shutter speed for night photography before stars trail: divide 500 by the lens focal length in millimeters. A 20 mm lens yields about 25 seconds.
It is one parameter within the Exposure Triangle, balancing aperture and ISO for usable exposure. Crop factor may require adjustment.
Tripod stability and precise settings preserve star points, enabling disciplined, liberated night imagery without surrendering clarity to motion.
Conclusion
In drone night photography, the sky becomes a dark canvas, and every setting acts like a precision tool. With ISO held near 100-200, shutter speeds stretched to 1.5-4 seconds, and a fast aperture around f2.8, low light can be sculpted into detail rather than noise. RAW capture, manual focus, and stable flight complete the frame. In quiet, dark locations, long exposure turns night into a controlled, luminous composition.

