Learning fish filleting gives you cleaner portions, better-tasting meals, and more control over how much of the fish you use. You do not need chef-level training to start. With a sharp fillet knife, a steady cutting board, and a simple step-by-step method, you can turn a whole fish into fresh, neat fillets at home.
Quick Answer
To fillet a fish, scale and clean it first, then make a cut behind the gills. Guide a sharp, flexible knife along the backbone with smooth strokes, lift the fillet away from the ribs, repeat on the second side, and remove pin bones before cooking.
Key Takeaways
- Start with a manageable round fish, such as trout, salmon, branzino, cod, or snapper, before trying very large fish or delicate flatfish.
- Use a sharp 6- to 9-inch flexible fillet knife, a stable cutting board, kitchen shears, tweezers, and a cut-resistant glove.
- Keep your cuts long and smooth, follow the backbone, and let the knife do the work instead of forcing it through the flesh.
- Check every finished fillet for pin bones, scales, bloodline, and ragged edges before cooking or storing it.
- Use the head, bones, and trimmings for stock when they are fresh, clean, and safe to cook.
At a Glance
| Time Required | 10 to 20 minutes for beginners, depending on fish size and experience. |
| Difficulty | Beginner to moderate. Small round fish are easiest for practice. |
| Tools Needed | Fillet knife, cutting board, kitchen shears, scaler or spoon, tweezers, clean towels, bowl for scraps, and cut-resistant glove. |
| Cost | Low if you already own kitchen basics. A good fillet knife is the main tool worth buying. |
Importance of Learning to Fillet a Fish

When you learn to fillet a fish, you build a practical kitchen skill that helps you prepare fresh, delicious dishes from whole fish, market fish, or seasonal catches. You also gain more control over portion size, skin removal, bone checks, and final presentation.
Buying a whole fish can also help you understand freshness better. You can inspect the eyes, gills, skin, smell, and texture before cooking. Once you know how to break the fish down, you can use the fillets for pan-searing, baking, grilling, frying, steaming, or making fish tacos.
Fish filleting also supports better use of the whole fish. Instead of throwing away clean trimmings, you can save bones, heads, and frames for stock. That reduces waste and helps you get more value from each fish.
Note: If the fish smells sour, ammonia-like, or unusually strong, do not try to rescue it by filleting. Start with fresh fish and keep it cold until you are ready to cut.
Choosing the Right Fish for Filleting

Choosing the right fish for filleting can greatly affect your experience and results in the kitchen. As a beginner, start with fish that are manageable, fresh, and easy to handle. Smaller round fish are usually easier than very large fish or thin flatfish.
Selecting the right fish for filleting helps beginners learn clean knife control, reduce waste, and enjoy the process with less frustration.
- Opt for salmon, trout, snapper, cod, or branzino when you are still learning.
- Avoid very large fish like tuna or Chilean sea bass until you gain confidence and have the right knife setup.
- Look for fish with firm, moist flesh that springs back lightly when pressed.
- Choose fish with clear eyes, bright red or pink gills, shiny skin, and a clean ocean-like smell.
- Understand the shape before cutting. Flatfish like sole and flounder need a different method than round fish.
- Ask your fishmonger to gut the fish if you are not ready to do that step at home.
Round Fish vs. Flatfish
Most beginners should learn on round fish first. Round fish include salmon, trout, snapper, bass, cod, and branzino. These fish have one fillet on each side, and the backbone is easy to follow.
Flatfish, such as sole, flounder, and halibut, sit flat on the cutting board and usually produce four fillets. You cut along the center line, then work outward toward the fins. The method is not harder once you understand it, but it feels different from filleting a round fish.
How to Check Fish Freshness
Fresh fish should smell clean, not harsh or sour. Whole fish should have clear eyes, glossy skin, and gills that look red or pink rather than brown or gray. The flesh should feel firm and bounce back when touched.
If you buy pre-cleaned whole fish, still check the belly cavity. It should look clean and should not have a strong odor. Keep the fish cold on ice or in the refrigerator until you are ready to fillet it.
Essential Tools for Filleting Fish
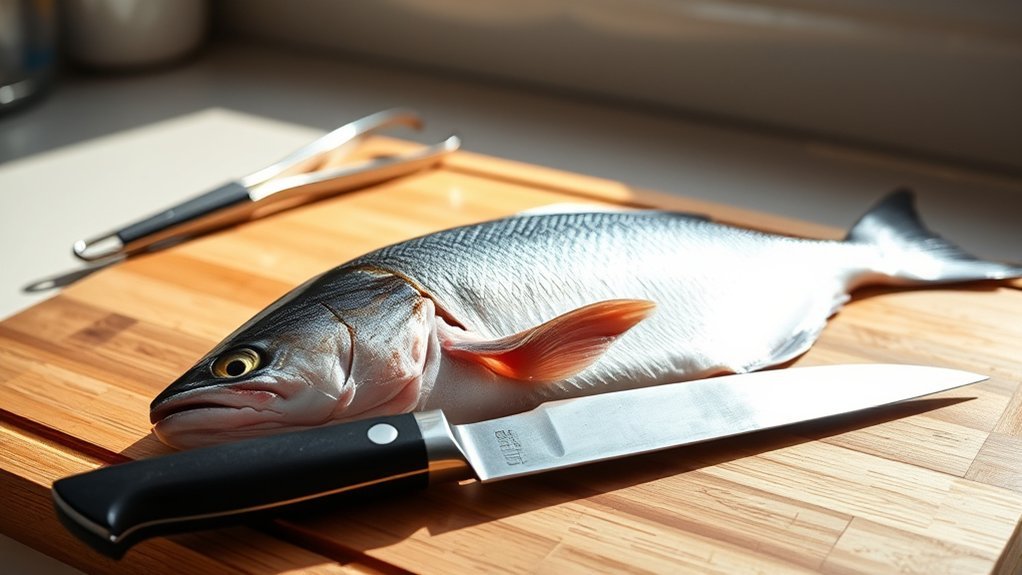
To get started with filleting fish, you need a few essential tools that make the process smoother, safer, and more efficient. A quality fillet knife is vital for precise cuts, while kitchen shears and a scaler help with fins, bones, and scales. Heavy-duty tweezers help you remove pin bones, and a dedicated cutting board keeps the work area clean.
Must-Have Filleting Tools
Filleting fish becomes easier when the right tools are within reach before you begin. Set up your workspace first so you do not have to touch drawers, cabinets, or clean dishes with fish-covered hands.
- Fillet knife: A 6- to 9-inch knife with a thin, flexible blade for clean cuts along the bones.
- Scaler: A fish scaler, spoon, or the back of your knife helps remove scales before cutting.
- Boning knife: A stiffer blade helps with larger fish, thicker cuts, and heavier bones.
- Heavy-duty tweezers: These remove pin bones and help produce clean fillets.
- Cut-resistant glove: This protects your guiding hand and improves grip on slippery fish.
- Kitchen shears: These help trim fins and cut through small bones or tough skin.
- Non-slip cutting board: A board with a damp towel underneath helps prevent sliding.
- Clean towels: Use these to dry the fish and improve grip while cutting.
With these essential tools, you will find the filleting process quicker, safer, and more enjoyable.
Knife Selection and Use
When it comes to filleting fish, selecting the right knife can make all the difference in achieving clean, precise cuts. A filleting knife, with its long, thin, and flexible blade, is best for following the backbone and rib cage. Most home cooks do well with a blade between 6 and 9 inches.
If you are working with larger fish, a boning knife provides a stiffer blade that can handle thicker cuts and stronger bones. Always make sure your knife is sharp for peak performance. A dull knife forces you to press harder, which increases the risk of slipping and tearing the flesh.
When cutting along the fish, you can use a scaler to remove scales before you start. You can also use the back of your knife if you work carefully from tail to head. Do not use the sharp edge for scaling because it can dull the blade.
Heavy-duty tweezers help remove pin bones, while kitchen shears are useful for trimming fins and cutting small connecting bones. Even culinary school instructors stress proper knife selection because the right blade gives you cleaner fillets and better control.
Warning: A slippery fish and a dull knife are a bad combination. Dry the fish, stabilize the cutting board, keep your guiding hand clear of the blade, and cut away from your body whenever possible.
Prepare Your Workstation Before You Cut
A clean setup makes filleting safer and faster. Place a damp towel under your cutting board so it does not move. Set a bowl nearby for bones and trimmings. Keep a second plate ready for finished fillets, and keep paper towels or clean cloth towels close by.
Wash your hands before and after handling raw fish. Clean your knife, board, and counter with hot, soapy water after use. If you plan to cook the fish later, cover the fillets and refrigerate them as soon as you finish cutting.
Steps for Filleting a Fish
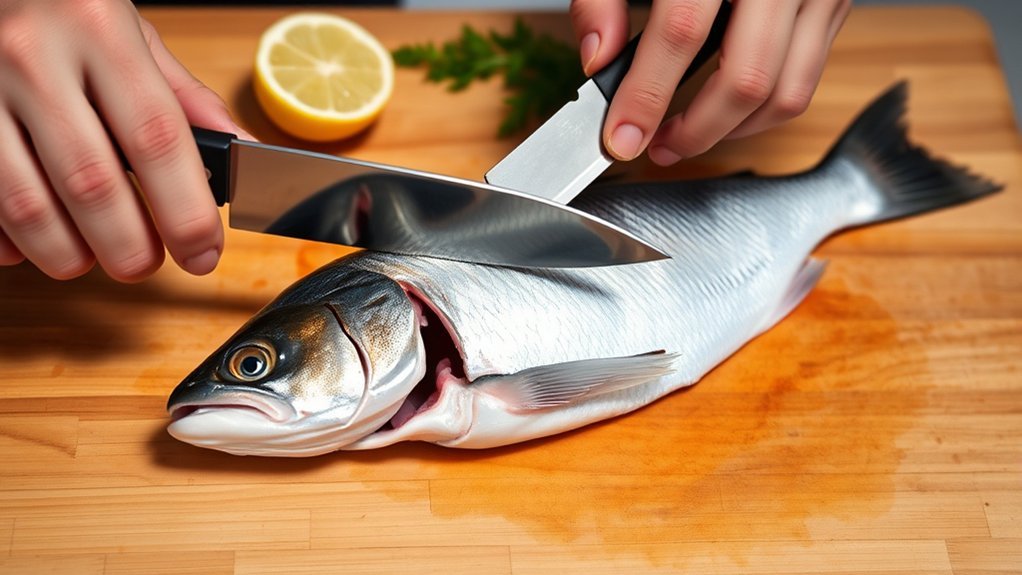
To start filleting your fish, clean it by scaling and gutting as needed. Then, make a precise angled incision behind the gills to begin separating the fillet from the backbone. Finally, flip the fish and repeat the process so both fillets are ready for a clean presentation.
Preparing the Fish
Preparing your fish for filleting involves a few essential steps that set the stage for a smooth process. Start by cleaning the fish thoroughly. If the fish still has scales, remove them first. If it has not been gutted, remove the guts and rinse the belly cavity under cold running water.
Next, follow these steps:
- Pat the fish dry with a clean towel so it does not slide while you cut.
- Place the fish on the cutting board with the back facing you and the belly facing away.
- Use a sharp knife to make an initial cut behind the gills at about a 45-degree angle toward the backbone.
- Turn the blade so it runs along the backbone, then use long, smooth strokes to separate the fillet from the bones.
- Listen and feel for light contact with the bones as the knife glides along the spine.
- Lift the fillet gently as you cut so you can see where the blade is moving.
- Flip the fish and repeat the same technique on the opposite side.
- Trim the fillets carefully and remove any pin bones.
- Save the head and rib cage for stock if they are fresh and clean, or discard them safely.
This guide to filleting will help you achieve even, delicious fillets with practice.
Finalizing the Fillet
After you have separated the fillet from most of the backbone, the next step is finalizing the cut. Start by lifting the edge of the fillet with one hand and sliding the knife along the backbone over the rib bones. Use steady pressure and keep the knife angled slightly downward toward the bones.
You can cut through the rib bones and remove them later, or you can guide the knife above the ribs to leave them attached to the frame. Beginners often find it easier to cut above the ribs because it reduces bone cleanup, although it may leave a little more meat behind at first.
| Step | Action |
|---|---|
| 1. Cut the fillet | Slide the knife along the back, keeping the blade close to the bones. |
| 2. Remove lower part | Glide the blade along the vertebrae and rib area for a smooth cut. |
| 3. Clean up | Trim excess fat, remove pin bones with tweezers, and check for scales. |
Finally, keep the skin if you want crisp texture or added flavor. Remove the skin if the recipe calls for skinless fillets, or if the fish has tough skin that does not suit your cooking method.
How to Skin a Fish Fillet
To remove the skin, place the fillet skin-side down near the edge of your cutting board. Hold the tail end firmly with your non-cutting hand. Make a small cut between the flesh and skin near the tail, then angle the knife slightly downward.
Move the knife forward with short, steady strokes while pulling the skin gently in the opposite direction. Keep the blade almost flat against the skin. If you cut too steeply, you will waste flesh. If you cut too shallowly, patches of skin will remain.
Pro Tip: Chill the fish before filleting. Cold fish feels firmer, slips less, and usually cuts more cleanly than fish left at room temperature.
Additional Considerations and Techniques
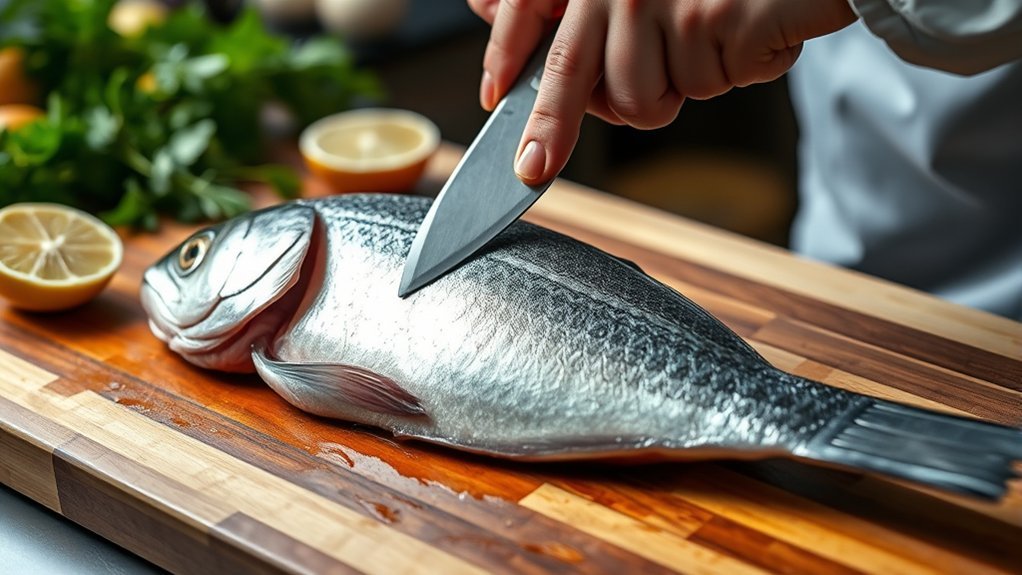
While mastering the art of filleting fish, several additional techniques and considerations can greatly enhance your results. These details help you waste less meat, avoid bones, and prepare fillets that cook evenly.
Good filleting is not about cutting fast. It is about keeping the blade close to the bones and making each stroke clean, steady, and controlled.
- Consider removing flatfish in four fillets for better yield and cooking ease.
- Always rinse the fish thoroughly after gutting to remove residual blood and impurities.
- Use a fish scaler or the back of a knife to remove scales, starting from the tail and moving toward the head.
- Maintain a shallow blade angle of about 15 to 20 degrees when you make an incision, keeping the knife steady for smooth cuts.
- Use long strokes rather than short sawing motions whenever possible.
- Wipe the blade as needed so scales, blood, and slime do not drag across the flesh.
- Regular practice with different fish types will boost your confidence and improve your knife control.
How to Remove Pin Bones
Pin bones are small bones that can remain in the center of a fillet after cutting. To find them, run your fingertips gently along the thickest part of the fillet. You will feel small, firm points under the surface.
Use fish tweezers or clean needle-nose pliers to grip each bone. Pull in the same direction the bone is angled instead of pulling straight up. This helps remove the bone without tearing the fillet.
What to Do With Fish Trimmings
Clean fish heads, bones, and frames can make a light seafood stock. Rinse them, remove any bitter gills, and simmer them gently with cold water, onion, celery, parsley stems, bay leaf, and peppercorns. Avoid boiling fish stock hard because it can turn cloudy and strong.
Small scraps of clean flesh can also be used for fish cakes, chowder, tacos, or fried bites. Do not save trimmings that smell off, look bruised, or have been left at room temperature too long.
Helpful Tips for Successful Filleting
When you are ready to tackle filleting, the right tools and techniques can make all the difference in your results. Start with a sharp, flexible fillet knife, ideally 6 to 9 inches long, to help create clean cuts without tearing the flesh. Before you begin, make sure your fish is properly scaled and cleaned to maintain quality and make the process easier.
As you cut, practice maintaining a consistent angle of 15 to 20 degrees with your knife for even, precise slices along the bones. Do not press too hard. Let the sharp blade follow the fish’s natural structure.
Use kitchen shears to trim fins and remove unwanted parts before or after filleting. This improves presentation and keeps sharp fins from getting in your way.
Finally, regularly check for and remove pin bones with heavy-duty tweezers, even if the fish appears pre-deboned. This attention to detail helps create a pleasant eating experience without unexpected bone encounters.
Common Fish Filleting Mistakes to Avoid
Beginner mistakes are normal, but a few simple habits can help you avoid most of them. The biggest mistake is using a dull knife. A dull blade crushes flesh, catches on bones, and makes you push too hard.
- Starting with a fish that is too large: Learn on smaller fish before handling big salmon, tuna, or heavy saltwater fish.
- Skipping the drying step: Wet fish slips easily and makes knife control harder.
- Cutting too far from the bones: Keep the blade close to the skeleton to reduce waste.
- Sawing aggressively: Use long, smooth strokes instead of rough back-and-forth cutting.
- Forgetting pin bones: Always check the finished fillet by touch before cooking.
- Leaving fillets warm for too long: Keep raw fish cold and cook or refrigerate it quickly.
How to Store Fresh Fish Fillets
Fresh fish fillets taste best when cooked soon after cutting. If you are not cooking them right away, pat them dry, place them in a covered container, and keep them in the coldest part of the refrigerator. Use them as soon as possible for the best texture and flavor.
For longer storage, wrap the fillets tightly and freeze them. Press out excess air before freezing to reduce freezer burn. Label the package with the fish type and date so you can use older fillets first.
Note: Food safety matters when handling raw seafood. Keep raw fish separate from ready-to-eat foods, wash tools after use, and do not leave fillets sitting out while you prepare other ingredients.
Frequently Asked Questions
How do you fillet a fish for beginners?
Scale and rinse the fish first, then pat it dry. Make a clean cut behind the gills, turn the blade along the backbone, and use long strokes to separate the fillet. Repeat on the second side, then remove pin bones before cooking.
What are some tips for beginner fish filleters?
Start with a sharp knife and an easy fish. Dry the fish well, stabilize your cutting board, learn where the backbone and ribs are, and take your time. Your cuts will get cleaner as your hand learns the shape of the fish.
What is the first thing you should remove when filleting a fish?
If the fish has scales, remove the scales first with a scaler, spoon, or the back of a knife. Work from the tail toward the head. After scaling, gut and rinse the fish if it has not already been cleaned.
What are the four stages of filleting a fish?
The four basic stages are scaling, cleaning or gutting, cutting the fillets from the bones, and trimming the fillets. Trimming includes removing pin bones, cleaning ragged edges, and skinning the fillet if your recipe needs skinless fish.
Is it better to fillet fish with the skin on or off?
It depends on the recipe. Keep the skin on for crispy pan-seared fish or grilling when the skin helps hold the fillet together. Remove it for recipes that need a softer texture, such as fish cakes, soups, or skinless baked fillets.
Can you fillet a fish without gutting it first?
Experienced cutters sometimes fillet certain fish without gutting first, but beginners should gut and rinse the fish before filleting. It keeps the work cleaner and lowers the chance of accidentally cutting into the belly contents.
Conclusion
Mastering the art of fish filleting opens up a world of culinary possibilities. With the right tools and techniques, you can prepare fresher meals, reduce waste, and gain more confidence in the kitchen.
Start with a manageable fish, keep your knife sharp, and focus on smooth cuts along the bones. Practice makes a real difference, so do not worry if your first fillet is not perfect. Soon, you will turn whole fish into clean, delicious fillets that are ready for your favorite recipes.
Sources
- U.S. Food and Drug Administration — Safe selection, storage, and serving guidance for fresh and frozen seafood.
- FoodSafety.gov — Cold food storage guidance for refrigerated and frozen foods.
- U.S. Food and Drug Administration — General consumer advice about eating fish and choosing seafood.
- USDA Food Safety and Inspection Service — Cleanliness and safe food handling practices for preventing foodborne illness.