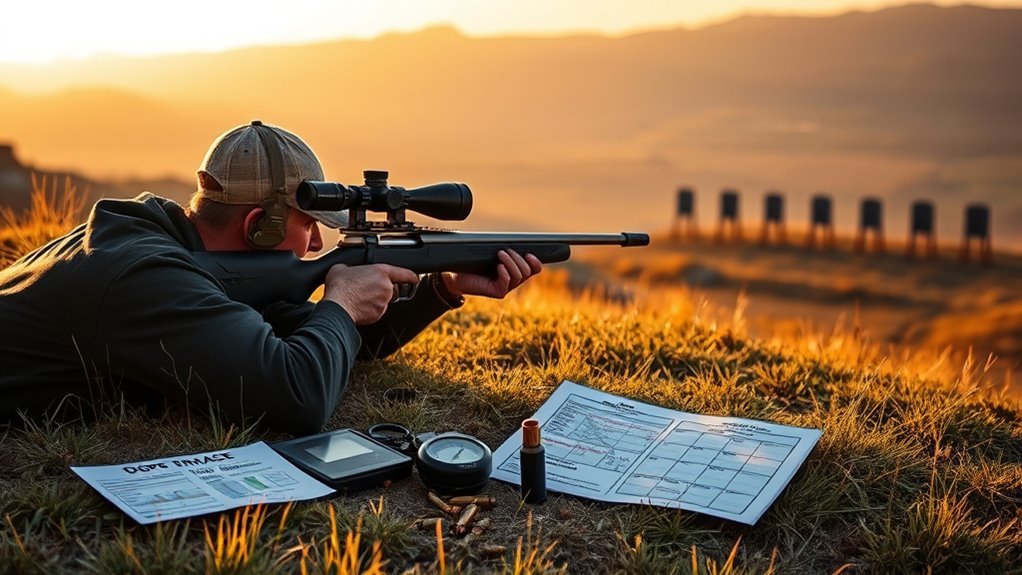
Holdover in shooting describes the difference between where a firearm is aimed and where its projectile is expected to strike. Understanding this term helps explain bullet trajectory, riflescope markings, and the relationship between sight height and zero distance. It also makes optic specifications easier to compare without confusing holdover with hold-under.
Quick Answer
Holdover means placing the center of the sight picture above the intended point of impact to account for the projectile’s trajectory. Hold-under is the opposite. Both describe changes in the point of aim without changing the sight’s mechanical settings. Their relevance depends on zero distance, ammunition, sight height, and the optic’s reticle design.
Last checked: September 26, 2026. Dates and figures were verified against official sources.
Key Takeaways
- Holdover and hold-under describe opposite vertical changes in the point of aim.
- Zero distance is the reference range where the intended point of aim and point of impact coincide.
- The sight and barrel have separate centerlines, which explains why impacts can differ at close distances.
- Reticle markings are not universal distance labels. Their meaning depends on the specific optic and configuration.
- Ballistic software produces estimates, not guarantees of actual impact.
- First focal plane and second focal plane scopes behave differently when magnification changes.
What Holdover Means in Shooting
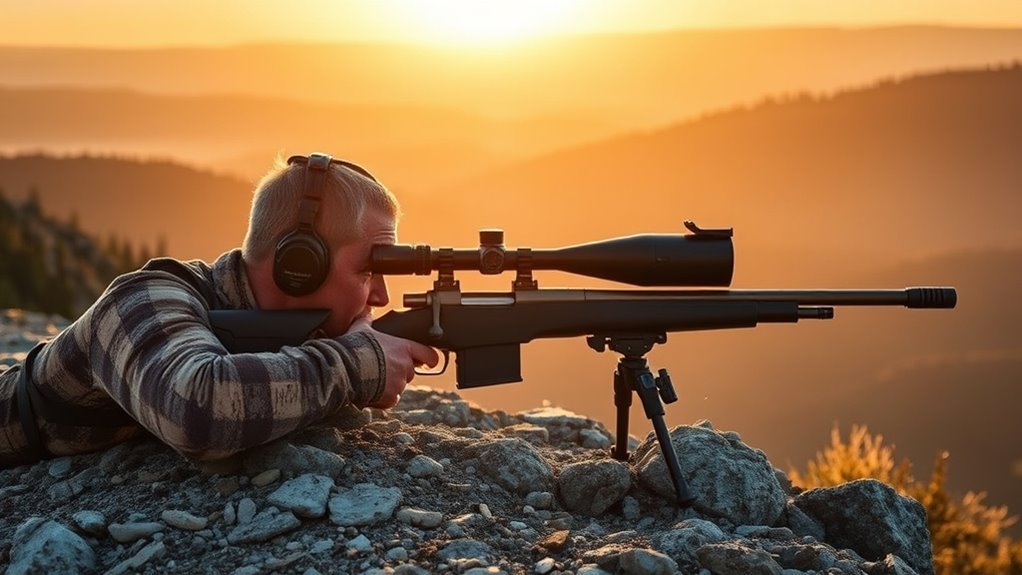
Holdover is an elevation correction made through the sight picture rather than by changing the scope’s adjustment controls. The term describes placing the center of the sight picture above the desired impact point.
A riflescope may have a central crosshair and additional markings called a reticle. These markings provide visual references for interpreting the relationship between the point of aim and the projectile’s path.
With a typical holdover reticle, the lower markings represent additional elevation references. Although those marks appear below the crosshair, the center of the sight picture is positioned above the intended impact point.
This distinction explains a common source of confusion: using a lower reticle mark does not mean aiming below the target.
Hawke’s explanation of holdover and hold-under describes the difference and provides examples using specific riflescope configurations.
Holdover is primarily a vertical concept. Horizontal corrections for wind or other lateral effects are commonly described separately as windage adjustments or wind holds.
How Holdover Works
Holdover exists because a projectile does not travel along the same straight line as the sight’s view. Its path changes through flight, while the optic provides a fixed visual reference.
The relationship between those two paths determines whether the expected impact is above, below, or at the intended point of aim.
Zero Distance Basics
Zero distance is the range at which a firearm’s point of aim and point of impact coincide under the conditions used to establish its zero.
It provides a reference for understanding the relationship between the sight and projectile trajectory. A zero does not mean the projectile follows the line of sight at every distance.
Three terms are useful when reading an optic manual:
- Point of aim: The location indicated by the sight.
- Point of impact: Where the projectile actually strikes.
- Zero distance: The reference distance where those points coincide.
| Condition | Sight Relationship | Meaning |
|---|---|---|
| At zero | Point of aim and impact coincide | Reference condition |
| Impact below point of aim | Negative vertical offset | A holdover condition |
| Impact above point of aim | Positive vertical offset | A hold-under condition |
The important point is that distance alone does not determine whether holdover or hold-under applies. The actual trajectory relative to the sight line determines that relationship.
Offset and Trajectory
The center of a riflescope usually sits above the center of the barrel. This separation is called sight height or sight-over-bore offset.
Because the sight and bore have different centerlines, they do not describe the same straight path. The projectile’s curved trajectory adds another difference.
The barrel is generally aligned at an angle relative to the line of sight when a firearm is zeroed. The projectile begins below the sight line and may cross it before following a downward path relative to that line.
Gravity acts on the projectile throughout its flight. It does not begin acting only after the zero distance.
Hornady’s external ballistics guide illustrates the difference between the bore axis, line of sight, and projectile trajectory.
This geometry also explains why an impact at a very short distance may fall below the sight line even when the target is closer than the established zero.
How Hold-Under Shooting Works
Hold-under is the opposite of holdover. It describes positioning the center of the sight picture below the intended impact point when the trajectory places the projectile above the normal point of aim.
Some reticles have markings above the central crosshair that represent this relationship.
Hold-under is often associated with distances shorter than a particular zero. However, it should not be treated as a rule for every target closer than the zero distance.
At very short distances, the physical separation between the sight and bore can produce the opposite relationship.
The useful distinction is therefore based on expected impact, not simply whether a target is near or far.
- Holdover describes a point of aim above the intended impact.
- Hold-under describes a point of aim below the intended impact.
- Zero describes the reference condition where the two coincide.
- Sight offset explains why the relationship can change across distances.
Neither term should be confused with changing the scope’s elevation turret. Holdover and hold-under describe visual references, while turret adjustments change the sight’s mechanical setting.
How Offset and Zero Affect Point of Impact
Offset and zero distance affect the relationship between what the optic displays and where a projectile travels. They are separate measurements, but both matter when interpreting a trajectory diagram.
They also explain why a riflescope cannot be described accurately by its zero distance alone.
Offset and Barrel Height
Sight height is the vertical distance between the optic’s centerline and the barrel’s centerline. It is not simply the height of the mounting rings.
Different mounting arrangements can change this relationship. A raised optic and a lower-mounted optic may therefore produce different sight-line geometry.
Several distinctions matter:
- Ring height and total sight height are not necessarily the same measurement.
- The firearm’s receiver, rail, and mounting system influence the optic’s position.
- A change in mounting height changes the relationship between sight line and bore.
- The optic’s position also affects eye alignment and viewing comfort.
These are reasons to treat sight height as a characteristic of the complete firearm-and-optic combination rather than the scope alone.
Zero Distance and Impact
Changing zero distance changes how the line of sight relates to the projectile’s trajectory. It does not remove gravity or make sight offset disappear.
The following table summarizes the concepts without assuming one universal trajectory.
| Zero or Distance | Impact Relationship | Important Point |
|---|---|---|
| 10 yd zero | Configuration-dependent | Sight offset remains relevant |
| 25 m zero | Configuration-dependent | Does not define every other distance |
| 100 yd zero | Aim and impact coincide at zero | A reference, not a universal trajectory |
| Very close target | Often below the sight line | Sight-over-bore offset matters |
| Beyond the far zero | Generally below the sight line | Trajectory continues to change |
A common misconception is that a 100-yard zero automatically makes every closer impact high. At very short distances, the projectile generally begins below the elevated sight line.
Depending on the configuration, the projectile may cross the line of sight at more than one distance. That is why neither a 25-yard nor a 100-yard zero can describe every possible setup.
Holdover Examples at Close and Long Range
Published holdover examples are useful for understanding reticle terminology, but their numerical values belong to specific configurations. They should not be transferred to unrelated equipment.
For example, Hawke’s documentation illustrates a .22 LR subsonic rifle with a 75-yard zero. Its example associates a 121-yard target with the second Mil-Dot below the central crosshair.
The same manufacturer’s explanation includes a separate .308 example with a 300-yard zero. In that illustration, the 241-yard reference is associated with the first Mil-Dot above center.
These examples show the difference between lower and upper reticle references. They do not establish universal distances for Mil-Dot markings.
The examples depend on the ammunition, sight configuration, and reticle information used in Hawke’s illustrations.
The broader concepts are:
- At very close distances, sight offset can be significant.
- At greater distances, the projectile’s downward trajectory becomes more apparent.
- Different ammunition can produce different trajectories.
- Reticle markings have defined angular relationships rather than universal yardage values.
A reticle marked with distance labels may therefore require more context than a buyer expects. Those labels describe the assumptions behind a particular design.
How to Pick the Right Zero
There is no single zero distance that suits every firearm and optic. The appropriate reference depends on the equipment, ammunition, intended recreational use, and manufacturer guidance.
Commonly discussed reference distances include 25 yards and 100 yards, while other configurations use different values.
Before selecting equipment, understand the distinction between a general-purpose crosshair and a reticle designed around a particular trajectory.
Some reticles provide angular reference markings. Others use bullet-drop compensation markings intended to represent a defined ballistic profile.
Those designs are not interchangeable simply because they look similar.
A useful equipment comparison considers:
- The reticle’s published design and calibration information.
- Whether the optic uses first or second focal plane construction.
- The manufacturer’s stated compatibility and mounting requirements.
- The relationship between the mounting system and the firearm.
- Whether the manual explains the reticle clearly enough for the intended use.
Manufacturer documentation and qualified range instruction are more dependable references than assuming a zero or reticle value based on another firearm.
Use Ballistic Software to Find Holdover
Ballistic software models projectile flight and displays predicted relationships between distance, trajectory, and the line of sight. Its output is a calculated estimate rather than a direct measurement of actual impact.
Such programs use a mathematical description of projectile motion and air resistance. Their predictions depend on the accuracy of the underlying information.
Ballistic software describes a predicted trajectory. It does not remove uncertainty or replace the equipment manufacturer’s documentation.
Hornady’s 4DOF documentation identifies the categories of information used in its trajectory model, including projectile characteristics, sight geometry, and atmospheric conditions.
This illustrates why two software profiles can produce different results even when they describe the same general cartridge type.
What Happened to Hawke’s X-ACT Software?
Hawke’s X-ACT Ballistic Reticle Calculator appears in older optic guides and product discussions. It was designed to display trajectory information alongside the company’s reticle designs.
However, Hawke states that support for the original desktop and smartphone applications ended in 2018.
The company’s X-ACT documentation explains that older applications may continue working, but compatibility with newer operating systems is not guaranteed.
Consequently, old instructions describing X-ACT as a currently supported application should not be repeated without qualification.
Software support status also matters when comparing an optic that depends on a manufacturer-specific companion application.
Check Scope Height and Reticle Fit
Scope height and reticle design are separate considerations. Height concerns the optic’s physical relationship to the firearm, while the reticle determines the visual references inside the sight.
A well-matched mounting system must also account for the scope’s physical dimensions and the user’s viewing position.
Leupold’s scope mounting guide discusses ring height, maintube compatibility, and the relationship between mounting position and eye alignment.
First Focal Plane vs. Second Focal Plane
One important buying distinction is whether the optic uses a first focal plane (FFP) or second focal plane (SFP) reticle.
The difference concerns how the reticle appears as magnification changes.
- First focal plane: The reticle changes apparent size along with the magnified image. Its angular references remain consistent across magnification settings.
- Second focal plane: The reticle remains the same apparent size while the target image changes. Its off-center references correspond to their specified angular values at a defined magnification.
Leupold’s optics glossary explains both designs and their effect on reticle measurements.
This difference matters when comparing scopes with similar markings but different internal optical systems.
Other Scope Features Worth Understanding
Reticle markings are not the only specification that affects the viewing experience.
- Eye relief: The distance between the eye and eyepiece where a full image is visible.
- Parallax: Apparent movement between the reticle and target image when eye position changes.
- Illumination: Lighting that improves the visibility of selected reticle elements.
- Maintube diameter: A physical measurement relevant to mounting-ring compatibility.
- Magnification: The optical enlargement of the viewed scene.
Illumination changes how clearly the reticle can be seen. It does not change the projectile’s trajectory or the reticle’s underlying calibration.
A manufacturer’s manual should identify the reticle type, focal plane, relevant viewing specifications, and physical mounting requirements.
Note: For firearm setup, inspection, or live-fire questions, seek guidance from a qualified firearms instructor or gunsmith. Follow the manufacturer’s instructions and all applicable range rules.
Firearm Safety and Responsible Range Use
Understanding holdover does not replace basic firearm safety. A calculated trajectory or reticle reference cannot establish that an area is safe for discharge.
The National Shooting Sports Foundation’s firearm safety rules emphasize muzzle direction, trigger discipline, target identification, and awareness of what lies beyond the target.
Warning: Never treat a predicted impact point as proof that a shot is safe. Be certain of the target, what is beyond it, and where a projectile could travel if it misses or ricochets. Use appropriate eye and hearing protection at an authorized range.
Before handling or inspecting an optic mounted on a firearm, follow the manufacturer’s unloading and safe-handling procedures.
If a scope, mount, or firearm appears damaged or improperly fitted, have it examined by a qualified professional rather than relying on estimated corrections.
Frequently Asked Questions
How Does Holdover Differ From Windage Adjustments?
Holdover describes a vertical change in the point of aim. Windage concerns horizontal alignment and lateral effects such as crosswind. Both terms describe different dimensions of the relationship between the sight picture and projectile trajectory. Neither term, by itself, guarantees where a projectile will strike.
Can Holdover Change With Different Ammunition Types?
Yes. Different ammunition can have different projectile weights, velocities, and aerodynamic properties. These characteristics affect the trajectory and its relationship to the line of sight. Therefore, a reticle’s published distance references should not be assumed to apply equally to every ammunition type.
Is Holdover Important for Iron Sights Too?
Yes. The underlying geometry applies to iron sights as well as optical sights. The sight line and bore axis remain separate, and projectile trajectory still changes with distance. The main difference is how each sighting system displays its visual reference.
How Do Illuminated Reticles Help With Holdover?
Illuminated reticles make selected markings easier to see against certain backgrounds. They can improve the visibility of an optic’s reference points, but illumination does not change reticle spacing, zero distance, or projectile trajectory. The scope’s underlying optical design remains the same.
Does Shooting Position Affect Holdover Accuracy?
Yes. Shooting position can affect consistency, eye alignment, and how the sight picture appears. Some scopes also exhibit parallax, which can make the reticle appear to shift relative to the target as eye position changes. These factors are separate from the projectile’s calculated trajectory.
Does Holdover Always Apply Beyond the Zero Distance?
No. Holdover describes a relationship between the point of aim and expected impact, not simply a distance category. Sight height can also create a low-impact relationship at very short distances. The actual trajectory depends on the complete firearm, ammunition, and sight configuration.
Does a First Focal Plane Scope Eliminate Holdover?
No. First focal plane construction changes how the reticle scales with magnification, not the projectile’s trajectory. Its angular references remain consistent across magnification settings. Second focal plane scopes use a different optical arrangement, so their off-center markings generally correspond to specified angular values at a designated magnification.
Conclusion
Holdover is a relationship between the sight picture and the projectile’s trajectory. Understanding it starts with knowing what zero distance, sight offset, and reticle markings actually mean.
Before choosing an optic, compare its focal plane design, mounting compatibility, and published specifications. Keep numerical examples tied to their original configurations, and use qualified instruction and established firearm safety practices rather than assumptions about where a projectile will strike.
Sources
- Hawke Optics: Understanding Holdover and Hold-Under: Definitions and manufacturer-specific reticle examples.
- Hornady: External Ballistics: Projectile trajectory, line of sight, and zero-distance relationships.
- Leupold: Optics Glossary: Reticle terminology and focal plane definitions.
- Hornady: 4DOF Instructions: Ballistic model information and terminology.
- Hawke Optics: X-ACT Ballistic Reticle Calculator: Original application information and the 2018 support announcement.
- Leupold: Choosing Scope Mounts, Rings, and Bases: Mounting compatibility, ring height, and eye alignment.
- National Shooting Sports Foundation: Firearm Safety Rules: Responsible handling, target awareness, and protective equipment.
