
Changing the oil in your Toyota RAV4 can be a manageable home-maintenance job when you use the correct oil, parts, lifting points, and safety equipment. This guide covers U.S.-spec 2019–2024 RAV4, RAV4 Hybrid, and RAV4 Prime models with A25-series gasoline engines. Always confirm the specifications for your exact year, engine, and VIN before beginning.
Quick Answer
Warm the engine briefly, shut it off, support the RAV4 safely, drain the old oil, and replace the filter and drain-plug gasket. Refill with the oil shown on the under-hood label, commonly SAE 0W-16. Lower the vehicle, wait at least five minutes, verify the dipstick level, and inspect carefully for leaks.
Key Takeaways
- Toyota documentation lists SAE 0W-16 and a 4.8-quart reference refill with a filter change for the verified A25-engine applications covered here.
- Treat 4.8 quarts as a reference, not an amount to pour in automatically. Set the final level with the dipstick while the vehicle is level.
- Toyota service information lists filter 90915-YZZN1 and gasket 90430-12031 for covered applications, but you should verify both by VIN.
- Never work beneath a vehicle supported only by a floor jack. Use rated ramps or correctly positioned jack stands on a hard, level surface.
- Normal oil-service intervals can differ from severe-use intervals, so follow the maintenance guide for your exact model year and driving conditions.
- Keep used oil in a closed container, do not mix it with other fluids, and take it to an approved recycling or collection location.
At a Glance
| Time Required | About 45–75 minutes |
| Difficulty | Beginner to intermediate |
| Tools Needed | Drain pan, socket set, ratchet, torque wrench, filter wrench, funnel, wheel chocks, gloves, eye protection, and rated ramps or a floor jack with jack stands |
| Cost | Varies by oil, filter, gasket, and local pricing; plan for five quarts of oil, one filter, and one drain-plug gasket |
Note: Specifications can change between model years. Owners of 2025-and-newer RAV4 models should use Toyota’s owner-manual library, the under-hood oil label, and a VIN-based parts catalog instead of assuming the specifications below carry forward.
How to Change Oil in a 2019–2024 Toyota RAV4
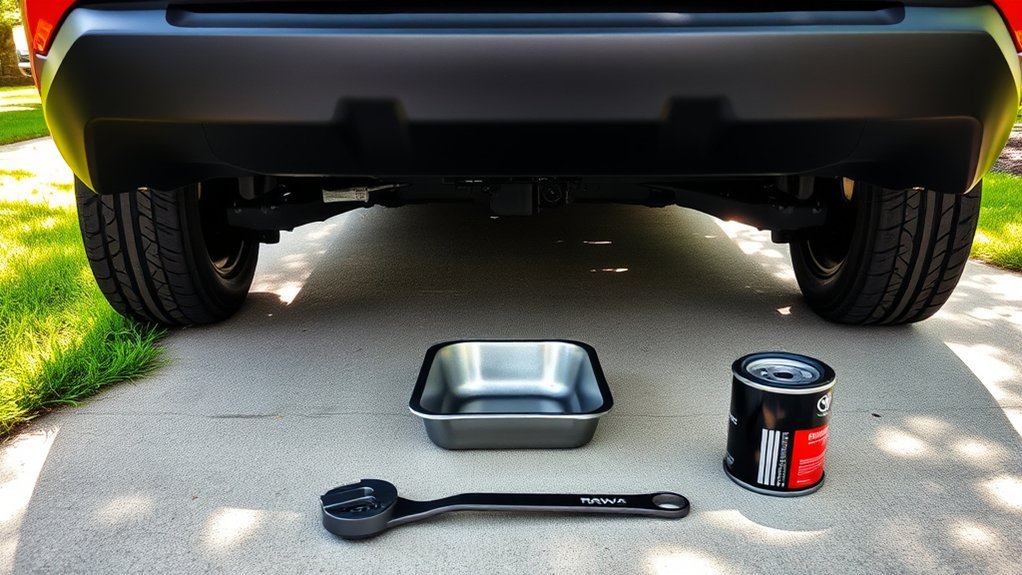
A complete Toyota RAV4 oil change involves more than opening the drain plug and adding a fixed number of quarts. You must verify the oil and filter, support the vehicle securely, replace the sealing gasket, refill gradually, and perform the final level check on level ground.
The listed oil capacity is a reference refill amount. The dipstick reading on a level vehicle determines the correct final level.
The basic sequence is:
- Confirm the oil, filter, gasket, capacity, and service interval for your exact vehicle.
- Warm the engine briefly, park on level ground, and switch the vehicle completely off.
- Chock the wheels and raise the front safely if additional clearance is required.
- Remove the appropriate under-cover access panel.
- Drain the old engine oil and inspect the drain plug.
- Remove the old filter and confirm its gasket came off with it.
- Install the new filter and a new drain-plug gasket.
- Add oil gradually, lower the vehicle, and check the dipstick.
- Run the engine briefly, inspect for leaks, recheck the level, and reset the maintenance reminder.
Gather Your Tools and Materials for the Oil Change
Collect everything before raising the vehicle. This reduces the chance that you will leave the RAV4 unsupported while searching for a missing tool or part.
Verify the Oil, Capacity, Filter, and Gasket
| Item | Verified Reference | What You Should Check |
|---|---|---|
| Oil viscosity | SAE 0W-16 for the verified A25 applications | Confirm the under-hood label and exact owner’s manual |
| Reference capacity | 4.8 U.S. quarts with a filter change | Use the dipstick for the final level |
| Oil filter | Toyota 90915-YZZN1 in the cited service bulletin | Confirm current fitment and supersessions by VIN |
| Drain-plug gasket | Toyota 90430-12031 in the cited service information | Confirm fitment by VIN and install a new gasket |
| Temporary substitute | 0W-20 may be permitted when 0W-16 is unavailable | Use it only when your exact manual permits it, then return to 0W-16 at the next service |
The specifications above are supported by Toyota’s 2019 RAV4 Owner’s Manual and its engine-oil service bulletin for covered A25 applications.
Tools and Supplies
- Five-quart container or equivalent quantity of the specified engine oil
- Correct replacement oil filter
- New drain-plug gasket or crush washer
- Drain pan with enough capacity for the old oil
- Socket set; a 14 mm socket is commonly used for the drain plug on the covered applications
- Socket or appropriate fastener tool for the under-cover access panel; 10 mm fasteners are common
- Ratchet and an appropriately ranged torque wrench
- Oil-filter wrench that fits the filter without crushing it
- Clean funnel
- Shop towels or absorbent pads
- Nitrile or mechanic’s gloves
- Safety glasses
- Wheel chocks
- Rated vehicle ramps or a hydraulic floor jack and properly rated jack stands
- Closed container for transporting used oil
Pro Tip: Open the new filter box and compare the new filter with the old one before installation. Check the thread opening, gasket diameter, body size, and part number. Stop if they do not match.
Do not rely on a tool brand or a generic online parts listing. Fit, range, and condition matter more than the name printed on the tool.
Safely Lift Your Toyota RAV4 and Prepare the Workspace
Park on a hard, flat, well-ventilated surface. Shift into Park, apply the parking brake, switch off the ignition, and remove the key or keep the key fob away from the vehicle.
Warning: Never crawl beneath a vehicle supported only by a floor jack. Use rated ramps or place rated jack stands at the lifting and support points specified in the owner’s manual. Push the vehicle gently before going underneath to confirm it is stable.
For a RAV4 Hybrid or RAV4 Prime, confirm that the READY indicator is off. The gasoline engine can start automatically while the hybrid system is active, even if the engine is silent when you approach it.
Place wheel chocks against the tires that remain on the ground. If you use ramps, center the tires and confirm both ramps sit flat. If you use a floor jack, lift only at the approved point and position the stands at the approved support locations.
| Safety Action | Purpose | Check Before Continuing |
|---|---|---|
| Apply the parking brake and chock the wheels | Prevents unintended movement | The vehicle does not roll or shift |
| Use approved lifting and support points | Prevents body damage and unstable support | Stands sit squarely and carry the vehicle’s weight |
| Wear gloves and eye protection | Reduces exposure to hot oil, dirt, and splashes | The engine and exhaust are cool enough to approach safely |
| Switch the hybrid system fully off | Prevents an automatic engine start | The READY indicator is not illuminated |
You may warm the engine briefly before parking so the oil flows more readily. Do not drain it immediately after a long drive. Hot oil and nearby exhaust parts can cause serious burns.
Remove the Skid Plate to Access the Engine Components
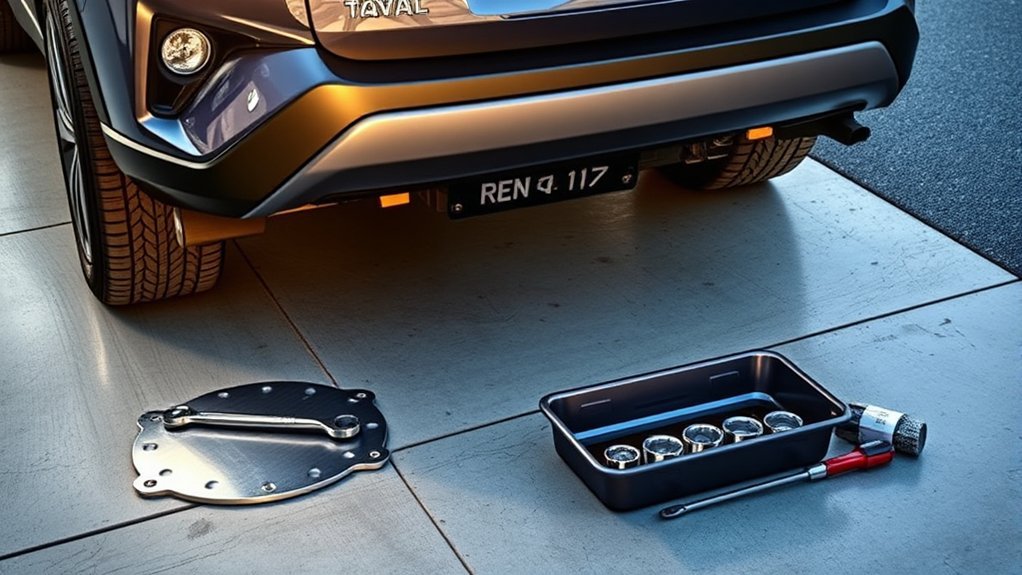
The under-cover arrangement varies by year, powertrain, and trim. Some RAV4 models provide a smaller service panel, while others require removal of a larger section to reach the filter and drain plug.
Locate the Access Door
Pull the hood-release lever in the driver-side lower instrument-panel area, then release the secondary latch at the front of the hood. The hood release and fuel-door release are separate controls.
From beneath the front of the vehicle, identify the service opening or panel that exposes the oil filter and drain plug. Confirm that you are looking at the engine-oil drain plug rather than a transmission, differential, or transfer-case plug.
Remove the Securing Screws
Use the correct socket, screwdriver, or trim tool for each fastener. A 10 mm socket is commonly needed, but you should inspect the fasteners before selecting a tool.
Support the panel with one hand as you remove the final fastener. Arrange the screws, bolts, and clips in their removal order so each one returns to its original location.
Do not use excessive force on a spinning plastic clip. Hold its outer section or use a trim-removal tool to avoid damaging it.
Inspect the Undercarriage Condition
With the panel removed, inspect the area before draining the oil. Look for:
- Fresh engine-oil residue around the oil pan, filter, timing cover, or drain plug
- Coolant, transmission fluid, or other unidentified leaks
- Cracked, bent, loose, or missing under-cover components
- Damaged fasteners or stripped mounting points
- Rust, impact damage, or loose wiring and shields
- Damaged suspension boots, bushings, or nearby components that are visible without disassembly
A light film left from a previous spill is not the same as an active leak. Clean the area and monitor it. Seek professional diagnosis if fluid continues to appear or you cannot identify it safely.
Drain the Old Engine Oil: Steps and Tips
Position the Essential Tools
Place the drain pan below and slightly behind the drain plug because the first stream may travel outward. Keep towels nearby, and make sure the pan will not block your access to the filter.
Pro Tip: Loosen the oil-fill cap before removing the drain plug. This confirms the cap can be opened and allows air to enter as the old oil drains.
Use the Proper Drainage Technique
- Fit the correct socket squarely over the drain-plug head.
- Break the plug loose with controlled force. Do not use an impact wrench.
- Finish loosening it by hand while pressing inward against the oil pan.
- Pull the plug away quickly when the final thread releases.
- Allow the oil to drain until it slows to occasional drops.
- Inspect the plug for damaged threads, a rounded head, cracks, or metal debris.
- Remove the old gasket and clean the plug and oil-pan sealing surface.
- Install a new correctly fitted gasket.
- Thread the plug in by hand for several turns. Stop if it does not turn smoothly.
- Tighten it to the specification in Toyota’s repair information for your exact model and engine.
Warning: Stop if the drain plug will not start by hand, spins without tightening, or brings damaged threads out with it. A stripped oil pan requires proper repair and can release the engine oil without warning.
Wipe the plug and surrounding oil-pan area clean after tightening. A clean surface makes a new leak easier to detect during the final inspection.
Prepare the Used Oil for Safe Disposal
Leave the oil in the drain pan until it has cooled enough to transfer safely. Pour it into a clean, leak-resistant container with a secure lid. Do not mix it with coolant, gasoline, brake fluid, solvents, or water because contamination can prevent recycling.
Keep the container upright and away from children, pets, drains, soil, and ignition sources until you can take it to an approved collection point.
Replacing Your Oil Filter: What You Need to Know
Move the drain pan under the filter because oil will escape when the seal breaks. Use a correctly sized filter wrench only if the filter cannot be loosened by hand.
- Turn the old filter counterclockwise.
- Keep it as upright as possible while removing it.
- Empty its contents into the drain pan.
- Check the old filter immediately to confirm its rubber gasket is still attached.
- Inspect the engine’s filter-mounting surface for a second gasket, dirt, or damage.
- Clean the mating surface with a lint-free towel.
Warning: Never install a new filter over an old gasket stuck to the engine. This “double gasket” condition can create a major leak as soon as oil pressure rises.
If the old filter is badly crushed, its mounting stud is damaged, or the filter will not loosen with a proper tool, stop before damaging the engine housing. A repair shop can remove it with equipment suited to the problem.
Best Practices for Installing the New Oil Filter
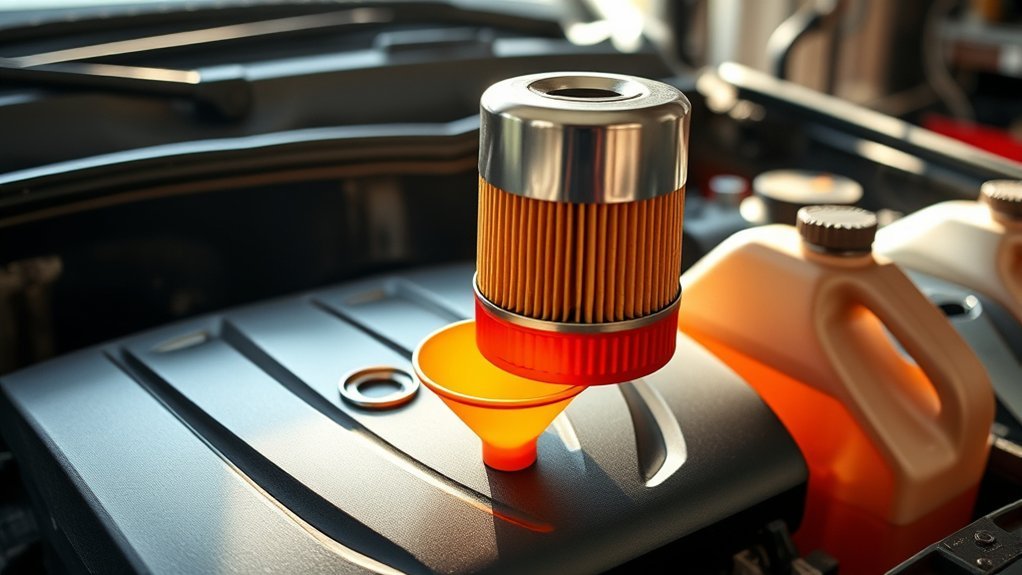
Compare the new filter with the old filter again before opening or lubricating it. Confirm the part number, thread opening, gasket diameter, and body dimensions.
- Apply a thin film of fresh engine oil to the new filter’s rubber sealing gasket.
- Keep the mounting surface clean and free of old gasket material.
- Hold the filter square to the threaded stud.
- Turn it clockwise by hand until the gasket makes contact.
- Tighten it according to the instructions supplied with the filter or Toyota service information.
- Do not use an impact tool or overtighten the filter with a wrench.
- Wipe the filter and surrounding area clean after installation.
A common spin-on filter instruction is to tighten it a specified fraction of a turn after gasket contact, but that fraction is not universal. Follow the directions for the filter actually installed.
Fill the Engine With the Specified 0W-16 Oil
Why the Correct Oil Matters
For the verified applications in this guide, Toyota specifies SAE 0W-16 engine oil. The correct viscosity supports lubrication during cold starts, normal operating temperature, and the clearances designed into the engine.
If 0W-16 is unavailable, Toyota’s 2019 manual permits temporary use of 0W-20, followed by 0W-16 at the next oil change. Do not apply that substitution to a different year or engine unless its manual gives the same instruction.
Use oil that meets the quality standard stated in your owner’s manual and on the container. Do not choose oil only because its label includes words such as “premium,” “high mileage,” or “racing.”
Use a Controlled Filling Technique
- Confirm that the drain plug and filter are installed.
- Place a clean funnel in the oil-fill opening.
- Add less than the full reference capacity initially.
- Wait briefly for the oil to reach the pan.
- Install the fill cap and dipstick.
- Lower the vehicle so it rests level on the ground.
- Check the dipstick and add oil in small amounts as needed.
Toyota lists 4.8 U.S. quarts with a filter change for the verified A25 applications. The actual amount needed can vary slightly because some old oil remains in the engine and filters can differ internally.
Check the Oil Level Correctly
Use this method for the final measurement:
- Park on level ground.
- Switch the engine off.
- Wait at least five minutes for the oil to drain into the pan.
- Pull out the dipstick and wipe it clean.
- Insert it fully, then remove it again.
- Read both sides and use the lower consistent reading if the oil is smeared.
- Add small amounts if the level is below the acceptable range.
- Remove excess oil if the level is above the full mark.
Note: Overfilling is not extra protection. Too much oil can cause aeration, leakage, emissions-system problems, or internal engine damage. Drain or extract the excess before driving.
Start the Engine and Check for Leaks
Before starting, verify that the oil-fill cap and dipstick are fully installed and that no tools remain in the engine compartment.
- Start the engine and watch the oil-pressure warning indicator.
- Allow the engine to idle briefly without revving it.
- Switch it off immediately if the oil-pressure warning does not go out promptly.
- Inspect the oil filter and drain plug with a light.
- Look for fresh drops, wet seams, or a forming oil trail.
- Switch the engine off and wait at least five minutes.
- Check the dipstick again and correct the level if needed.
- Reinstall the access panel or under-cover with every original fastener.
If a small leak appears at the filter, switch the engine off and check for a double gasket, cross-threading, a damaged filter, or inadequate tightening. If oil appears at the drain plug, inspect the gasket, plug threads, and oil-pan sealing surface.
Warning: Do not drive with an active oil leak, an oil-pressure warning that remains on, or unexplained knocking and rattling after the service. Switch the engine off and diagnose the problem first.
Reset the Maintenance Reminder
The menu wording varies by year and instrument cluster. A common method is:
- Switch the ignition or power mode on without starting the engine.
- Use the steering-wheel controls to open the meter settings.
- Select Vehicle Settings.
- Choose Scheduled Maintenance, Oil Maintenance, or the similarly named reset item.
- Select Reset or Yes and confirm.
- Switch the ignition off, then on again to confirm the reminder cleared.
If those menu names do not appear, use the maintenance-reminder instructions in the owner’s manual for your exact model year. Resetting the reminder does not verify that the oil level or service work is correct.
Schedule the Next Oil Change and Dispose of Used Oil Responsibly
Toyota’s maintenance guides for this RAV4 generation generally call for an engine-oil and filter change at 10,000 miles or 12 months when the specified 0W-16 oil is used under the normal schedule.
A shorter 5,000-mile or six-month interval applies under listed special operating conditions. Examples in Toyota maintenance documentation include repeated trips of less than five miles in temperatures below 32°F or 0°C and extensive idling or prolonged low-speed operation. The exact list can differ by model year.
If your manual permits 0W-20 only because 0W-16 was unavailable, follow its shortened replacement instruction and return to 0W-16 at the next change.
Record the following information:
- Date of service
- Vehicle mileage
- Oil brand, viscosity, and specification
- Quantity added
- Filter part number
- Drain-plug gasket part number
- Any leaks, damaged fasteners, or repairs found during the service
Consult the Toyota RAV4 Warranty & Maintenance Guide for the normal and special-condition schedules, then verify that the guide matches your model year.
For disposal, transfer the cooled used oil into a clean container with a secure lid. Keep the used filter upright in a leak-resistant bag or container. Take both to a recycling center, participating auto-parts store, service facility, or household hazardous-waste site that accepts them.
The U.S. Environmental Protection Agency advises keeping used oil separate from other fluids and delivering it to an appropriate collection or recycling location. Review the EPA’s used-oil recycling guidance and local disposal rules.
Troubleshooting Common Oil Change Problems
| Problem | Likely Cause | What to Do |
|---|---|---|
| Oil leaks around the filter | Double gasket, damaged seal, loose filter, cross-threading, or wrong filter | Switch off the engine, remove the filter, inspect both sealing surfaces, and install the correct undamaged filter properly |
| Oil leaks at the drain plug | Reused or damaged gasket, loose plug, damaged threads, or damaged sealing surface | Switch off the engine, inspect the plug and gasket, and obtain professional repair if the threads are damaged |
| Dipstick is above full | Too much oil added or vehicle not level during measurement | Recheck on level ground after waiting, then drain or extract the excess |
| Dipstick is below the acceptable range | Insufficient refill, oil not settled, or a leak | Inspect for leaks and add the specified oil gradually |
| Oil-pressure warning remains on | Low oil, major leak, incorrect filter, or oil-pressure fault | Switch the engine off immediately and diagnose the cause before restarting |
| Maintenance reminder remains displayed | Wrong reset menu or reset not confirmed | Use the exact instrument-cluster procedure in the owner’s manual |
| Drain plug spins or will not tighten | Damaged plug or oil-pan threads | Do not fill or drive the vehicle; arrange a proper thread or oil-pan repair |
Related Guides
Frequently Asked Questions
What oil does a 2019–2024 Toyota RAV4 use?
The verified A25-engine applications covered here commonly specify SAE 0W-16. Confirm the under-hood label and owner’s manual for your exact year, engine, and market before purchasing oil.
How much oil does a Toyota RAV4 take with a filter change?
Toyota lists 4.8 U.S. quarts as the reference refill for the verified A25 applications. Add less than the full amount initially, lower the vehicle, wait at least five minutes, and use the dipstick to establish the final level.
Which oil filter fits a 2019–2024 Toyota RAV4?
Toyota service information lists 90915-YZZN1 for covered A25 applications. Parts can be superseded, and fitment can differ, so confirm the current filter through a VIN-based Toyota parts catalog before buying it.
Can I use 0W-20 instead of 0W-16?
Toyota’s 2019 manual permits 0W-20 temporarily when 0W-16 is unavailable, followed by 0W-16 at the next oil change. Use this exception only when the manual for your exact vehicle permits it.
What oil should I use in an older Toyota RAV4?
Do not apply one viscosity to every older RAV4. The correct oil varies by model year, engine, market, and operating temperature. Check the exact owner’s manual and under-hood label.
How often should I check the oil level between services?
Check it regularly, before a long trip, and whenever you notice a warning, leak, burning-oil smell, unusual engine noise, or unexpected consumption. Measure it on level ground after the engine has been off long enough for the oil to settle.
What are the signs of low engine oil?
Possible signs include a low dipstick reading, oil-pressure warning, ticking or knocking sounds, visible leakage, a burning-oil smell, or smoke. Switch the engine off immediately if the oil-pressure warning remains on.
Should I replace the oil filter at every oil change?
Yes. Toyota’s maintenance schedule pairs engine-oil replacement with oil-filter replacement. A fresh filter prevents contaminants trapped during the previous interval from remaining in service with the new oil.
What should I do if oil leaks after the change?
Switch the engine off. Check the filter for a double gasket, wrong fit, damage, or improper installation. Check the drain plug for a missing gasket or damaged threads. Do not drive until the leak is corrected and the oil level is restored.
Conclusion
A successful Toyota RAV4 oil change depends on accurate vehicle-specific information and careful verification. Confirm the oil, filter, gasket, and service interval before starting. Support the vehicle securely, replace both sealing components correctly, add oil in stages, and use the dipstick for the final level.
After the engine has run briefly, inspect the filter and drain plug for fresh oil, recheck the level after it settles, reinstall every under-cover fastener, and record the service. Stop and seek professional help if you find damaged threads, a persistent leak, an oil-pressure warning, or any condition you cannot correct safely.
Sources
- Toyota 2019 RAV4 Owner’s Manual — oil viscosity, reference capacity, substitute-oil guidance, and dipstick procedure
- Toyota 2024 RAV4 Warranty & Maintenance Guide — normal and special-condition service schedules
- Toyota Engine Oil Maintenance Service Bulletin — A25 oil quantity, filter, and drain-gasket references for covered applications
- Toyota Genuine Oil Filter 90915-YZZN1 — current filter reference and supersession information
- Toyota Drain-Plug Gasket 90430-12031 — gasket description and replacement reference
- U.S. Environmental Protection Agency Used-Oil Guidance — storage, separation, collection, and recycling practices

