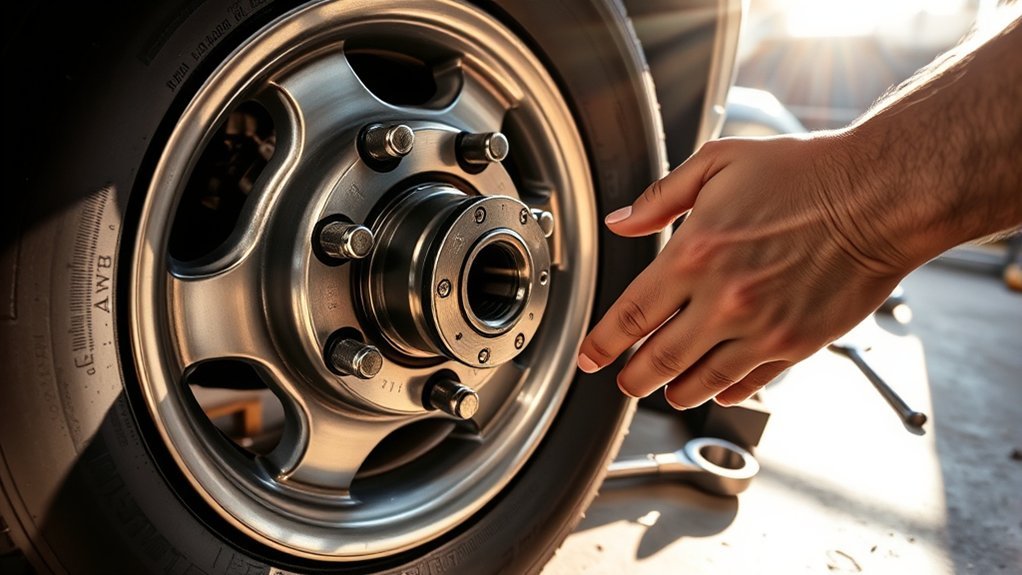
Replacing a front wheel bearing on a Toyota RAV4 can stop humming, grinding, vibration, and wheel play, but the correct procedure depends on the model year and drivetrain. Before removing anything, confirm whether your RAV4 uses a bolt-in hub assembly or a bearing that requires additional disassembly or press equipment.
Quick Answer
To replace a Toyota RAV4 front wheel bearing, verify the VIN-matched hub design, support the vehicle on jack stands, remove the wheel, brake components, axle nut, ABS wiring, and hub fasteners, then install the new assembly using the exact Toyota torque specifications for your model year. Never treat online torque values as universal.
Key Takeaways
- A humming or growling sound that changes while turning can indicate a bad bearing, but tires, brakes, CV joints, and driveline parts can make similar noises.
- Confirm the model year, drivetrain, hub design, ABS connector, and replacement part by VIN before beginning.
- Support the RAV4 with correctly rated jack stands. Never work under a vehicle held only by a hydraulic jack.
- Do not assume that one set of socket sizes or torque values applies to every RAV4.
- Use a torque wrench for final tightening and keep lubricant off threaded fasteners unless Toyota’s applicable procedure specifically requires it.
- Replace the diagnosed bearing. You do not automatically need to replace the bearing on the opposite side.
At a Glance
| Time Required | About two to four hours for an accessible bolt-in hub; longer when corrosion, damaged hardware, or press work is involved |
| Difficulty | Advanced DIY because the repair involves vehicle lifting, brakes, axle hardware, ABS wiring, and high-torque fasteners |
| Tools Needed | Floor jack, jack stands, wheel chocks, socket set, breaker bar, torque wrenches, caliper hanger, wire brush, penetrating oil, and a hub puller or slide hammer when needed |
| Cost | Varies by model year, bearing design, part quality, corrosion, labor rate, and whether related brake, axle, or ABS parts need replacement |
Warning: Perform this repair on firm, level ground. Chock the wheels and support the vehicle at Toyota-approved lifting points with rated jack stands. Never place any part of your body under a vehicle supported only by a jack. Stop and seek professional help if you cannot identify the correct lifting points, torque specifications, bearing design, or ABS arrangement.
Confirm Your RAV4’s Bearing Design Before Starting
Toyota RAV4 front wheel bearing designs, fasteners, wiring, and service procedures vary by model year and drivetrain. The instructions below describe the general workflow for a bolt-in front hub-and-bearing assembly. Do not assume that your RAV4 uses this exact design.
Use the VIN to check the replacement part through Toyota’s parts system or a trusted parts catalog. Compare the new and old parts for the following details:
- Mounting-bolt pattern and hub dimensions
- Axle-spline count and diameter
- ABS connector shape and wire length
- Left-side or right-side restrictions
- Included axle nut, seals, clips, or other single-use hardware
- Whether the bearing is supplied as a complete hub assembly or requires press work
Toyota offers vehicle-specific front hub-and-bearing assemblies with wheel-speed sensing incorporated into the assembly. Review the exact fitment before disconnecting or attempting to remove an ABS sensor. See Toyota’s front hub and bearing assembly information for an example of an integrated design.
Note: Socket sizes listed in general repair guides are examples, not universal specifications. Check your fasteners before buying an axle-nut socket or beginning disassembly.
What Are the Symptoms of a Failing Wheel Bearing?
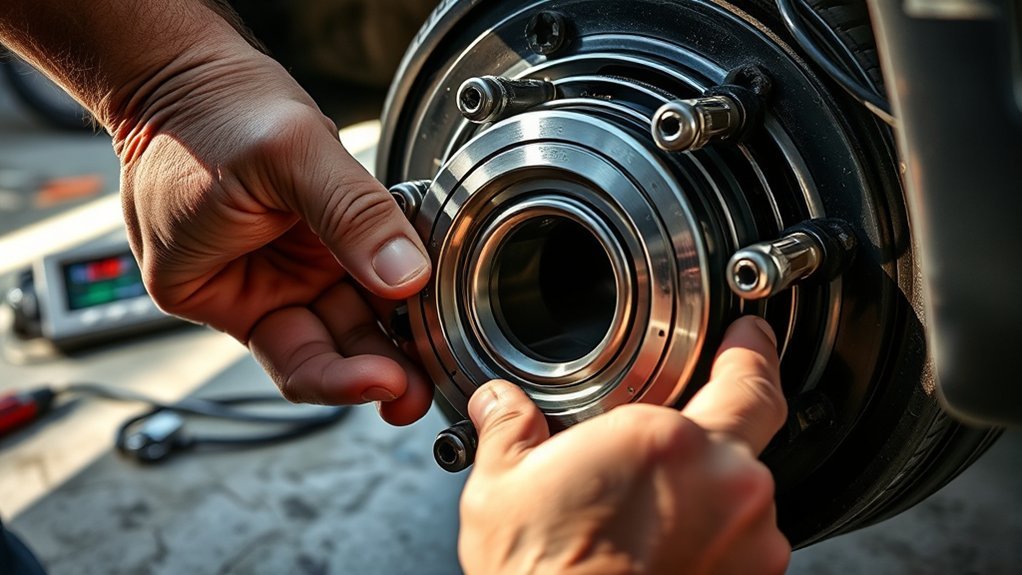
A worn front wheel bearing often produces a humming, rumbling, or growling sound that rises with road speed. Bearing noise may become louder when you make a gentle turn and shift the vehicle’s weight from one side to the other.
Other possible signs include:
- Grinding that changes when the vehicle turns or the load shifts
- Wheel looseness or play during an inspection
- Steering-wheel vibration or wheel wobble in a severe case
- An ABS or traction-control warning caused by an interrupted wheel-speed signal
- Brake pulsation or uneven brake wear when severe looseness creates excess runout
These symptoms do not prove that the bearing is bad. Tire tread patterns, an out-of-balance tire, a bent wheel, brake contact, worn suspension parts, CV-joint damage, and AWD driveline components can create similar noises or vibrations. Timken’s wheel hub bearing symptom guide also notes that uneven tire wear is more commonly related to inflation, alignment, tire selection, or suspension wear than to a bearing.
How to Identify the Noisy Side
Begin with a careful road test on a quiet, safe road. Note whether the sound changes with vehicle speed, engine speed, braking, or gentle steering input. Bearing noise usually follows road speed rather than engine rpm.
A rumble that becomes louder during a gentle left turn may indicate increased loading on the right bearing, while a noise that increases during a right turn may point toward the left. Treat this only as a diagnostic clue because sound can travel through the body and subframe.
After safely lifting the vehicle, rotate the wheel by hand and check for roughness, noise, or play. Hold the tire near the top and bottom and gently rock it. Movement may also come from a ball joint or another suspension component, so watch each joint while a helper moves the wheel.
Pro Tip: Scan the ABS system before replacing the hub when an ABS light is present. A stored wheel-speed code can help identify a circuit problem, but you should still inspect the wiring and connector before condemning the bearing.
Essential Tools for Wheel Bearing Replacement
Gather the tools only after confirming the fastener sizes and bearing design for your RAV4. A typical bolt-in hub replacement may require:
- Safety glasses and mechanic’s gloves
- Wheel chocks
- A floor jack with adequate capacity
- Correctly rated jack stands
- A lug-nut socket and breaker bar
- The correct axle-nut socket
- Ratchets, extensions, and metric sockets
- A low-range torque wrench for smaller fasteners
- A high-range torque wrench capable of tightening the axle nut
- A caliper hanger or strong wire
- A flat screwdriver or trim tool for clips and covers
- Penetrating oil
- A wire brush and brake-safe cleaner
- A dead-blow or rubber mallet
- A hub puller or slide hammer for a seized hub
- A tool that pushes the axle from the hub without damaging the threads
- A scan tool when an ABS warning or wheel-speed fault is present
You may also need a hydraulic press, snap-ring pliers, bearing drivers, or steering-knuckle removal tools if your RAV4 does not use a removable bolt-in hub assembly.
Parts and Supplies to Have Ready
- A VIN-matched front hub-and-bearing assembly or bearing kit
- A new axle nut when Toyota or the part manufacturer identifies it as nonreusable
- New cotter pins, locking caps, clips, or seals when fitted
- Replacement hub bolts if damaged, stretched, badly corroded, or designated for one-time use
- Thread locker only when the applicable service procedure calls for it
- Approved corrosion protection for non-threaded surfaces, if permitted
Prepare the Vehicle Safely
- Park on firm, level ground and shift into Park. Apply the parking brake and switch off the vehicle.
- Place wheel chocks at the wheels that will remain on the ground.
- Remove the hubcap or center cap if it blocks access to the axle nut.
- Inspect the axle-nut locking method. It may use staking, a cotter pin, a cap, or another retainer.
- Loosen the axle nut according to the applicable Toyota procedure while the vehicle is stable. Do not fully remove it yet unless the repair manual directs otherwise.
- Loosen the wheel nuts slightly before lifting the vehicle.
- Raise the RAV4 at an approved lifting point and lower it securely onto rated jack stands.
- Gently push the vehicle to confirm stability before removing the wheel.
OSHA guidance requires a raised load to be blocked, cribbed, or otherwise secured after lifting. Review OSHA’s jack safety requirements before working around a raised vehicle.
How to Remove the Old Wheel Bearing
1. Remove the Wheel and Brake Components
Remove the lug nuts and wheel. Inspect the tire and inner wheel for unusual rubbing, uneven wear, or impact damage that might explain the original noise.
Remove the brake caliper and, when necessary, the caliper bracket. Hang the caliper from the suspension with a proper hanger. Never let it hang by the flexible brake hose.
Do not press the brake pedal while the caliper is removed. Keep grease, penetrating oil, and anti-seize away from the brake pads and rotor surfaces.
Remove the brake rotor. If it is stuck, use the designated rotor-removal holes or the service-manual method rather than striking the braking surface aggressively.
2. Protect the ABS Wiring
Trace the wheel-speed wiring before pulling on the hub. Release any harness clips or connectors that prevent safe removal. Do not pull the connector apart by its wires.
Some RAV4 hub assemblies incorporate the wheel-speed sensing components into the hub. Others may use a separately serviced sensor. Follow the procedure that matches your VIN and replacement part.
3. Remove the Axle Nut and Free the Axle
Remove the axle nut and any washer, lock cap, or cotter pin. Keep track of the order and orientation of reusable pieces.
Push the axle splines inward from the hub with an appropriate axle-pushing tool. Do not strike the threaded axle end directly with a steel hammer because damaged threads can prevent correct nut installation.
If the axle is stuck, apply penetrating oil at the spline joint and use a puller that presses on the axle while supporting the hub. Avoid pulling the inner CV joint apart or placing excessive force on the transmission.
4. Remove the Hub Mounting Bolts
Locate the hub mounting bolts at the rear of the steering knuckle. Clean their exposed threads and bolt heads so the socket seats fully.
Remove the bolts with the correct socket and breaker bar. Access may require moving wiring retainers or turning the steering for a better angle. Do not damage the CV boot, brake hose, or ABS harness.
5. Separate the Hub From the Knuckle
Road salt and moisture can bond the hub to the steering knuckle. Apply penetrating oil around the hub-to-knuckle joint and allow it time to work.
Use a hub puller, slide hammer, or another approved removal tool to draw the hub out evenly. A dead-blow or rubber mallet can help with light corrosion, but uncontrolled hammering can bend the dust shield, damage the knuckle, or transmit force into other components.
Support the axle and hub as they separate. Do not allow the axle to hang sharply from the inner CV joint.
6. Inspect the Removed Parts
Inspect the old assembly for corrosion, roughness, looseness, damaged seals, discolored metal, or a damaged wheel-speed wire. Also examine:
- The steering-knuckle bore and mounting face
- The axle splines and threads
- The CV boots and joints
- The brake dust shield
- The rotor and brake pads
- The wheel studs and lug nuts
- The ABS connector and harness retainers
Finding the cause of the original failure can prevent the new bearing from being damaged by loose hardware, impact damage, corrosion, or another worn suspension component.
Best Practices for Installing the New Wheel Bearing
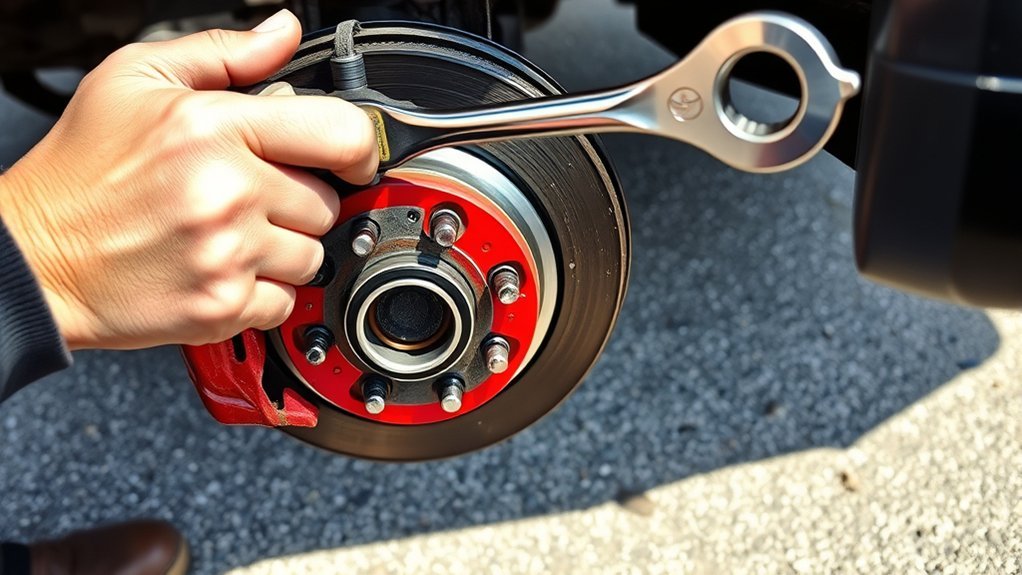
1. Compare the Old and New Assemblies
Place the assemblies side by side. Confirm the flange, bolt holes, spline opening, connector, wiring length, and sensor orientation match. Do not install a part that requires forcing, wiring modification, or unexplained spacers.
2. Clean the Knuckle and Axle Splines
Remove rust and debris from the knuckle’s hub bore and mounting face with a wire brush and suitable cleaner. Keep debris out of the CV boot and electrical connector.
Clean the axle splines without removing metal. The new hub must sit squarely against the knuckle with no scale, burr, or trapped debris between the mating faces.
Warning: Do not coat the axle-nut threads, wheel studs, lug nuts, or hub-bolt threads with anti-seize unless the applicable Toyota procedure expressly requires lubricant. Toyota’s published 2019 RAV4 service information states not to apply lubricant to the front axle shaft nut threads.
3. Position the New Hub
Align the dust shield and guide the hub over the axle splines. Keep the hub square to the knuckle and avoid placing tension on the ABS wiring.
Start each mounting bolt by hand. If a bolt does not turn freely for several threads, stop and check the alignment and thread condition.
4. Tighten the Hub Bolts
Snug the hub bolts gradually in a crisscross pattern so the assembly seats evenly. Tighten them with a calibrated torque wrench to the specification for the exact model year, drivetrain, and fastener.
Do not automatically apply a generic 71 ft-lb specification. Use Toyota repair information or verified instructions supplied with the VIN-matched part.
5. Install the Axle Hardware
Install the washer and a new axle nut when required. Thread the nut by hand to avoid cross-threading.
Follow the applicable procedure for seating and tightening the hub. Use a calibrated torque wrench rather than an impact wrench for final tightening. MOOG’s hub-bearing guidance warns that impact tools can overtighten the axle nut and contribute to premature bearing wear.
Install or form the locking device exactly as specified. This may involve staking the nut, fitting a new cotter pin, or installing a retaining cap.
Axle-nut torque is part of the bearing’s operating setup, not merely a way to keep the nut from falling off. Incorrect clamping can shorten hub life or leave the wheel end unsafe.
Essential Steps for Reassembling Components After Wheel Bearing Replacement
Reinstall the ABS Sensor and Wiring
Reconnect the wheel-speed connector and return the harness to every original clip and bracket. Confirm the wire cannot touch the tire, axle, rotor, or other moving parts throughout the steering range.
If your RAV4 uses a separately removable sensor, clean its mounting area carefully and tighten its fastener to the applicable specification. Do not overtighten a small sensor bolt or force a sensor into a rusted bore.
If the sensor is integrated with the hub, confirm the connector locks fully and that the replacement assembly matches the original connector and wiring route.
Reinstall the Rotor, Caliper Bracket, and Caliper
Correct any bent dust-shield area before installing the rotor. The shield should not rub the rotor.
Clean oil or fingerprints from the rotor with brake-safe cleaner. Install the rotor, caliper bracket, pads, and caliper without twisting the flexible brake hose.
Tighten the bracket and caliper fasteners to the specifications for your model. Do not assume that 65 ft-lb applies to every RAV4 caliper bracket.
Before installing the wheel, verify that the brake hose and ABS wire remain clear while the steering is turned from side to side.
Reinstall the Wheel
Clean dirt and heavy corrosion from the wheel-to-hub mounting faces. Do not apply lubricant to the wheel studs or lug-nut seats unless Toyota specifically directs it.
Install each lug nut by hand. Snug the nuts in a star pattern, lower the vehicle until the tire contacts the ground without carrying the full vehicle weight, and apply the owner’s-manual torque with a torque wrench.
Many RAV4 manuals specify 76 ft-lb, or 103 N·m, for the wheel nuts, but verify your exact vehicle and any aftermarket wheel requirements. Toyota publishes manuals through its owner manual portal.
Final Checks Before Road Testing Your RAV4
- Confirm every removed fastener has been installed and tightened with a torque wrench.
- Verify the axle nut has been locked, staked, or pinned as required.
- Check the ABS connector and harness routing.
- Rotate the wheel and listen for dust-shield scraping or binding.
- Check that the brake hose is not twisted, stretched, or trapped.
- Reinstall the hubcap or center cap without interfering with the valve stem.
- Pump the brake pedal several times until it feels firm.
- Check the brake-fluid level without opening the hydraulic system unnecessarily.
- Switch the vehicle on and observe the ABS, traction-control, and brake warning lights.
Do not move the vehicle if the brake pedal remains soft, a wheel has noticeable play, the ABS wire is unsecured, or any fastener could not be tightened correctly.
Perform a Staged Road Test
Begin at walking speed in a safe area. Test the brakes, steering, and basic wheel operation before entering traffic.
Increase speed gradually while listening for humming, grinding, scraping, clicking, or vibration. Make gentle turns in both directions and confirm the original symptom has improved.
After the test, inspect the wheel area for looseness, abnormal heat, fluid leakage, a displaced wire, or a new warning light.
Common Mistakes to Avoid When Replacing Wheel Bearings
- Ordering by model name alone: Match the part by VIN, year, drivetrain, side, and ABS arrangement.
- Using a jack as the only support: Lower the vehicle onto properly rated stands before working.
- Hanging the caliper by its hose: Use a caliper hanger or strong wire.
- Pulling on ABS wires: Release connectors and clips by their housings.
- Striking axle threads: Use an axle-pushing tool or protect the threads with the approved method.
- Installing over rust or debris: A dirty mounting face can prevent the hub from seating squarely.
- Applying anti-seize to every fastener: Lubricated threads can produce excessive clamping force at the specified dry torque.
- Using an impact wrench for final tightening: Use a calibrated torque wrench.
- Reusing one-time hardware: Replace the axle nut, cotter pin, locking cap, or bolts when required.
- Cross-threading lug nuts: Start every lug nut by hand.
- Forgetting to pump the brake pedal: Restore a firm pedal before moving the vehicle.
- Assuming all remaining noise comes from the other bearing: Recheck the tires, brakes, CV joints, and driveline first.
How to Understand Torque Specifications for Your RAV4
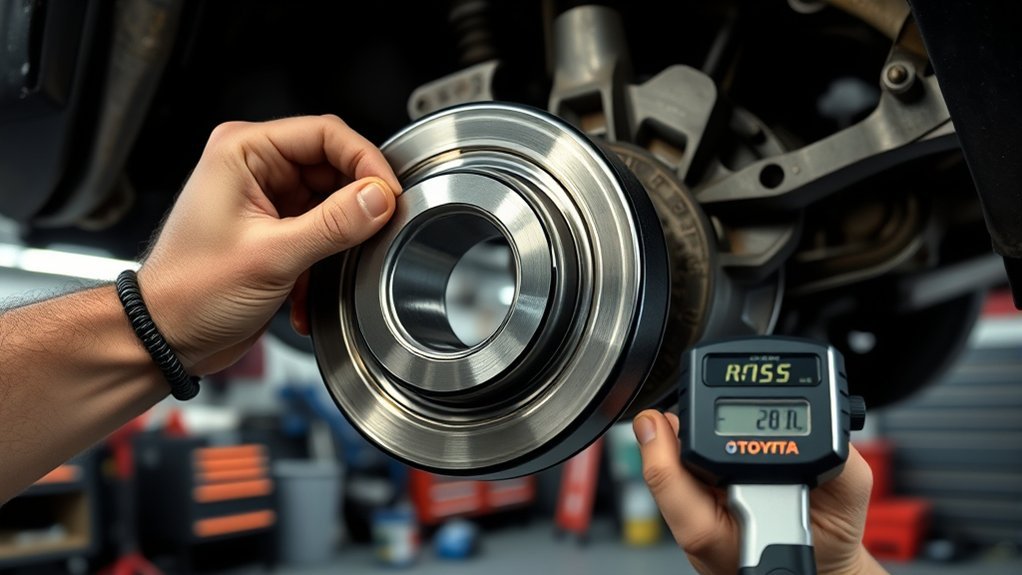
A torque value is reliable only when it matches the exact fastener, model, procedure, thread condition, and unit. Do not copy a value simply because it appears in another RAV4 repair guide.
| Fastener | What to Use |
| Hub mounting bolts | The specification in the applicable Toyota repair manual or verified part instructions; do not assume 71 ft-lb |
| Front axle shaft nut | The model-specific specification and locking procedure; a Toyota 2019 RAV4 bulletin shows 217 ft-lb for the application covered by that bulletin |
| Caliper bracket bolts | The brake specification for the exact model and brake package; do not assume 65 ft-lb |
| Wheel lug nuts | The owner’s manual and wheel manufacturer’s instructions; 76 ft-lb is a common Toyota RAV4 manual specification but must still be verified |
Toyota’s 2019 RAV4 service bulletin T-SB-0065-19 provides one example of why the model and application matter. It lists a 217 ft-lb front axle shaft nut specification for the repair shown and identifies the nut as a nonreusable component.
Use the correct torque-wrench range. A wrench is generally most useful when the required setting falls comfortably within its calibrated range. Confirm that you are reading the correct scale and units before tightening.
Troubleshooting After Wheel Bearing Replacement
The ABS Light Stays On
Switch the vehicle off and inspect the wheel-speed connector, harness clips, wire routing, and connector pins. Confirm the new hub has the correct sensor arrangement. Scan the ABS system and diagnose the stored code rather than replacing more parts without testing.
The Original Noise Remains
Recheck the diagnosis. Tire tread can create a bearing-like roar, while a brake dust shield can scrape after reassembly. CV joints, differential components, transfer components, and the opposite bearing can also transmit noise through the body.
A New Scraping Noise Appears
Inspect the dust shield, rotor, pad placement, caliper hardware, and ABS wiring. Stop driving until you confirm that no part is contacting the rotor, tire, or axle.
The Wheel Wobbles or Has Play
Do not road-test the vehicle. Recheck hub seating, mounting-bolt torque, axle-nut installation, wheel mounting, wheel studs, ball joints, and tie-rod components. A loose wheel end can cause loss of control.
The Brake Pedal Feels Soft
Do not drive. Pump the pedal and inspect the caliper, hose, bleeder, and surrounding area for leakage or incorrect assembly. A brake hose that was stretched, twisted, or damaged requires immediate correction.
The Vehicle Pulls After the Repair
Check tire pressure, brake drag, wheel mounting, and any suspension joint disturbed during the job. Replacing a bolt-in hub alone does not always change alignment, but alignment should be checked if the knuckle, strut, tie rod, control arm, or another alignment-related component was loosened.
How to Keep Your Wheel Bearings Lasting Longer
Regular Maintenance Checks
Listen for new humming, growling, grinding, or clicking during normal driving. Inspect for wheel play, damaged ABS wiring, torn CV boots, loose wheel hardware, and unusual tire wear during tire rotations and brake service.
Most complete RAV4 hub-and-bearing assemblies are not maintained by adding grease. Do not open, wash, or lubricate a sealed assembly unless its manufacturer supplies a specific service procedure.
Proper Installation Techniques
Correct installation has a major effect on bearing life. Keep the mating surfaces clean, seat the hub squarely, start bolts by hand, follow the correct tightening sequence, and use the specified torque.
SKF explains that a modern hub assembly must be seated and preloaded with the correct axle-nut torque to operate properly. Review its hub-bearing technical guidance for more detail.
Quality Replacement Parts
Choose a part from a reputable manufacturer that matches the VIN, drivetrain, ABS system, and original dimensions. A low-quality hub can introduce poor sealing, connector problems, excessive runout, or short bearing life.
Inspect the wheel, tire, suspension, and axle at the same time. A bent wheel, severe impact damage, incorrect wheel offset, loose lug nuts, or damaged suspension can place unnecessary stress on the new bearing.
Frequently Asked Questions
How long does it typically take to replace a wheel bearing?
A bolt-in front hub may take an experienced DIYer about two to four hours. Heavy corrosion, seized axle splines, damaged hardware, limited access, or a press-in bearing can extend the repair considerably.
Can I drive my RAV4 with a failing wheel bearing?
Continuing to drive is not recommended. Stop driving and arrange towing when you hear grinding, feel wheel wobble, find measurable play, notice brake problems, or see signs that the hub or wheel is loose. A mild noise still requires prompt diagnosis because bearing condition can worsen.
What does professional wheel bearing replacement cost?
The total varies by model year, bearing design, part brand, local labor rate, corrosion, and whether axle, brake, ABS, or suspension parts also need attention. Ask for an itemized quote that identifies the part brand, labor time, hardware, alignment charges, and warranty.
Do I need special tools for a RAV4 wheel bearing replacement?
You need safe lifting equipment, the correct axle-nut socket, torque wrenches, brake-service tools, and often a hub puller or slide hammer. A RAV4 with a press-in bearing may require a hydraulic press, bearing drivers, snap-ring tools, and steering-knuckle removal.
How can I tell if I need to replace both front wheel bearings?
Test each side separately. Replace the opposite bearing only when it also produces confirmed noise, roughness, excessive play, a wheel-speed fault, or another verified defect. Similar age or mileage alone does not prove both bearings have failed.
Do I need a wheel alignment after replacing the bearing?
A straightforward bolt-in hub replacement may not alter alignment. Have the alignment checked when you loosen the strut-to-knuckle connection, tie rod, control arm, ball joint, or another alignment-related component, or when the vehicle pulls or the steering wheel is no longer centered.
Why did the ABS light come on after replacing the hub?
Common causes include an unplugged connector, damaged wiring, incorrect harness routing, bent connector pins, debris at a separate sensor, or a replacement hub with the wrong sensor configuration. Read the stored ABS code and inspect the circuit before replacing another part.
Conclusion
Replacing a Toyota RAV4 front wheel bearing is manageable when your vehicle uses an accessible bolt-in hub and you have the correct lifting, removal, and torque equipment. The most important step is confirming the procedure for your exact model year and drivetrain before disassembly.
Support the vehicle securely, protect the brake hose and ABS wiring, clean the mounting surfaces, install VIN-matched parts, and tighten every fastener to verified Toyota specifications. Stop the repair and use a qualified technician when the bearing requires press work, the axle is seized, the fastener specifications are uncertain, or the braking and ABS systems do not pass the final checks.
Sources
- Toyota Owner’s Manuals — vehicle-specific lifting, wheel installation, and owner specifications
- Toyota Genuine Front Hub and Bearing Assembly — integrated hub, bearing, and wheel-speed sensing information
- Toyota Service Bulletin T-SB-0065-19 — application-specific axle hardware, torque, and nonreusable-part guidance
- Timken Symptoms of a Worn Wheel Hub Bearing — bearing symptoms and common alternative causes
- MOOG Axle-Nut Tightening Guidance — torque-wrench use and impact-wrench precautions
- OSHA Standard 1926.305 — jack capacity, load support, and securing requirements
