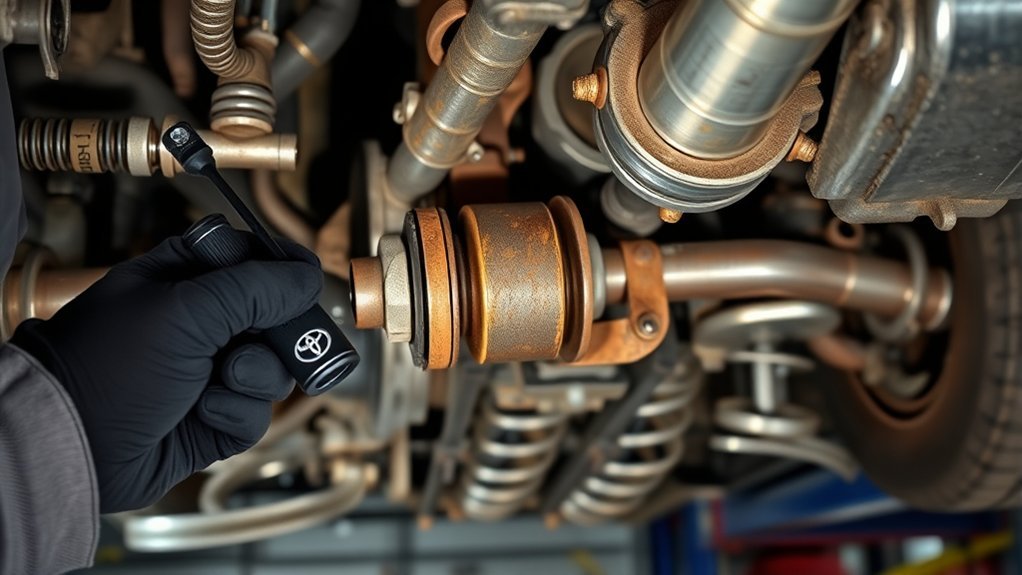
A Toyota Tacoma that shakes, clunks, or chirps under load may have a worn U-joint, but vibration alone does not confirm it. A bad joint is most strongly supported by visible bearing-cap movement, radial play, binding or notchiness, rust powder at a cap, damaged retainers, or a repeating chirp that follows road speed. First rule out tire and wheel problems, then match the symptom to acceleration, steady cruise, or deceleration before replacing parts.
Last updated: September 19, 2026. Reviewed against Toyota maintenance guides, Toyota service bulletins, Spicer driveline guidance, NHTSA tire-safety information, and current Toyota recall information.
Quick Answer
To diagnose Toyota Tacoma U-joint vibration, note when the shake occurs, rule out tires and wheels, then inspect each driveshaft joint for visible cap movement, radial looseness, binding, rust dust, damaged seals, or loose retainers. Also check the carrier bearing, driveshaft damage, fasteners, phasing, and working angles. For certain Tacoma model years, Toyota service bulletins or recalls can create similar symptoms, so check VIN- and configuration-specific information before replacing a U-joint. Stop driving if the vibration is severe, the shaft bangs, or hardware is loose.
Key Takeaways
- A clunk, chirp, or floor vibration can point to a U-joint, but none of these symptoms proves the joint has failed.
- Visible bearing-cap movement, rust powder, damaged retainers, binding, or looseness at the joint supports replacement.
- Carrier-bearing movement must be judged by condition. Its rubber support normally allows some flex.
- Grease only joints that have service fittings. Toyota propeller-shaft service requirements vary by model year and configuration, so do not carry an older Tacoma lubrication interval over to a newer truck.
- Severe vibration, banging, or loose driveshaft hardware requires immediate attention because driveline separation can cause loss of control.
At a Glance
| Basic Check | Road-test notes plus a visual and play inspection; extra work is needed if the shaft must be unloaded or removed |
| Difficulty | Intermediate; professional help is safer if the shaft must be removed |
| Tools Needed | Wheel chocks, safety glasses, gloves, flashlight, approved lifting equipment, and an angle finder or dial indicator when needed |
| Cost | No parts cost for a basic visual check; shop diagnostic charges vary |
Warning: Never crawl under a Tacoma supported only by a jack. Use level ground, wheel chocks, rated stands at Toyota-approved lift points, and the lifting instructions for your model year. If you cannot safely unload or rotate the driveshaft, have a qualified shop perform the inspection.
What Is a U-Joint and Its Role in Your Tacoma?
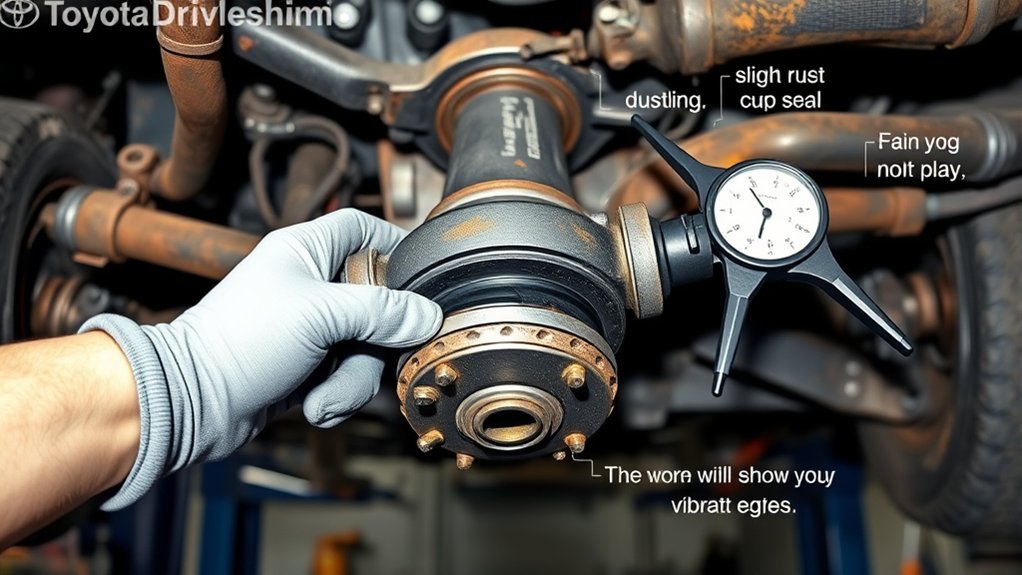
A U-joint, or universal joint, lets a driveshaft transmit torque while the transmission, transfer case, axle, and suspension move at different angles. Depending on the year and configuration, your Tacoma may use a one-piece or two-piece rear driveshaft. Four-wheel-drive models also have a front propeller shaft.
The exact number, style, and service requirements of the joints vary. Some U-joints have grease fittings, while others are sealed. A two-piece shaft may also use a center support, commonly called a carrier bearing.
Check the Toyota manual for your model year before lubricating, removing, or tightening driveline parts. The manual and Toyota repair information should override general advice.
A vibration suggests a rotating-system problem, but it does not prove the U-joint is bad.
What Are the Symptoms of a Bad U-Joint on a Tacoma?
Match each symptom to the driving condition. A U-joint problem often changes with road speed, torque load, or throttle position. Other faults can create almost identical symptoms.
| Symptom | How It Relates to a U-Joint | Other Causes to Check |
|---|---|---|
| Clunk when selecting Drive or Reverse, or when applying and releasing the throttle | Joint clearance can create a sharp load-change clunk. | Slip-yoke movement, differential backlash, loose flange bolts, or worn engine and transmission mounts |
| Chirp or squeak that rises with road speed | A dry or binding bearing cap can make a repeating noise. | Brake hardware, dust shields, wheel bearings, or tire damage |
| Vibration through the seat or floor during acceleration | Joint wear, binding, or incorrect working angles can become more obvious under torque. | Carrier bearing, bent driveshaft, missing balance weight, pinion angle, or transmission shudder |
| Steering-wheel shake | A rear driveshaft U-joint is less likely to be the main cause. | Front tire balance, bent wheel, alignment, hub, or suspension wear |
| Vibration while parked as engine speed changes | A stationary driveshaft makes a U-joint less likely. | Engine misfire, accessory drive, exhaust contact, or engine mount |
Do not use one speed range as a universal test. A worn joint may vibrate at different speeds depending on shaft length, gearing, load, tire size, ride height, and the amount of wear.
Record the Vibration Pattern Before Inspection
A short symptom log can keep you from replacing the wrong part. On a safe road, note the following details without testing a severe vibration at high speed:
- Vehicle speed when the vibration starts and stops
- Whether it appears under acceleration, steady throttle, deceleration, or coasting
- Whether you feel it mainly in the steering wheel, seat, floor, or pedals
- Whether engine speed or road speed changes the symptom
- Whether the truck recently received tires, suspension changes, driveshaft work, towing equipment, or a lift kit
- Whether you hear a clunk when torque changes direction
A road-speed vibration usually points toward tires, wheels, hubs, axles, or the driveline. An engine-speed vibration that appears while parked points elsewhere. These patterns narrow the search, but they do not replace a physical inspection.
Check Tacoma-Specific Service Bulletins and Recalls Before Replacing a U-Joint
Tacoma vibration and clunk patterns can overlap with Toyota-documented driveline conditions. Before ordering a U-joint, check the truck’s model year, transmission, drivetrain, suspension modifications, and VIN against the applicable Toyota bulletin or recall. A matching symptom is a reason to follow the Toyota diagnostic path, not proof that the bulletin condition is present.
| Tacoma Group | Symptom Pattern | Why It Matters |
|---|---|---|
| Certain 2016–2023 models with the 6-speed automatic | Vibration during deceleration, typically from 30 to 10 mph | Toyota T-SB-0124-20 Rev1 uses a model-specific diagnostic procedure that includes joint-angle measurement and can call for steering-wheel damper and rear leaf-spring work on applicable trucks. The bulletin does not apply to manual-transmission trucks or vehicles with an aftermarket suspension/body lift or leveling kit. |
| Certain 2005–2012 2WD models | Rear propeller-shaft clunk or thunk | Toyota T-SB-0250-12 Rev2 covers an applicable 2WD clunk/thunk condition. Toyota’s procedure checks mounting hardware first and then calls for an updated rear propeller-shaft assembly if the condition remains. |
| Certain 2025 4WD models | Front driveshaft-joint defect covered by a safety recall | Toyota announced a recall for a part used in the front driveshaft joints that may deform or break. Check the VIN through Toyota’s recall lookup or NHTSA before DIY diagnosis or repair. |
Do not use an old bulletin as a universal repair recipe. Production ranges, drivetrain, suspension setup, and later design changes matter. If the symptom falls outside a bulletin’s applicability, continue with the physical inspection below.
How Do You Check Tacoma U-Joints for Wear and Play?
Inspect every joint on the affected shaft, not just the easiest one to reach. Also inspect the yokes, retainers, shaft tube, flanges, and center support if equipped.
Prepare the Truck Safely
- Park on a firm, level surface and switch off the engine.
- Follow the Toyota lifting points and support procedure for your model year.
- Chock the wheels that remain on the ground.
- Wear safety glasses and keep your hands away from pinch points.
- Do not place your body under an unsupported driveshaft or loosen retainers during a basic inspection.
The transmission and parking-brake position needed to rotate the shaft can vary with the test and drivetrain. If releasing either control could let the truck move, stop and use a lift or professional service.
Visual Inspection Techniques
Use a bright light and check each bearing cap and yoke. Look for:
- Red or orange rust powder around a bearing cap
- Cracked, displaced, or missing seals
- A loose, missing, or damaged snap ring, strap, bolt, or retainer
- A bearing cap that has shifted or appears to spin in the yoke
- Fresh impact marks, polished contact areas, or heat discoloration
- Grease thrown around the joint, except for a small amount left after proper service
- Dents, scrapes, packed mud, or a missing balance weight on the shaft tube
- Loose flange hardware or signs that the driveshaft has contacted another part
Surface rust on the shaft does not automatically condemn a U-joint. Rust powder emerging from a cap, however, can indicate dry needle bearings and internal wear.
Testing for Movement
With the driveline safely unloaded, hold the yoke on one side of a joint and the shaft on the other. Twist them in opposite directions while watching the bearing caps closely.
Visible movement between a cap and yoke, a click at the joint, or radial looseness supports a failed-joint diagnosis. Movement farther inside the differential or transmission may be normal gear lash, so watch the joint itself instead of judging only by total shaft rotation.
Gently push the shaft up, down, and sideways near each joint. The U-joint should not clunk or show cap movement. Do not apply enough force to bend a shield, damage a seal, or move the truck on its supports.
Check for Binding or Roughness
If you can rotate the shaft safely, turn it slowly through a full revolution. Feel for tight spots, notches, or a joint that resists articulation. A joint can bind without showing obvious looseness.
An installed joint can be difficult to judge because shaft angle and seal drag add resistance. A technician may need to disconnect the shaft and move each joint by hand. Driveshafts are heavy, so removal requires proper support and model-specific fastener procedures.
Pro Tip: Use a paint marker to place reference lines across each cap and yoke before testing. Any cap movement becomes easier to see. Do not use these marks as removal references unless the repair manual also calls for marking flange orientation.
How Do You Isolate the Cause of Tacoma Driveshaft Vibration?
Work from the simplest external cause toward the more complex driveline checks. This order reduces unnecessary parts replacement.
Rule Out Tires and Wheels First
Inspect tire pressure, tread, bulges, separated belts, packed debris, missing wheel weights, and bent rims. The NHTSA TireWise guidance notes that improper wheel balance can make a vehicle shake or vibrate.
A steering-wheel shake that follows road speed often points toward the front tires or wheels. A seat or floor vibration can still come from a rear tire, rear wheel, or driveshaft.
Inspect U-Joint Condition
Combine the visual, play, and binding checks. Replace a joint based on physical evidence, not vibration alone. Strong evidence includes moving caps, broken retainers, rust dust, binding, or clear looseness at the joint.
If every joint feels tight and smooth, continue through the rest of the driveline. A balanced shaft with good joints can still vibrate because of a bent tube, incorrect phasing, or working-angle changes.
Check Carrier Bearing Play
Only two-piece driveshafts use a carrier bearing. Its rubber support normally allows some movement, so flex by itself does not prove failure.
Look for torn or separated rubber, a shaft that sags or sits off-center, metal-to-metal contact, rough bearing rotation, or a heavy thump as load changes. Check the mounting bracket and bolts for looseness or damage.
Do not inject grease into a sealed carrier bearing unless its manufacturer provides a service fitting and procedure. Many center bearings receive lubrication during manufacturing and do not require added grease.
Evaluate Driveshaft Alignment
Incorrect driveshaft and U-joint working angles can cause vibration. Spicer developed its Anglemaster tool specifically to measure driveline angles and help identify angle-related vibration.
Do not apply a universal two-degree rule to every Tacoma. Acceptable angles depend on shaft design, joint type, ride height, load, and Toyota specifications. Lift kits, lowering, worn springs, damaged mounts, or carrier-bearing changes can alter those angles.
Measure the transmission or transfer-case output, each shaft section, and the pinion according to the correct driveline method. Compare the results with Toyota repair information or a driveline specialist’s specifications.
Check Driveshaft Runout, Balance, and Phasing
Inspect the shaft for dents, bent tubing, missing welded balance weights, heavy mud, and incorrect assembly after previous service. A dial indicator can measure runout, but use the correct measurement points and limits for that shaft.
If the driveshaft was separated at a slip joint, incorrect spline phasing can create vibration. Do not rotate or reassemble shaft sections by guesswork. Use alignment marks and service information for the exact assembly.
Confirm the Diagnosis
After finding a suspect part, check the rest of the system before ordering parts. More than one fault can exist, especially after a lift, impact, towing event, or previous driveline repair.
A qualified technician can confirm the diagnosis with a lift inspection, chassis ears, runout measurement, angle readings, and a controlled road test. Check your VIN on the NHTSA recall and manufacturer-communication database for relevant safety information or service communications. This is especially important for certain 2025 Tacoma 4WD trucks because Toyota issued a front-driveshaft-joint safety recall.
Why Proper Lubrication Matters
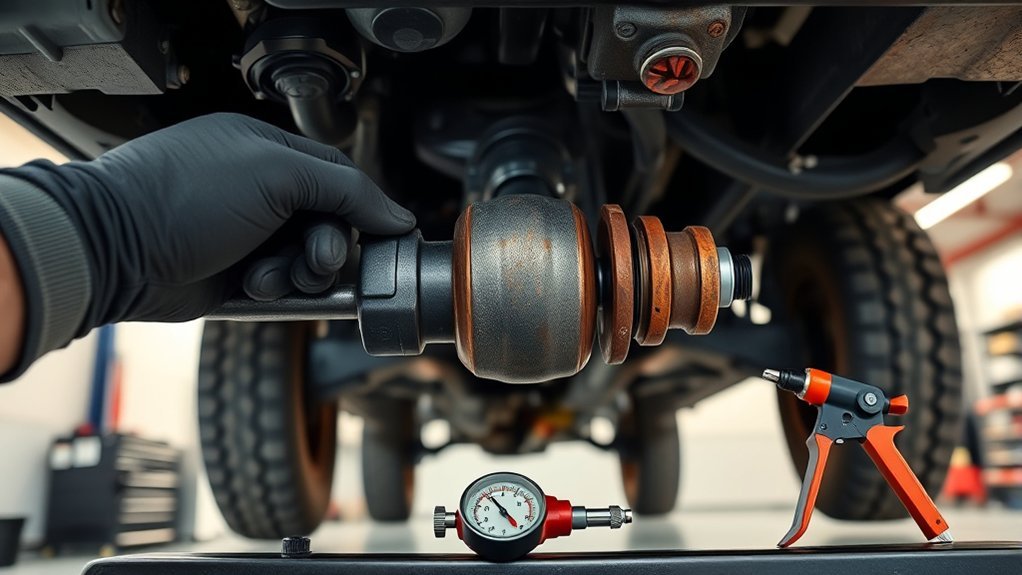
Lubrication reduces friction, protects needle bearings, and helps purge moisture and contaminants from serviceable joints. Lack of lubrication can shorten the life of a greasable U-joint, but not every Tacoma joint accepts added grease.
Model-year service requirements differ. Toyota’s 2019 Tacoma maintenance guide explicitly lists propeller-shaft lubrication for applicable 4WD trucks at scheduled and special-use service points. Newer maintenance charts use different service items and intervals, so confirm the guide tied to your exact model year and VIN instead of assuming the older schedule applies.
Identify Greasable and Sealed Joints
Look for a grease fitting on the cross or bearing cap. A missing fitting does not mean the joint needs one. Many original-equipment and replacement joints use sealed, service-free designs.
Confirm the joint type through the Toyota manual, repair information, or the replacement-joint manufacturer. Do not drill, tap, or force grease into a sealed joint. If your shaft has service fittings, the separate Tacoma driveshaft zerk lubrication guide covers the fitting-by-fitting service procedure; this page stays focused on vibration diagnosis.
Use the Correct Grease and Procedure
Follow the specification for the installed joint. For Spicer greasable U-joints, Dana recommends a compatible lithium-based NLGI Grade 2 grease meeting ASTM D4950 LB requirements. That Spicer lubrication specification applies to its serviceable products and should not replace Toyota instructions for a different joint.
- Clean the fitting before attaching the grease gun.
- Use the grease type specified for the joint.
- Apply grease using the joint maker’s procedure.
- For a serviceable joint that requires purging, confirm fresh grease reaches each bearing seal.
- Wipe away excess grease and inspect the seals and retainers again.
Do not use mileage alone to decide when to grease a joint. Follow the maintenance guide for your model year, driving conditions, and installed parts.
Note: Fresh grease around a seal immediately after correct service can be normal. Dry rust powder, a split seal, or grease flung repeatedly from a damaged cap needs closer inspection.
How to Know When to Replace Your U-Joints
Replace a U-joint when inspection confirms wear or damage. Do not wait for a universal mileage target because service life changes with load, water exposure, road salt, towing, off-road use, joint quality, lubrication, and driveline angles.
Replacement is justified when you find one or more of these conditions:
- Visible cap movement or radial play at the joint
- Binding, notchiness, or seized movement
- Rust powder coming from a bearing cap
- A cracked cap, damaged cross, failed seal, or contaminated bearing
- A loose or damaged retainer that has allowed cap movement
- Heat discoloration or metal damage around the joint
- A confirmed joint-related clunk or vibration supported by physical inspection
Inspect every joint on the same shaft while it is accessible. When replacing a joint, identify the correct size and retention style. Spicer’s U-joint measuring guide shows why cap diameter, span, and retainer style matter.
After replacement, verify correct phasing, flange orientation, fastener type, torque, and shaft balance. Use new self-locking hardware or retainers whenever Toyota or the part manufacturer requires replacement.
Warning: Stop driving and arrange a tow if you find loose driveshaft hardware, a displaced bearing cap, severe new vibration, repeated banging, or signs that the shaft may separate. A detached driveshaft can damage the vehicle and cause loss of control.
Additional Components to Check If Vibration Persists
If the joints pass inspection, continue through the parts that rotate at road speed or change position under torque.
| Component | What to Check | Typical Clue |
|---|---|---|
| Tires and wheels | Pressure, balance, bent rims, tread separation, irregular wear, and packed debris | Road-speed shake, often felt in the steering wheel or seat |
| Carrier bearing | Torn rubber, sagging shaft, roughness, bracket damage, or contact marks | Thump or vibration under load on a two-piece shaft |
| Driveshaft tube and flanges | Dents, runout, missing weights, loose bolts, wrong phasing, or incorrect assembly orientation | Vibration that rises with road speed after impact or prior service |
| Front CV axles and front propeller shaft, if equipped | Torn boots, grease loss, joint play, binding, and shaft damage | Clicking, shudder, or vibration that changes with steering or four-wheel-drive load |
| Wheel hubs and axle bearings | Play, roughness, growling noise, heat, or leakage | Noise or vibration that changes while turning |
| Engine and transmission mounts | Cracked rubber, separation, fluid leakage from hydraulic mounts, or excessive powertrain movement | Clunk or shake during gear engagement and throttle changes |
| Differential and pinion | Pinion play, bearing noise, leakage, and incorrect flange angle | Whine, rumble, or load-sensitive vibration |
| Transmission or torque converter | Shudder during lockup, fluid condition, fault codes, and shift behavior | Vibration tied to a gear, shift, or converter-lockup event |
| Exhaust and heat shields | Loose brackets or contact with the frame, crossmember, or body | Buzz or vibration at a narrow engine-speed range |
Diagnose these systems methodically. Replacing a U-joint will not correct an out-of-balance tire, bent shaft, torn carrier support, failed mount, or torque-converter shudder.
Frequently Asked Questions
How do you diagnose a bad U-joint?
Record when the vibration or noise occurs, rule out tires and wheels, then inspect the joint for rust powder, damaged seals, loose retainers, visible cap movement, radial play, or binding. Confirm the fault at the joint itself so you do not confuse it with normal gear lash elsewhere in the driveline.
What does a bad U-joint vibration feel like?
It often feels like a low-frequency shake through the seat or floor that becomes stronger under acceleration or another torque load. The speed range varies. Tire imbalance, driveshaft angle, carrier-bearing wear, and transmission shudder can feel similar, so the sensation alone cannot confirm a U-joint failure.
How can you tell if the U-joints in a Tacoma are bad?
Look for clunks during torque changes, repeating chirps, rust dust at the caps, broken seals, loose retainers, cap movement, or a joint that feels notchy and stiff. The strongest proof comes from physical movement or binding at the joint, not from mileage or a single vibration speed.
Why is my Tacoma shaking while driving?
Common causes include tire imbalance, bent wheels, damaged tires, worn U-joints, a failed carrier bearing, a bent or misphased driveshaft, incorrect driveline angles, wheel-bearing wear, mounts, or transmission shudder. Note where you feel the shake and whether it follows road speed, engine speed, or throttle load.
Can you drive a Tacoma with a bad U-joint?
Do not continue driving when the joint has visible play, a displaced cap, loose hardware, severe vibration, or banging. Arrange a tow. A mild new chirp or clunk still needs prompt inspection because wear can progress and damage the driveshaft, yokes, transmission, differential, or nearby parts.
Do all Toyota Tacoma U-joints need grease?
No. Some original and replacement U-joints are sealed and service-free, while others have grease fittings. Identify the installed joint and follow the Toyota maintenance guide or joint manufacturer’s instructions. Never add a fitting or force grease into a sealed joint.
How much play should a Tacoma U-joint have?
You should not see radial looseness or movement between a bearing cap and its yoke during a basic inspection. Some total driveshaft rotation can come from normal differential or transmission gear lash, so watch the joint itself rather than judging the amount of shaft twist alone.
Why does a 2016–2023 Tacoma vibrate while slowing from about 30 to 10 mph?
On certain 2016–2023 Tacomas with the 6-speed automatic, Toyota T-SB-0124-20 Rev1 addresses a deceleration vibration in that speed range. The bulletin has specific applicability limits and a diagnostic procedure that includes joint-angle measurement. Do not assume the U-joint is bad solely because the vibration matches that speed window.
Conclusion
Diagnosing Toyota Tacoma U-joint vibration requires more than listening for a clunk or feeling a shake. Start with the symptom pattern, rule out tires and wheels, then inspect every joint for cap movement, binding, rust powder, seal damage, and loose retainers. If the symptom matches a Toyota service bulletin or a VIN-based recall, follow that model-specific path before buying parts.
Check the carrier bearing, shaft condition, phasing, runout, mounts, and working angles before replacing anything. Use model-year-specific Toyota information, service only joints that are designed to accept grease, and stop driving when the shaft or joint appears loose. A careful diagnosis protects the rest of the driveline and helps you fix the actual cause.
Sources
- Toyota Manuals and Warranties — model-year-specific owner and maintenance information
- Toyota 2019 Tacoma Warranty & Maintenance Guide — 4WD propeller-shaft lubrication and re-torque service examples
- Toyota T-SB-0124-20 Rev1 — certain 2016–2023 Tacoma 6AT deceleration-vibration diagnosis
- Toyota T-SB-0250-12 Rev2 — certain 2005–2012 2WD rear propeller-shaft clunk/thunk diagnosis
- Toyota MY2025 Tacoma Front Driveshaft Recall Notice — affected 4WD front driveshaft-joint safety recall
- Spicer Driveshaft Lube and Torque Specifications — greasable and service-free joint guidance, lubricant specifications, and driveline safety
- Spicer Anglemaster — driveline-angle measurement and angle-related vibration
- Spicer Measuring U-Joints — cap, span, and retention-style measurements
- NHTSA TireWise — tire pressure, balance, alignment, and vibration checks
- NHTSA Recall Lookup — VIN, recall, investigation, complaint, and manufacturer-communication searches
