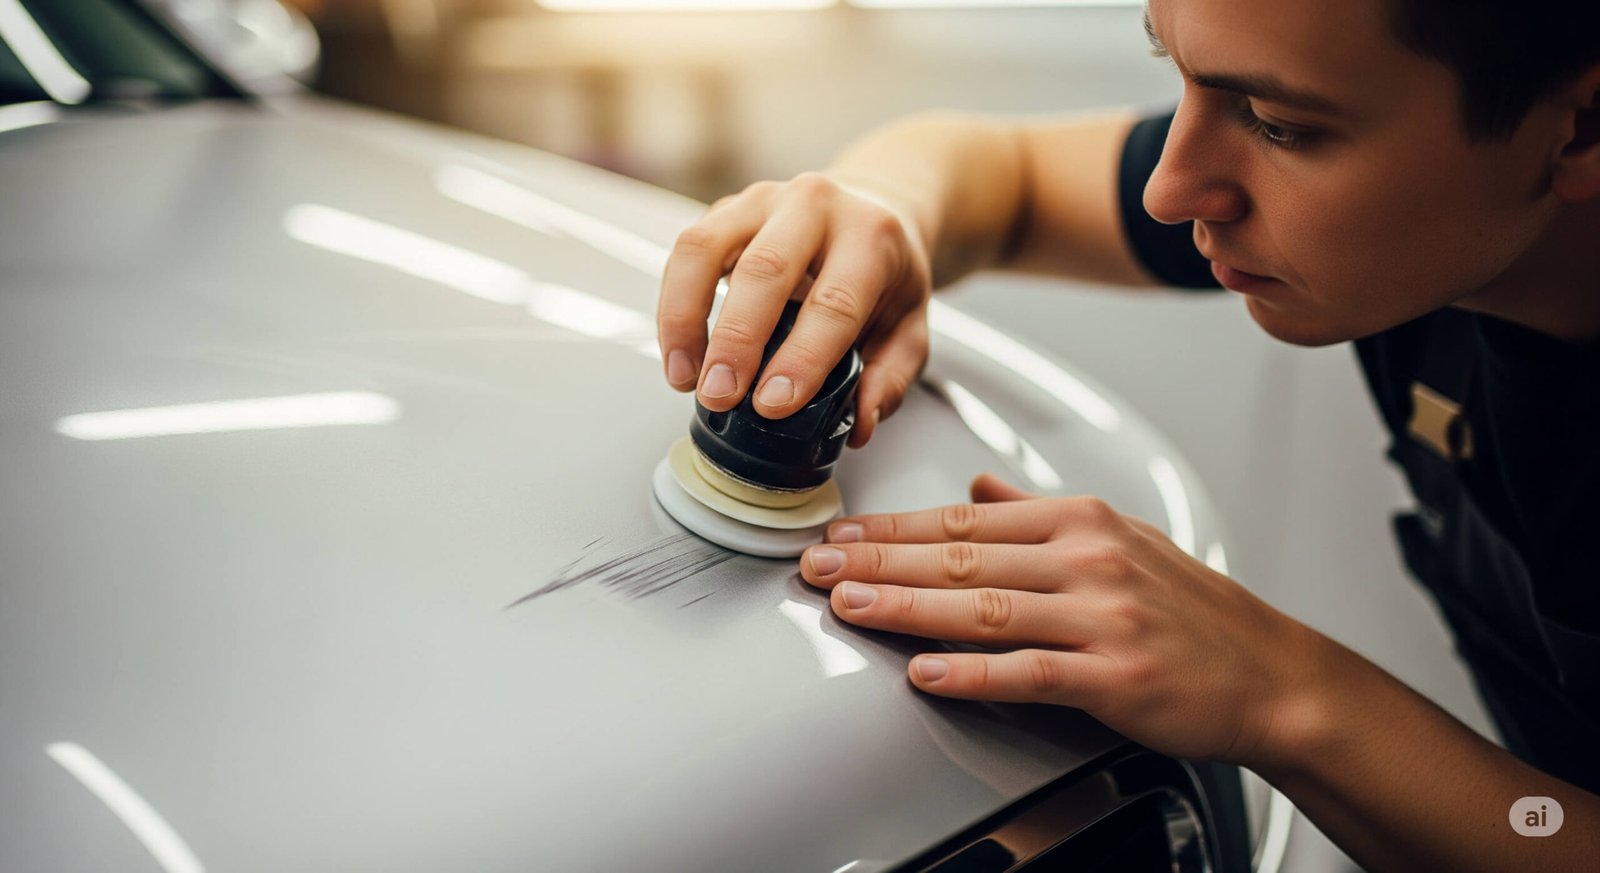
Scratches on your car can be incredibly frustrating. They can make your vehicle look older, reduce its shine, and may lower its resale value if you ignore deeper damage.
Whether it is a minor scuff from a shopping cart or a more noticeable scrape from a tree branch, the right repair method depends on how deep the scratch goes. Some marks only sit in the clear coat and can be polished out at home. Others cut through the paint or primer and need touch-up paint, sanding, or professional help.
In this guide, you will learn how to identify scratch types, prepare the surface, use scratch remover products, try safe DIY methods, and decide when a repair shop is the better choice. You will also learn how to prevent new scratches so your car stays cleaner, shinier, and easier to maintain.
Quick Answer
To remove scratches from a car, wash and dry the area first, then check the scratch depth. Light clear-coat scratches can often be improved with a scratch remover, polishing compound, or fine finishing polish. Deeper paint, primer, or metal scratches usually need touch-up paint, wet sanding, clear coat, or professional repair.
Key Takeaways
- Light scratches that do not catch your fingernail are usually the safest for DIY repair.
- Always clean the area before polishing, sanding, or applying touch-up paint.
- Toothpaste and baking soda may reduce very light marks, but they are not reliable fixes for deeper automotive paint scratches.
- If you see primer, bare metal, rust, or cracked paint, professional repair is usually the safer option.
- Wax, ceramic protection, careful washing, and smart parking habits help prevent future scratches.
At a Glance
| Time Required | 15 minutes to 2 hours for light DIY work; longer for sanding, paint, and curing |
| Difficulty | Easy for light clear-coat scratches; moderate to advanced for deeper scratches |
| Tools Needed | Car soap, microfiber cloths, scratch remover, polishing compound, masking tape, optional fine sandpaper, touch-up paint, and wax |
| Cost | Low for basic DIY products; higher for paint correction, bodywork, or professional refinishing |
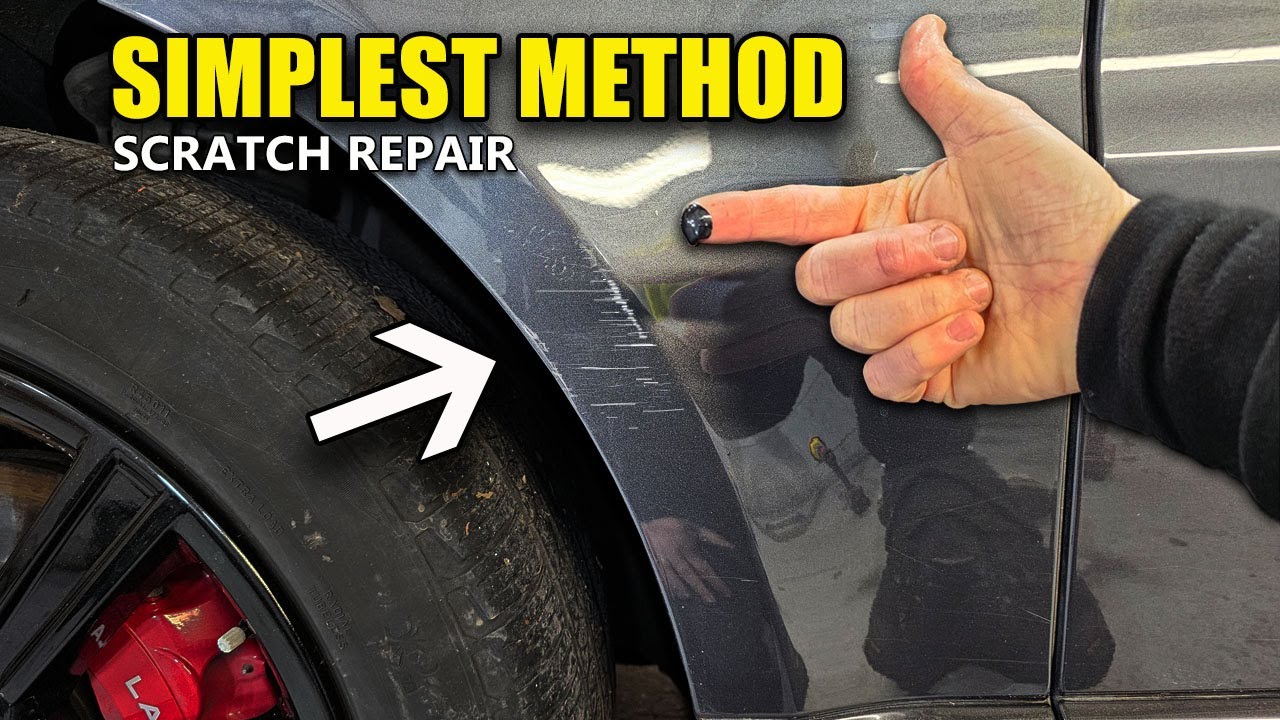
Credit: www.youtube.com
Identifying Scratch Types
Before you try to remove scratches from your car, identify what type of scratch you are dealing with. The depth matters because each layer of automotive finish needs a different repair approach. A light clear-coat mark may only need polishing, while a deep scratch may need sanding, primer, paint, and clear coat.
Surface Level Scratches
Surface scratches are the least severe. They usually affect only the clear coat, which is the transparent protective layer above the color coat. These scratches often come from dirt, light rubbing, automatic car washes, loose debris, or minor abrasions.
You can often improve surface scratches with a scratch remover, finishing polish, or polishing compound. If your fingernail does not catch in the scratch, it is more likely to be a clear-coat mark that you can repair at home with basic tools.
Paint Layer Scratches
Paint layer scratches go deeper than the surface. They pass through the clear coat and reach the color coat. These marks are usually more visible because they interrupt the paint color, especially on dark vehicles or metallic finishes.
These scratches require more effort to repair. You may need polishing compound, touch-up paint, careful leveling, and a protective clear coat. Proper techniques are needed to restore the paint without making the damaged area more noticeable.
Primer Level Scratches
Primer level scratches are more serious. They cut through the clear coat and paint, reaching the primer layer underneath. These scratches often look gray, white, or dull compared with the surrounding paint.
Primer-level damage needs careful attention because simple polishing will not replace missing paint. A proper repair usually includes cleaning, masking, touch-up paint, clear coat, and gentle finishing once the paint has cured.
Deep Scratches
Deep scratches are the most severe. They may damage all layers of the car’s finish and expose bare metal or plastic. If bare metal is visible, the area can begin to rust when moisture reaches it.
Deep scratches often need professional repair services, especially when the damage is long, wide, rusty, or located on a highly visible panel. A repair shop can sand, fill, paint, blend, and clear-coat the area for a cleaner finish.
Warning: Do not sand or use aggressive compounds on a scratch until you know its depth. Removing too much clear coat can leave a dull patch, burn through the paint, or make the repair more expensive.
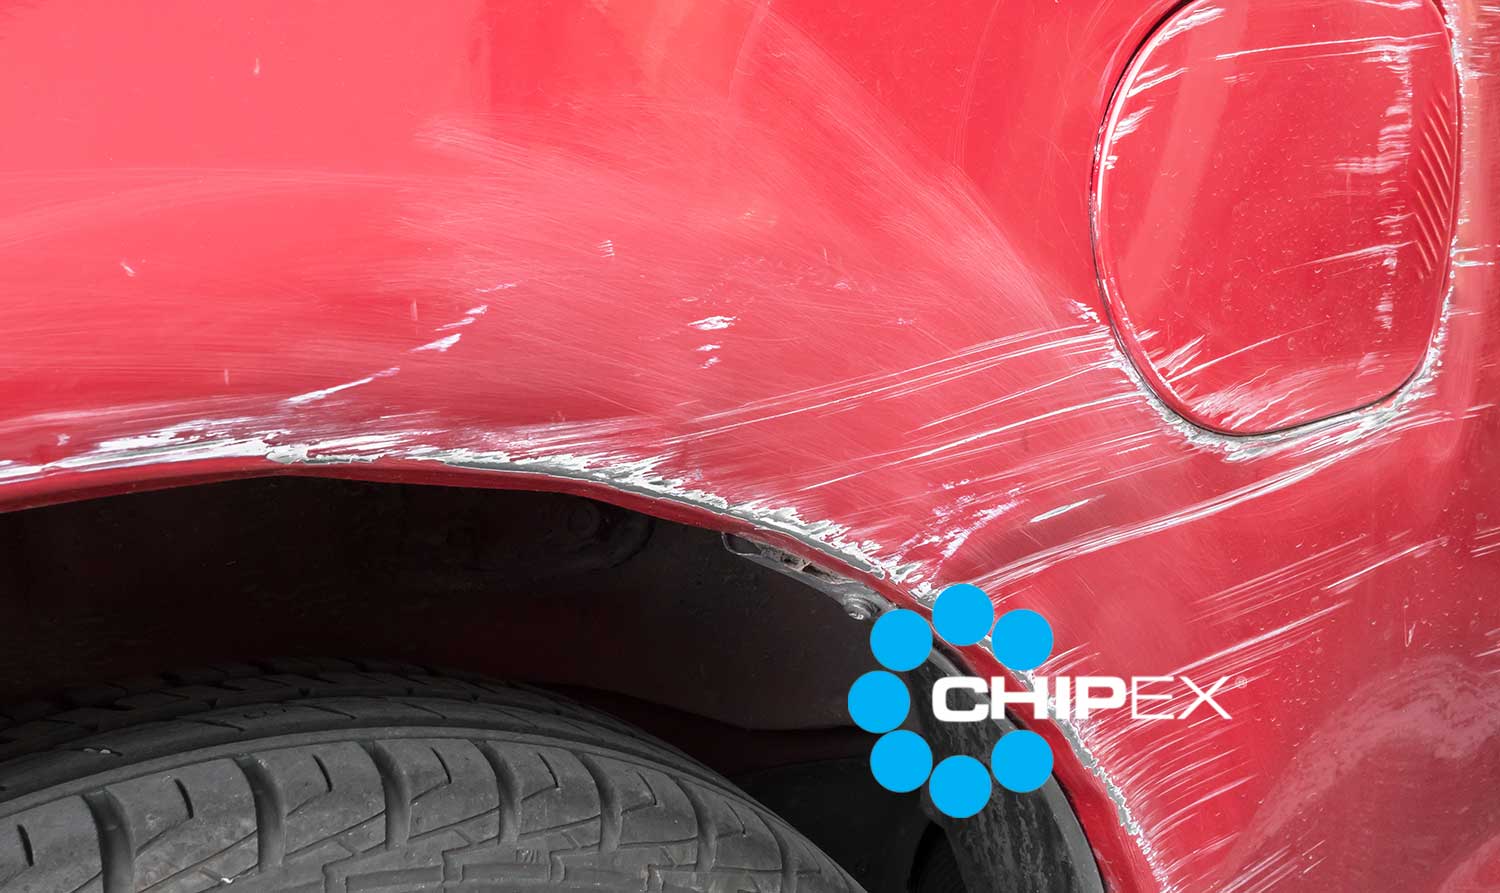
Credit: chipex.com
Essential Tools And Materials
Removing car scratches requires the right tools and materials. Start with a clean microfiber cloth for gentle wiping. Use scratch remover paste or polishing compound for light imperfections. Fine sandpaper might be needed for deeper scratches, but only if you know how to use it safely. Always finish with protection, such as wax, sealant, or another paint-safe product.
Gathering the essentials before you start saves time and helps prevent mistakes. Whether you are a beginner or a car enthusiast, the right setup helps you work slowly, safely, and with better control.
Microfiber Cloths
Microfiber cloths are a must-have because they help prevent additional scratches while you clean and polish. Use separate cloths for washing, applying product, buffing, and final wiping. A dirty cloth can drag grit across the paint, so switch to a clean one whenever it feels contaminated.
Scratch Remover
A good scratch remover can improve light clear-coat scratches. Choose one that is safe for automotive paint and suitable for your car’s finish. Read the label before use because some products are mild cleaners, while others contain stronger abrasives.
Scratch removers work best on marks that sit in the clear coat. They will not refill missing paint, fix primer damage, or repair bare metal scratches.
Sandpaper And Sanding Block
For deeper scratches, fine sandpaper may be useful, but it also carries more risk. Use a very fine grit, such as 2000 or 3000, only for controlled wet sanding. A sanding block helps you apply even pressure and avoid digging into one spot.
Patience is key here. Rushing can worsen the scratch, thin the clear coat too much, or create a larger dull area that needs machine polishing.
Polishing Compound
Polishing compound helps smooth the surface after sanding or after using a scratch remover. It removes tiny defects and blends the repair with the surrounding finish. Use only a small amount at a time, then inspect your progress under good lighting.
Buffer Or Polishing Pad
A buffer can save effort and create a more even finish, but it must be used carefully. Too much pressure, speed, or heat can damage paint. If you are not comfortable with a machine buffer, use a foam polishing pad by hand.
A hand pad takes longer, but it gives beginners more control. It is also safer around edges, curves, and body lines where paint can be thinner.
Touch-up Paint
Sometimes scratches remove paint. Touch-up paint can cover color loss and protect the exposed area. Match it carefully to your car’s paint code, not just the general color name. Many vehicles list the paint code on a door jamb, glove box sticker, trunk label, or owner information plate.
Apply touch-up paint in thin layers instead of one thick blob. Let each layer dry according to the product instructions before adding more paint or clear coat.
Masking Tape
Use masking tape to protect nearby trim, badges, rubber seals, and undamaged paint. It keeps polish, compound, and touch-up paint from spreading beyond the repair area. This simple tool improves precision and helps prevent accidental mistakes.
Protective Gear
Safety comes first. Wear gloves when using chemicals, paint, or polish. Goggles can help prevent splashes from reaching your eyes. If you work with paint, solvents, or spray products, use good ventilation and follow the product label.
With these tools and materials, you are ready to tackle many light and moderate scratches. The key is to start with the least aggressive method first, then move to stronger repair steps only when needed.
Surface Preparation
Proper surface preparation is one of the most important steps in scratch repair. If dirt, grit, or wax remains on the paint, you may rub that debris into the finish and create more scratches. A clean surface also helps you see the true depth and length of the damage.
Start by washing the area to clear dirt. Next, inspect the scratch in bright natural light or with a flashlight. After that, choose a scratch removal product, polish, or paint repair method based on the scratch depth. Finish by waxing or sealing the area to protect the paint.
Cleaning The Area
Before you tackle any scratches, you need a clean slate. Dirt, grime, road film, and old wax can interfere with your repair efforts. Start by washing the scratched area with car soap and water. Use a microfiber cloth or wash mitt to gently clean the surface.
Rinse thoroughly and dry the area completely with a clean microfiber towel. This step matters because even a small amount of grit can cause more damage when you start polishing or sanding.
Assessing Scratch Depth
Not all scratches are created equal. Some affect only the clear coat, while others penetrate deeper layers. Gently run your fingernail across the scratch. If your nail does not catch, the scratch is likely shallow. If your nail catches, the scratch is deeper and may need more than polishing.
Look closely at the color inside the scratch. If it looks the same color as the car but dull, it may be clear-coat damage. If it looks gray, white, black, or metallic, it may have reached primer, plastic, or metal.
Note: The fingernail test is only a quick guide. It does not replace a professional inspection, especially if the scratch is near an edge, has rust, or covers a large area.
Testing In A Small Area
Before applying any scratch remover, compound, or household method to a visible panel, test it in a small hidden area. This helps you check whether the product leaves haze, discoloration, or unwanted marks. Testing is especially important on older paint, repainted panels, matte finishes, and dark colors.
Use light pressure and inspect the result before continuing. If the test area looks dull or cloudy, stop and use a milder product or ask a professional for advice.
Using Scratch Remover Products
Scratches on your car can be annoying because they make the vehicle look worn. Scratch remover products can help when the damage is light and limited to the clear coat. These products are easy to find and simple to use, but they work best when you follow the instructions carefully.
Choosing The Right Product
Not all scratch removers are the same. Some are designed for light swirl marks and clear-coat scratches. Others are more abrasive and meant for heavier defects. Read product labels carefully and choose one that is safe for your car’s paint type.
Check whether the product is a scratch remover, rubbing compound, polishing compound, or finishing polish. A rubbing compound is usually more aggressive than a finishing polish. For beginners, it is safer to start with a mild product and repeat the process if needed.
Application Techniques
Clean the scratched area first with car soap and water. Dry the area with a clean towel. Apply a small amount of scratch remover to a microfiber cloth or foam applicator. Rub gently in small overlapping circles or straight passes, depending on the product instructions.
Do not press too hard. Let the product do the work. Check the scratch after a few passes. If needed, apply a little more product and repeat. Wipe off residue with a clean microfiber cloth and inspect the paint from different angles.
Finishing The Repair
After the scratch looks better, apply wax, sealant, or ceramic spray to protect the repaired area. Polishing can remove some existing protection, so this final step helps restore a barrier against water, dirt, and sunlight.
If the area looks hazy after polishing, use a finer finishing polish. If the scratch still appears white, gray, or deep after multiple careful passes, stop polishing. That scratch may need paint instead of more abrasion.
Pro Tip: Work in the shade on cool paint. Hot panels can dry products too quickly, making them harder to buff and more likely to leave residue or streaks.
Diy Scratch Removal Methods
DIY scratch removal methods can help with minor surface marks. Some car owners use toothpaste, baking soda, or scratch removal kits to improve light blemishes without professional assistance. These methods can save time and money, but they have limits.
Use DIY methods only on light scratches that do not expose primer, metal, or plastic. If the scratch is deep, household products will not rebuild missing paint. In that case, you need touch-up paint or professional repair.
Toothpaste Method
Toothpaste is sometimes used for minor car scratches because some formulas contain mild abrasives. It may reduce very light surface marks, but it is not a true automotive polishing product. Use it only when you understand that results can vary.
Choose a basic non-gel toothpaste. Apply a small amount to a damp, soft cloth. Rub it gently onto the scratch in circular motions. After a few minutes, rinse the area with water and wipe it dry.
If the scratch improves, apply wax afterward to protect the paint. If the area becomes dull or the scratch does not change, stop using toothpaste and switch to a proper automotive polish or scratch remover.
Baking Soda Paste
Baking soda is another household item sometimes used for light marks. Mix baking soda with water to form a thick paste. A 1:1 ratio usually creates a workable texture. Apply the paste to a clean, damp cloth and rub gently over the scratch.
Use light pressure and rinse the area completely when finished. Baking soda can be abrasive, so do not scrub aggressively. It may reduce the appearance of very fine marks, but it will not repair missing paint or deep scratches.
Scratch Removal Kits
A scratch removal kit is usually a better DIY choice than household items. Many kits include a compound, applicator pad, polishing cloth, and sometimes fine sandpaper. These products are designed for car paint, so they give you a more controlled repair process.
Follow the kit instructions closely. If the kit includes sandpaper, confirm that the scratch truly needs sanding before using it. For most beginners, polishing first is safer than sanding first.
Touch-Up Paint Method
Use touch-up paint when the scratch has removed color. Clean the area, let it dry, and mask around the scratch if needed. Apply thin coats of paint with the applicator, toothpick, or fine brush provided with the paint.
Let the paint dry between coats. After the color coat cures, apply clear coat if the kit includes it. Do not rush the final polishing step. Fresh touch-up paint needs time to harden before it can be safely leveled or polished.
Professional Repair Options
Car scratches can be fixed with professional repair options when DIY work is not enough. Experts use specialized tools, color-matching systems, sanding techniques, and refinishing equipment. This approach can restore a cleaner finish and reduce the risk of making the damage worse.
While DIY methods work for minor scratches, professional repair is often the best choice for deeper scratches, wide damage, rust, cracked paint, or scratches on expensive panels. A professional can also blend new paint into surrounding areas so the repair looks less obvious.
When To Seek Professional Help
You might wonder whether professional help is really necessary. If the scratch exposes metal, primer, or bare plastic, it is best to consult a repair shop. If you see rust, peeling clear coat, or a scratch that runs across multiple panels, DIY polishing will not solve the problem.
Professional help is also smart if the vehicle is leased, new, high-value, or being prepared for resale. A poor DIY repair can stand out more than the original scratch and may cost more to correct later.
Cost Considerations
Understanding the costs involved in professional scratch repair can help you make an informed decision. Costs vary based on scratch depth, panel size, paint color, labor rates, and whether the panel needs blending or refinishing.
Minor cosmetic correction may cost less than full bodywork. Deeper scratches that need sanding, filler, primer, paint, and clear coat can cost much more. Ask for quotes from more than one repair shop and request a clear explanation of what each quote includes.
Think about your budget and the value of your car. If the scratch is small and shallow, a DIY repair may be enough. If the scratch threatens rust or resale value, professional repair may be worth the investment.
Preventing Future Scratches
Preventing future scratches on your car is not just about maintaining its visual appeal. It also helps preserve your investment and keeps your vehicle easier to clean. You do not want to spend your time constantly buffing out scratches or paying for avoidable repairs.
Protective Coatings
Adding a protective coating can make a big difference. Wax, paint sealants, and ceramic coatings form a barrier between your car’s paint and everyday contaminants. They can help reduce light marring, make washing easier, and improve gloss.
Think of protection as a shield for your car. It will not make paint scratch-proof, but it can reduce damage from light contact, dirt, bird droppings, water spots, and UV exposure. Reapply protection according to the product instructions so the finish stays protected.
Safe Parking Practices
Where you park plays a major role in scratch prevention. Avoid tight spaces where other vehicles may open doors into yours. Choose spots away from shopping carts, bushes, construction areas, and heavy pedestrian traffic.
Even when parking at home, leave enough room around the car. If your garage is tight, add soft wall guards or parking guides to reduce accidental contact.
Better Washing Habits
Poor washing habits cause many fine scratches and swirl marks. Use clean wash mitts, paint-safe car soap, and microfiber drying towels. Avoid dry wiping dusty paint because dust can act like sandpaper.
Rinse the car well before touching the paint. Wash from top to bottom, and clean the dirtiest lower panels last. If a towel or mitt falls on the ground, do not put it back on the paint until it has been washed.
Car Covers And Storage
A car cover can help if you park outside, but it must fit properly and stay clean. A dirty or loose cover can rub against the paint and create scratches in windy conditions. Use a breathable cover made for automotive paint.
If possible, park under cover, in a garage, or away from trees. Tree branches, sap, bird droppings, and falling debris can all damage the finish over time.
Implementing these practices can make a noticeable difference. Start with better washing and safer parking, then add wax or another protective product for stronger long-term protection.
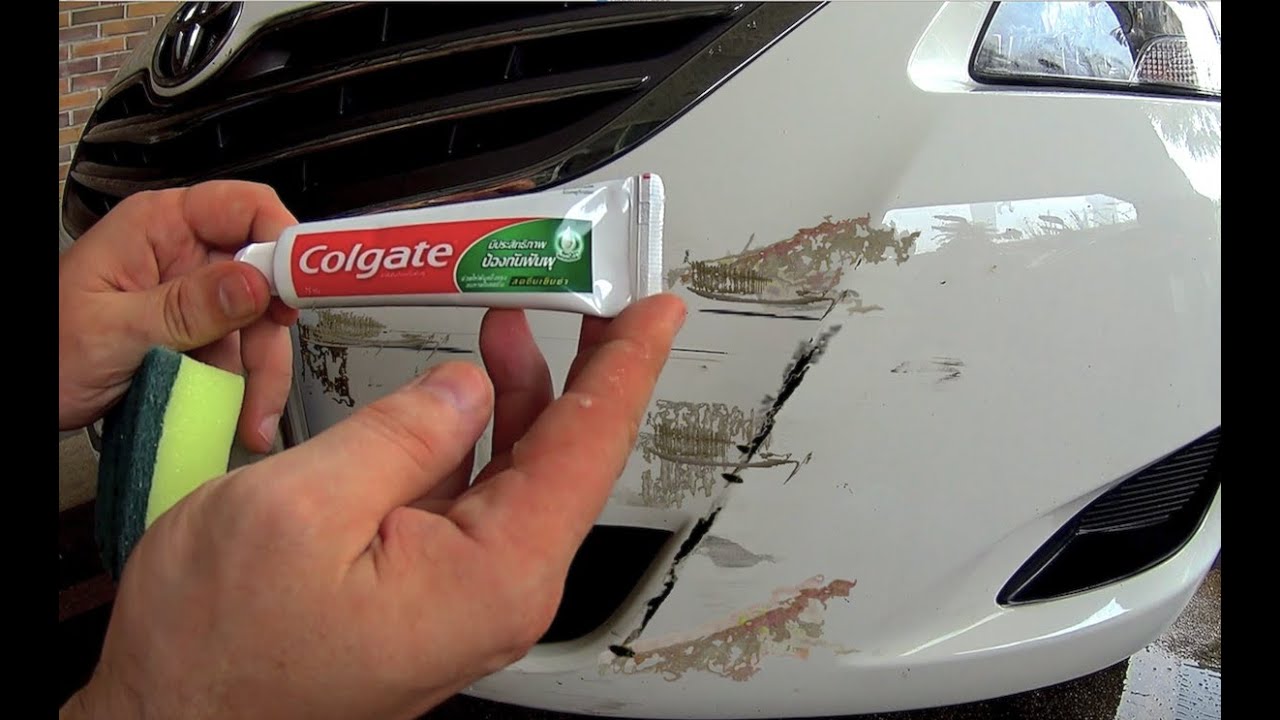
Credit: m.youtube.com
Frequently Asked Questions
How can I remove light car scratches?
To remove light car scratches, wash the area with car soap and water, then dry it fully. Apply a paint-safe scratch remover or polishing compound with a clean microfiber cloth. Buff gently, inspect the result, and repeat only if needed. Finish with wax or sealant.
Does toothpaste remove car scratches effectively?
Toothpaste may reduce very minor surface scratches because some formulas are mildly abrasive. However, it is not designed for automotive paint and will not repair deep scratches, missing paint, primer damage, or metal exposure. A proper scratch remover is usually a safer choice.
What household items can fix car scratches?
Household items such as toothpaste or baking soda paste may improve tiny surface marks, but they should be used carefully and tested first. They are not reliable for deeper scratches. For better results, use automotive scratch remover, polishing compound, touch-up paint, or a dedicated repair kit.
Can I prevent car scratches from occurring?
You can reduce scratches by parking away from tight spaces, washing with clean microfiber tools, avoiding abrasive brushes, and keeping the paint protected with wax, sealant, or ceramic coating. No method prevents every scratch, but careful habits lower the risk.
How do I know if a scratch is too deep to polish out?
Run your fingernail gently across the scratch. If your nail catches, the scratch may be too deep for simple polishing. If you see primer, bare metal, plastic, rust, or missing paint, polishing alone will not fix it. You may need touch-up paint or professional repair.
Should I wax the car after removing scratches?
Yes. Scratch removers and polishing compounds can remove old wax or sealant from the repaired area. After the scratch looks better, apply wax, sealant, or another paint-safe protective product to restore gloss and help protect the finish.
Conclusion
Removing car scratches is easier when you start with the right diagnosis. Light clear-coat scratches often respond well to cleaning, scratch remover, polishing compound, and wax. Deeper scratches need more careful repair because missing paint cannot be fixed by polishing alone.
Start with the least aggressive method and check your progress often. Clean the area first, use paint-safe products, and avoid heavy pressure. If the scratch exposes primer, metal, plastic, rust, or a large damaged area, professional repair is usually the safer choice.
A scratch-free car boosts your pride and helps protect its value. With careful washing, smart parking, and regular paint protection, you can reduce future marks and keep your car looking cleaner for longer.