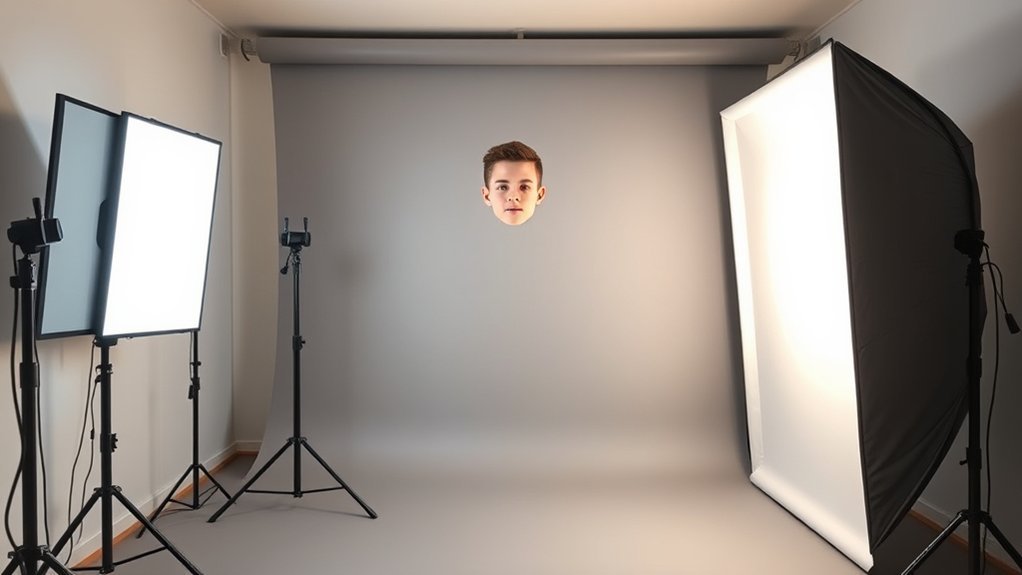
Choosing the right self-tape lighting can make your face easier to see, reduce distracting shadows, and help casting directors focus on your performance. LED panels and softboxes are both suitable for home auditions, but they differ in size, portability, and how they shape light. Understanding those differences can help you build a reliable setup without buying unnecessary equipment.
Quick Answer
Choose a diffused LED panel for compact, portable self-tape lighting. Choose a softbox when you have more room and want a larger, softer light source. One light and a reflector can work well. Two lights offer greater control over facial shadows, while a third is optional for background separation.
Last checked: September 26, 2026. Equipment specifications and listed prices were verified against manufacturer sources.
Key Takeaways
- A softbox is a light modifier, not a separate lighting technology. Many softboxes use LED bulbs or LED fixtures.
- The apparent size of the light source determines softness more than its label.
- Match color temperatures and control camera white balance to keep skin tones natural.
- A reflector can replace a second powered light when your budget or floor space is limited.
- Check the actual power consumption, accessories, and diffusion before comparing lighting kits.
LED Panels vs Softboxes: Which Is Better for Self-Tapes?
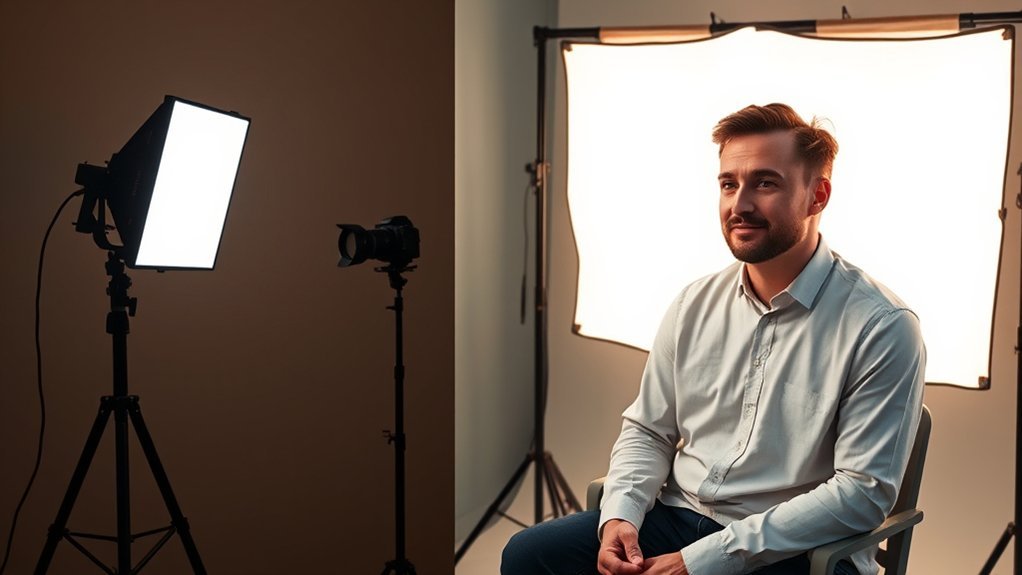
LED panels are convenient for small spaces and quick setup. Softboxes provide broad, diffused illumination that can create gentler facial shadows. However, a diffused LED panel can also produce soft light, so neither option is automatically superior.
The key distinction is that an LED panel is a light fixture, while a softbox is a modifier that spreads and softens light from a compatible source.
A softbox can contain an LED bulb or attach to an LED fixture. Aputure’s INFINIBAR PB6 softbox specifications demonstrate how a modifier can soften an existing LED source and use a grid to control spill.
For self-tapes, the practical differences are:
| Factor | LED panel | Softbox setup |
|---|---|---|
| Light quality | Depends on panel size and diffusion | Broad, diffused output |
| Space required | Usually compact | Requires room for the modifier and stand |
| Setup | Fast, with minimal assembly | May require assembly and adjustment |
| Power | Mains, battery, or USB depending on model | Depends on the installed light source |
| Color control | Often adjustable on bi-color models | Depends on the bulb or fixture |
| Portability | Generally easier to transport | Bulkier unless using a compact collapsible design |
Choose based on the light you see in your test recording, not simply the fixture’s advertised brightness or price.
Are LED Panels Better in Small Spaces?
LED panels are often easier to use in apartments, bedrooms, and temporary self-tape corners. Their slim shape makes placement simpler, especially when a large softbox would block the camera or take up valuable floor space.
A compact panel can also work on a tabletop mount, clamp, or light stand, depending on its mounting system.
However, placing a bare LED panel very close to your face does not guarantee flattering light. Small, undiffused sources can create hard shadows and bright reflections.
For softer facial lighting, increase the apparent size of the light source rather than relying on brightness alone.
Use the panel’s supplied diffuser or another compatible lighting modifier. A nearby white wall or reflector can also bounce light onto the darker side of your face.
Panel placement affects background spill. Moving a light closer can make the background relatively darker, but controlling shadows also depends on the light’s direction, spread, and distance from the wall.
Keep enough space between yourself and the background to reduce visible wall shadows. In its self-tape lighting guidance, Spotlight suggests approximately 1 meter of separation.
Battery-powered panels are useful when electrical outlets are inconvenient. Check the included accessories, because some fixtures require separately purchased batteries.
When LED Panels Work Best for Self-Tapes
LED panels are particularly useful when you need a portable, repeatable setup that can be adjusted quickly. They suit actors who record in different rooms or need to store equipment between auditions.
The most useful features are adjustable brightness, suitable diffusion, dependable mounting, and consistent color output.
Small Space Setups
Start with one diffused LED panel positioned slightly above eye level and to one side of the camera. Angle it toward your face rather than pointing it directly into your eyes.
Place a white reflector opposite the panel if the unlit side of your face looks too dark.
This arrangement creates a simple key-and-fill effect without requiring two powered fixtures. It also leaves more room for camera placement and movement.
For mobile recording, check the complete kit’s packed size. A lightweight panel may still require a separate stand, power adapter, and carrying case.
Do not assume every LED panel runs on batteries. USB-powered, mains-powered, and rechargeable models have different requirements.
Fast Color Control
Bi-color LED panels allow you to adjust the warmth or coolness of their white light. This helps match the lighting in a room without changing bulbs.
For reference, daylight is commonly represented by approximately 5600K, while traditional tungsten lighting is around 3200K.
These values describe color temperature, not brightness. Adobe’s white-balance guide explains how mismatched light sources affect recorded colors.
For natural-looking skin tones:
- Set your lights to matching color temperatures.
- Turn off room bulbs that create an unwanted second color.
- Adjust or lock your camera’s white balance when possible.
- Record a short test and inspect your face on a larger screen.
A bi-color panel does not necessarily provide full RGB color effects. RGB models offer additional colors, but those effects are rarely needed for straightforward auditions.
Color temperature alone also cannot guarantee accurate skin tones. Consider the fixture’s color-rendering specifications, including CRI, when comparing products.
When Softboxes Give Better Light
Softboxes are useful when you want a larger, more even light source and have enough space to position one properly. Their front diffusion spreads light across a wider area, producing gentler shadow edges.
This can reduce the appearance of harsh facial texture while keeping expressions clearly visible.
The effect depends on the softbox’s size, distance, direction, and internal light source. A small softbox placed far away may create harder light than a larger diffused LED panel placed nearby.
Softboxes also help direct illumination toward the performer. Some models accept grids that further limit unwanted light spill.
| Factor | Softbox effect | Practical result |
|---|---|---|
| Diffusion | Large front surface | Softer shadow edges |
| Skin tone | More even illumination | Clearer facial presentation |
| Texture | Reduced harsh contrast | Gentler facial rendering |
| Setup | Built-in diffusion surface | Less need for separate diffusion |
A softbox does not automatically produce more light than an LED panel. Its actual brightness depends on the installed fixture, power, diffusion, and distance.
It also does not eliminate all shadows. For a natural self-tape, aim for soft, controlled shadows rather than an entirely flat face.
A dedicated softbox setup is especially convenient when you film regularly in the same room and can leave the equipment assembled.
How Many Self-Tape Lights Do You Need?
One well-placed light can produce a usable self-tape. Two lights provide more control over facial balance, while a third can help separate you from the background.
The number of fixtures matters less than whether your face, eyes, and expressions remain clearly visible throughout the recording.
One Light Basics
A single diffused light is a practical starting point for beginners. Position it slightly above eye level, just off to one side of the camera.
A position around 45 degrees is a useful starting point, but adjust it according to your face, room, and camera framing.
| Setup | Result |
|---|---|
| Diffused LED beside camera | Compact, adjustable illumination |
| Softbox alone | Broad, gentle facial lighting |
| 45-degree placement | Natural facial shape |
| Window with indirect daylight | Soft light without another powered fixture |
If one side of your face becomes too dark, add a white foam board or reflector opposite the key light.
Window lighting can also work well. Face the window with the camera between you and the light, and avoid direct sunlight or a bright window behind you.
Two Light Balance
A two-light setup gives you independent control over the bright and shadowed sides of your face. It is a useful arrangement for repeatable home auditions.
Use one light as the main source, called the key light. Place a second, softer or dimmer light on the opposite side as the fill.
- Position your key light slightly above eye level and to one side of the camera.
- Place the fill light on the opposite side.
- Reduce the fill brightness until facial shadows look gentle but natural.
- Match both lights’ color temperatures.
- Check the recording for bright reflections, uneven skin tones, and background shadows.
Both diffused LED panels and softboxes work in this arrangement. You can also combine a softbox key with an LED fill.
A ring light can provide basic frontal illumination, but its circular reflections may be distracting. Off-axis lights offer more control over facial shape.
Three Point Setup
Three-point lighting adds a backlight to the key-and-fill arrangement. The backlight helps define your outline against the background, particularly when your clothing or hair blends into it.
Each light has a separate role:
- Key light: Provides the main facial illumination.
- Fill light: Reduces shadows created by the key.
- Backlight: Adds separation between you and the background.
Place the backlight outside the frame and aim it carefully so it does not shine directly into the camera.
Keep it subtle. A bright rim around your hair or shoulders can draw attention away from your performance.
Three-point lighting offers more control, but it is not a requirement for a successful audition. Use it when the additional light solves a visible problem.
Best Self-Tape Lights by Budget
For most beginners, spending money on a soft, adjustable key light makes more sense than buying several powerful fixtures. Small two-light kits can cost under $100, while larger panels and softbox kits generally require a higher budget.
The original $150–$300 budget remains a useful shopping range, but price alone does not establish better color accuracy or reliability.
The following manufacturer listings provide concrete examples. Prices are in USD and may change with availability, location, or promotions.
| Lighting kit | Listed price | Key specifications |
|---|---|---|
| Neewer BP66 two-panel kit | From $49.99 | Two 10W USB-powered panels; 3200K and 5600K settings; stands included |
| Neewer NK200 700W Photography Softbox Kit | From $119.99 | Two 24-inch softboxes; 35W LED bulbs; 5700K fixed color temperature |
| Neewer NL-192B two-panel kit | $139.99 | Two 20W panels; 3200K–5600K; CRI 97+; rechargeable batteries |
| Neewer NL660 two-panel kit | $269.99 | Two 40W panels; 3200K–5600K; CRI 96+; diffusers and stands included |
The NK200 example illustrates why product names need careful interpretation. Its 700W label refers to the stated combined incandescent-equivalent output, while the included LED bulbs consume 35W each.
When comparing kits, check these practical details:
- Brightness: Compare lux measurements taken at the same distance.
- Color quality: Look for documented CRI or TLCI specifications.
- Diffusion: Confirm whether a diffuser or softbox is included.
- Power: Check battery compatibility and whether batteries come with the kit.
- Accessories: Confirm stands, adapters, mounts, and carrying bags.
- Noise: Check whether the fixture uses a cooling fan that your microphone might record.
A mixed setup using two compact LED panels and one soft source can also work, but its total cost depends on the exact fixtures and accessories.
Start with the equipment you already own. Upgrade only after identifying a specific problem in your recordings.
How to Fix Common Self-Tape Lighting Problems
Most lighting problems can be corrected through placement, diffusion, or camera settings. Before buying another fixture, record a short test and look for the specific issue.
These are the most useful adjustments:
- Harsh facial shadows: Add diffusion, enlarge the light source, or introduce gentle fill from a reflector.
- Bright forehead or washed-out skin: Lower the light intensity or adjust camera exposure.
- Glasses reflections: Move the light higher or farther to the side rather than changing your natural head position.
- Yellow or blue skin tones: Match your light sources and correct white balance.
- Dark background: Adjust your distance from the wall or add gentle background illumination if needed.
- Visible wall shadows: Increase the distance between yourself and the background.
- Grainy footage: Improve the available light before relying on digital brightening.
- Flickering or moving bands: Test another light or adjust compatible camera frame-rate and shutter settings.
Spotlight’s technical self-tape troubleshooting guide explains how exposure, insufficient light, white balance, and electrical frequency can affect recorded footage.
After making adjustments, review the actual video rather than judging the setup by how the room looks to your eyes.
Frequently Asked Questions
Which Is Better, LED Panel Lights or Softbox Lights?
LED panels are generally more convenient for portable or compact self-tape setups, while softboxes provide broad diffusion for softer facial light. A diffused LED panel can achieve similar results, depending on its size and placement. Choose based on your available space, setup needs, and recorded image.
What Are Common Self-Tape Mistakes?
Common mistakes include harsh overhead lighting, bright windows behind the actor, mixed color temperatures, distracting backgrounds, poor framing, and weak audio. Skipping playback review can also leave exposure or sound problems unnoticed. Keep the setup simple and check the recording before submitting your audition.
What Type of Lighting Is Best for Self-Taped Auditions?
Soft, continuous lighting is well suited to self-taped auditions. A diffused LED panel, softbox, or large source of indirect window light can all work. The goal is to keep your face and eyes clearly visible while avoiding distracting shadows, reflections, or unnatural skin colors.
What Is the Best Set-Up for Self-Tape?
A practical self-tape setup uses an eye-level camera, a plain background, clear audio, and a soft key light. Add a dimmer fill light or reflector when needed. Position the camera securely, follow the casting instructions, and keep the lighting consistent across the scene.
Can You Use One Softbox for a Self-Tape?
Yes, one softbox can provide enough light for a clear self-tape. Position it slightly above eye level and to one side of the camera. If the opposite side of your face becomes too dark, use a white reflector to bounce some light back without adding another powered fixture.
Do You Need a Ring Light for Self-Tapes?
No, a ring light is not necessary for self-tapes. It can provide usable front lighting, but may create circular reflections in your eyes or glasses. A diffused LED panel or softbox placed slightly to one side gives you more control over facial shadows.
Conclusion
The right self-tape lighting setup depends on your room, budget, and need for portability. LED panels make compact setups easier, while softboxes offer broad diffusion. Both can produce clear, natural-looking auditions when positioned correctly.
Start with one soft key light, add fill only when needed, and review a test recording. Your lighting should support your performance rather than compete with it.
Sources
- Spotlight: Lighting and Sound for Self-Tapes: Soft lighting, source size, placement, background separation, and ring-light considerations.
- Aputure: INFINIBAR PB6 Softbox: Softbox diffusion, modifier design, and spill control.
- Adobe: Understanding White Balance: Color temperature, daylight and tungsten reference values, and mixed-light correction.
- Spotlight: Technical Tips to Improve Your Self-Tape: Exposure, grain, white balance, and lighting-related banding.
- Neewer: BP66 Two-Panel Kit: Manufacturer price, power, color temperature, and included accessories.
- Neewer: NK200 Softbox Kit: Manufacturer price, softbox dimensions, LED bulb power, and color temperature.
- Neewer: NL-192B Two-Panel Kit: Manufacturer price, rechargeable batteries, color temperature, and CRI.
- Neewer: NL660 Two-Panel Kit: Manufacturer price, output, color specifications, power options, and included accessories.
