Last updated: September 22, 2026
If you want to know how to tie a loop knot for fishing, the non-slip loop knot is one of the most useful versions to learn. It creates a fixed open loop between your line and the lure, hook, jig, or fly, allowing the eye to pivot instead of being locked against a tight knot. Start with a loose overhand knot, pass the tag end through the lure eye and back through the overhand knot, make the correct number of wraps for your line size, return the tag through the original overhand knot, moisten it, and tighten slowly.
The key details are the knot path, wrap count, loop size, and final seating. This guide explains each step, when a loop knot improves lure movement, when a snug knot or split ring makes more sense, and how mono, fluorocarbon, and braid behave differently.
Quick Answer
To tie a non-slip loop knot for fishing, make a loose overhand knot, pass the tag end through the hook or lure eye, bring it back through the overhand knot, wrap the tag around the standing line, then return the tag through the original overhand opening. The number of wraps depends on line size, so do not treat 4 or 5 turns as universal. Moisten the knot, tighten it slowly, test it with steady pressure, and trim the tag end.
Key Takeaways
- A non-slip loop knot creates a fixed loop that gives a lure, fly, jig, or hook room to pivot.
- Wrap count should match line size; lighter line generally needs more turns than heavy leader material.
- Use a terminal loop when lure movement matters, especially with many jerkbaits, walking baits, flies, and jigheads.
- A lure that already has a split ring or swinging connection usually does not need another loop knot.
- Moisten mono or fluorocarbon before final tightening, inspect the wraps, and retie after abrasion, hard snags, or visible damage.
At a Glance
| Time Required | About 1 to 2 minutes while learning; under 30 seconds with practice |
| Difficulty | Easy to moderate, depending on line stiffness and lure size |
| Tools Needed | Fishing line, hook or lure, clean water or saliva for moistening, and line clippers or scissors |
| Best Starting Line | Monofilament is forgiving for practice; fluorocarbon also works but needs careful, slow seating |
How to Tie a Loop Knot for Fishing: Non-Slip Loop Knot

Start by tying a loose overhand knot about 8 to 10 inches from the tag end. Do not tighten it. This overhand knot becomes the foundation of the fixed loop.
Pass the tag end through the hook, lure, jig, or fly eye. Then bring the tag end back through the opening in the overhand knot. Adjust the distance between the overhand knot and the lure now because that distance helps determine the final loop size.
Wrap the tag end around the standing line. The correct number of turns depends on the line’s diameter and strength. Lighter line normally needs more turns, while heavy leader material needs fewer.
After making the wraps, pass the tag end back through the original overhand opening from the same side required by the knot’s original path. Keep the wraps beside one another instead of letting them cross.
Moisten the knot, especially with monofilament or fluorocarbon. Pull slowly on the tag end and standing line so the wraps begin to seat. Avoid snapping or jerking the knot tight.
Finish by pulling the lure or loop and the standing line apart with firm, steady pressure. Inspect the knot before trimming. The wraps should look compact and even, and the loop should remain open rather than sliding tight against the lure eye.
Warning: Never tighten monofilament or fluorocarbon dry with hard, fast pressure. Friction during cinching can damage the line. Wet the knot and tighten it smoothly.
How Many Wraps Should a Non-Slip Loop Knot Have?
There is no single wrap count for every line. Animated Knots’ Non-Slip Mono Knot guide, which documents Lefty Kreh’s wrap guidance, lists the following counts for monofilament. Treat them as a practical reference and follow your line manufacturer’s instructions when they differ.
| Line Test | Reference Wrap Count |
|---|---|
| 6–8 lb | 7 turns |
| 8–12 lb | 5 turns |
| 15–40 lb | 4 turns |
| 50–60 lb | 3 turns |
| More than 60 lb | 2 turns |
Orvis publishes slightly different guidance for some lighter materials, which is a useful reminder that line diameter, stiffness, and material matter as much as the number printed on the spool. Whatever count you use, pull-test the finished knot before fishing.
Which Fishing Loop Knot Should You Use?
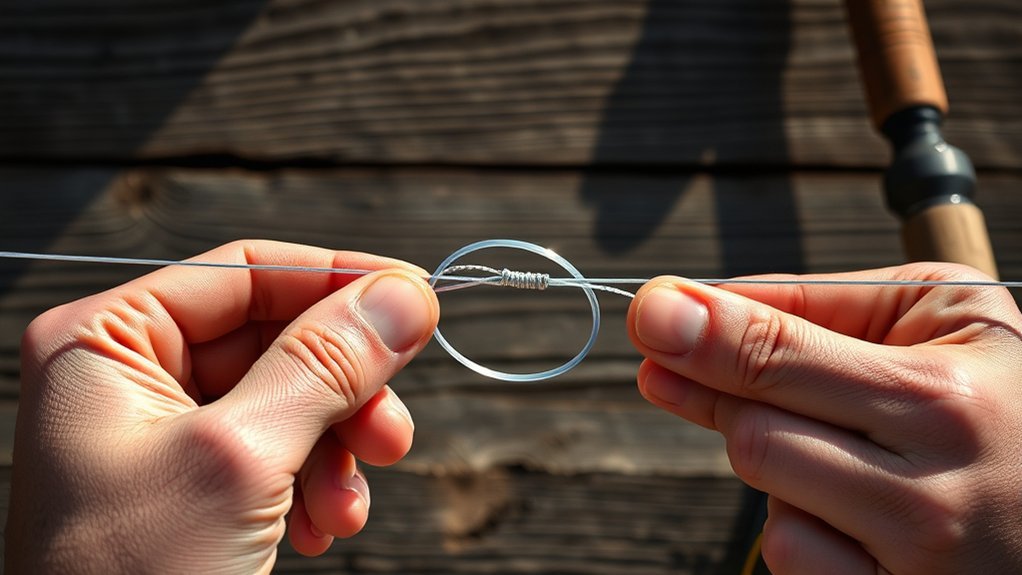
“Loop knot” describes several different knots, so first identify the job you need the loop to perform. A terminal loop for a lure is not the same as a leader loop or a midline dropper.
| Knot | Best Job | Key Point |
|---|---|---|
| Non-Slip Loop / Kreh Loop | Lures, jigs, hooks, and flies that benefit from a fixed open loop | Loop size stays fixed after the knot is seated |
| Rapala Knot | Plugs and topwater lures, especially without a split ring | A separate terminal loop knot with its own tying sequence |
| Perfection Loop | Leader-end loops and loop-to-loop connections | Creates a compact loop aligned with the standing line |
| Dropper Loop | Creating a branch loop in the middle of a rig | Not the same as a terminal lure-action loop |
If your goal is simply to give a lure or fly freedom at the eye, the non-slip loop in this guide is the most relevant starting point. If you need an end loop for a fly leader or a side loop for a multi-hook rig, choose a knot designed for that job instead.
Pro Tip: Practice with thick cord first so you can see the knot path. Then switch to the exact monofilament, fluorocarbon, or leader material you plan to fish.
When Should You Use a Loop Knot?
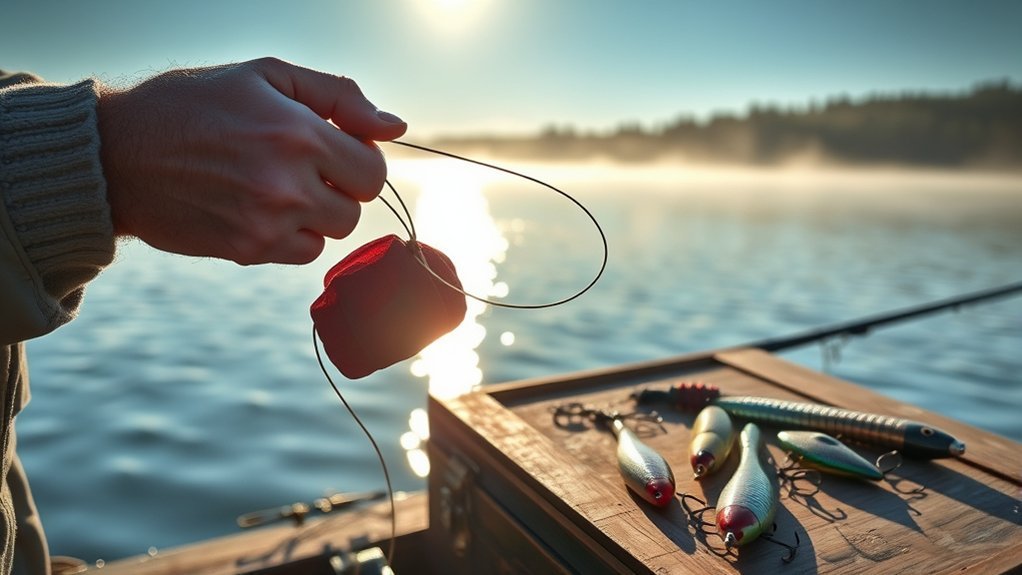
Use a loop knot when the lure, jig, hook, or fly benefits from pivoting freely at the eye. Unlike a snug knot that cinches directly against the hardware, a fixed loop leaves room for side-to-side or swinging movement.
A terminal loop is most useful when unrestricted movement at the lure eye improves the presentation.
Common uses include:
- Walking and Topwater Baits: A loop can give a lure room to pivot while you work it across the surface.
- Jerkbaits and Twitch Baits: The free connection can help the lure dart without being locked tightly to the line.
- Jigheads and Small Jigs: A fixed loop can provide extra freedom to swing or fall naturally.
- Flies and Streamers: Many moving fly patterns benefit from a connection that does not clamp directly against the hook eye.
- Plugs Without a Split Ring: A loop can provide the pivot that a split ring would otherwise supply.
The goal is not to use a loop knot on every lure. Choose it when freedom at the eye adds something to the presentation.
When Should You Avoid a Loop Knot?
A loop knot is not automatically better than a snug terminal knot. If a lure already has a split ring, snap, or swinging connection, that hardware may already provide the movement you need. Adding another open loop can make the connection bulkier without a clear benefit.
A snug knot can also be the better choice in heavy weeds, brush, timber, or other snag-prone cover. An open loop creates more exposed space where vegetation or hardware can catch.
Choose the knot according to the line as well. Some slick braided lines need knot-specific handling. If you are tying braid directly to terminal tackle, a braid-suitable knot such as a properly tied Palomar may be easier to seat consistently than forcing a loop knot that slips during testing.
Finally, retie any loop knot with crossed wraps, a damaged loop, a very short tag end, a cloudy or kinked section of mono or fluorocarbon, or any sign that the knot moved during your pull test.
Note: A loop knot changes the connection at the lure eye. It does not compensate for damaged line, dull hooks, an incorrect drag setting, or poor knot tying.
Variations of Fishing Loop Knots
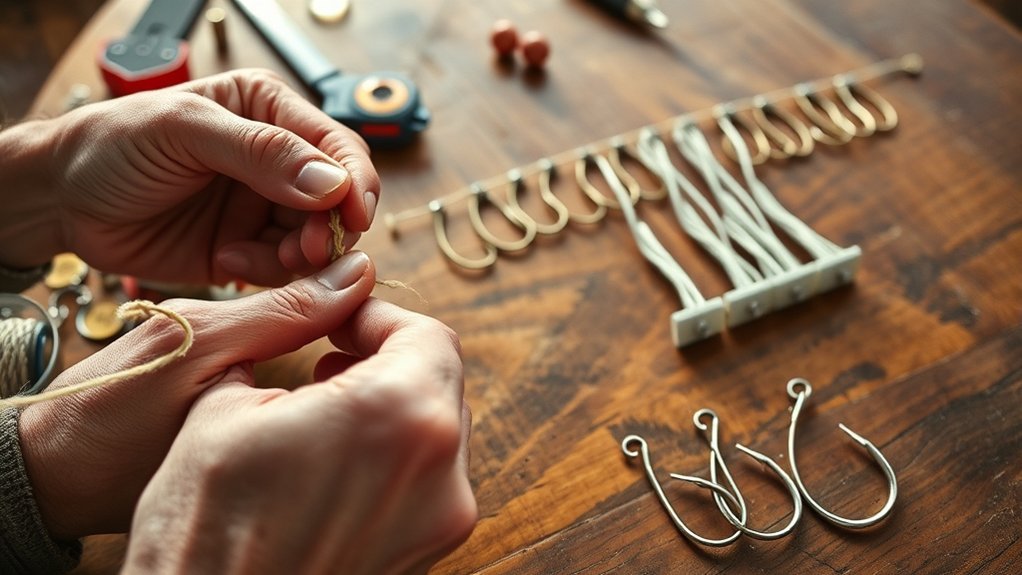
Fishing uses several kinds of loops, but they should not be treated as interchangeable. The most useful distinction is whether the loop is at the terminal tackle, at the end of a leader, or in the middle of a rig.
The Non-Slip Loop Knot, also associated with Lefty Kreh, creates a fixed terminal loop for a lure, hook, jig, or fly. Its main advantage is that the loop does not cinch down against the eye after it has been seated correctly.
The Rapala Knot is another terminal loop knot. Rapala recommends a loop-style connection for lures that need freedom to move, including some topwater presentations. Follow the Rapala sequence specifically rather than assuming every non-slip loop is tied identically.
The Perfection Loop creates a compact fixed loop at the end of a leader and is widely used for loop-to-loop fly-line and leader connections. It can also be used in some terminal applications, but its construction is different from the Non-Slip Loop.
The Dropper Loop serves a different purpose: it forms a side loop in the middle of a line for a hook, fly, or branch connection. Do not use the terminal Non-Slip Loop instructions when you actually need a Dropper Loop.
The Bimini Twist is another specialized loop-producing knot, but its main job is creating a doubled section of line for heavy leader and offshore connection systems. It is not a substitute for the simple lure-action loop taught in this article.
Precautions When Tying a Fishing Loop Knot
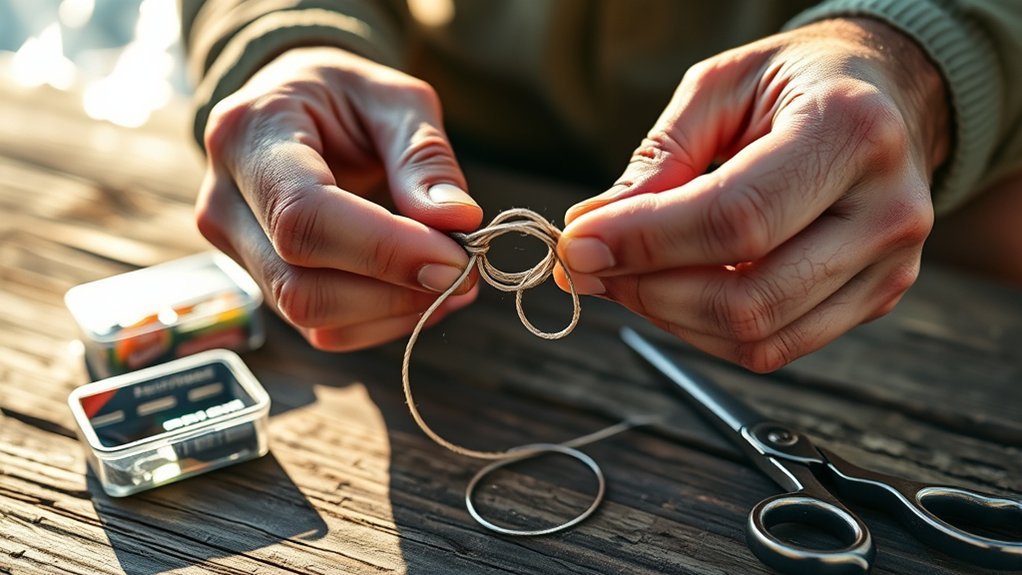
Small tying errors matter because a loop knot concentrates load through a compact group of wraps. Inspect the knot before every important cast.
- Leave Enough Tag End: Give yourself enough line to complete every wrap without struggling to hold the final pass.
- Set the Loop Size Before Full Tightening: With a Non-Slip Loop, adjust the loop while the knot is still loose. Once fully seated, the loop should remain fixed.
- Keep Wraps Parallel: Crossed or stacked wraps can keep the knot from seating cleanly.
- Moisten Before Cinching: This is especially important with monofilament and fluorocarbon.
- Do Not Add a Loop Automatically to a Split Ring: The split ring already gives the lure a pivot point.
- Pull-Test the Finished Knot: Use firm, steady pressure. If the tag slips or the loop changes size, cut it off and retie it.
- Trim Only After Testing: Leave a short visible tag rather than cutting into the knot itself.
These checks prevent the most common failures: slipping, crossed wraps, damaged line, oversized loops, and knots that were never fully seated.
How Do You Set the Loop Size and Finish the Knot?
Set the loop size while the Non-Slip Loop Knot is still loose. Move the overhand portion closer to or farther from the lure eye until the lure has enough room to pivot without leaving an unnecessarily large open loop.
Once the loop size looks right, hold the knot so it does not shift while you make the required wraps. Complete the final pass through the original overhand opening before applying full tension.
Moisten the knot and pull the tag end and standing line gradually. Guide the wraps with your fingers so they compress beside one another instead of crossing.
Then pull the lure or loop and standing line apart with firm, steady pressure. The finished loop should remain open and should not slide down until it becomes a snug knot.
Before trimming, check the loop itself for abrasion and inspect the first few inches of line above the knot. If you see a kink, rough spot, cloudy patch, flattened section, or slipping tag, retie it.
Loop Knot Video: What Should You Watch For?
A clear visual demonstration can make the Non-Slip Loop Knot easier to learn because the critical detail is the path of the tag end through the original overhand opening. The Orvis Non-Slip Mono Loop video provides a visual reference for the sequence.
While watching a demonstration, focus on three things:
- The Direction of the Tag End: Watch which side of the original overhand opening the line enters and exits.
- The Wrap Count: The number of turns should suit the line being used rather than being copied blindly from a demonstration using a different diameter.
- The Tightening Sequence: Notice how the knot is moistened and seated progressively instead of being snapped tight.
Practice slowly with thicker cord first. Once you can reproduce the path without thinking about each movement, switch to your actual fishing line.
How to Seat and Test the Knot
A properly tied loop can still fail if it is seated badly. Begin the final tightening only after the loop size is where you want it.
Moisten the knot, then apply gradual tension to the tag end and standing line. Watch the wraps as they compress. They should remain neat instead of stacking over one another.
Next, pull the lure or loop and standing line apart with firm, steady pressure. Check whether the tag end moves. Any visible movement suggests the knot has not locked correctly.
Finally, inspect the line around the knot. Retie if you see abrasion, sharp kinks, cloudy mono or fluorocarbon, crossed wraps, or a loop that changed size while testing.
Pro Tip: Test the knot before the first cast and again after a hard snag, abrasive contact, or a fish that puts heavy pressure on the connection.
Non-Slip Loop Knot Characteristics
The Non-Slip Loop Knot creates a fixed open loop rather than a knot that slides down tightly against the eye. That makes it useful when freedom of movement is more important than having the smallest possible terminal connection.
Its final loop size is set during tying. Once fully seated, you should not expect to adjust the loop without cutting and retying the knot.
Performance depends on more than the knot name. Line diameter, material, wrap count, knot path, abrasion, and tightening technique all affect the finished connection.
What Are the Main Benefits?
A correctly tied terminal loop offers several practical advantages:
- Fixed Loop Size: The lure remains free to pivot without the loop steadily cinching down against the eye.
- Presentation Freedom: Jerkbaits, flies, jigheads, and some topwater lures can move without being locked directly to the line.
- Freshwater and Saltwater Use: The knot can be used across many lure and fly applications when matched to suitable line and leader material.
The tradeoff is that a loop is not necessary for every bait. A compact snug knot may be cleaner around cover or when the lure already has hardware that provides its own movement.
Movement and Flexibility
The main reason to use a terminal loop is mechanical: the lure eye can pivot inside the loop instead of being clamped against a snug knot.
| Feature | Practical Effect |
|---|---|
| Open Fixed Loop | Lets the lure eye pivot |
| Fixed Loop Size | Prevents the connection from cinching tight to the eye |
| Useful for Moving Lures | Supports side-to-side or swinging action |
| Multiple Line Options | Works best when the knot and wrap count suit the material |
| Small, Controlled Loop | Reduces unnecessary snagging compared with an oversized loop |
The benefit is most noticeable when the lure’s action depends on freedom at the eye. If the lure already pivots on a split ring or snap, another loop may add little.
Fishing Loop Knot Applications
Use a terminal loop when you want a lure, jig, hook, or fly to move independently at the eye. Keep other types of loops separate because they solve different rigging problems.
- Terminal Lure Attachment: A Non-Slip or Rapala-style loop can be used when a lure benefits from an open pivot point.
- Fly and Streamer Attachment: A terminal loop can give moving fly patterns room to swing at the tippet connection.
- Leader-End Connections: A Perfection Loop is commonly used when you need a clean loop at the end of a leader for a loop-to-loop system.
- Midline Branches: Use an actual Dropper Loop when you need a side loop in the middle of a rig; do not substitute the terminal knot described above.
For broader practice with terminal and line-to-line knots, see the knot tying practice guide for fishing.
Best Fishing Lines for Loop Knots
The same knot can behave differently in monofilament, fluorocarbon, and braid. Match the knot to the material instead of assuming one wrap count works everywhere.
- Monofilament: Mono is flexible and forgiving, making it a practical material for learning the Non-Slip Loop. For more mono-specific terminal knots, see the fishing knots for monofilament guide.
- Fluorocarbon: Fluorocarbon is generally stiffer. Moisten it well, tighten it slowly, and inspect the area around the knot for kinks or cloudy damage. See the fluorocarbon fishing knot guide for other terminal options.
- Braid: Braid is slick, so loop-knot performance depends heavily on the exact knot, braid construction, and number of turns. Pull-test it aggressively before fishing. If it slips, use a braid-appropriate terminal knot or attach a mono/fluorocarbon leader and tie the loop in the leader.
- Heavy Leader Material: Thick leader normally needs fewer turns than light line. Seat it with firm, progressive pressure so the wraps do not stack.
If a knot does not seat cleanly with your line, cut it off and retie it or choose a knot better suited to that material.
Common Loop Knot Mistakes
Most failures start with a small tying error. Check these points before casting:
- Using the Same Wrap Count for Every Line: Adjust the number of turns to the line diameter and knot guidance.
- Making the Loop Too Large: An oversized loop can catch lure hooks, grass, or other hardware.
- Making the Loop Too Small: A tiny loop can restrict the movement you were trying to create.
- Using the Wrong Tag-End Path: A Non-Slip Loop depends on the tag end returning through the original opening correctly.
- Skipping Moisture: Dry tightening creates unnecessary friction in mono and fluorocarbon.
- Crossing the Wraps: Overlapping coils can keep the knot from seating evenly.
- Trimming Before Testing: Seat and pull-test the knot before cutting the tag end.
- Failing to Retie Damaged Line: Rocks, shells, teeth, docks, and snags can abrade the loop or line just above the knot.
When in doubt, cut the knot off and tie it again. A clean knot you trust is better than trying to save a questionable connection.
Sources and Knot References
- Animated Knots — Non-Slip Mono Knot: knot sequence, purpose, loop sizing, and Lefty Kreh wrap-count guidance.
- Orvis — Non-Slip Mono Loop: tying sequence and line-size guidance for fly-fishing materials.
- Rapala — How to Tie the Rapala Knot: manufacturer guidance for its terminal loop knot.
- Take Me Fishing — Fishing Loop Knots: comparison of different loop-knot purposes.
Frequently Asked Questions
What type of fishing line is best for a non-slip loop knot?
Monofilament is one of the easiest materials for learning a non-slip loop because it is flexible and easy to handle. Fluorocarbon also works, but its stiffness makes slow, careful tightening important. Braid requires knot-specific handling and a firm pull test because slick braid can slip in some loop knots.
How many wraps should a non-slip loop knot have?
The correct number depends on line size. Lefty Kreh’s guidance documented by Animated Knots uses more turns on light line and fewer on heavy leader: 7 turns for 6–8 lb, 5 for 8–12 lb, 4 for 15–40 lb, 3 for 50–60 lb, and 2 above 60 lb. Other knot guides vary slightly, so also check guidance for your specific line and pull-test the finished knot.
Is a non-slip loop knot the same as a Rapala Knot?
No. Both are terminal loop knots designed to leave an open connection at the lure eye, but they have different tying sequences. Follow the instructions for the exact knot you are tying rather than mixing steps from the two.
Can you tie a loop knot with braided fishing line?
Some loop-knot methods can be adapted to braid, but braid is slick and can slip if the knot, wrap count, or line construction is a poor match. Pull-test the connection carefully. If it slips, use a braid-suitable terminal knot or connect braid to a mono or fluorocarbon leader and tie the loop in the leader.
Can a loop knot weaken fishing line?
Any knot changes how load passes through the line. Poor tying, crossed wraps, dry tightening, abrasion, or the wrong knot for the material can reduce reliability. Inspect and pull-test every new knot rather than relying on the line’s printed breaking strength alone.
How big should a fishing loop knot be?
Make the loop only large enough for the lure or hook eye to pivot freely. An oversized loop can catch hooks, weeds, or other hardware. Set the loop size before fully tightening a Non-Slip Loop because the loop should remain fixed once the knot is seated.
Should I use a loop knot with a split ring?
Usually not. A split ring already lets the lure pivot, so adding a loop knot often creates unnecessary bulk. A snug knot tied correctly to the split ring is normally the cleaner setup unless the lure manufacturer or your specific rig calls for something different.
When should I retie a loop knot?
Retie after abrasion, a hard snag, visible line damage, a slipping tag end, crossed or loosened wraps, or a hard fight that damaged the line near the lure. Also inspect the loop periodically when fishing around rocks, shells, docks, teeth, or other abrasive cover.
Conclusion
For most lure and fly applications, a good fishing loop knot comes down to five things: use the correct knot, follow the tag-end path exactly, match the wrap count to the line, set the loop size before final tightening, and seat the knot slowly after moistening it.
Use the Non-Slip Loop when you want a fixed terminal loop that gives the lure eye room to pivot. Use a snug knot when movement is unnecessary or you are fishing snag-prone cover, and avoid adding an extra loop when a split ring already provides the pivot. Before every important cast, inspect the connection and give it a firm, steady pull test.