When your Toyota Camry door locks stop working, the symptom pattern is the fastest way to narrow down the cause. A single problem door often points to that door’s actuator, latch, linkage, connector, or wiring. If every door fails, start with the key fob, vehicle battery, fuse, master switch, shared wiring, and body-control system before replacing parts.
Quick Answer
Toyota Camry door locks may stop working because of a weak key-fob battery, a low vehicle 12-volt battery, a blown fuse, damaged door-jamb wiring, a faulty switch, a binding latch, or a failed actuator. Test the manual lock, interior switch, remote, second key, and other doors before choosing a repair.
Key Takeaways
- One failed door usually indicates a local actuator, latch, linkage, connector, or door-harness problem.
- If every door fails, check the key fob, 12-volt battery, applicable fuse, master switch, and shared control circuit first.
- A buzzing actuator is a useful clue, but it does not prove that the actuator is the only fault.
- Fuse locations, key-fob batteries, parts, fasteners, and procedures vary by Camry model year and equipment.
- Use your VIN-specific Toyota manual and stop the repair if the door cannot be secured or a replacement fuse blows again.
At a Glance
| Time Required | 10–30 minutes for basic diagnosis; considerably longer for door-panel and actuator work |
| Difficulty | Easy for key-fob and fuse checks; moderate to advanced for wiring tests or actuator replacement |
| Tools Needed | Owner’s manual, flashlight, plastic trim tools, suitable screwdrivers or sockets, fuse puller, and a digital multimeter when electrical testing is required |
| Cost | Low for a key battery or fuse; moderate to high for a VIN-specific latch, actuator, wiring repair, or professional diagnosis |
Note: Toyota Camry lock systems differ by model year, trim, market, key type, and door position. Use the Toyota manual for your exact vehicle before selecting a fuse, key-fob battery, replacement part, or disassembly procedure.
Start With the Door-Lock Symptom Pattern
Before opening a fuse box or door panel, test the system in a consistent order. Try the mechanical key or manual lock control where available, the driver’s master switch, the affected door’s switch, the key fob, and a second programmed key if you have one. Note whether the problem affects locking, unlocking, or both.
| Symptom | Likely Area | First Check |
|---|---|---|
| Only one door fails | Local actuator, latch, connector, linkage, or door-jamb wiring | Listen at that door and compare its manual movement with another door |
| Every door fails from the remote and switches | Vehicle 12-volt supply, fuse, master switch, shared wiring, or body-control system | Check other electrical symptoms, battery condition, and the applicable fuse |
| Interior switch works but remote does not | Key-fob battery, damaged button, programming, or vehicle receiver issue | Try a second key and operate the fob close to the vehicle |
| Remote works but one interior switch does not | Local switch, connector, or wiring | Compare operation from the driver’s master switch |
| Lock is stiff manually | Latch, cylinder, rod, cable, obstruction, contamination, or actuator binding | Do not force it; inspect the latch and linkage before ordering an actuator |
| Lock clicks or buzzes but barely moves | Weak actuator, binding latch, low voltage, poor connection, or mechanical load | Check vehicle voltage and compare manual movement with a working door |
Common Causes of Toyota Camry Door Lock Failures
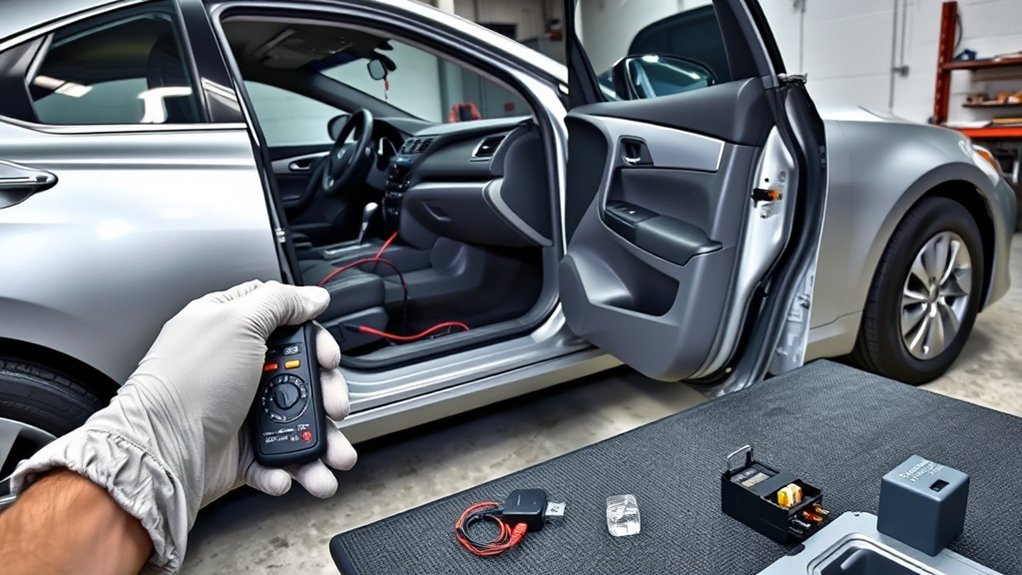
A Toyota Camry power-lock problem can come from the remote key, the vehicle’s electrical system, or a mechanical part inside one door. Avoid replacing the actuator until the symptom pattern points to that door.
Weak Key-Fob Battery or Damaged Remote
A weak coin-cell battery may reduce operating range or cause intermittent remote response. A cracked case, worn button, moisture, corrosion, or damaged circuit board can produce similar symptoms. If a second programmed key works normally, the first key is the likely problem.
Low Vehicle 12-Volt Battery
The power locks depend on the vehicle’s low-voltage electrical system. If the cabin lights are dim, the starter is slow, multiple warning messages appear, or several electrical features behave erratically, check the 12-volt battery and its terminal connections before diagnosing individual door parts.
Blown Fuse or Power-Supply Fault
A blown fuse can disable part or all of the locking system. However, the fuse name, rating, location, and the components sharing that circuit depend on the Camry model year. Always identify the correct fuse from the applicable manual rather than relying on a generic diagram.
Failed Door-Lock Actuator
The actuator converts an electrical command into lock movement. Internal motor or gear wear can cause intermittent operation, weak movement, clicking, buzzing, or complete failure. A local actuator becomes more likely when every other door works normally and the affected door receives proper power and ground.
Binding Latch or Damaged Linkage
The actuator may be working while the latch, lock rod, cable, handle mechanism, or key cylinder is jammed or misaligned. This is especially important when the lock feels stiff manually. Forcing the control can bend a rod, damage a clip, or finish stripping a weak actuator gear.
Damaged Door-Jamb Wiring
Wires flex each time a door opens and closes. A broken conductor, loose terminal, corroded connector, or damaged rubber-boot area can cause intermittent operation that changes when the door moves. This is more likely when the same door also has window, mirror, speaker, or courtesy-light problems.
Switch, Receiver, or Body-Control Fault
If several doors fail together, the problem may be upstream of the actuators. Depending on model year, the driver’s master switch, remote receiver, integration relay, main body ECU, connector, ground, or shared harness can prevent commands from reaching the doors.
Aftermarket Equipment or Prior Repair
Alarm systems, remote starters, audio work, collision repairs, and previous door-panel work can introduce splices, loose connectors, pinched wires, missing clips, or incorrect adjustments. Inspect recent work when the problem began soon after a modification or repair.
How to Diagnose Electrical Issues in Door Locks
Work from the easiest shared causes toward door disassembly. The goal is to determine whether the command is missing, the actuator lacks power or ground, or the mechanism cannot move.
1. Confirm Which Controls Work
Test the driver’s master switch, any local door switch, the key fob, a second key, and manual operation. Also test both lock and unlock commands. Write down which combinations work so you do not confuse a remote problem with a vehicle-side failure.
2. Check the Vehicle Battery and Main Connections
Look for loose or corroded 12-volt battery terminals and other signs of low system voltage. A multimeter can provide a useful voltage check, but battery condition cannot always be judged from one resting-voltage reading. Have the battery tested if it is old, repeatedly discharged, or associated with other electrical symptoms.
3. Check the Correct Door-Lock Fuse
Turn the vehicle off and identify the correct fuse from the owner’s manual or fuse-box chart. Remove it with a fuse puller and inspect the element. A continuity test with a digital multimeter is more reliable than appearance alone.
Warning: Replace a fuse only with the exact specified amperage. Never install a larger fuse. If the correct replacement blows again, stop replacing fuses—the circuit may have a short, damaged component, or overloaded wire that requires diagnosis.
4. Inspect Wiring and Connectors
Inspect accessible connectors for looseness, moisture, bent terminals, corrosion, or overheated plastic. Examine the flexible harness between the body and the affected door for cracked insulation or operation that changes as the door moves.
Do not pierce insulation or force meter probes into connector terminals unless you have the correct wiring diagram and test procedure. Improper probing can spread terminals, create corrosion paths, or damage an electronic control circuit.
5. Test Power and Ground at the Actuator
If one door fails and the panel is already removed safely, a technician can check whether the actuator receives the expected momentary command when lock and unlock are pressed. The polarity or control strategy may change by model year, so use the correct Toyota wiring diagram rather than assuming a universal two-wire circuit.
If the correct command reaches the actuator but it does not move the latch, the actuator or mechanical assembly is suspect. If the command is missing, trace the connector, door harness, switch, shared wiring, and control module instead of replacing the actuator.
6. Scan the Body-Control System When Needed
A capable scan tool may reveal body-system trouble codes or show whether the control module receives a lock request. This is especially useful when several doors fail, the problem is intermittent, or the fuses and basic wiring checks are normal. Generic engine-code readers may not access body-control data.
Pro Tip: Test a second programmed key before removing a door panel. If one key works and the other does not, focus on the failed key’s battery, buttons, case, or programming rather than the vehicle’s actuators.
Signs Your Door-Lock Actuator May Need Replacement
An actuator should be replaced after the fault is isolated—not simply because the lock is unresponsive. The following clues make a local actuator or integrated latch assembly more likely.
Only One Door Is Unresponsive
If one door does not respond to the remote or master switch while the other doors operate normally, the failure is probably local to that door. Possible causes include the actuator, latch, connector, wiring, lock rod, or cable.
Buzzing, Clicking, or Weak Movement
A repeated buzz or click may mean the actuator motor is trying to move but its gears are worn or the latch is binding. Low voltage and poor connections can also weaken movement, so compare the manual feel and electrical supply before replacing the assembly.
Intermittent Operation
An actuator may work when the weather is warm, after several button presses, or only in one direction as its motor or internal contacts wear. Intermittent wiring at the door hinge can mimic the same symptom, particularly when moving the door changes the result.
Manual Locking Resistance
Resistance is a warning that the mechanical system needs inspection, but it does not identify the actuator by itself. Check for a binding latch, damaged handle mechanism, bent rod, cable problem, contamination, icing, or misalignment. Do not force the lock control.
| Finding | What It Suggests | Next Step |
|---|---|---|
| Correct power and ground reach a silent actuator | Open actuator motor or internal failure | Confirm linkage is free, then replace the correct assembly |
| Actuator buzzes and lock barely moves | Weak actuator or excessive mechanical resistance | Inspect the latch and linkage before replacement |
| No command reaches the actuator | Wiring, connector, switch, fuse, or control fault | Trace the circuit using the correct wiring diagram |
| Operation changes as the door moves | Possible broken wire or poor door-jamb connection | Inspect the flexible harness and terminals |
| Manual movement is stiff with power disconnected | Mechanical binding or damaged linkage | Repair the mechanical fault before fitting an actuator |
Step-by-Step Guide to Replacing a Door-Lock Actuator
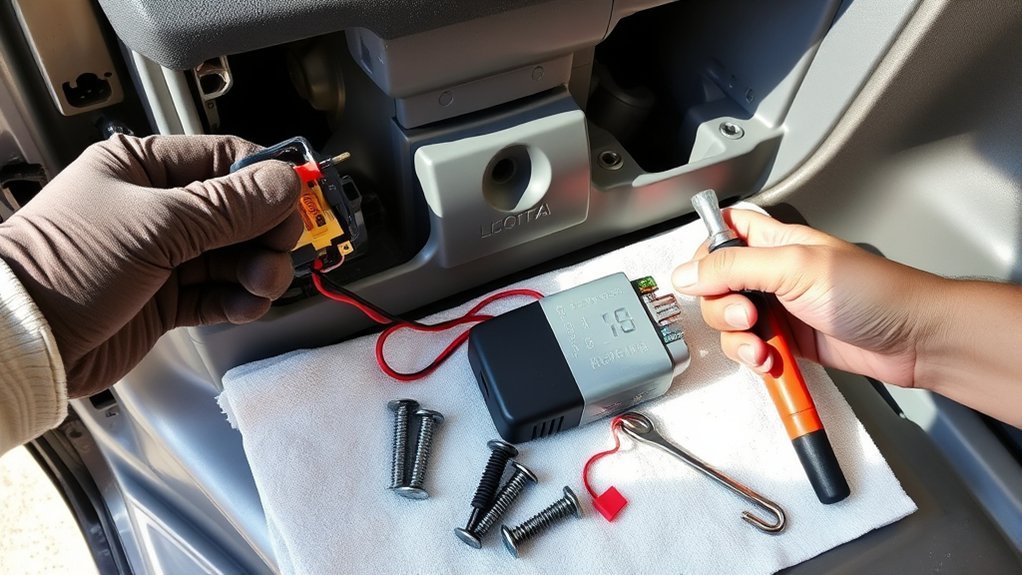
Some Camrys use a separate actuator, while others may require replacement of an actuator-and-latch assembly. Fastener locations, linkage designs, connector locks, and access procedures differ, so consult the repair information for the exact model year, door, and VIN before beginning.
Warning: Stop if the door is stuck closed, the glass or regulator obstructs access, you cannot identify a connector or linkage, or the repaired door will not latch securely. Do not drive with a door that may open or cannot be locked.
1. Verify the Fault and Replacement Part
Confirm that the failed door receives the correct lock and unlock commands and that the latch is not simply jammed. Use the VIN and door position to identify the correct actuator, latch assembly, clips, and seals. Compare connector shape and linkage points before dismantling the door.
2. Prepare the Vehicle
Park on a level surface, switch the vehicle off, remove the key from the work area, and lower or position the window only as directed by the model-specific procedure. Follow the repair manual’s instructions for disconnecting the 12-volt battery and for any power-window or electronic initialization required afterward.
3. Remove Trim and Hidden Fasteners
Use plastic trim tools to remove switch bezels, handle covers, and other trim without scratching the panel. Remove all listed screws before releasing the perimeter clips. A panel that will not release usually still has a hidden fastener; do not pry harder until you find it.
4. Disconnect Panel Components
Support the panel while disconnecting window-switch, courtesy-light, speaker, handle-cable, and other connectors or linkages. Release connector locks instead of pulling on the wires. Photograph each cable, rod, and clip position before removal.
5. Protect the Moisture Barrier
Peel the moisture barrier back only as far as necessary. Avoid tearing or stretching it, and keep the sealing adhesive clean. A damaged or poorly resealed barrier can allow water into the trim panel and electrical connectors.
6. Remove the Faulty Actuator or Latch Assembly
Disconnect the actuator electrical connector and release the lock rods, clips, or handle cables according to the repair manual. Remove the specified latch or actuator fasteners while supporting the assembly. Do not bend rods or alter adjustable linkage lengths unless the procedure requires it.
7. Install the Replacement
Compare the replacement with the removed part. Transfer only the components specified by the instructions, connect every rod and cable in its original position, secure the assembly with the correct fasteners, and tighten them to the model-specific specification.
8. Test Before Full Reassembly
With the door safely open, test manual locking, the inside and outside handles, the key cylinder where equipped, the master switch, the local switch, the remote, and both lock and unlock directions. Confirm that the latch holds and releases correctly. Keep hands and tools away from moving linkage during powered tests.
9. Reseal and Reinstall the Panel
Reseal the moisture barrier around its full perimeter, reconnect every electrical plug, align the upper edge of the panel, engage the clips, and reinstall all fasteners and trim. Replace broken clips rather than leaving the panel loose.
10. Perform Final Checks
Verify the window, mirror, speaker, courtesy light, handles, child-protector function where applicable, key cylinder, manual lock, power lock, and door-ajar indication. Complete any initialization required after battery disconnection.
How to Diagnose Key-Fob Issues Affecting Door Locks
A key-fob problem is likely when the interior switches operate every door normally but one remote does not. It is less likely when both the remote and the interior switches fail on the same door.
Test a Second Programmed Key
A working second key quickly separates a failed remote from most vehicle-side faults. If neither key works, move on to vehicle battery, fuse, receiver, and body-control checks.
Check the Key-Fob Battery
Reduced range, intermittent response, or a low-key-battery message may indicate a weak battery. Open the case only by the method specified in the applicable manual. Match the replacement battery to the number printed on the original battery or the exact Toyota specification, install it with the correct polarity, and keep coin-cell batteries away from children and pets.
Inspect for Physical Damage
Check the case, buttons, seams, and battery contacts for cracks, moisture, corrosion, looseness, or wear. A new battery will not correct a damaged switch or circuit board.
Test Remote Functionality
Stand close to the vehicle and test lock, unlock, trunk, and panic functions that are present on your key. If another function works, the key and vehicle are communicating at least in part, but that result does not prove that the lock button, receiver logic, door circuit, or actuator is healthy.
If neither key works after battery checks, consult the manual for key recognition and programming information. Some programming and immobilizer procedures require appropriate diagnostic equipment or a qualified locksmith or Toyota service facility.
Why Fuses Matter in Door-Lock Systems
Fuses protect wiring and components by opening the circuit when current exceeds the fuse rating. Depending on the Camry model year, a door-lock function may share power with other body-electrical equipment. That is why another failed feature can help identify a shared supply problem.
A fuse that fails once may have opened because of a temporary fault, a failing component, pinched wiring, moisture, or a short circuit. A replacement that blows again is diagnostic evidence, not a reason to keep installing fuses.
One failed door usually points toward that door. Every failed door usually points toward something the doors share.
When Should You Call a Pro for Door-Lock Issues?
Basic key-fob, battery, fuse, and visual checks are reasonable for many owners. Professional diagnosis is the safer choice when the fault involves shared electronics, hidden wiring, a stuck door, or a repair that could leave the vehicle unsecured.
| Situation | Recommended Action | Reason |
|---|---|---|
| Replacement fuse blows again | Stop and arrange electrical diagnosis | The circuit may be shorted or overloaded |
| Several doors fail with good battery power and fuses | Use a qualified technician with body-system scan capability | The switch, receiver, shared wiring, or body-control system may need testing |
| Door is stuck closed or will not latch | Seek professional repair promptly | Access is difficult and the door may be unsafe or insecure |
| Wiring damage is inside the hinge boot or body harness | Have the circuit repaired correctly | Poor splices can create resistance, corrosion, and repeat failures |
| You cannot identify the correct part or linkage | Pause before disassembly | Camry doors and latch assemblies differ by year and position |
Should You Use Genuine Toyota Parts?
Genuine Toyota parts offer VIN-based fitment and are designed for Toyota specifications. That can reduce the risk of receiving the wrong connector, linkage arrangement, mounting pattern, or door-specific assembly.
However, part choice should be balanced rather than absolute. A reputable aftermarket part may be suitable when its manufacturer clearly identifies the exact Camry year, trim, door position, warranty, and connector configuration. Avoid unbranded parts with unclear fitment or sellers that use one listing for many incompatible generations.
Before purchasing, compare the original part number, supersession information, connector, mounting points, cable or rod attachments, included hardware, and warranty terms. Warranty coverage is not identical for every genuine or aftermarket component, so review the seller’s current terms.
How to Prevent Future Toyota Camry Door-Lock Failures
- Do not force a stiff lock. Diagnose binding before the actuator or linkage is damaged further.
- Replace a weak key-fob battery when symptoms appear. Use the exact battery type and polarity listed for your key.
- Keep water out of the door. Replace damaged weather seals and reseal the moisture barrier after repairs.
- Protect the door-jamb harness. Investigate cracked boots, pinched wires, or electrical features that cut out as the door moves.
- Use lubricant selectively. Apply only a product and location appropriate for the latch or cylinder; do not flood electrical actuators or connectors with general-purpose oil.
- Repair loose trim and broken clips. Movement inside the door can strain connectors and linkages.
- Address low vehicle voltage. A failing 12-volt battery or poor terminal connection can create misleading body-electrical symptoms.
Related Guides
Frequently Asked Questions
Why is only one Toyota Camry door not locking?
A one-door failure usually indicates a local problem such as the actuator, latch, lock rod, handle cable, connector, or door-jamb wiring. Listen for a click or buzz, compare manual movement with another door, and check whether the actuator receives the correct electrical command before replacing it.
Why did all of my Camry power door locks stop working?
When every door fails, start with items the doors share: the vehicle’s 12-volt power supply, the correct fuse, the driver’s master switch, the remote receiver, shared wiring, grounds, and the body-control system. Replacing several actuators at once should not be the first step.
Why does the interior lock switch work when the key fob does not?
That pattern points toward the remote side of the system. Test a second programmed key, replace the weak key battery with the exact specified type, inspect the fob for damage, and confirm whether other remote functions work. If neither key works, the vehicle receiver or related control system may need diagnosis.
Can a blown fuse cause Toyota Camry door locks to stop working?
Yes. A blown fuse can interrupt power to a lock circuit, although the fuse identity and shared components vary by model year. Replace it only with the specified amperage. If the replacement blows, stop and diagnose the short or overloaded component.
Does a buzzing door lock always mean the actuator is bad?
No. Buzzing makes a weak actuator or stripped internal gear more likely, but a binding latch, low system voltage, poor electrical connection, or excessive linkage resistance can produce similar behavior. Check manual movement and electrical supply before replacing the part.
Is there a Toyota Camry door-lock recall or defect lawsuit?
Recall and campaign eligibility depends on the specific vehicle, not a general description of the symptom. Check your 17-character VIN through the Toyota recall and service-campaign lookup and the NHTSA recall database. Do not rely on an unsourced claim that every Camry door-lock failure belongs to one lawsuit or defect program.
Sources
- Toyota Manuals and Warranties — vehicle-specific owner’s manuals, feature information, and warranty guidance
- Toyota Technical Information System — Toyota repair manuals, wiring diagrams, service information, and diagnostic resources
- Toyota Safety Recalls and Service Campaigns — VIN-specific Toyota recall and campaign lookup
- National Highway Traffic Safety Administration Recall Lookup — recalls, investigations, complaints, and manufacturer communications
- Official Toyota Parts Center — VIN-based Genuine Toyota part and fitment lookup
Conclusion
Do not assume that an unresponsive Toyota Camry door lock automatically needs an actuator. First determine whether the problem affects one door or every door, then compare the key fob, interior switches, manual operation, 12-volt power, fuse, and wiring. Replace the actuator or latch only after the fault has been isolated. If the door cannot be secured, a fuse fails repeatedly, or shared electronics are involved, arrange professional diagnosis.
