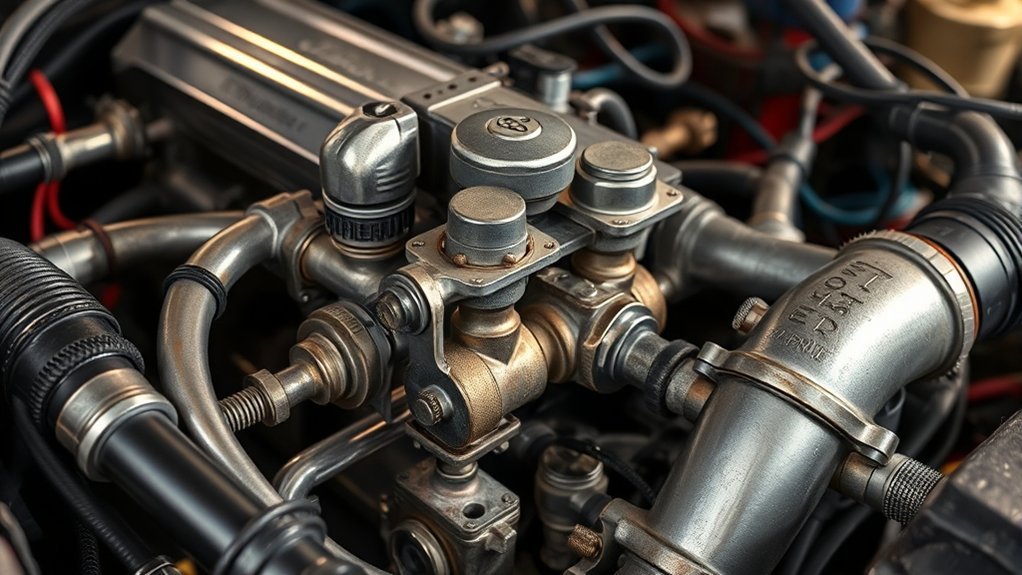
The Toyota Camry EGR system on many older models uses an external valve and vacuum controls to meter exhaust into the intake and reduce nitrogen-oxide (NOx) emissions. A stuck-open EGR valve can cause rough idle or stalling, while restricted flow can trigger an insufficient-flow code such as P0401 and may contribute to pinging under load. Because Camry EGR hardware varies by model year, engine, market, and emissions certification, identify the exact vehicle, preserve the scan data, and test the valve, passages, hoses, vacuum controls, wiring, and feedback devices before buying parts.
Last updated: September 19, 2026
What changed: Added a fault-pattern decision table, clarified the 1999 5S-FE versus 1MZ-FE diagnostic differences, added readiness and OBD cross-links, refreshed external-link attributes, and removed non-whitelisted schema.
Editorial basis: This guide cross-checks Toyota owner and factory service-information resources, U.S. EPA emissions guidance, and California BAR OBD guidance. It does not claim a hands-on diagnosis of a specific Camry; exact procedures and specifications still depend on model year, engine, market, and emissions certification.
Quick Answer
On an older Toyota Camry equipped with external EGR, the system meters exhaust into the intake under selected operating conditions to help limit NOx emissions. A stuck-open valve may cause rough idle or stalling, while restricted flow may contribute to pinging or an insufficient-flow code. Scan, inspect, and test the entire system before replacing the valve.
Key Takeaways
- Confirm the model year, engine, market, and underhood emissions label before locating or ordering EGR parts.
- Not every Camry uses the same external EGR valve, vacuum modulator, VSV, sensor, hose routing, or diagnostic procedure.
- A trouble code identifies a monitored system or circuit problem; it does not automatically identify the failed component.
- A valve that opens during a hand-vacuum test may still have restricted passages or a control-side fault.
- Clean only serviceable carbon-fouled parts; replace components that leak, bind, crack, corrode severely, or fail Toyota’s specifications.
| EGR Fault Pattern | Typical Result | First Checks |
|---|---|---|
| Too much EGR at idle | Rough idle, stumbling, or stalling | Valve seating, unexpected vacuum, hose routing, and VSV leakage or command |
| Too little or no EGR under load | P0401 or another insufficient-flow result; pinging may occur on some configurations | Valve lift, EGR pipe and intake passages, vacuum source, modulator, and VSV |
| Control or feedback fault | Check-engine light and a circuit or monitoring code | Connectors, power and ground, wiring continuity, sensor response, and ECM command |
At a Glance
| Time Required | About 20 to 60 minutes for scanning, visual checks, and a basic vacuum-operated valve test; passage removal or electrical diagnosis takes longer |
| Difficulty | Intermediate; difficult access, corroded exhaust hardware, and circuit diagnosis may require a professional |
| Tools Needed | OBD-II scanner, flashlight, hand vacuum pump for applicable systems, basic hand tools, gloves, eye protection, and correct Toyota service information |
| Cost | Basic checks may cost little if you own the tools; diagnostic labor, gaskets, hoses, valves, modulators, solenoids, and sensors vary by configuration and access |
How Does the EGR System Work on an Older Toyota Camry?
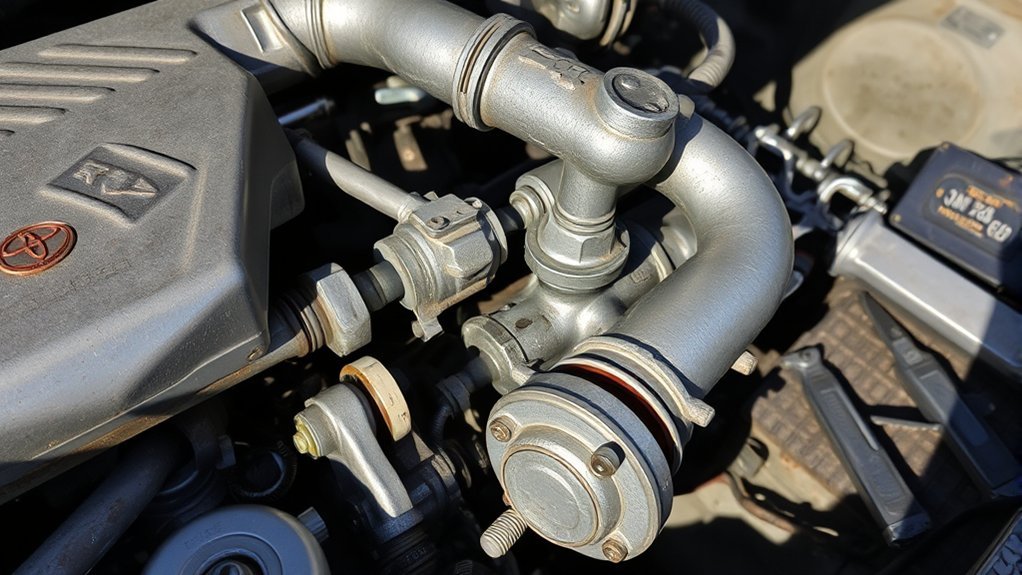
The exhaust gas recirculation system routes a controlled amount of exhaust gas back into the intake during selected engine-operating conditions. The recirculated gas dilutes the fresh charge and helps reduce peak combustion temperature, limiting the formation of nitrogen oxides, commonly called NOx. The U.S. Environmental Protection Agency explains that nitrogen dioxide is part of the NOx family and that fuel combustion in cars and other equipment is a major source.
On many vacuum-operated gasoline systems, little or no EGR is commanded during cold operation, idle, or heavy acceleration because excess dilution can make combustion unstable or reduce available power. The exact strategy differs by engine and calibration, so use Toyota’s model-specific procedure rather than a universal rule.
A properly operating system should control emissions without creating a noticeable driveability problem. Its effect on fuel economy and performance depends on engine design and operating conditions. Do not blame EGR for poor mileage until you have checked ignition operation, fuel trims, engine temperature, intake leaks, tire pressure, and other common causes.
Confirm That Your Camry Has an External EGR System
“Older Toyota Camry” covers several generations, engines, markets, and emissions packages. Some use an external vacuum-operated EGR valve with hoses, a vacuum modulator, and an electrical vacuum switching valve. Others use a different arrangement, and some engines may not have a serviceable external EGR valve at all.
Start with the underhood vehicle-emission-control information label. Record the model year, engine displacement, engine code when shown, market or certification type, and the listed emissions equipment. Then compare that information with the correct Toyota repair manual and vacuum diagram. Toyota states that its Technical Information System provides repair manuals, wiring diagrams, service bulletins, and diagnostic information for most 1990-and-later North American Toyota vehicles.
Note: Do not order an EGR valve by “Camry” or model year alone. Match the engine, emissions certification, connector, vacuum ports, mounting pattern, and Toyota part number whenever possible.
Identify Your Camry Before Testing
For example, a 1999 U.S.-market Camry could be equipped with a 2.2-liter four-cylinder or a 3.0-liter V6, and the component locations, vacuum routing, connectors, monitoring strategy, and test values can differ. Toyota’s 1999 Camry manuals and warranties page provides owner-document access, while TIS is the appropriate source for repair procedures and specifications.
| 1999 U.S. Camry Example | Factory EGR Distinction | Why It Changes Diagnosis |
|---|---|---|
| 5S-FE 2.2L inline-four | Vacuum-operated EGR valve with an EGR vacuum modulator and VSV | Toyota’s procedure separates valve flow, modulator behavior, VSV operation, and passage restriction instead of treating P0401 as an automatic valve failure. |
| 1MZ-FE 3.0L V6 | Vacuum-operated EGR hardware with an EGR valve position sensor and additional control checks | The diagnostic path includes feedback-sensor and control testing, so a generic four-cylinder vacuum diagram or test value can mislead you. |
Before disconnecting anything, photograph the emissions label and hose routing. If the label is missing or unreadable, use the VIN and engine identification to obtain the correct Toyota information. Do not copy a vacuum diagram from a different engine simply because the components look similar.
Main EGR System Components
Depending on the Camry’s configuration, the external EGR system may include:
- EGR valve: Opens a controlled passage between the exhaust and intake sides of the engine.
- Vacuum modulator: On many older Toyota systems, this mechanical device modifies the vacuum signal according to exhaust backpressure and operating load.
- Vacuum switching valve: The VSV is an electrical solenoid that allows, blocks, or vents vacuum when commanded by the engine control module.
- Vacuum hoses: Carry control vacuum between the intake source, VSV, modulator, and EGR valve.
- EGR pipe and passages: Carry exhaust gas into the intake and can become restricted by deposits.
- Monitoring sensor: Depending on configuration, a temperature, position, or related feedback device may help the ECM evaluate EGR operation.
- Engine control module: Controls the system and stores diagnostic information when monitored operation falls outside the expected range.
What Symptoms Can a Toyota Camry EGR Problem Cause?
EGR symptoms depend on whether the system allows too much flow, too little flow, or loses control of the valve. Vacuum leaks, ignition faults, dirty injectors, throttle-body deposits, low compression, fuel-delivery problems, and sensor faults can create similar symptoms.
| Symptom | Possible EGR Condition | What to Check |
|---|---|---|
| Rough idle or stalling | Valve not fully closing or vacuum applied at the wrong time | Valve seating, VSV leakage, hose routing, and intake leaks |
| Hesitation or uneven acceleration | Incorrect or uncontrolled EGR flow | Codes, valve movement, hoses, modulator, VSV, and passages |
| Pinging under moderate load | Insufficient EGR flow may be one contributor | Blocked passages, lost control vacuum, valve operation, fuel quality, cooling, and ignition timing control |
| Poor fuel economy | Possible secondary effect, but not EGR-specific | Fuel trims, ignition, tire pressure, coolant temperature, brakes, and stored codes |
| Check-engine light | Flow, circuit, or monitoring fault | Stored and pending codes, freeze-frame data, monitor status, wiring, and vacuum control |
Can an EGR Fault Cause Hesitation or Reduced Power?
Incorrect EGR flow can contribute to hesitation, surging, reduced power, or uneven acceleration. A valve that opens too far or at the wrong time dilutes the intake charge when the engine does not need EGR. A restricted system can allow combustion temperature to rise under conditions where EGR should be active and may contribute to pinging.
These symptoms do not prove that the valve has failed. A split hose, leaking VSV, obstructed passage, incorrect routing, failed monitoring circuit, ignition problem, or intake leak can produce a similar result.
Check-Engine Light or Malfunction Indicator Lamp
An EGR fault can illuminate the malfunction indicator lamp, commonly called the check-engine light. Depending on the vehicle and supported diagnostics, a scanner may show an EGR flow, control-circuit, or monitoring-sensor code.
Do not replace the valve from the code description alone. A flow code can result from carbon-restricted passages, a leaking hose, a VSV that does not route vacuum correctly, a failed feedback sensor, damaged wiring, or a valve that does not move or seal correctly.
The California Bureau of Automotive Repair OBD reference explains that readiness monitors are vehicle self-tests and that disconnecting the battery or clearing information requires the monitors to run again. Record codes, freeze-frame data, and monitor status before erasing anything.
Common EGR-Related Codes and What They Mean
Generic OBD-II code descriptions may include the following when the vehicle supports those monitors. Toyota-specific diagnostic steps and code availability still depend on the exact model and calibration.
| Code | General Meaning | Possible Causes |
|---|---|---|
| P0400 | EGR flow malfunction | Valve, passages, hoses, control valve, feedback, wiring, or calibration-specific monitoring fault |
| P0401 | Insufficient EGR flow detected | Blocked pipe or intake port, lost vacuum, VSV or modulator fault, valve not opening, or monitoring problem |
| P0402 | Excessive EGR flow detected | Valve stuck open, incorrect vacuum at idle, VSV leakage, hose misrouting, or feedback fault |
| P0403 | EGR control-circuit malfunction | VSV or actuator circuit, connector, power supply, ground, wiring, or ECM command issue |
A code family is a starting point, not a parts list. Always follow the Toyota diagnostic chart for the exact code, engine, and emissions package.
Can a Stuck-Open EGR Valve Cause Rough Idle or Stalling?
An EGR valve that remains open at idle can admit exhaust when the engine cannot tolerate the dilution. You may notice shaking, low RPM, stumbling, or stalling when stopping. On a vacuum-operated system, vacuum present at the valve during idle can indicate a control or routing problem rather than a damaged valve.
Carbon around the valve seat may prevent complete closing. Vacuum leaks, idle-air problems, ignition misfires, low compression, and fuel-delivery faults must also be considered.
How Do You Diagnose an EGR Problem on an Older Toyota Camry?
Warning: Work in a well-ventilated area. Exhaust parts can cause severe burns, and a running engine has moving belts and fans. Set the parking brake, keep the transmission in Park or Neutral as applicable, secure loose clothing, and keep hands, hoses, and tools clear. Never apply battery voltage to an unidentified terminal or bypass emissions equipment.
1. Scan the OBD System First
Connect an OBD-II scanner before clearing codes or disconnecting the battery. Record stored codes, pending codes, freeze-frame data, fuel trims, coolant temperature, and readiness status when your scanner and vehicle support them.
If you need the scanner basics first, see our Toyota Camry OBD2 system guide for connector location, code handling, freeze-frame data, and readiness basics.
Freeze-frame data can show the engine speed, calculated load, temperature, and vehicle speed present when the ECM detected the fault. This helps distinguish a problem detected at idle from one detected during cruising or acceleration.
An EGR trouble code identifies a monitored system or circuit that failed its test. It does not automatically identify the component that must be replaced.
2. Confirm the Engine and Vacuum Routing
Compare the underhood emissions diagram with the actual hoses and components. Look for crossed hoses, missing caps, disconnected lines, non-original tees, or previous repairs that changed the routing.
Do not assume a diagram from another Camry engine or model year applies. Similar-looking valves, modulators, and solenoids can use different ports, resistance values, or flow states.
3. Perform a Visual Inspection
With the engine cool, inspect the EGR valve, pipe, gasket area, vacuum modulator, VSV, electrical connectors, and vacuum hoses. Look for:
- Cracked, hardened, swollen, loose, pinched, or collapsed vacuum hoses
- Corroded terminals, spread connector pins, or damaged wiring
- Broken plastic vacuum fittings or missing caps
- Soot marks around the EGR pipe, valve flange, or gasket
- Loose fasteners, damaged brackets, or heat-damaged insulation
- Signs that the valve, pipe, hose, or port has been blocked or modified
Pro Tip: Photograph and label every hose before disconnecting it. A single reversed connection can create a new EGR fault and make the original diagnosis harder.
4. How Do You Test a Vacuum-Operated EGR Valve?
Use this check only when the vehicle has a vacuum-operated valve and the applicable Toyota procedure allows it. Warm the engine, secure the vehicle, and let it idle. Connect a hand vacuum pump directly to the valve’s vacuum port without leaning over belts, fans, or hot exhaust components.
Apply vacuum gradually. If the diaphragm moves, the valve opens, and at least part of the EGR path flows, the idle will usually become rough, the RPM may drop, or the engine may stall. Release the vacuum immediately after observing the response.
Interpret the result carefully:
- The valve does not hold vacuum: The diaphragm or valve assembly may be leaking, assuming the pump and connection are sound.
- The valve holds vacuum and the engine stumbles: The valve can open and at least some exhaust flow reaches the intake; this does not prove full design flow under road conditions.
- The valve holds vacuum but the engine does not respond: The valve may not be lifting, or the pipe and intake passages may be heavily restricted.
- Vacuum reaches the valve at idle when it should not: Check hose routing, the VSV, and the control system before condemning the valve.
A lack of RPM change alone does not identify the failed part. Separate diaphragm sealing, valve movement, passage flow, and control-vacuum operation.
5. Inspect the EGR Passages and Pipe
If the valve moves but the engine does not respond, deposits may be restricting the EGR pipe, intake passage, or port beneath the valve. Remove components only when you have the correct procedure, replacement gaskets, torque specifications, and safe access.
A passage can be restricted even when the visible valve pintle looks clean. Do not push loosened carbon deeper into the intake. Protect open ports, remove debris carefully, and keep solvent away from electrical sensors, painted surfaces, and diaphragm materials unless the product instructions confirm compatibility.
6. Test the Vacuum Modulator and VSV Correctly
The vacuum modulator and VSV are different components and require different tests.
- Vacuum modulator: This is generally a mechanical device on older Toyota vacuum-operated systems. Inspect its filter, ports, diaphragm response, and vacuum behavior according to the Toyota procedure. Do not apply electrical power to it.
- Vacuum switching valve: This is an electrical solenoid. Check its specified resistance, power or ground supply, ECM control, airflow state, and response to voltage only at the identified terminals and only as directed by the correct service procedure.
A VSV can click yet still leak internally or fail to route vacuum correctly. Combine the electrical check with an airflow or vacuum test.
7. Check Monitoring Sensors and Wiring
If the mechanical and vacuum portions work, inspect the feedback or monitoring circuit used on that configuration. Verify connector condition, reference voltage or power supply where applicable, ground integrity, signal response, and wiring continuity using Toyota’s pinout and limits.
Do not pierce insulation or force oversized probes into terminals. A poor test connection can spread a terminal and create an intermittent fault that was not present before.
8. Verify the Repair
Reconnect every hose and connector, install required gaskets, and check for exhaust and vacuum leaks. Clear codes with a scanner only after recording the original information and completing the repair. Confirm that the engine starts, idles, and accelerates normally.
The vehicle may need specific speed, temperature, load, and deceleration conditions before its EGR readiness monitor runs. The BAR reference notes that readiness monitors must rerun after battery disconnection or emissions-related repair and that 1996–1999 Toyota models can be difficult to ready, so use Toyota’s applicable drive-cycle information rather than repeatedly clearing the system.
For inspection-focused steps after a repair, use our Toyota Camry emissions-readiness guide to check monitor status before retesting.
Diagnostic Decision Guide
| Finding | Most Useful Next Check |
|---|---|
| Valve will not hold hand vacuum | Confirm pump and hose seal, then replace the valve if the diaphragm fails the Toyota test |
| Valve holds vacuum and idle changes | Test whether the VSV, modulator, and vacuum source command the valve correctly under specified conditions |
| Valve holds vacuum but idle does not change | Verify valve lift and inspect the EGR pipe and intake passages for restriction |
| Vacuum is present at idle unexpectedly | Check hose routing, VSV leakage or command, and the applicable control diagram |
| Circuit code returns after wiring inspection | Perform loaded circuit tests and verify ECM command with the correct Toyota procedure |
When Should You Inspect the EGR System?
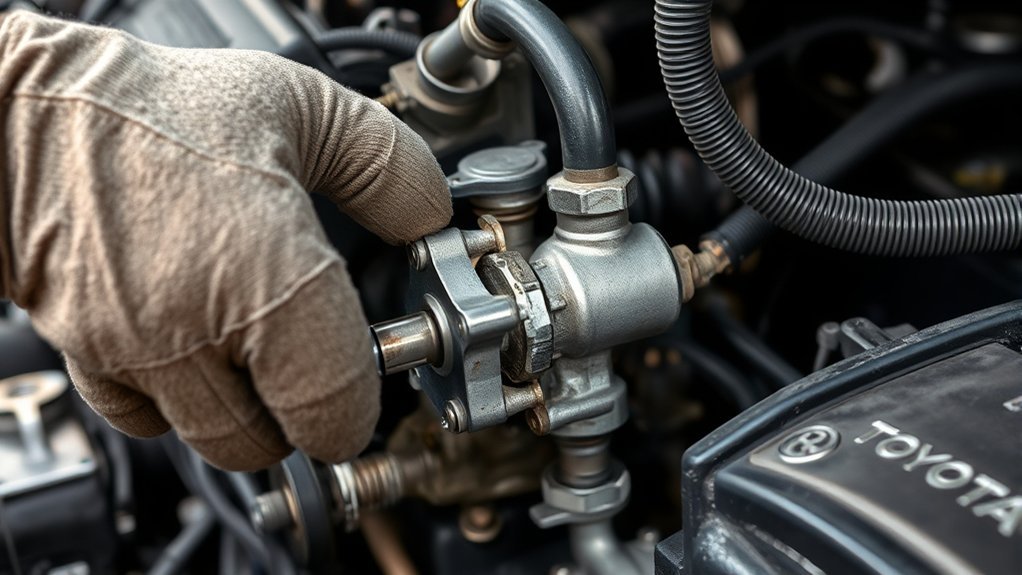
A healthy EGR system helps the engine limit NOx emissions while maintaining normal driveability. Faults can lead to a check-engine light, failed emissions inspection, rough running, stalling, or persistent combustion noise.
Older Camrys do not share one universal EGR cleaning interval. Inspect the system when related codes or symptoms appear, when vacuum hoses are damaged, after work that disturbs EGR or intake components, or when an emissions inspection identifies a problem.
Emissions Compliance
The EGR system is part of the vehicle’s certified emissions configuration. Removing, blocking, or bypassing emissions equipment can increase emissions and create trouble codes. EPA regulations prohibit knowingly removing or rendering emissions-control devices inoperative and prohibit installing components that bypass or disable emissions control. See the current 40 CFR 1068.101 tampering and defeat-device provisions, along with any applicable state or provincial rules.
A lit MIL or incomplete readiness monitor may affect an emissions inspection. Requirements differ by jurisdiction and model year, so check the rules where the vehicle is registered.
Driveability and Reliability
Correct EGR flow helps the engine operate as designed during the conditions in which the ECM commands it. Intact hoses, secure connectors, clear passages, a properly seating valve, and correct vacuum routing reduce intermittent faults.
Condition-based inspection is more useful than replacing the valve at a fixed mileage. Test the system first so a blocked passage, leaking hose, failed VSV, faulty modulator, sensor problem, or wiring fault is not left unresolved.
Which EGR Component Is Most Likely to Be the Problem?
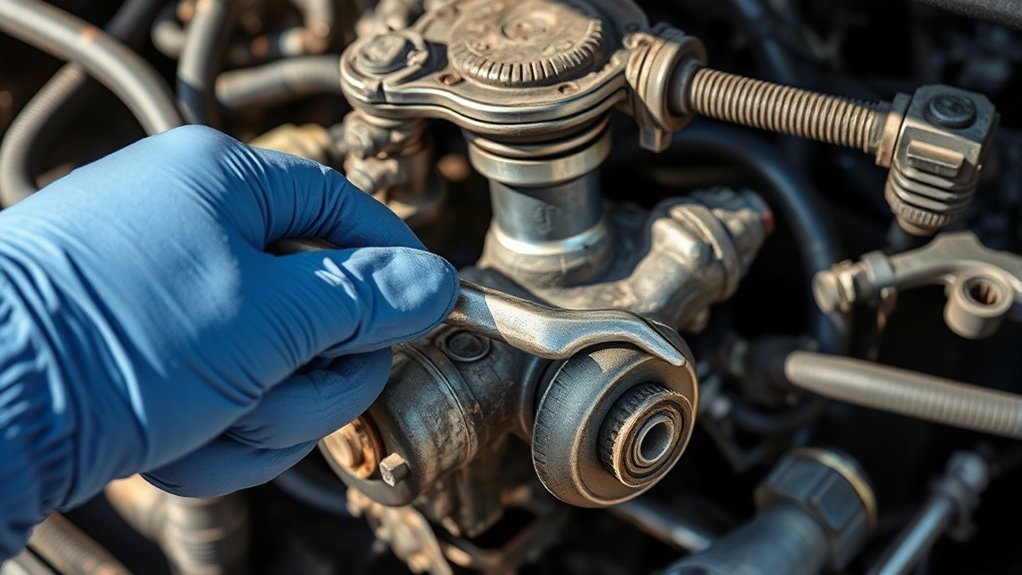
EGR Valve Problems
A vacuum-operated valve may have a leaking diaphragm, sticking pintle, damaged seat, weak return action, or heavy deposits. A monitored or electronically actuated valve may also have a failed position sensor, actuator, or connector.
Replace the valve when it cannot hold vacuum, binds after appropriate cleaning, has a cracked housing or nipple, contains damaged electrical parts, or fails the applicable Toyota specifications.
Vacuum Hose Problems
Old hoses can split at their ends, collapse internally, harden from heat, swell from contamination, or loosen on their fittings. A hose may look acceptable until it is gently flexed and a crack becomes visible.
Replace damaged hose with the correct vacuum-rated size and material. Follow the original routing and keep it away from exhaust heat, sharp edges, and moving components.
Vacuum Modulator Problems
A contaminated filter, damaged diaphragm, blocked port, or incorrect hose connection can prevent the modulator from producing the expected vacuum signal. Inspect and test it as a mechanical vacuum component.
Do not pierce hoses or apply battery voltage to the modulator. Follow the port labels and the exact Toyota vacuum diagram.
VSV and Electrical Problems
A failed VSV, open or shorted circuit, poor ground, corroded connector, damaged vacuum port, or missing ECM command can prevent correct vacuum control. Test resistance, power, ground, and flow state only with the correct terminal identification and specification.
Back-probing incorrectly can spread terminals or damage wiring. Professional help is appropriate when diagnosis requires a bidirectional scan tool, oscilloscope, loaded voltage-drop test, or ECM circuit analysis.
Blocked EGR Passages
Restricted passages can cause insufficient-flow symptoms even when the valve, modulator, and VSV work correctly. Heavy deposits may require valve or pipe removal and careful cleaning of the intake port.
Use new gaskets when the service procedure requires them. Cover open intake passages and confirm that no debris remains before reassembly.
What Not to Do
- Do not replace the valve solely because the code description contains “EGR.”
- Do not spray flammable cleaner into a running engine as a substitute for diagnosis.
- Do not apply 12 volts to a vacuum modulator, unidentified solenoid terminal, or sensor circuit.
- Do not reuse a damaged metal gasket or guess at exhaust-fastener torque.
- Do not block the EGR passage to hide a symptom or pass an inspection.
- Do not clear codes before recording freeze-frame and readiness information.
Should You Clean or Replace the EGR Valve?
Cleaning may be reasonable when deposits are the confirmed problem and the component is mechanically and electrically sound. Remove loose carbon from serviceable surfaces and accessible passages without soaking electrical parts, damaging the diaphragm, scratching the valve seat, or pushing debris into the intake.
Replacement is usually the better choice when:
- The diaphragm does not hold vacuum
- The pintle or shaft remains stuck after careful cleaning
- The housing, pipe connection, mounting flange, or vacuum nipple is cracked
- An integrated sensor or electrical actuator fails specification
- The valve seat is damaged and cannot seal
- Severe corrosion or seized hardware has made the component unreliable
Do not replace the valve solely because a scanner displays an EGR flow code. Confirm the passages, control vacuum, modulator, VSV, wiring, connector condition, and monitoring sensor first.
When Should You Call a Professional for EGR Repairs?
Professional diagnosis is a smart choice when components are difficult to access, the engine stalls during normal driving, wiring repair is needed, exhaust fasteners are heavily corroded, or the fault returns after basic inspection and cleaning.
If the check-engine light is flashing rather than steady, treat that as a separate urgent condition; see our Toyota Camry flashing check-engine light guide.
Seek professional help when:
- The check-engine light flashes or the engine misfires severely
- The engine stalls in traffic or cannot maintain a stable idle
- The EGR pipe, valve, or fasteners are heavily corroded
- Removing the intake manifold is necessary
- You cannot identify the correct engine, emissions configuration, or vacuum routing
- The VSV, actuator, or sensor circuit requires detailed electrical testing
- Multiple codes suggest a broader vacuum, fuel, ignition, or ECM problem
- The vehicle repeatedly fails an emissions inspection
A qualified technician can compare live data, command supported components, perform smoke testing for intake leaks, test circuits under load, and follow Toyota’s model-specific diagnostic flowchart.
Frequently Asked Questions
Where is the EGR valve on a 1999 Toyota Camry?
When equipped, the valve connects the exhaust-to-intake EGR path near the intake manifold, but its exact position and access differ between the available four-cylinder and V6 configurations and can vary with emissions certification. Check the underhood label and correct Toyota repair information before removing parts.
Does every older Toyota Camry have an external EGR valve?
No. EGR design depends on model year, engine, market, and emissions certification. Confirm the emissions label and factory service information before assuming the car has a vacuum-operated external valve or ordering parts.
What are the symptoms of a bad EGR valve on a Toyota?
Possible symptoms include rough idle, stalling, hesitation, pinging under load, reduced acceleration, or a check-engine light. Poor fuel economy can occur but is not specific. Inspect passages, hoses, the modulator, VSV, wiring, feedback devices, and other engine systems before replacing the valve.
What are common EGR trouble codes?
Depending on vehicle support, generic codes can include P0400 for an EGR flow malfunction, P0401 for insufficient flow, P0402 for excessive flow, and P0403 for a control-circuit fault. The code does not prove the valve is bad; follow the Toyota diagnostic procedure for the exact vehicle.
What are the different types of EGR systems?
Older vehicles often use a vacuum-operated valve controlled by hoses, a mechanical modulator, and an electrical VSV. Other vehicles use electronically actuated valves with position feedback. Some engines achieve internal exhaust-gas retention through valve-timing strategies instead of a separate serviceable external valve.
What happens if an EGR valve is stuck open versus restricted?
A valve that stays open at idle can admit exhaust when the engine does not need it, causing rough idle, stumbling, or stalling. A restricted valve, pipe, or intake passage can reduce EGR flow under the conditions where the system should be active, which may contribute to P0401 or pinging. Test valve movement, passage flow, and the control system before replacing parts.
Can I clean my EGR valve without removing it?
Surface cleaning without removal cannot reliably clear a blocked pipe, intake passage, or valve seat. Removal usually allows a better inspection and more complete cleaning, but it also requires safe access, correct gaskets, and the proper reassembly procedure. Avoid spraying flammable cleaner into a running engine.
Can I drive with an EGR problem?
A short trip for diagnosis may be reasonable when the check-engine light is steady and the engine runs normally, but arrange repair promptly. Stop driving if the engine stalls, misfires badly, loses substantial power, overheats, or displays a flashing check-engine light.
Will replacing the EGR valve always clear an EGR code?
No. The code may return if the actual cause is a blocked passage, damaged hose, failed VSV, faulty modulator, wiring problem, feedback-sensor fault, incorrect vacuum routing, or a monitor that has not completed after the repair.
Conclusion
An older Toyota Camry’s EGR system should be diagnosed as a complete emissions-control system rather than treated as one replaceable valve. First confirm that the vehicle has the external system you expect, identify the engine and certification, preserve the OBD data, and inspect the hoses, wiring, valve, passages, modulator, VSV, and feedback devices with the correct procedure.
Address rough idle, stalling, pinging, or a check-engine light promptly, but avoid parts replacement based on symptoms or a code alone. Your next step is to record the code and freeze-frame data, confirm the engine and emissions configuration, then follow the Toyota diagnostic path for that exact vehicle. Careful testing protects the repair budget, restores normal driveability, and helps the Camry retain its intended emissions performance.
Sources
- Toyota Manuals and Warranties: 1999 Camry — owner-document access and vehicle-specific reference.
- Toyota Technical Information System — factory repair manuals, wiring diagrams, service bulletins, diagnostics, and specifications.
- U.S. EPA: Basic Information About NO2 — NOx terminology, fuel-combustion sources, and health and environmental context.
- California Bureau of Automotive Repair: OBD Test Reference — MIL, readiness-monitor, DTC, and inspection guidance.
- Electronic Code of Federal Regulations: 40 CFR 1068.101 — federal tampering and defeat-device prohibitions.
