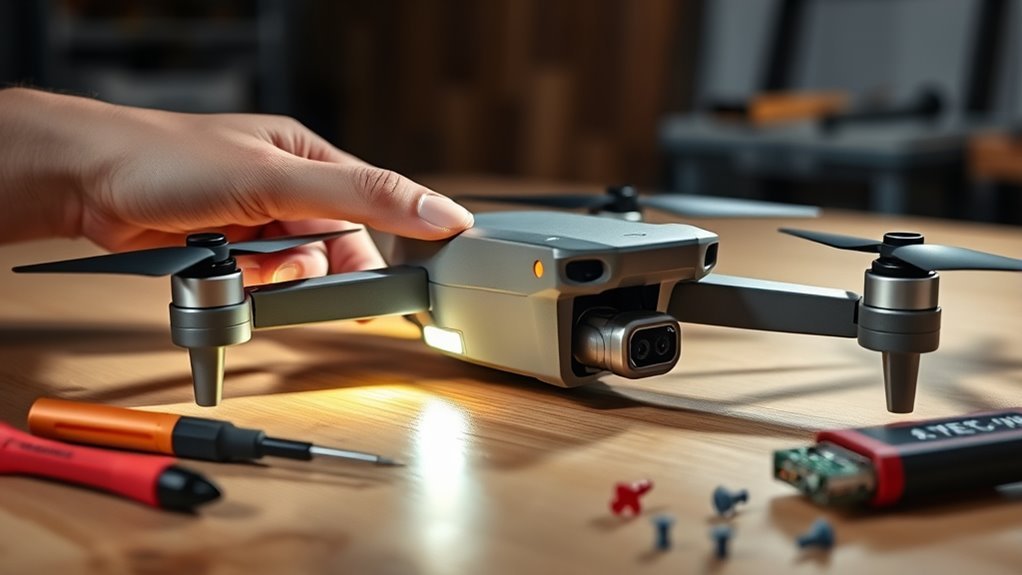
When a drone will not turn on, the battery is the first point to verify. A charged pack should seat firmly and lock with a clear click, while some batteries require a wake procedure before power is available. If the sequence is correct and the unit remains dead, the power button, contact surfaces, firmware state, and main board become the next likely faults. The cause is often simple, but not always.
Check the Drone Battery First
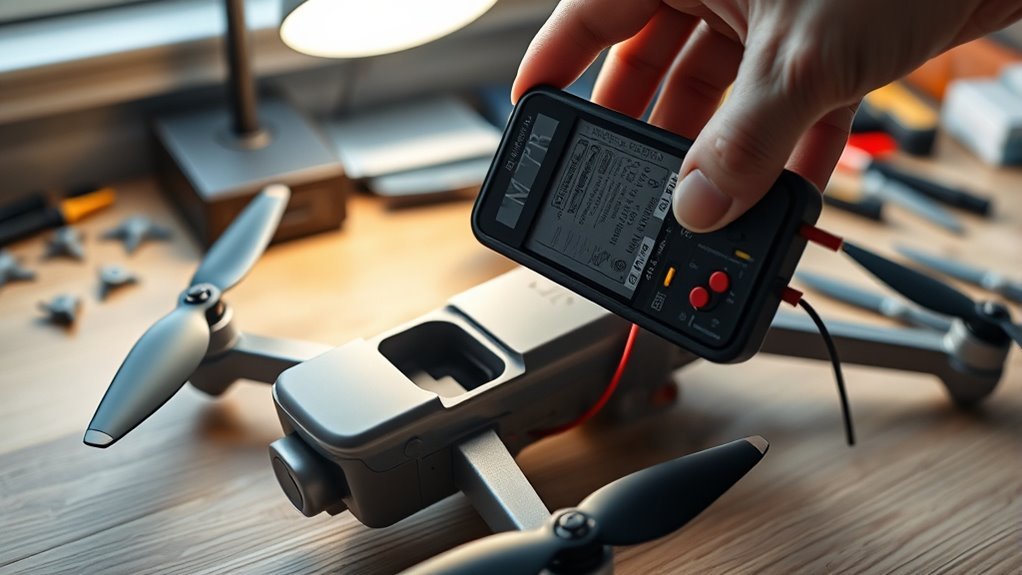
Start by checking the drone battery: tap the battery power button once and observe the indicators—no lights usually mean the battery needs recharging, while flashing lights indicate a low charge.
This battery check should begin before any deeper diagnosis, because insufficient power can prevent startup entirely. If the pack has been idle for an extended period, connect it to the charger for at least 10 minutes to wake it from sleep mode, then test again.
Temperature matters as well; a cold battery may refuse to charge or supply power until it reaches room temperature. The contacts and compartment should also be inspected for debris, corrosion, or damage that could interrupt power delivery.
A detached, technical approach helps isolate the fault quickly and preserve user autonomy. If the battery still shows abnormal behavior after these checks, the problem likely lies beyond the pack itself, but the initial power source must be verified first before proceeding.
Make Sure the Battery Locks In
The battery should be inserted until an audible click confirms that it is fully locked into place.
Its alignment must be checked to guarantee it sits flush with the drone body, as any gap or tilt can prevent power-up.
The battery contacts and compartment should be inspected for debris, mispositioning, or latch issues that could interrupt detection.
Battery Clicks Into Place
A firm click should be heard when the battery is inserted, confirming that it has locked securely into place. This audible lock is the first diagnostic signal for Drone Pilots; without it, the Battery may not energize the system.
Inspect the Battery for correct seating and confirm it is fully engaged in the compartment. The pack should sit flush with the drone body, with no visible gaps or protrusions. A loose or partially latched battery can block power-up and interrupt freedom of flight.
Also inspect the battery bay for debris, lint, or damage that could prevent electrical contact. If the battery slides in yet remains undetected, check the connection points for dirt, corrosion, or bent terminals.
Proper locking restores reliable power detection and safe operation.
Check Battery Alignment
Confirm that the battery is fully inserted until a distinct click is heard, indicating that it has locked into place.
The Battery must sit squarely in the Drone compartment, with no tilt, gap, or side load. Misalignment can interrupt the Power path even when the pack appears seated.
Orientation should match the guides exactly, because reversed or partial seating can block detection and keep the Drone inert. The battery should sit flush against the body; any protrusion suggests an incomplete mechanical lock.
If the pack slides in but Power remains absent, remove it, realign it, and reinstall with firm pressure until the latch engages. A clean, stable fit restores electrical continuity and supports operational freedom from unnecessary failure states.
Inspect Battery Contacts
With the battery already seated and locked into place, the next diagnostic step is to inspect the contacts and the surrounding compartment for anything that could interrupt power flow. A drone powers up only when the battery contacts meet cleanly and the battery compartment remains free of obstruction.
- Confirm the pack clicks fully into position and sits flush with the body.
- Examine the battery contacts for dirt, oxidation, or residue; wipe them with a dry cloth only.
- Check the battery compartment for lint, debris, or foreign material that could block engagement.
- Reassess for visible damage or misalignment if the battery still does not engage.
A secure lock and clean interface help restore reliable current transfer and keep the machine ready for flight.
Wake the Battery From Sleep Mode
Unused smart batteries can enter a low-power sleep state after inactivity, preventing the drone from powering on even when the battery appears charged. To wake the battery, connect it to the official charger for 10–15 minutes and verify that the battery and drone contacts remain seated. If the pack supports it, the manufacturer’s wake routine, or DJI Assistant diagnostics, may show whether the cells are reactivating.
| Check | Expected result |
|---|---|
| Official charger connected | Status LEDs respond |
| Wake procedure used | Battery exits sleep mode |
| Battery reseated in drone | Power transfer is restored |
A sleeping pack can imitate a failed pack, so this step prevents false fault diagnosis and restores operational freedom without unnecessary replacement. After charging, the battery should show normal LED activity and deliver power on demand. If no response appears, the issue likely lies elsewhere, but the battery should not be condemned until sleep mode is ruled out.
Use the Correct Power-On Sequence
A correct startup sequence is essential because the drone and remote controller must complete their handshake in the proper order. To use the correct power-on routine, the operator should follow the manufacturer’s order exactly: controller first, then battery wake, then drone start. This sequence preserves communication integrity and reduces false startup faults.
- Turn on the remote controller before any drone input.
- Wake the battery from sleep mode if required.
- Quickly press and release, then press and hold the drone power button until the lights illuminate.
- Verify the manual’s exact button pattern and timing.
If the drone is powered before the controller, pairing errors can block initialization or mimic a dead unit. A precise sequence gives the system a clean path to freedom from avoidable startup failure.
When diagnostics are needed, the manual remains the authoritative reference for the battery, timing, and press and hold pattern.
Check the Power Button and Battery Contacts
The power button should be inspected for sticking, damage, or lack of response, since a faulty switch can interrupt startup.
The battery contacts should be examined for dirt, corrosion, or debris that could block electrical continuity.
The battery should also be fully seated and aligned in the compartment until a click is confirmed.
Power Button Response
If the drone still will not respond, the power button and battery interface should be examined first. A stuck or damaged power button can block startup, even when a battery is installed correctly. The technician should apply controlled pressure and confirm smooth travel.
Next, verify the battery is installed until a click is heard; incomplete seating interrupts power delivery. Inspect the battery for swelling or cracks, since physical damage can reduce readiness and limit communication with the flight controller. A different battery known to be functional can isolate the fault quickly.
- Test button movement.
- Confirm full seating.
- Examine battery condition.
- Substitute a different battery.
Battery Contact Check
Attention should turn to the battery contacts, drone terminals, and power button when startup still fails. The battery should be seated fully until a click confirms engagement; partial insertion can interrupt power delivery.
Each battery contact and terminal should then be inspected for debris, oxidation, bending, or fracture, since any defect can block electrical flow. If contamination is present, a dry cloth should be used to clean the contacts, with liquids and cleaners avoided because they can worsen faults.
The power button should also be examined for sticking, looseness, or damage that would prevent activation. If the drone still remains inert after these checks, visible damage on the main board should be considered as a possible cause of impaired power distribution and loss of operational freedom.
Check for Firmware or Main-Board Problems
Firmware should be checked next, since outdated software can trigger communication faults that leave a drone unable to power on; updating through the DJI Home app or DJI Assistant 2 may resolve the issue.
- Verify the firmware version matches current DJI release notes, then retry startup.
- Inspect the main board for visible damage, corrosion, or loose ribbon connections that could interrupt power sequencing.
- Note error codes such as ERR64, ERR65, ERR67, or ERR69; these often indicate board communication failure and justify deeper diagnosis.
- Test the power button for sticking or mechanical damage, and compare behavior across batteries. If multiple packs still fail, the board is the likely fault.
A clean update can restore autonomy, but repeated errors after flashing suggest hardware replacement or professional repair is required.
Frequently Asked Questions
How to Get Drone Battery Out of Hibernation Mode?
To exit hibernation mode, the battery should be connected to the official charger for 10–15 minutes. Then the manufacturer’s wake procedure should be attempted. Proper seating and polarity should be confirmed before charging.
If no response appears, troubleshooting techniques may include pressing the battery button or monitoring LEDs during charge. Avoid unofficial chargers.
Consistent battery maintenance tips and periodic inspection reduce recurrence and preserve operational freedom.
How to Hard Reset a Drone?
A hard reset is performed by disconnecting the drone battery, waiting 1–2 minutes, then reconnecting it and, if supported, holding the power button for 10–15 seconds.
The operator should verify firmware update importance, use manufacturer-app factory reset options, and apply drone troubleshooting tips with disciplined battery maintenance practices, including cleaning contacts.
This procedure can restore control, clear transient faults, and return the system to a freer, known-good state.
What Is the Lifespan of a Drone?
A drone’s lifespan is not infinite, but it can feel almost legendary when managed correctly. Consumer models typically last 3–5 years; professional units, 5–10 years.
Battery health often limits service life, with LiPo packs requiring replacement after 200–300 cycles. Following drone maintenance tips, consulting a battery replacement guide, and flying in ideal flying conditions extends operational freedom.
Firmware updates and inspections reduce failure risk and preserve performance.
My DJI Drone Isn’t Powering On. What Could Be the Problem?
Possible causes include a depleted battery, a battery in sleep mode, a misseated pack, or a faulty power button.
The unit should be checked with drone troubleshooting tips: confirm charge, reseat until it clicks, and charge for ten minutes to wake dormant cells.
Common battery issues and power button problems can block startup. If LEDs remain dark, firmware conflict or board fault may require DJI Assistant 2 and deeper diagnostics.
Conclusion
In conclusion, a drone that will not power on should be diagnosed in sequence: verify battery charge, confirm the pack locks securely, and rule out sleep mode or an incorrect startup sequence. If the unit remains unresponsive, inspect the power button and battery contacts for debris, wear, or corrosion. Finally, assess firmware status and the main board for visible damage or fault codes. These checks isolate the failure efficiently, like a trusty old compass in a modern circuit.
