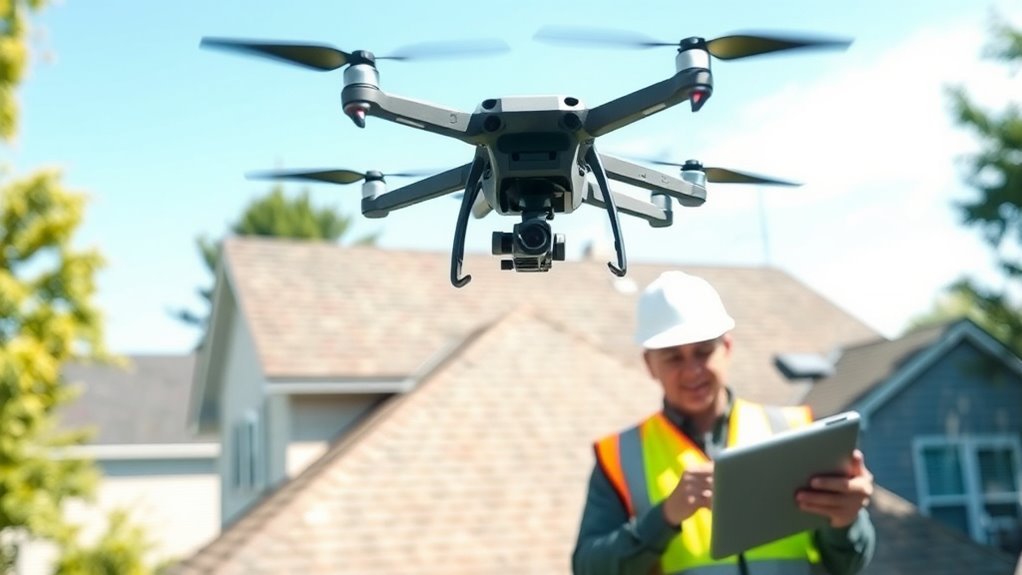
A drone roof inspection is more than a few passes over shingles. It requires legal compliance, careful setup, and images that hold up under review. FAA rules, airspace limits, weather, and insurance all affect the job before takeoff. Flight height, camera settings, and overlap determine whether the photos are usable or wasted. The process looks simple, but the details decide the outcome.
What a Drone Roof Inspection Covers
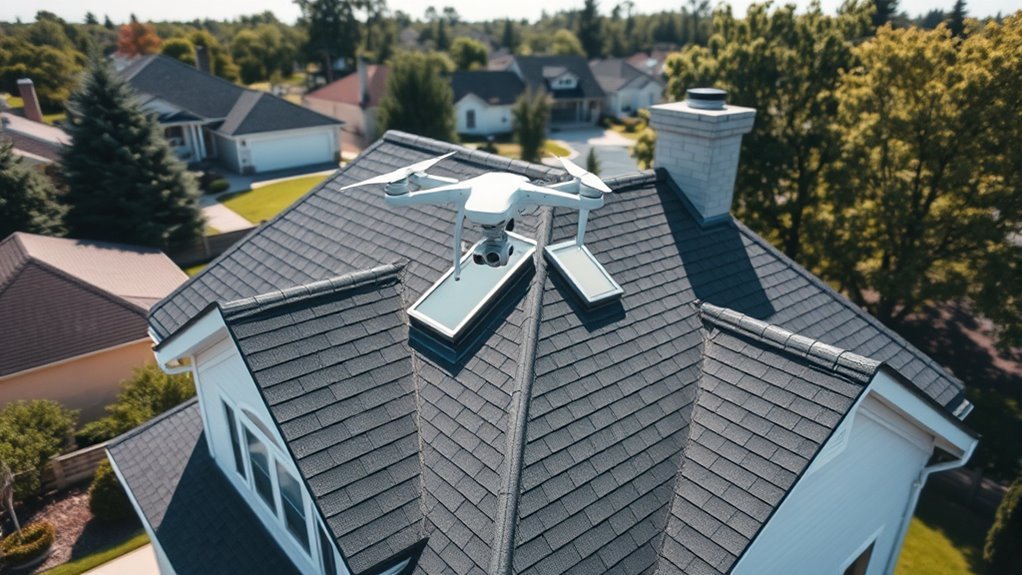
A drone roof inspection typically covers critical components such as downspouts, chimneys, flashings, gutters, and vents, allowing a thorough assessment of roof condition without exposing inspectors to unnecessary risk.
In drone roof inspections, these critical components are documented with high-resolution images and thermal data to reveal leaks, moisture intrusion, missing materials, and structural anomalies.
Hard-to-reach areas around ridges, valleys, and eaves can be examined from a safe distance, reducing exposure while improving coverage.
The resulting imagery can be converted into visual maps and 3D models, giving clients a precise record of roof geometry and defect location.
This supports proactive maintenance by identifying wear and tear before it escalates into costly failure.
Handle FAA Rules, Airspace, and Insurance
Commercial roof inspections with drones require FAA Part 107 compliance, including completion of the required knowledge test and registration of any aircraft over 0.55 pounds.
Airspace classification must be verified before each flight to avoid restricted areas and obtain any needed authorization near airports or other controlled zones.
Liability insurance and applicable state or municipal rules should also be checked before operations begin to reduce financial and legal exposure.
FAA Part 107 Compliance
Before any commercial roof inspection flight, the operator must hold an FAA Part 107 Remote Pilot Certificate, earned by passing the required knowledge test on airspace rules, weather, and safety procedures.
FAA Part 107 establishes the baseline for drone pilots, and compliance depends on disciplined pre-flight checks, current airspace regulations, and verified weather conditions.
Legal operation requires respect for controlled airspace limits, along with any authorization or waiver required before launch.
Safety protocols should be treated as nonnegotiable, because a roof mission is only as secure as the planning behind it.
Liability insurance is often requested by clients and supports lawful, responsible service.
Drone pilots should also monitor FAA updates and local rules, since regulatory changes can alter flight permissions and inspection procedures.
Airspace And Insurance Checks
Safe roof inspections by drone begin with airspace verification and documentation review. A commercial drone pilot should confirm FAA Part 107 compliance and hold a valid Remote Pilot Certificate before approaching the inspection site.
Next, determine the airspace classification with B4UFLY or similar tools, noting whether controlled airspace demands authorization. Temporary Flight Restrictions must also be checked, because nearby airports, emergency zones, or special events can invalidate an otherwise legal flight.
Liability insurance should be evaluated before launch; many clients require proof, and coverage reduces exposure if damage occurs. A disciplined pre-flight safety check includes confirming permissions, insurance documentation, and mission limits.
This process keeps operations lawful, reduces risk, and preserves the freedom to inspect roofs efficiently without avoidable constraint or interruption.
Prep the Drone and Roof Before Flight
Before launch, the drone and roof site should be checked for readiness through a formal pre-flight checklist and a thorough site assessment.
Battery levels, camera settings, SD card capacity, obstacle avoidance systems, and emergency landing procedures should be verified, while weather conditions must remain within safe operating limits, including wind speeds typically below 15 mph.
The roof area should be cleared of known hazards and a safe flight path established to support stable, uninterrupted inspection coverage.
Drone Readiness Checklist
A thorough drone readiness checklist starts with verifying flight readiness and site conditions before any roof inspection begins. | Item | Check |
| — | — |
|---|---|
| Pre-flight inspection | Confirm drone battery supports 25 minutes of flight. |
| Camera settings | Set 12 MP minimum and 4K video for usable data collection. |
| Safety measures | Review weather; postpone if adverse conditions are forecast. |
| Flight path planning | Map complete coverage, including chimneys and vents. |
| Regulatory compliance | Verify FAA Part 107 certification and airspace permission. |
This disciplined inspection sequence supports accurate roof inspections and reduces avoidable risk. A documented drone inspection routine improves consistency, while clear camera settings preserve detail for later analysis. Flight path planning should prioritize complete coverage without unnecessary maneuvering. Regulatory compliance is not optional; FAA Part 107 authority must exist before launch. Such preparation protects operator freedom through safer, lawful operation.
Roof Site Preparation
Proper roof site preparation begins with a full hazard assessment of the property and surrounding airspace, identifying power lines, trees, loose debris, and other obstacles that could compromise flight safety or image quality.
Effective roof site preparation for drone inspections establishes a clear safety zone, supports obstacle avoidance, and reduces risk before launch. Weather conditions should be checked immediately; winds above 15-20 mph can degrade control and image sharpness.
Drone equipment must be calibrated, with battery levels, camera settings, and obstacle avoidance systems verified for operational efficiency. Airspace permissions should be confirmed, and FAA regulations must be observed.
Debris removal on the roof improves access, prevents interference, and helps produce usable images.
- Clear access
- Verify airspace permissions
- Confirm FAA regulations
- Inspect drone equipment
- Remove debris
Fly the Roof Inspection for Sharp Photos
With the drone configured with a high-resolution camera—ideally 12 megapixels or greater with 4K video—the operator conducts a pre-flight check of battery status, camera settings, and control responsiveness before beginning a systematic roof pass.
In a drone roof inspection, the flight path should cover every roof plane in a measured sequence, preserving photo clarity and consistent coverage. A flight altitude of 10 to 15 feet above the surface typically limits distortion while keeping shingles, flashing, vents, and penetrations in focus.
Overlapping images are captured at regular intervals so the visual data supports accurate review and later measurement. Camera angle adjustments may be made to isolate specific defects without sacrificing the broader survey.
After landing, post-processing software can improve image clarity and assemble maps or 3D models. This disciplined system of systematic flight protects the operator’s freedom to gather usable evidence while maintaining technical rigor, repeatability, and safe operational control throughout the inspection.
Fix Common Drone Roof Photo Mistakes
Common drone roof photo mistakes usually stem from preventable setup and flight errors. In a drone roof inspection, a professional drone should be configured with proper camera settings before launch so lighting does not wash out shingles or shadow critical defects.
Common drone roof photo mistakes usually come from preventable setup errors and improper camera settings before launch.
A pre-flight check must confirm the lens is clean and unobstructed, because smudges reduce photo quality and weaken evidence. Flight height also matters: the common types of blur appear when altitude is too high, while too low limits context. Ideal altitudes of 70 to 100 feet often balance detail and coverage.
- Capture multiple angles for thorough coverage.
- Use close-ups for flashings, vents, and penetrations.
- Review frames in real time to verify clarity.
- Make real-time adjustments if exposure or framing shifts.
- Correct errors during flight, not after landing.
Turn Drone Footage Into Inspection Deliverables
Once the roof images are clear and properly framed, the inspection work shifts to processing the footage into usable deliverables.
In a drone roof inspection, drone footage is imported into platforms such as DroneDeploy or Pix4D, where mapping tools convert passes into 3D models and measured roof plans. High-resolution images, ideally 12 MP or better, and 4K clips preserve detail for defect review, hail impact analysis, and moisture tracing.
Flight apps with automated documentation features help maintain an orbit pattern, reducing missed angles and human error during review. Output formats should match client preferences: JPG offers smaller files, while RAW supports greater editing latitude.
The final inspection deliverables should prioritize usable data, not volume alone. Clear, tailored reports can integrate annotations, measurements, and summary findings so the property owner receives evidence needed for decisions with greater autonomy.
Frequently Asked Questions
Can I Use a Drone to Inspect My Own Roof?
Yes, a drone may inspect one’s own roof, provided drone safety is prioritized and legal regulations are followed.
Inspection tips include preflight maintenance checks, an equipment checklist, and flight planning around weather considerations.
Photography techniques should target shingles, flashing, and gutters; software options can aid review.
If troubleshooting issues arise, thermal imaging may help.
For commercial use, certification is required before operation, preserving both liberty and compliance.
Do I Need a License to Fly a Drone for Roof Inspections?
A mountain of red tape, yes: a license is needed for commercial roof inspections in the U.S.
FAA Part 107 governs drone regulations, requiring knowledge of safety guidelines, legal considerations, and weather conditions. Operators must manage flight altitude, follow inspection checklists, verify insurance requirements, and apply maintenance tips.
Proper drone technology improves photo quality, but lawful operation remains the gatekeeper of liberated, reliable inspection work.
How Much Does a Drone Roof Inspection Cost?
Drone roof inspections typically cost $150 to $400 for homes, while commercial jobs may exceed $500.
Drone technology offers inspection benefits through lower labor and faster access. Cost comparison favors drones over manual work, but safety measures, legal considerations, image quality, maintenance tips, insurance coverage, and market trends affect pricing.
Professional services often charge $80 to $250 per hour, with higher rates for complex roofs and premium reporting.
How Much Does a Roof Drone Survey Cost?
A roof drone survey typically costs $75 to $500 for residential work; coincidentally, the safer view often arrives when damage is least expected.
Drone technology supports roof maintenance through aerial photography, inspection benefits, and clearer cost comparison.
Service providers may charge more for commercial sites, while DIY inspections can reduce expense but must respect safety regulations, legal requirements, and insurance coverage.
The result is precise, liberated assessment without unnecessary exposure.
Conclusion
In the end, the humble drone proved to be an efficient witness: it could see shingles, flashing, and damage without stepping on the roof or risking a fall. When flown within FAA rules, with weather checked, batteries charged, and images captured at the proper altitude and overlap, it produced footage that was both legal and useful. Ironically, the best roof inspection was the one that kept everyone safely on the ground, where judgment remained clearer.

