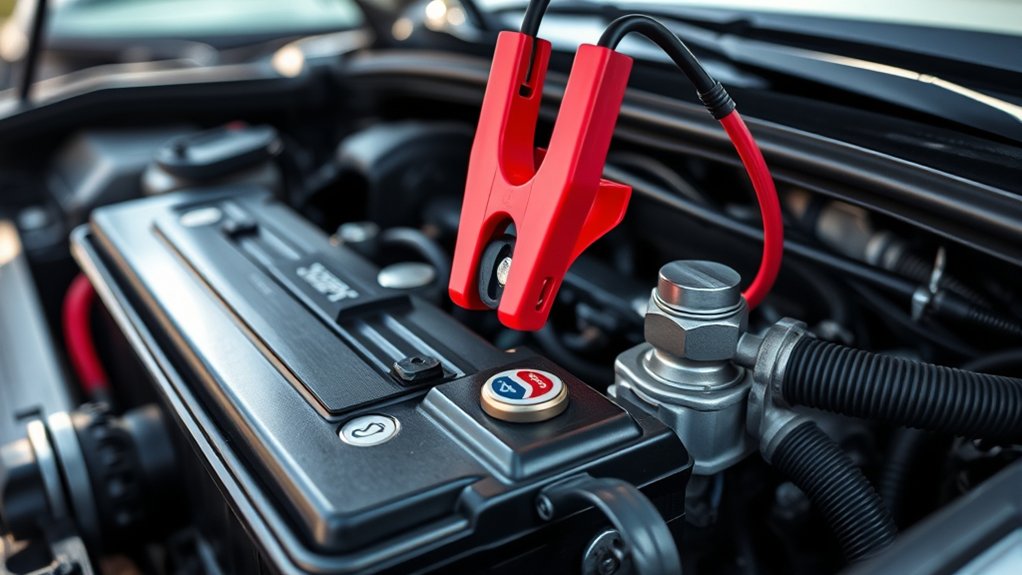
Finding where to connect the 2014 car negative jumper cable is essential when jump-starting a dead battery. The black cable must complete the electrical circuit without creating unnecessary sparks near the discharged battery. Although most conventional cars use a similar procedure, the safest grounding location depends on the vehicle’s design.
Quick Answer
Connect the black jumper cable to the negative (-) terminal of the working battery. Attach its other end to the designated grounding point or a suitable clean, unpainted metal part of the disabled car’s engine or chassis, away from the battery. Follow the vehicle owner’s manual if it specifies particular jump-start terminals or connection points.
At a Glance
| Tools Needed | Suitable jumper cables, compatible 12V booster vehicle or jump starter, and safety glasses |
| Difficulty | Basic procedure requiring careful terminal identification and safe cable handling |
Where to Connect the Black Cable on a 2014 Car
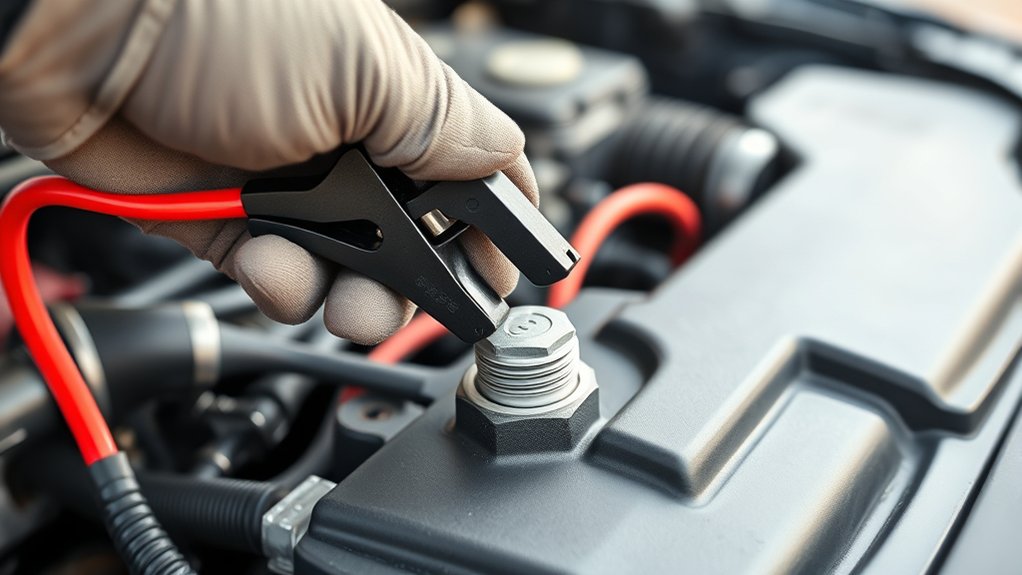
On a typical 2014 car with a conventional negative-ground electrical system, the final black jumper cable clamp connects to a suitable metal grounding point on the disabled vehicle. The black clamp at the other end connects to the negative (-) terminal of the working battery.
The disabled car’s negative battery terminal is usually marked with a minus sign and connected to the vehicle’s chassis or engine through a ground cable. However, that does not make the battery post the preferred location for the final jumper clamp.
Connecting the last clamp to a suitable ground away from the battery reduces the chance of a spark igniting hydrogen gas near the battery case.
Many vehicles have a manufacturer-designated ground post. Others allow a secure connection to an exposed metal component of the engine.
For example, the 2014 Ford Escape owner’s manual instructs drivers to connect the final negative clamp to exposed engine metal or an available grounding point.
That Ford procedure is a useful example, not a universal grounding location for every 2014 vehicle. A Toyota, Honda, Ford, or another model may have a different battery arrangement or dedicated jump-start terminals.
Do not select a connection point based on model year alone. The correct location depends on the vehicle’s make, model, and electrical system.
Identify the Battery Terminals Before You Jump-Start
Before connecting jumper cables, identify the positive and negative terminals on both batteries. The markings on the battery or designated jump-start terminals are more reliable than cable colors alone.
You should also confirm that the assisting vehicle or jump starter is compatible with the disabled vehicle’s electrical system.
Positive and Negative Markings
A typical car battery has two terminals:
- Positive (+): Usually identified by a plus sign, red cable, or red protective cover.
- Negative (-): Usually identified by a minus sign and a black cable connected to the vehicle’s ground system.
Look for the symbols stamped or printed on the battery case. Dirt, corrosion, or protective covers may hide them.
Some vehicles place the battery in the trunk or another compartment. They may provide separate jump-start terminals under the hood.
If the battery is difficult to access, locate the manufacturer’s specified connection points rather than removing components unnecessarily.
Cable Color Verification
Standard jumper cables use red for positive and black for negative. However, cable color does not prove that a terminal has the correct polarity.
Before attaching either clamp:
- Read the positive and negative markings on both batteries or jump-start posts.
- Check the jumper cables for damaged insulation or exposed wires.
- Confirm that the clamps are securely attached to their cables.
- Make sure the red and black clamps cannot touch each other.
- Do not proceed if you cannot identify the terminals with confidence.
Reversing battery polarity can damage electrical components, blow fuses, and create dangerous sparks.
Never guess which terminal is positive because one side looks cleaner or has a particular cable shape.
Ground Point Identification
A proper ground point provides a conductive connection to the vehicle’s negative electrical system. On conventional vehicles, the engine and chassis are connected to battery negative through grounding cables or straps.
To identify a suitable point:
- Look for a designated grounding stud or terminal in the owner’s manual.
- If the manual permits an engine ground, choose a solid, stationary metal component.
- Check that the metal is unpainted and free of heavy rust or contamination.
- Make sure the jumper clamp can grip the connection securely.
- Keep the connection clear of moving engine components.
A multimeter can help a trained person diagnose faulty ground connections. However, a continuity test is not necessary for a routine jump-start.
According to Fluke’s automotive continuity testing guidance, continuity measurements require the circuit being tested to be de-energized.
Do not place a multimeter in continuity or resistance mode across an energized battery circuit. Incorrect testing can damage the meter and give misleading results.
Pick a Safe Ground Point for the Black Cable
The safest negative jumper connection is the grounding point approved by the vehicle manufacturer. If the manual permits a general metal ground, choose clean, solid engine or chassis metal away from the discharged battery.
The grounding surface must allow the clamp to stay firmly attached while the engines are started.
A suitable connection may be a designated ground post, an approved engine lifting point, or a substantial exposed metal bolt on the engine.
Avoid the following locations unless the vehicle manufacturer specifically identifies one as a jump-start point:
- Fuel lines and fuel-system components.
- Moving belts, pulleys, and cooling fans.
- Thin sheet-metal panels or loose brackets.
- Painted or heavily corroded metal.
- Plastic covers and insulated components.
- Electrical modules and wiring connections.
- Hot exhaust components.
Do not assume that every visible bolt provides a safe electrical ground. Some bolts connect to insulated components or parts that cannot safely carry starting current.
Warning: Never attempt to jump-start a battery that is frozen, leaking, cracked, swollen, or visibly damaged. Keep sparks, flames, and smoking materials away from batteries. Wear eye protection, and do not lean over the battery while making connections. If the battery is damaged or the correct terminals are uncertain, contact roadside assistance.
The final negative connection can produce a spark. Keeping that spark away from battery gases is one of the main reasons for using a remote grounding point.
Once the black clamp is attached, check that it cannot slip off or touch another electrical terminal.
Connect Jumper Cables in the Right Order
The standard jumper cable connection sequence is positive to positive, then negative to the working battery, and finally negative to the disabled vehicle’s approved ground.
This order reduces the risk of accidental short circuits and places the final connection away from the discharged battery.
Before starting, park both vehicles securely with enough space to prevent contact between them. Set the parking brakes, switch off the ignitions, and turn off unnecessary electrical accessories.
Confirm that both vehicles use compatible 12V systems and that the assisting vehicle’s manufacturer permits it to provide a jump-start. Some hybrids and electric vehicles have restrictions on supplying starting power to another car.
The AAA jump-start safety guide describes the standard four-connection procedure.
- Connect red to the dead battery: Attach one red clamp to the disabled vehicle’s positive (+) battery terminal or designated positive jump-start post.
- Connect red to the good battery: Attach the other red clamp to the assisting battery’s positive (+) terminal.
- Connect black to the good battery: Attach one black clamp to the assisting battery’s negative (-) terminal or its manufacturer-specified negative connection.
- Connect black to ground: Attach the remaining black clamp to the approved grounding point on the disabled vehicle, away from its battery.
Do not reverse the connection order unless the vehicle manufacturer’s instructions specify a different procedure.
After all clamps are attached, inspect the cable routing. Neither cable should hang near a fan, pulley, belt, or other moving part.
Never allow a positive clamp to touch the vehicle’s metal body or another negative connection while the opposite end is attached to a battery.
The positive and negative terminals must remain electrically separated except through the intended vehicle and starting circuits.
Start the 2014 Car and Remove Cables Safely
Once the connections are secure, start the assisting vehicle if its manufacturer permits that procedure. Let it supply power before attempting to start the disabled car.
After the disabled engine starts, remove the jumper cables in reverse connection order. Follow the owner’s manual for any required waiting period and whether the engines should remain running during disconnection.
Starting the 2014 Car
For a conventional vehicle-to-vehicle jump-start, the usual procedure is to start the assisting engine first, allow it to run briefly, and then attempt to start the disabled vehicle.
- Recheck the positive and negative cable connections.
- Confirm that the clamps and wires are clear of moving parts.
- Start the assisting vehicle according to its owner’s manual.
- Allow the assisting vehicle to supply power for a few minutes.
- Attempt to start the disabled vehicle normally.
- If it starts, follow the vehicle manufacturer’s instructions before disconnecting the cables.
A severely discharged battery may need additional time before it has enough power to crank the starter.
If the engine turns slowly or fails to start, stop cranking rather than making repeated, prolonged attempts. Let the assisting battery supply more power, then try again only as permitted by the vehicle’s instructions.
If the engine starts, check that it idles normally and that no serious warning lights remain illuminated.
Do not reach across the engine while it is running. Cooling fans and belts can move unexpectedly.
Safe Cable Removal
Jumper cables are removed in the opposite order from their installation. The negative ground connection on the revived vehicle comes off first.
Manufacturers may give different instructions about whether the engines should remain running during removal. Follow the procedure for your exact vehicle rather than switching off both engines automatically.
For example, some manufacturer procedures call for a short period with both engines running before disconnection.
Once the vehicle is ready for cable removal, use this sequence:
- Remove the black clamp from the grounded metal point on the revived vehicle.
- Remove the other black clamp from the assisting vehicle’s negative terminal.
- Remove the red clamp from the assisting vehicle’s positive terminal.
- Remove the final red clamp from the revived vehicle’s positive terminal.
Keep every disconnected clamp away from the remaining clamps and metal surfaces. Do not let loose clamps touch each other.
After removal, secure any protective battery terminal covers and close the hoods properly.
If the revived engine is running normally, driving for about 20 minutes may help restore some battery charge. However, that does not guarantee a full recharge.
Interstate Batteries’ charging guidance explains that a deeply discharged battery may require many hours of charging and may not become fully charged through driving alone.
A compatible battery charger is a more reliable way to restore a deeply discharged battery. Have the battery and charging system tested if the vehicle required a jump-start unexpectedly.
Pro Tip: If a jump-start works but the battery fails again after the vehicle sits, have the battery tested before assuming another jump-start will solve the problem. An aging battery, poor connection, charging fault, or electrical drain may be responsible.
What to Check If the 2014 Car Won’t Start
If the 2014 car still will not start, determine whether the problem is weak battery power, poor electrical contact, or another starting-system fault. The sound of the starter and the behavior of the dashboard lights can help narrow the cause.
Begin with simple checks before replacing expensive components.
- No dashboard lights: Check for a severely discharged battery, loose terminals, poor ground connections, or another interruption in electrical power.
- Rapid clicking: Often indicates insufficient battery power or high resistance in the starting circuit.
- One solid click: May indicate a starter, solenoid, battery, or connection problem.
- Slow cranking: Can result from a weak battery, poor cable contact, or excessive starter load.
- Normal cranking without starting: Suggests that the problem may involve fuel delivery, ignition, engine controls, or another system.
Inspect the battery terminals for corrosion, looseness, or visible damage. Confirm that the jumper clamps have solid contact with the intended terminals and ground point.
If the clamps appear secure but the vehicle still does not crank, stop repeated attempts and arrange proper battery and starter-system testing.
A digital multimeter in the correct DC voltage mode can help assess battery and charging-system condition.
According to Interstate Batteries, a charged conventional 12V car battery typically measures around 12.6 volts or higher with the engine off. With the engine running, conventional charging-system voltage is commonly around 13.7 to 14.7 volts.
These readings are general references, not a complete diagnosis. Some vehicles use variable charging strategies, so a single reading does not prove an alternator or battery has failed.
If the engine starts but a battery or charging-system warning light remains on, have the system inspected before relying on the vehicle for another trip.
Repeated battery discharge can also result from:
- A battery that no longer holds a sufficient charge.
- A loose or corroded ground strap.
- A faulty charging system.
- An electrical accessory draining power while parked.
- A starting-system fuse, relay, or wiring problem.
- A worn starter motor or solenoid.
Battery testing, charging-system testing, and appropriate circuit checks help identify the actual fault. Replacing the battery without diagnosis may leave the underlying problem unresolved.
Note: If the vehicle does not start after properly performed jump-start attempts, or if you notice damaged wiring, overheating, smoke, or an unusual battery odor, stop and contact a qualified technician or roadside assistance provider.
Key Takeaways
- A 2014 model year does not identify an exact grounding point; the vehicle’s make and model determine the approved location.
- Identify positive and negative battery terminals by their markings rather than relying on cable color alone.
- Use a compatible 12V starting source and keep cables clear of moving engine components.
- Remove jumper cables in reverse connection order, following the manufacturer’s engine-running instructions.
- A successful jump-start does not prove the battery is healthy or fully charged.
- Repeated no-start problems require battery, connection, starter, and charging-system checks.
Frequently Asked Questions
Where to Put a Negative Cable When Jump-Starting a Car?
Connect one black clamp to the working battery’s negative terminal and the other to the disabled vehicle’s approved grounding point. This is usually a designated ground post or suitable exposed engine metal. Keep the final connection away from the discharged battery and follow the owner’s manual for the exact location.
Can I Connect Negative to Negative When Jump-Starting?
The negative electrical systems must be connected, but the final clamp should normally attach to an approved ground on the disabled vehicle rather than its battery’s negative post. This reduces sparking near the discharged battery. Follow the vehicle manufacturer’s connection procedure if it specifies a different approved location.
Where Is the Grounding Point for a Jump-Start?
The grounding point may be a dedicated metal stud or an approved solid, unpainted part of the engine or chassis. Its exact position varies by make and model. Look for the location identified in the owner’s manual, and avoid fuel-system parts, moving components, painted brackets, and electrical equipment.
Where Is the Negative Terminal on My Battery?
The negative terminal is marked with a minus (-) sign and usually connects to a black cable. It may be on either side of the battery, depending on the design. If the battery is remotely located, your vehicle may have separate jump-start terminals under the hood.
Can I Use Any Metal Bolt as the Negative Ground?
No. A bolt must provide a secure electrical connection to the vehicle’s ground system and be suitable for starting current. Painted, loose, insulated, or poorly grounded parts may not work. Use the manufacturer’s designated ground point whenever one is available rather than choosing an unfamiliar bolt.
Will Driving for 20 Minutes Fully Charge a Dead Battery?
Not necessarily. A short drive may restore some charge, but a deeply discharged battery can require several hours of charging with suitable equipment. If the battery repeatedly fails to start the car, arrange a battery and charging-system test rather than assuming that driving has restored its condition.
Conclusion
For most conventional 2014 cars, the safest final negative jumper cable connection is a manufacturer-approved engine or chassis ground away from the discharged battery. Correct terminal identification, cable order, and careful removal reduce electrical damage and spark risks.
If the engine starts successfully, check the battery’s condition and charging performance before relying on it again. When the approved grounding location is unclear, use the exact vehicle owner’s manual or seek professional assistance rather than guessing.
Sources
- Ford Motor Company: 2014 Escape Owner’s Manual: Manufacturer instructions for jumper cable connections, ground selection, engine starting, and cable removal.
- AAA: How to Jump a Battery and Get Yourself Back on the Road: General jump-start precautions, correct clamp order, battery damage warnings, and troubleshooting.
- Interstate Batteries: Frequently Asked Questions: Battery voltage guidance, charging time limitations, battery testing, and common charging-system problems.
- Fluke: Automotive Continuity Testing Guide: Safe electrical continuity testing and the requirement to de-energize circuits before testing.