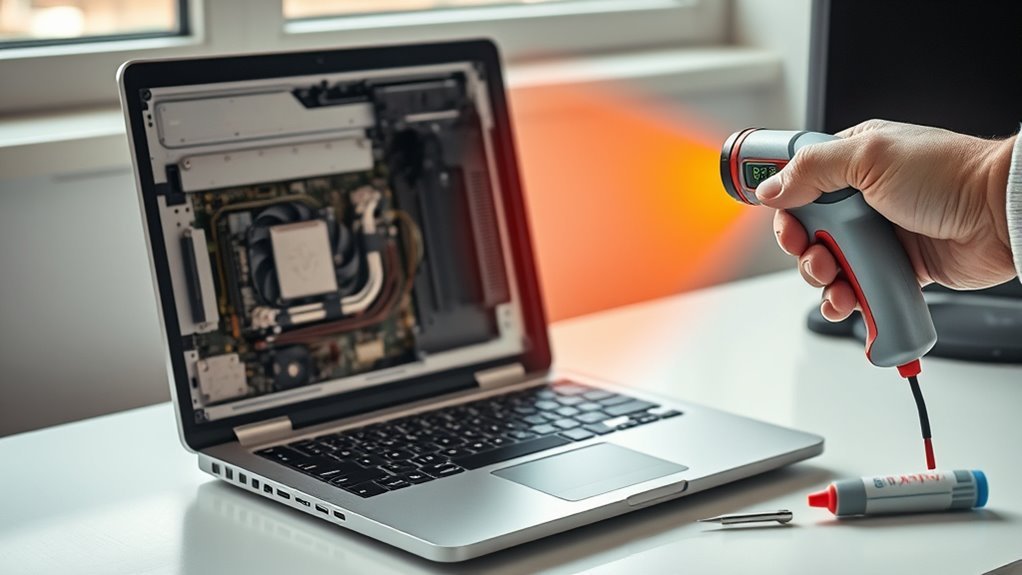
Testing the temperature inside a portable computer starts with basic system tools, then moves to more exact software when needed. CPU heat can rise quickly under load, and safe limits are not always obvious from the outside. BIOS screens, Windows monitors, and dedicated utilities each reveal different details. The next step is knowing which reading matters, what counts as too hot, and how to catch a problem before performance drops.
How to Check CPU Temperature on a Laptop
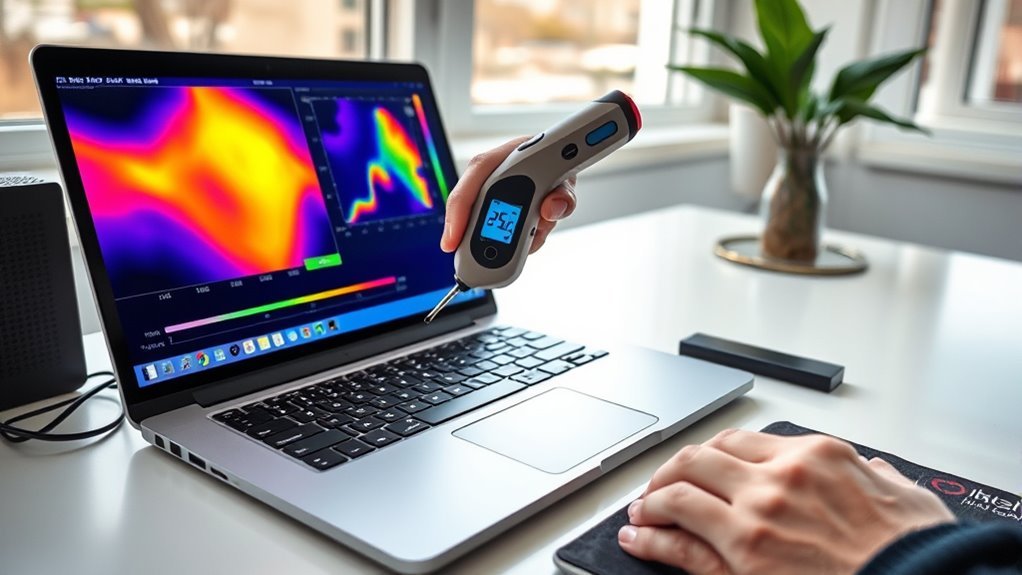
To check CPU temperature on a laptop, one can begin with built-in system tools such as Windows Task Manager or macOS Activity Monitor, which show CPU load and basic thermal indicators.
Start with built-in tools like Task Manager or Activity Monitor to spot CPU load and basic heat signs.
These tools do not always display exact sensor values, but they help identify stress conditions that may require closer inspection.
For accurate readings, monitoring software such as Core Temp, HWMonitor, or iStat Menus can be installed to check CPU temperature in real time.
During gaming, video rendering, or other heavy workloads, temperatures should ideally stay under 80°C. Readings above 90°C signal an urgent need to reduce load, improve airflow, or stop demanding tasks.
Cleaning vents and fans, and keeping the laptop on a hard, open surface, helps prevent overheating and preserves performance.
Regular observation gives users more control over their machines and supports safer, freer operation.
Check CPU Temperature in BIOS or UEFI
Another way to verify laptop CPU temperature is through the BIOS or UEFI interface, which provides temperature data before the operating system loads. To check CPU temp there, the portable computer must be restarted and the setup key, often Delete, F2, or Esc, pressed during boot.
Once inside the BIOS or UEFI, the user should open Hardware Monitor, PC Health, or an equivalent menu. That screen may display CPU temperature readings in a simple format, usually showing idle conditions rather than load behavior.
Such data is useful for confirming whether cooling is adequate before the system hands control to the operating system. Not every motherboard offers this feature, and support is more common on enthusiast-class hardware.
Even so, regular BIOS or UEFI checks can reveal overheating problems early, giving the user practical leverage to intervene before instability, shutdowns, or component stress develop.
Check CPU Temperature in Windows
In Windows, CPU temperature cannot be checked with built-in system tools, so third-party utilities such as Core Temp or HWMonitor are required.
For precise temperature monitoring, Core Temp is a direct option because it reports real-time readings for each CPU core and shows current, minimum, and maximum values. That makes it easier to judge whether thermal behavior is stable or drifting upward under load.
HWMonitor offers broader system data, including CPU, GPU, and motherboard temperatures, in a clear interface.
During demanding tasks such as gaming or rendering, temperatures should be reviewed regularly and kept below 80°C under load when possible. The CPU’s TJ Max specification should also be checked, since it defines the safe ceiling before throttling or damage risk increases.
With these tools, the user gains practical control over heat, preserves performance, and avoids unnecessary dependence on restrictive defaults.
Best Laptop CPU Temperature Tools
Reliable laptop temperature monitoring depends on selecting tools that match the operating system and the level of detail required. Among the best laptop cpu temperature tools, Core Temp is a strong Windows option, showing current, minimum, and maximum CPU values in real time for direct monitoring your CPU temperature.
HWMonitor suits users who want a broader temperature reading, since it reports the CPU and other components through a lightweight, clear interface. On macOS, iStat Menus provides detailed system data in the menu bar, giving fast access without interrupting work.
Fanny offers a simpler free alternative for users who prefer menu bar visibility over Terminal commands. SpeedFan extends utility further by linking temperature reading to fan-speed control, which supports more autonomous thermal management.
Each tool serves a different workflow, allowing users to choose precision, convenience, or control without unnecessary complexity.
What Is a Safe CPU Temperature?
A safe CPU temperature generally falls between 30°C and 70°C during idle or normal load, with performance ideally staying below 60°C when possible. For most portable computers, this range indicates a safe CPU temperature and supports stable operation without unnecessary strain.
Under heavy workloads, staying below 80°C is preferred to preserve longevity and system consistency. Most processors can tolerate up to 95°C, yet sustained readings above 90°C warrant attention because they may trigger thermal throttling or accelerate wear.
Specific models vary: AMD Ryzen 5000 and 7000 chips may reach 95°C, and Intel Core i9 units can approach 100°C during normal use. Even so, users should monitor CPU temperature regularly, especially during gaming or rendering, to verify that peaks remain brief and controlled.
Practical control over heat gives the machine room to operate freely, without needless constraints from excess temperature.
Why Is My Laptop CPU Overheating?
Laptop CPU overheating commonly results from dust buildup in vents and fans, high processor load from gaming or video rendering, and restricted airflow when the device rests on soft surfaces.
Faults in the cooling system, including failed fans or degraded thermal paste, further reduce heat transfer and raise internal temperatures.
Regular inspection, cleaning, and the use of cooling pads can improve airflow and help maintain safe operating temperatures.
Common Overheating Causes
CPU overheating in portable computers is commonly caused by restricted airflow, excessive processing demand, and inadequate heat dissipation. Dust buildup in vents and fans narrows intake paths, forcing temperatures upward and making CPU temperature monitoring essential for early detection.
High-load activities such as gaming or video rendering push the processor beyond routine levels, often triggering thermal throttling. Soft surfaces like beds or couches block ventilation openings, trapping heat around the chassis.
Outdated software or drivers can waste resources and raise CPU usage during ordinary work. Failing fans and degraded thermal paste weaken cooling solutions, reducing heat transfer from the chip.
These conditions limit thermal headroom and can make a laptop feel slow, unstable, and constrained, undermining user control over performance and comfort.
Effective Cooling Solutions
Effective cooling begins with maintaining unobstructed airflow, since dust accumulation in vents and fans can quickly restrict heat dissipation and drive internal temperatures upward.
Regular cleaning with compressed air and a soft brush restores intake efficiency and reduces thermal stress. The laptop should rest on a hard, flat surface so exhaust paths remain open; beds and couches trap heat and undermine cooling solutions.
For older systems, replacing thermal paste between the CPU and heatsink can improve conductive transfer and lower sustained temperatures.
During gaming or video editing, a cooling pad adds external airflow and helps preserve performance without throttling.
Software monitoring tools such as HWMonitor or Core Temp provide real-time temperature data, allowing proactive intervention before heat limits are reached.
How to Lower Laptop CPU Temperature
Reducing processor heat starts with improving airflow and removing common sources of resistance. Regular cleaning of vents and fans restores the cooling system’s capacity, while a hard, flat surface prevents blocked intake. A CPU temp monitor, such as Core Temp or HWMonitor, supports monitoring and reveals when readings approach unsafe levels above 80°C. If workloads are heavy, a cooling pad or external fan can reclaim thermal margin and preserve freedom from throttling.
| Action | Effect | Benefit |
|---|---|---|
| Clean vents | Restores airflow | Lower temperature |
| Use cooling pad | Adds airflow | Stable performance |
| Flat surface | Prevents blockage | Better ventilation |
| Monitor temps | Detects overheating | Timely response |
| Reapply paste | Improves heat transfer | Sustained cooling |
If temperatures remain high, degraded thermal paste may be limiting heat transfer and should be replaced. Each measure reduces thermal pressure, giving the system room to run without constraint.
How to Stress Test CPU Temperature?
To stress test processor temperature, a benchmarking tool such as Prime95 or AIDA64 should be run to drive the CPU to sustained maximum load while monitoring heat output with HWMonitor or Core Temp.
The test should continue for 10 to 15 minutes, since early spikes often settle into a stable peak. During this period, it is essential to monitor CPU temperatures continuously and note whether heat climbs toward unsafe limits.
Before starting, confirm that cooling solutions, including fans and heatsinks, are operating correctly and free of dust buildup. If airflow is weak, the laptop may overheat faster than expected.
Before starting, ensure fans and heatsinks are clean and working properly, or the laptop may overheat sooner than expected.
Should temperatures exceed 95°C, the stress test must be stopped immediately to reduce the risk of thermal damage.
Afterward, the results can guide targeted improvements, such as cleaning vents, replacing worn thermal paste, or upgrading cooling solutions.
This disciplined method gives users clear thermal data and preserves system freedom from avoidable heat constraints.
Frequently Asked Questions
How to Check Computer Internal Temperature?
Computer internal temperature is checked with thermal monitoring tools such as Core Temp, HWMonitor, or macOS Terminal commands. These tools read CPU and system sensors in real time.
BIOS/UEFI Hardware Monitor can show idle temperatures during startup. Regular review helps detect overheating symptoms, especially above 80°C under load or 95°C at risk.
If readings rise, cooling solutions such as cleaning vents, improving airflow, or repasting may restore control and autonomy.
How to Run a Thermal Test on PC?
A thermal test on a PC begins like a controlled storm, with stress-testing software such as Prime95 or AIDA64 loading the CPU while thermal monitoring tools like Core Temp or HWMonitor record temperatures.
The test should run for at least 30 minutes, keeping the CPU below 85°C. If heat rises sharply, overheating causes may exist, and performance impact should be evaluated.
Afterward, dust removal or paste renewal may restore thermal freedom.
How to Test Laptop Temps?
Laptop temps can be tested by using built-in system monitors like Task Manager or Activity Monitor, then confirming exact values with tools such as HWMonitor, Core Temp, or iStat Menus.
On macOS, terminal commands can expose CPU readings directly. Regular checks help identify laptop cooling problems, thermal paste degradation, and overheating issues.
Idle temperatures should stay below 50°C; under load, below 80°C. Clean vents and fans to preserve performance.
How to Check CPU Temperature Without Going Into BIOS?
CPU temperature can be checked without BIOS using CPU monitoring tools such as Core Temp or HWMonitor.
Some may object that BIOS is more accurate, yet these utilities read built-in sensors in real time and expose overheating indicators during normal use. Their taskbar views help spot thermal throttling effects quickly.
For practical control, the user should run the tool during workload peaks and keep readings ideally below 80°C under load.
Conclusion
To sum up, monitoring laptop CPU temperature with BIOS, system utilities, or dedicated sensors provides a practical baseline for thermal health. Reliable tools such as Core Temp and HWMonitor help confirm whether readings remain under the recommended 80°C threshold during load. If temperatures rise, cleaning vents, improving airflow, and using a cooling pad are effective countermeasures. Regular stress testing with Prime95 acts like a dashboard gauge, revealing overheating risks before performance or hardware damage occurs.
