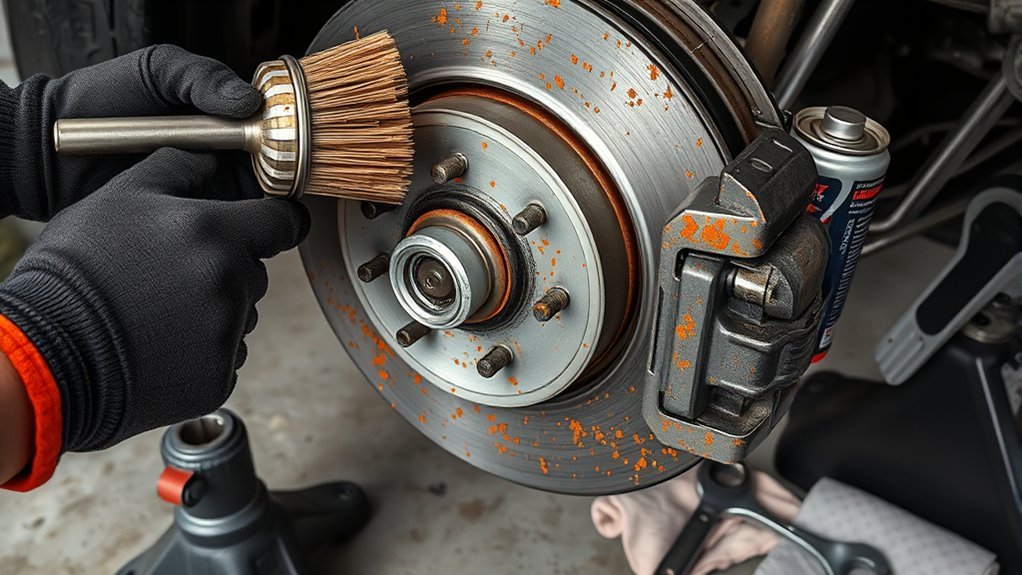
An orange film on your Toyota Tacoma’s brake rotors after rain or washing is often light surface rust, not automatic proof that the rotors are damaged. Thick scaling, deep pits, cracks, persistent vibration, or reduced braking are different. Before using chemicals or removing a wheel, identify which condition you have and whether cleaning is appropriate.
Quick Answer
Light orange surface rust on a Tacoma rotor often clears after several gentle stops in a safe area. Do not attack an assembled brake with compressed air, a dry brush, or household rust removers. If rust is pitted, flaky, uneven, or still affects braking, have the rotor measured and professionally serviced or replaced.
Key Takeaways
- Light flash rust and structural corrosion are not the same problem.
- Brake cleaner removes oil, grease, and residue. It does not repair pits, cracks, or an undersized rotor.
- Do not use compressed air, a dry brush, or a dry rag to clean brake dust.
- Keep WD-40, oil, paint, enamel, and corrosion inhibitors off every pad-contact surface.
- Use your Tacoma’s exact model-year manual for lift points, parking-brake procedures, and wheel-nut torque.
At a Glance
| Time Required | About 10–20 minutes for an external check; longer if a wheel must be removed |
| Difficulty | Beginner for visual assessment; intermediate for safe lifting and wheel removal |
| Tools Needed | Flashlight, gloves, safety glasses, wheel chocks, approved jack stands, socket set, torque wrench, damp disposable wipes, and brake cleaner when needed |
| Cost | Low for inspection if you own the tools; professional measurement, machining, or replacement costs extra |
Warning: Brakes are safety-critical. Never work under a Tacoma supported only by a jack. Do not use compressed air, a dry brush, or a dry rag on brake dust. The EPA’s brake-repair guidance recommends dust-controlled practices because some friction materials may contain hazardous fibers. Stop and use a qualified brake technician if you lack the equipment or experience to lift the truck and reinstall the wheel correctly.
Why Rust Forms on Your Toyota Tacoma Brake Rotors
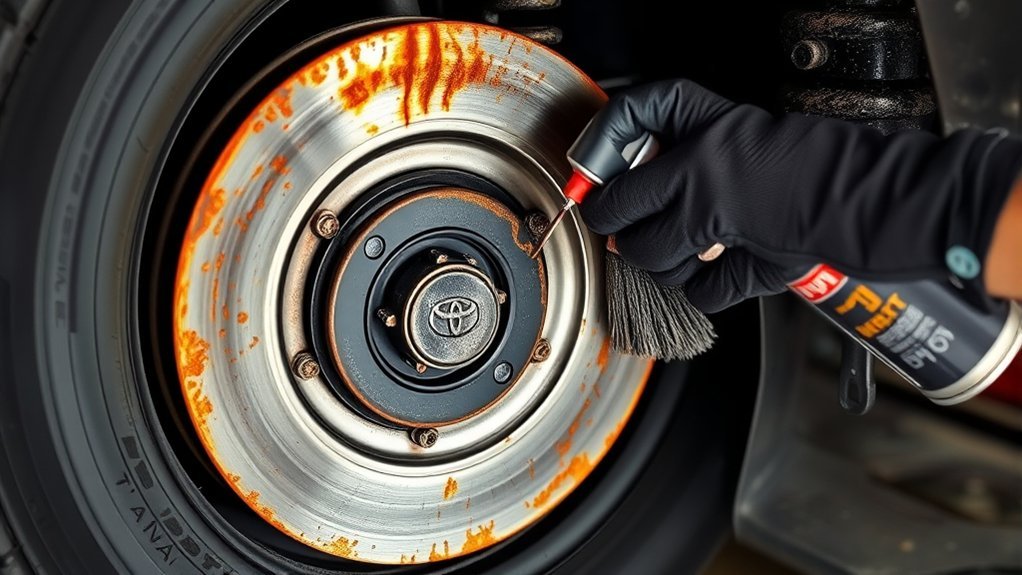
Most brake rotors use exposed iron in the pad-contact area. Moisture, humid air, road salt, and periods of storage can oxidize that surface. A thin orange film may appear after rain, a car wash, or a damp night.
The condition becomes more serious when corrosion creates deep pits, thick flakes, rough patches, weakened cooling vanes, or an uneven pad-contact surface. Those defects cannot be corrected by spraying cleaner on the rotor.
Light Surface Rust
Light surface rust usually looks like a thin, even orange coating. If the brake pedal feels normal, the truck stops straight, and no grinding is present, several gentle brake applications during a cautious drive may clear the pad-contact area.
Use a dry, low-traffic location and begin at low speed. Stop the test if the truck pulls, the pedal feels abnormal, braking is weak, or harsh noise continues.
Heavy or Structural Corrosion
Professional inspection is the safer choice when you see any of the following:
- Deep pits or craters in the pad-contact surface
- Flaking rust around the rotor edge or cooling vanes
- Cracks, blue heat spots, or severe grooves
- A rough surface that remains after normal braking
- Persistent pedal pulsation, steering-wheel shake, or pulling
- Grinding, reduced braking, or an illuminated brake warning
Note: Tacoma brake layouts and procedures vary by model year and configuration. Some wheels may use disc brakes while others use a different design. Apply this guide only where a brake rotor is present, and follow the correct Toyota manual for your truck.
Brake cleaner can remove contamination, but it cannot restore metal lost to pitting, wear, cracking, or heavy corrosion.
Essential Tools for Cleaning Brake Rotors Safely
Gather the equipment before lifting the truck. Avoid improvising with household chemicals, penetrating oil, or unsupported lifting equipment.
| Tool | Purpose | Important Limit |
|---|---|---|
| Flashlight | Reveals pits, cracks, grooves, and vane corrosion | Inspect both visible faces where access permits |
| Safety glasses and chemical-resistant gloves | Protect against cleaner, runoff, and loose debris | Use the protection listed on the cleaner label |
| Wheel chocks, floor jack, and jack stands | Securely raises and supports the truck | Use only approved lift and support points |
| Socket set and torque wrench | Removes and correctly reinstalls the wheel | Use the model-year wheel-nut specification |
| Low-pressure mist and damp disposable wipes | Controls loose brake dust before wiping | Do not use a garden hose, dry rag, or compressed air |
| Automotive brake-parts cleaner | Removes oil, grease, and compatible residue | Follow the label and protect paint, plastics, rubber, and hot surfaces |
| Brake micrometer | Measures rotor thickness accurately | Use only if you know the correct measuring method and specification |
A wire brush is intentionally absent from the list. Brushing an assembled brake can spread dust and does not prove that a corroded rotor remains within service limits.
Step-by-Step Guide to Cleaning Brake Rotors on Your Tacoma
1. Decide Whether Cleaning Is Necessary
Look through the wheel openings with a flashlight. A thin, even orange film after rain may clear through normal pad contact. If the surface is deeply pitted, heavily scaled, cracked, or uneven, skip DIY cleaning and arrange a brake inspection.
Pro Tip: Photograph the rotor before driving. After several gentle stops, compare the pad-contact area. An evenly cleaned track suggests light surface rust; remaining rough patches or isolated dark areas deserve closer inspection.
2. Let the Brakes Cool
Park on a firm, level surface and let the brakes cool completely. Never spray cleaner onto a hot rotor. Keep flames, sparks, cigarettes, heaters, and welding equipment away from brake-cleaner vapors.
3. Secure the Tacoma Before Removing a Wheel
Place the transmission in the correct parked or geared position, chock the wheels that will remain on the ground, and follow the parking-brake instructions for your model year. Rear-brake procedures may differ on trucks with an electronic parking brake.
Loosen the wheel nuts only as directed by the manual. Lift at the approved point, place rated jack stands at approved support points, and lower the truck onto the stands. Never place any part of your body beneath a vehicle supported only by a jack.
Use the Toyota Tacoma owner-information system or the manual supplied with your exact truck rather than relying on a universal lift point or torque number.
4. Remove the Wheel and Inspect Before Cleaning
After removing the wheel, inspect the rotor face, edge, hat, visible cooling vanes, pads, caliper, hose, and nearby hardware. Do not remove the caliper or pads unless you are following a model-specific brake-service procedure.
Stop the job if you find a leaking hose, wet friction material, a loose component, a damaged caliper boot, a cracked rotor, or severe internal corrosion.
5. Control Loose Brake Dust
Do not blow the assembly with compressed air. Do not sweep it with a dry brush or wipe it with a dry cloth. Use a low-pressure fine mist and damp disposable wipes in line with EPA dust-control guidance. Keep food, drinks, children, and bystanders away from the work area.
Collect used wipes and runoff without spreading residue around the garage or carrying dusty clothing into the home. Follow local disposal requirements.
6. Clean Contamination, Not Structural Rust
If the rotor has oil, grease, or residue on the friction face, use an automotive brake-parts cleaner exactly as its label directs. Work in a well-ventilated area and control overspray. Protect adjacent paint, rubber, plastics, electrical connectors, and wheel finishes unless the product specifically states that it is compatible.
Wipe only with a clean, compatible, lint-free material while the surface remains controlled and damp. Allow all cleaner to evaporate before reassembly. Do not treat this step as a repair for deep rust.
7. Reinspect the Rotor
After the surface is visible, check again for pitting, cracks, grooves, heat discoloration, uneven pad contact, or corrosion inside the cooling vanes. Measure rotor thickness if you have the correct brake micrometer and the exact service specification.
If the rotor cannot be evaluated confidently, leave the final decision to a qualified brake shop.
8. Reinstall the Wheel Correctly
Make sure the wheel and mounting surfaces are clean and properly seated. Install the wheel nuts by hand, tighten them gradually in the correct crossing pattern, and use a calibrated torque wrench for final tightening to the specification for your model year and wheel.
Do not use a generic Tacoma torque figure because specifications can differ by year, wheel, and configuration.
9. Perform a Brake Check
Before moving, press the brake pedal and confirm that it feels firm and normal. If any caliper or pad component was moved, pump the pedal until normal firmness returns before selecting a gear.
Test the brakes at very low speed in a clear area. Confirm that the truck stops straight without grinding, severe vibration, warning lights, fluid loss, or an abnormal pedal. Do not resume normal driving until any problem is corrected.
Avoid These Common Mistakes When Cleaning Your Brake Rotors
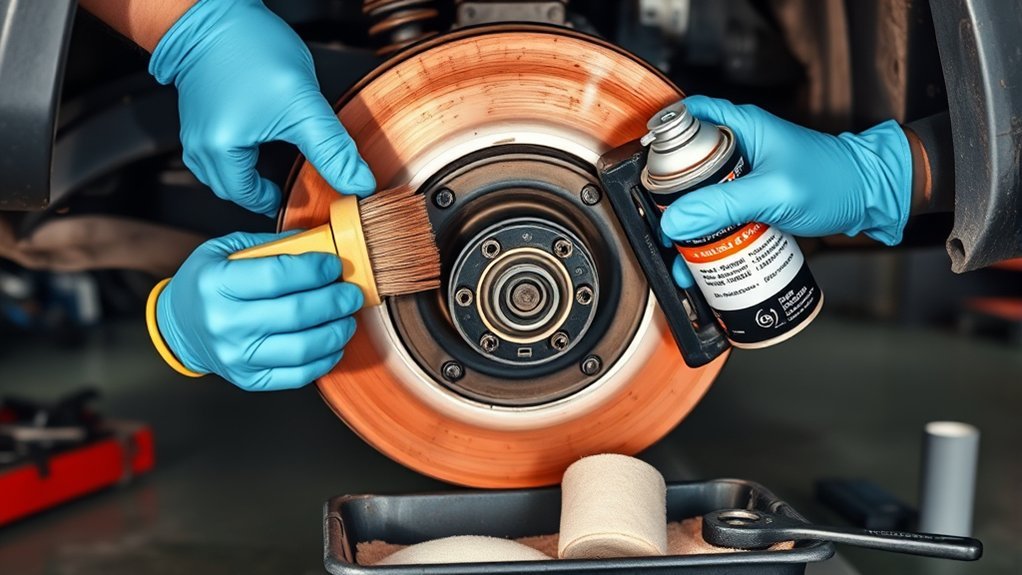
- Using compressed air: It can send fine brake dust into the air and across your work area.
- Dry brushing or dry wiping: These methods can disturb dust and do not verify whether the rotor remains serviceable.
- Spraying WD-40 or penetrating oil: Lubricants can reduce brake friction and contaminate the pads.
- Painting the friction face: Paint, engine enamel, anti-seize, and corrosion inhibitors must never coat the area contacted by the pads.
- Soaking the rotor in vinegar: Household acid is not a substitute for measurement, machining, or replacement.
- Sanding or blasting an installed rotor: Abrasive work can create dust, alter the finish, and remove metal without confirming minimum thickness.
- Spraying hot brakes: Brake-cleaner vapors may be hazardous or flammable, depending on the formulation.
- Guessing the lug-nut torque: Incorrect tightening can damage studs, distort mounting, or leave the wheel insecure.
- Ignoring symptoms after cleaning: Pulling, grinding, pulsation, weak braking, or a soft pedal requires diagnosis.
Inspecting Brake Rotors for Damage Post-Cleaning
A clean-looking surface is not enough. The rotor must also be thick enough, structurally sound, evenly worn, and compatible with the pads and caliper.
Visual Inspection Techniques
Use a bright flashlight and inspect as much of both rotor faces as possible. Look at the four main areas separately:
- Friction faces: Check for pits, cracks, grooves, uneven contact, and heat spots.
- Outer edge: A small wear lip can develop, but heavy scaling or missing metal needs evaluation.
- Rotor hat: Surface corrosion here may be cosmetic, but severe flaking near mounting areas is not.
- Cooling vanes: Heavy internal rust can weaken a vented rotor even when the visible face looks acceptable.
Do not run bare fingers over a sharp rotor edge. Brakes may also remain hot longer than expected after driving.
Measuring Rotor Thickness
Use a brake micrometer rather than relying on a ruler or basic visual estimate. Measure at several evenly spaced points around the rotor and stay away from the unworn outer lip. Compare the lowest valid reading with the minimum thickness marked on the rotor or listed in the correct Toyota service information.
Thickness alone does not identify every problem. A technician may also need to check thickness variation and lateral runout when the pedal pulsates or the steering wheel shakes during braking.
Never machine a rotor below its allowable finished thickness. If the specification cannot be confirmed, replace the rotor or have a brake shop make the decision.
Identifying Surface Imperfections
Use symptoms and physical evidence together:
- Deep grooves: May indicate worn pads, trapped debris, or metal-to-metal contact.
- Cracks: Require replacement rather than cleaning.
- Blue or dark heat spots: Can indicate overheating or uneven material transfer.
- Deep pitting: Reduces consistent pad contact and may remain after surface rust disappears.
- Uneven shiny bands: May point to pad, caliper, or rotor alignment problems.
- Pedal pulsation: Can involve thickness variation or runout and should not automatically be blamed on “warping.”
Effective Maintenance Tips to Prevent Rust on Brake Rotors
Regular Inspections Required
Inspect the brakes during tire rotations, wheel service, pad replacement, or whenever braking behavior changes. No single mileage interval fits every Tacoma because towing, off-road use, road salt, humidity, storage, load, and driving style affect wear.
After winter driving or coastal exposure, rinse road salt from the wheels and underbody without directing high-pressure water into sensitive components. Drive long enough afterward for normal brake use to dry the friction surfaces, provided the brakes operate normally.
If the Tacoma sits for extended periods, move and drive it periodically when safe and permitted. Parking in a dry, ventilated area can reduce moisture exposure, but exposed iron friction surfaces may still develop a light film.
Use Protective Coatings Only Where They Belong
Factory-coated replacement rotors can slow corrosion on the hat, outer edge, and other non-friction areas. The coating on a product designed for pad contact is engineered to wear away as specified by its manufacturer.
Do not spray ordinary brake paint, engine enamel, oil, rust converter, or corrosion inhibitor across the friction faces. If a rotor manufacturer permits coating the hat or edge, remove and prepare the rotor according to that manufacturer’s directions and mask every braking surface completely.
Caliper paint is also separate from rotor care. Keep it away from pads, rotors, piston boots, bleeder screws, slide pins, hoses, and other moving or sealing surfaces.
When to Replace Your Brake Rotors Instead of Cleaning
Cleaning is not an acceptable repair when the rotor has lost too much material or structural integrity. Replacement or professional service is appropriate when you find:
- Thickness at or below the published minimum
- Cracks or broken sections
- Deep pitting across the pad-contact area
- Heavy scaling or weakened cooling vanes
- Severe grooves that cannot be corrected within the machining limit
- Persistent vibration caused by confirmed runout or thickness variation
- Contamination that has soaked into or damaged the brake pads
- Grinding, weak braking, pulling, or an abnormal pedal
A squeal alone does not prove that the rotor is bad. Pads, hardware, caliper movement, contamination, wear indicators, or surface condition can all contribute to noise. Grinding or reduced braking, however, warrants immediate inspection.
Rotors on the same axle are commonly serviced as a matched pair so braking characteristics remain consistent. The pads must also be inspected and may require replacement when the rotors are replaced or machined.
Brake Rotor Care and Maintenance
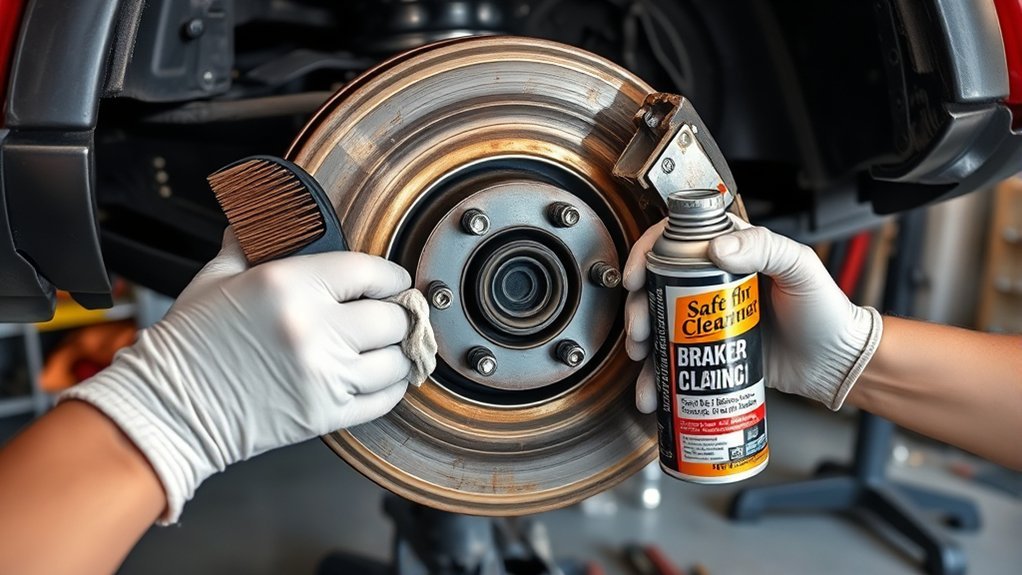
Rotor care starts with regular use, visual checks, safe dust control, and prompt attention to braking symptoms. Light rust may clear through normal pad contact, but repeated heavy corrosion can point to long storage, salt exposure, a sticking caliper, poor pad contact, or a rotor that has reached the end of its usable life.
Brake-fluid level is a separate hydraulic-system check. A low reservoir may accompany pad wear, but it can also indicate leakage. Do not repeatedly top up low fluid without finding the cause, and never allow oil, grease, or brake fluid to contact the rotor or pad surfaces.
Before assuming rotor rust caused a warning light, fluid leak, or major change in braking, check the truck’s model-year information and search the NHTSA recall database with the vehicle identification number. Recall applicability depends on the exact VIN.
Related Guides
Frequently Asked Questions
What can I use to clean rust off brake rotors?
For a thin film of surface rust, normal gentle braking in a safe area may be enough. Brake cleaner is useful for oil, grease, and compatible residue, but it does not dissolve deep corrosion. Do not dry-brush the brake assembly. Pitted, flaky, cracked, or heavily corroded rotors need professional measurement and possible replacement.
Will WD-40 remove rust from brake rotors?
Do not apply ordinary WD-40, penetrating oil, grease, or another lubricant to a rotor’s friction surface. These products may leave a slippery residue and contaminate the pads. Use only a brake-parts cleaner approved for the intended surface, and replace or professionally service a rotor with structural corrosion.
What is the 30/30/30 rule for brakes?
It is not a universal Toyota maintenance rule. You should not automatically replace Tacoma pads and rotors every 30,000 miles based on that phrase. Follow the maintenance information for your model year and base repairs on pad thickness, rotor measurements, driving conditions, symptoms, and inspection results.
How can I clean light rust from brake discs without removing them?
If the rust is only a thin film and the brakes feel normal, drive at low speed in a clear, dry area and apply the brakes gently several times. Stop if braking is weak, uneven, noisy, or accompanied by vibration. Do not spray lubricant through the wheel or insert a brush into the brake assembly.
Can a rusted brake rotor be resurfaced?
Possibly, but only when the rotor has enough material remaining and no disqualifying cracks, severe pitting, or structural corrosion. A brake shop must measure its current thickness and confirm that machining will leave it above the permitted finished thickness. Replacement is often the safer option for heavily corroded rotors.
Is rotor rust normal after rain or washing?
A light orange film can form on exposed iron surfaces after moisture exposure. It should not be assumed harmless when it causes persistent grinding, pulling, vibration, reduced braking, or visible pitting. Those signs call for a closer inspection.
Conclusion
Start with the least aggressive response to Tacoma rotor rust. A thin, even film may clear through several gentle stops, while deep pits, flakes, cracks, weakened vanes, or persistent braking symptoms require measurement and professional service.
Do not use compressed air, dry brushes, WD-40, vinegar soaking, uncontrolled abrasives, or paint on the friction faces. When a wheel must come off, use approved lift points, jack stands, the correct wheel-nut torque, and a careful low-speed brake test before returning to normal driving.
Sources
- U.S. Environmental Protection Agency: Brake and Clutch Repair Best Practices — brake-dust exposure and home-mechanic safety
- EPA Brake and Clutch Repair Worker Guidance PDF — wet wiping and prohibited dry-cleaning methods
- OSHA Appendix F to 29 CFR 1910.1001 — automotive brake and clutch dust-control practices
- Toyota Tacoma Owner’s Manual Information — model-specific vehicle, lifting, and wheel guidance
- National Highway Traffic Safety Administration Recall Lookup — VIN-specific safety recall checks
