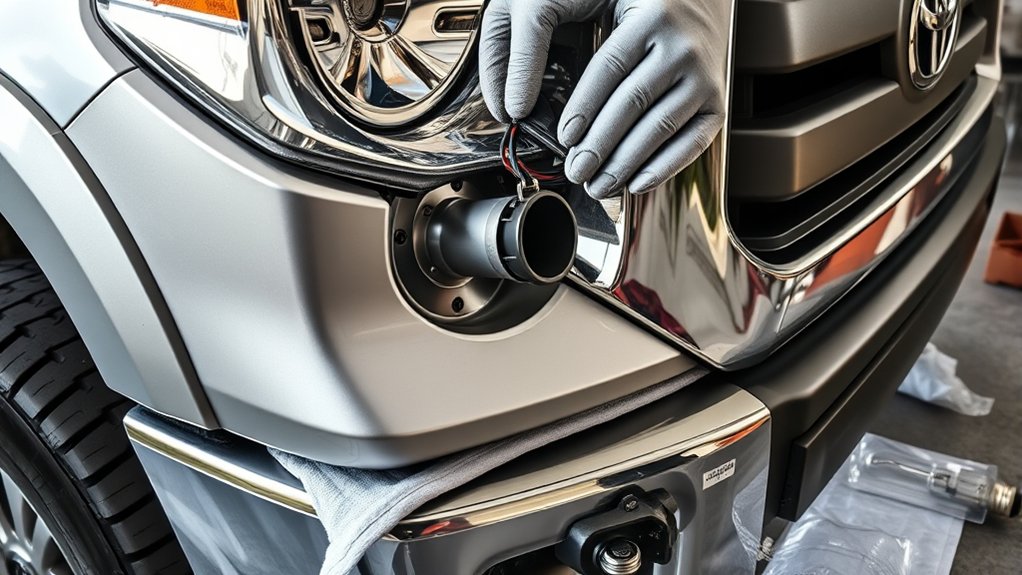
Replacing a Toyota Tundra headlight bulb is a manageable DIY job when you confirm the right bulb first, work safely, and keep the new bulb clean. This guide focuses on the 2007 Toyota Tundra low-beam headlight, which commonly uses an H11 bulb, but you should always verify the bulb number with your owner’s manual, the old bulb, or a VIN-based parts lookup before buying a replacement.
Last reviewed: July 4, 2026
Quick Answer
To replace a Toyota Tundra headlight bulb, park safely, turn the lights off, open the hood, unplug the connector, twist the old bulb counterclockwise, install the correct replacement bulb by the base, lock it clockwise, reconnect the plug, and test both headlights before driving.
Key Takeaways
- Many 2007 Toyota Tundra low-beam applications use an H11 bulb, but you should confirm fitment before buying.
- Do not use car keys to pry the connector. Press the connector tab by hand or use a small flat trim tool carefully.
- Handle a halogen bulb by its plastic base only because oil on the glass can shorten bulb life.
- If the new bulb does not work, check the connector, fuse, socket power, ground, and corrosion before blaming the bulb.
- After installation, check brightness and beam aim so you can see clearly without glaring other drivers.
At a Glance
| Time Required | 10 to 20 minutes for one bulb |
| Difficulty | Easy beginner DIY job |
| Tools Needed | Correct replacement bulb, nitrile gloves, clean cloth, flashlight, and optional small flat trim tool |
| Cost | Usually the cost of one replacement bulb; price varies by brand and bulb type |
Warning: Turn the headlights off, remove the key, set the parking brake, and let the bulb cool before touching the headlight area. Halogen bulbs can get very hot, and touching the glass with bare fingers can shorten bulb life.
Confirm the Correct Toyota Tundra Headlight Bulb
Before you open the hood, confirm which bulb you need. Many 2007 Toyota Tundra low-beam headlights use an H11 bulb, but the high beam, fog light, turn signal, and daytime running light can use different bulbs. Check your Toyota owner’s manual, compare the part number printed on the old bulb, or use Toyota Genuine Parts with your vehicle information or VIN.
Do not assume every bulb behind the headlight assembly is the same. If you install the wrong bulb, it may not fit, lock, seal, or aim correctly.
Step-By-Step Guide to Replacing Your Headlight Bulb
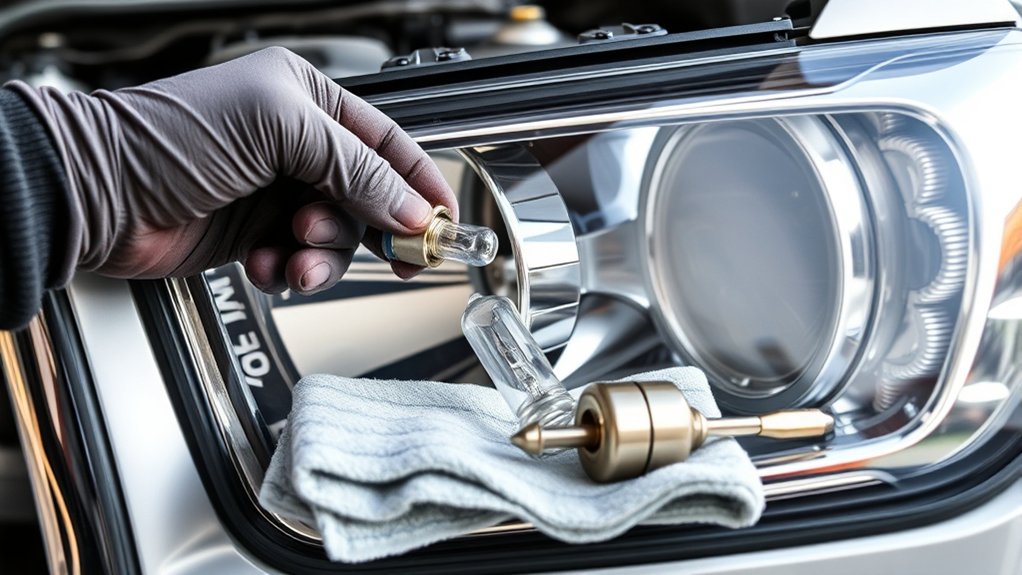
Replacing the headlight bulb in your 2007 Toyota Tundra is straightforward when you work from behind the headlight housing and avoid forcing the connector or bulb tabs. Follow these steps for a clean, safe installation.
- Park safely. Use a flat surface, turn the engine and lights off, set the parking brake, and let the headlight area cool.
- Open the hood. Pull the interior hood release, then release the secondary latch under the hood.
- Find the correct bulb socket. Match the side you are replacing and confirm you are working on the low-beam bulb, not the high beam or turn signal.
- Disconnect the wiring plug. Press the connector’s lock tab and pull the plug straight back. If it sticks, wiggle it gently instead of pulling on the wires.
- Remove the old bulb. Hold the bulb base, turn it counterclockwise, and pull it straight out of the housing.
- Install the new bulb. Hold the new bulb by its base, align the tabs with the housing, insert it fully, and turn it clockwise until it locks.
- Reconnect the plug. Push the connector onto the bulb base until it seats firmly.
- Test the light. Turn on the low beams and confirm both headlights work before closing the hood.
Pro Tip: If the other headlight is old and noticeably dimmer, replace both low-beam bulbs as a pair. Matching bulbs help keep brightness and color more even across the front of your truck.
Tools You’ll Need for a Smooth Replacement
To keep the headlight bulb replacement simple, gather your tools before you start. You do not need a large tool kit for this job.
- Correct replacement bulb — commonly H11 for many 2007 Tundra low-beam applications, but verify fitment first.
- Nitrile gloves — help keep skin oil off the bulb glass.
- Clean microfiber cloth — useful if you accidentally touch the glass or need to wipe dust from the area.
- Flashlight — helps you see the connector tab and bulb tabs behind the headlight housing.
- Small flat trim tool — optional, only for gently helping a stubborn connector tab release.
Do not use your car keys as a prying tool. Keys can slip, bend connector tabs, scratch plastic, or crack brittle parts around the headlight assembly.
Accessing the Headlight Bulb Efficiently
Once you have your tools, stand in front of the Tundra and look behind the headlight assembly on the side you are repairing. The bulb base sits at the back of the housing, with a wiring connector attached to it.
You usually do not need to remove the entire headlight assembly for a basic bulb replacement. If space is tight, use a flashlight and work slowly. Do not pull on the wire harness for leverage. If the bulb will not turn by hand, check that you are gripping the bulb base and not the connector.
Note: The low beam, high beam, fog light, and turn signal are separate lamp positions. Confirm the exact position before removing a bulb.
Safely Removing the Old Headlight Bulb
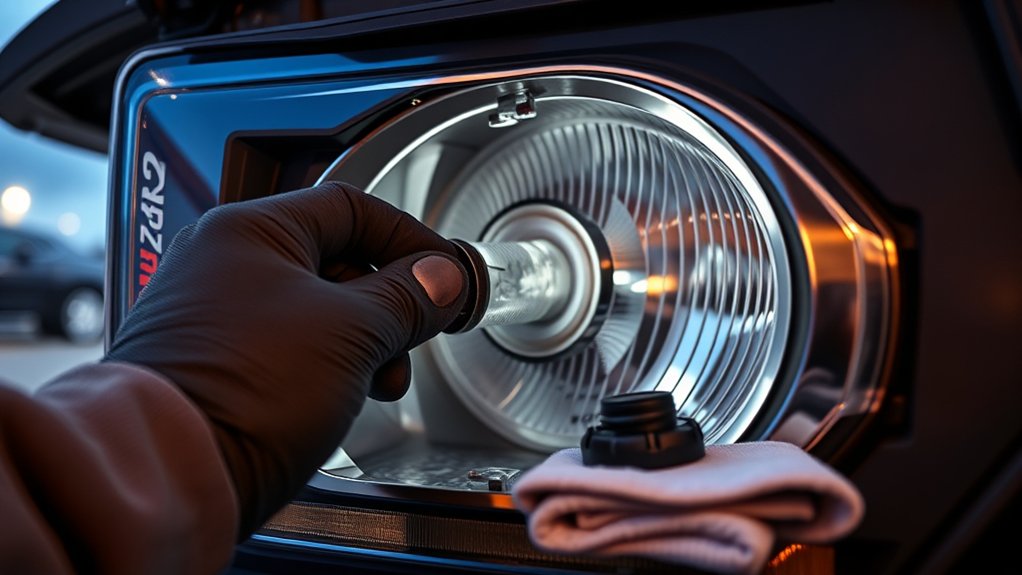
To safely remove the old headlight bulb, unplug the wiring connector first. Press the connector tab, pull the plug straight back, and avoid yanking on the wires. Then turn the bulb counterclockwise until the tabs release from the housing.
Locate The Bulb Assembly
The bulb assembly is the round plastic base at the rear of the headlight housing. Use the front lens position to confirm you are behind the correct light. If the driver-side low beam is out, work behind the driver-side low-beam lens.
- Look for the wiring connector attached to the rear of the bulb.
- Confirm the connector and bulb match the lamp position you want to replace.
- Press the connector lock tab and pull the connector off the bulb base.
- Check the area for moisture, corrosion, loose wiring, or broken plastic before removing the bulb.
Twist And Release
Grip the bulb base, turn it counterclockwise, and pull it straight out. Do not rock the bulb hard from side to side. If it feels stuck, pause and check the locking tabs. Forcing the bulb can crack the housing or damage the tabs that hold the new bulb in place.
Handle With Care
Once the old bulb is out, set it on a safe surface. If the glass is broken, wear gloves and remove fragments carefully. Do not leave broken glass inside the headlight housing. If you see melted plastic, heavy corrosion, or water inside the housing, fix that issue before installing the new bulb.
Proper Handling of Your New H11 Bulb
Handling your new H11 bulb properly helps it last longer. Hold the bulb by its plastic base only. Avoid touching the glass because oil, salt, or dirt from your fingers can create hot spots once the bulb heats up.
If you touch the glass by accident, wipe it with a clean cloth and a small amount of isopropyl alcohol, then let it dry before installation. Keep the new bulb in its original packaging until you are ready to install it so dust and grit do not get on the glass.
Installing the New Headlight Bulb: Tips and Tricks
Before inserting the new headlight bulb, compare it with the old one. The base shape, locking tabs, connector shape, and bulb number should match. If anything looks different, stop and recheck fitment.
- Hold the new bulb by the base.
- Line up the locking tabs with the slots in the headlight housing.
- Push the bulb in straight so the gasket seats evenly.
- Turn the bulb clockwise until it stops and feels locked.
- Reconnect the wiring plug until it seats firmly.
Do not force the bulb. If it will not lock, remove it, realign the tabs, and try again. A bulb that sits crooked can flicker, leak moisture into the housing, or create a poor beam pattern.
Ensuring Proper Bulb Orientation
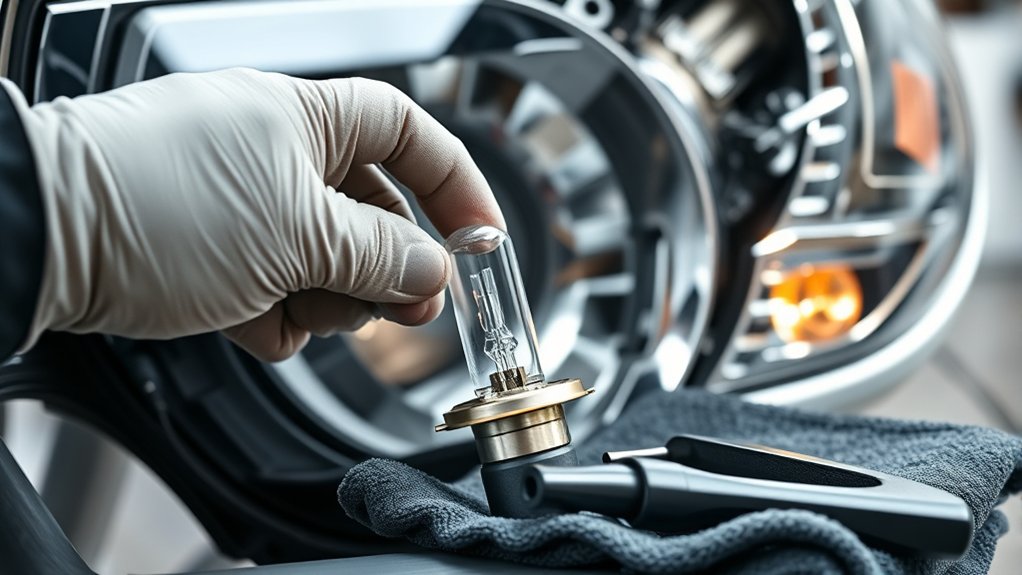
Proper bulb orientation is essential because the bulb must sit at the correct depth and angle inside the reflector. Instead of relying only on a clock position, use the locking tabs as your guide. The bulb should slide in smoothly, sit flush, and twist into place without wobbling.
Use this quick reference before closing the hood:
| Correct Fit | Bulb sits flush and locks with a firm clockwise turn. |
| Common Mistake | Bulb tabs are misaligned, so the bulb sits crooked. |
| Possible Result | Flickering, dim light, moisture entry, glare, or poor beam aim. |
| Handling Tip | Hold the bulb by the base and keep the glass clean. |
| Troubleshooting Check | If the light flickers, recheck bulb seating and connector fit first. |
Testing Your New Headlight for Functionality
After installing the new headlight bulb, turn on the low beams and stand in front of the truck at a safe distance. Both headlights should turn on immediately, shine with similar brightness, and point at a similar height.
Check Light Alignment
Park on a level surface facing a wall or garage door. The low-beam cutoff should look even from side to side. If the beam points much higher after the bulb replacement, the bulb may not be seated correctly, or the headlight aim may need adjustment. Proper lighting matters because vehicle headlamps must support forward visibility while limiting glare for other drivers, as explained in NHTSA headlamp safety guidance.
Inspect Brightness Levels
Compare the new bulb with the other side. A newer bulb may look slightly brighter, but a large difference can point to an aging bulb on the other side, a cloudy lens, a weak connector contact, or a voltage issue. Clean cloudy lenses and replace mismatched old bulbs when needed.
Ensure Proper Functionality
Test the low beams, high beams, turn signals, hazard lights, and parking lights before driving. Replacing one bulb can disturb nearby wiring if you worked in a tight area. A quick full-light check helps you catch a loose connector before you get back on the road.
What to Do If Your New Headlight Isn’t Working?
If your new headlight is not working, start with the simplest checks. Make sure the bulb is fully locked into the housing and the connector is seated. Then remove the connector and look for bent terminals, corrosion, melted plastic, or moisture.
- Recheck the bulb number. Confirm the replacement matches the old bulb and the lamp position.
- Re-seat the connector. Push it on firmly until it clicks or stops.
- Inspect the fuse. Check the fuse related to the headlight circuit and replace a blown fuse with the correct amperage only.
- Check for power at the socket. Use a multimeter only if you know how to test automotive circuits safely.
- Inspect the ground and wiring. Look for damaged insulation, loose grounds, corrosion, or a connector that flickers when moved.
- Swap sides only if appropriate. If both sides use the same bulb type, testing the bulb on the working side can help confirm whether the bulb is faulty.
If fuses keep blowing, wiring looks melted, or both headlights fail at the same time, stop the DIY repair and have the circuit checked by a qualified technician.
Key Takeaways for Successful Headlight Replacement
A successful Toyota Tundra headlight bulb replacement comes down to correct fitment, clean handling, and careful testing. Confirm the bulb number, keep the glass clean, lock the bulb fully into the housing, and test the beam before driving at night.
Proper Bulb Handling Tips
Handling headlight bulbs properly helps prevent early failure and installation problems. Follow these simple bulb-care habits:
- Hold the bulb by the plastic base, not the glass.
- Keep the bulb in its package until installation.
- Clean accidental fingerprints from the glass before turning the bulb on.
- Do not force the bulb into the housing.
- Make sure the gasket seats evenly to help keep moisture out.
Verify Functionality After Installation
Start by turning on your vehicle lights and checking both headlights from outside the truck. Both sides should light evenly. Then take a short test drive after dark in a safe area and confirm the beam pattern gives you clear road visibility without shining too high into other drivers’ eyes.
| Check | What You Want To See | What To Do If It Fails |
| Bulb fit | Bulb sits flush and does not wobble. | Remove and realign the tabs. |
| Connector | Plug seats firmly on the bulb base. | Check for bent pins or corrosion. |
| Brightness | Both low beams look similar. | Inspect the old opposite bulb, lens clarity, and voltage. |
| Beam aim | Cutoff height looks even from side to side. | Recheck bulb seating or adjust aim if needed. |
Related Guides
Frequently Asked Questions
How often should I replace my headlight bulbs?
Replace a headlight bulb when it burns out, flickers, looks much dimmer than the other side, or shows damage. Bulb life varies by bulb design, voltage, vibration, and driving use, so regular visual checks are more useful than one universal hour-based interval.
Can I use LED bulbs instead of H11?
Use caution. Some LED replacement bulbs may fit the connector but still create glare, warning lights, poor beam shape, or road-legality issues in a halogen housing. Use only compatible, road-legal lighting parts or a complete approved headlight assembly that suits your Tundra.
What causes headlights to burn out quickly?
Common causes include touching the bulb glass, loose connectors, water inside the housing, high charging voltage, vibration, poor-quality bulbs, or weak ground connections. If bulbs fail repeatedly, inspect the housing, connector, fuse, wiring, and charging system.
Is it necessary to replace both headlights at once?
It is not strictly required, but replacing both low-beam bulbs together often gives you more even brightness and color. If one bulb is old enough to fail, the other may be near the end of its useful life too.
How do I know if my headlight wiring is faulty?
Suspect wiring trouble if the bulb is good but will not light, flickers when you move the connector, works only sometimes, or keeps blowing fuses. Look for corrosion, melted plastic, loose terminals, damaged insulation, or a bad ground.
Why does my new headlight look dim?
A new bulb can look dim if it is not seated correctly, the connector is loose, the lens is cloudy, the ground is weak, or the opposite bulb is a different type. Recheck the bulb fit first, then inspect the lens, wiring, and voltage.
Conclusion
You can replace a Toyota Tundra headlight bulb at home with basic tools and careful handling. Confirm the correct bulb, keep the glass clean, lock the bulb fully into the housing, and test the light before driving. If the new bulb still does not work after checking the connector and fuse, inspect the wiring or ask a qualified technician to diagnose the circuit.
Sources
- Toyota Owners Manuals & Warranties — owner manual lookup for vehicle-specific bulb and maintenance information.
- Toyota Genuine Parts — vehicle and VIN-based replacement parts lookup.
- NHTSA Adaptive Driving Beam Headlamps Final Rule — headlamp visibility and glare safety context.
- 49 CFR § 571.108, FMVSS No. 108 — U.S. lighting equipment standard for lamps, reflective devices, and associated equipment.