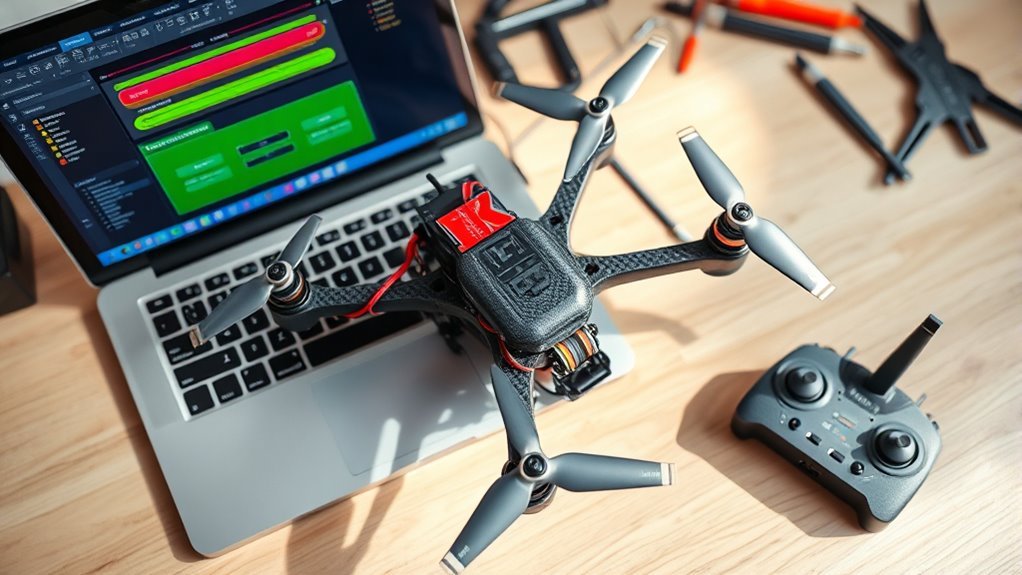
Before a first Betaflight flight, the setup must be checked methodically. AUX channels should be mapped for Arm, Angle, Horizon, and Air Mode, then arming logic and failsafe behavior confirmed in the configurator. Motor order and rotation also need verification with props removed. ESC firmware and BLHeli settings can affect the result. Each step reduces risk, but one overlooked detail can still stop the quad from lifting off.
Map AUX Channels on Your Radio
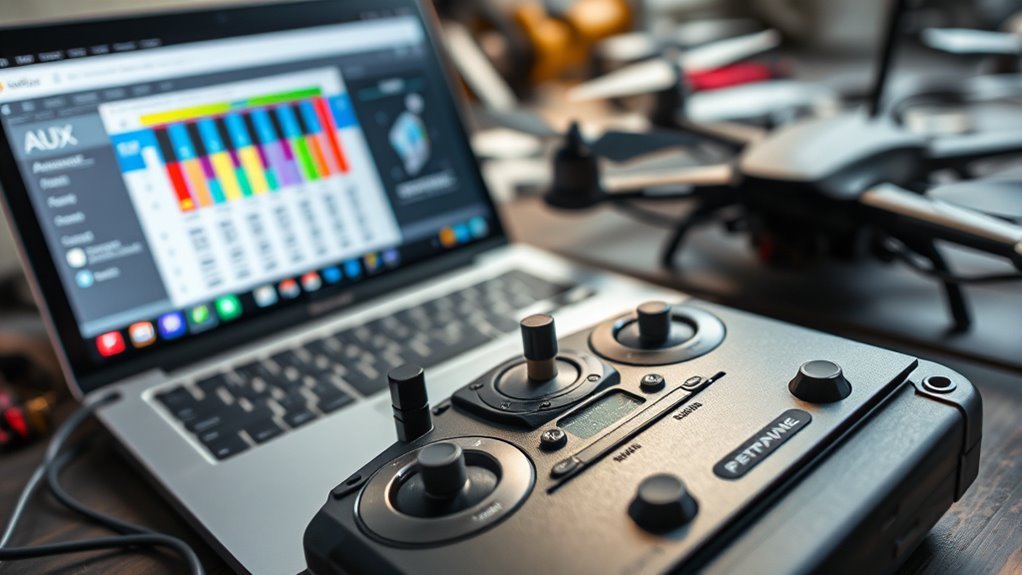
Next, map the auxiliary channels on the FlySky FS-i6 so additional switches are available beyond the default Roll, Pitch, Yaw, and Throttle inputs on channels 1–4.
On the FlySky FS-i6, assign SWA to Channel 5 and SWC to Channel 6 through the radio’s AUX channels menu. This mapping expands control authority and gives the pilot dedicated switch inputs for later configuration.
After selecting the desired switch-to-channel assignments, press and hold Cancel to save the settings. Without saving, the radio may revert and the freed-up channels will not be available.
Channel 5 and 6 can then be reserved for functions such as arming or other switch-based commands.
Before the first flight, inspect each mapping carefully and confirm that every switch corresponds to the intended channel. A clean AUX channels setup on the FlySky FS-i6 reduces errors, supports disciplined operation, and helps keep the aircraft under deliberate control.
Set Up Betaflight Flight Modes
With the AUX channels mapped on the radio, the next step is to open the Modes tab in Betaflight and assign those channels to the desired flight functions.
The flight controller should receive Arm on AUX1, using Switch A, with the active range spanning about half of the slider so arming is reliable and deliberate.
Next, assign Switch C on AUX2 to Air Mode, Angle, and Horizon as needed, letting the pilot move from stable assistance to freer control while skill expands.
For beginners, Horizon Mode remains available only if the accelerometer is enabled in the Configuration tab, so make sure that option is active before saving.
After each assignment, confirm the channel ranges and save the profile in Betaflight.
A brief bench check in a safe area helps verify that each mode engages cleanly, preserving control, autonomy, and readiness before the first flight.
Set Up Safe Arming and Failsafe
In Betaflight, safe arming begins by setting the arming angle to 180 degrees so the craft will arm only when level, reducing startup risk. This Arming angle safety rule supports calm, deliberate launches and prevents accidental spool-up.
In the Modes tab, map Arm to a transmitter switch so pre-flight control stays immediate and clear. Configure Failsafe to command an automatic land or return when signal loss is detected. That Signal loss response preserves freedom by reducing the chance of an uncontrolled descent.
Failsafe testing should occur in a controlled environment before first flight, confirming the system behaves as intended. Review and update the settings regularly for new fields, weather, and range conditions.
- Level craft, then arm.
- Switch access feels decisive.
- Signal loss becomes manageable.
- Recovery settings reduce fear.
- Testing builds trust.
Check Motor Order and Spin Direction
Confirm the motor order in Betaflight matches the drone’s physical layout, then test each motor without propellers to verify spin direction safely.
During motor testing, the first safety precautions are nonnegotiable: remove props, secure the frame, and keep hands clear.
Remove props, secure the frame, and keep hands clear before any motor test.
Betaflight should show each motor in the correct corner, matching the craft’s front, rear, left, and right positions.
For spin verification, briefly activate one motor at a time and observe the direction of rotation. Use masking tape to label each shaft or arm so the tested direction is recorded immediately.
If a motor spins incorrectly, reverse it in the ESC configuration, then retest until the pattern is correct. Precision here prevents flight control errors and protects the airframe from avoidable instability.
Once all motors respond as expected, perform a final motor test in Betaflight to confirm order and direction before the first flight.
Update ESCs in BLHeli Suite
To update the ESCs in BLHeli Suite, the flight controller should be connected to a computer with the battery attached so the ESCs are accessible for configuration.
Open BLHeli Suite and read the current ESC settings to inspect motor direction, PWM frequency, and other BLHeli Suite features.
Verify each ESC firmware version is 32.7 or higher to activate RPM filtering and improve control authority.
If needed, perform ESC firmware updates one ESC at a time, confirming success after each flash in the interface.
Use careful ESC calibration techniques only where required by the firmware and hardware combination.
- Relief: settings become visible
- Confidence: each ESC is verified
- Freedom: motor response is corrected
- Momentum: RPM filtering is enabled
- Control: the craft is ready
After flashing, reconnect Betaflight and enable bi-directional DShot to strengthen communication between the flight controller and ESCs.
Frequently Asked Questions
How to Setup Failsafe in Betaflight?
Failsafe is set by opening Betaflight Configurator, entering the Failsafe tab, and selecting a response such as Drop or Hold.
The pilot should verify receiver binding, then save the Failsafe configuration.
Next, Failsafe testing should be done by switching off the transmitter in a safe area.
If Failsafe triggers correctly, the craft should stop or recover as configured, protecting people and equipment while supporting responsible flight autonomy.
What Are the Recommended PID Settings for Beginners in Betaflight?
Recommended beginner Betaflight PID settings usually start near defaults: P 40–50, I 45–55, and D 20–30.
PID tuning basics favor small, deliberate changes; raise P slowly for sharper response, lower D first to prevent over-correction, and keep I moderate for stability.
Common issues include oscillation, bounce-back, and drifting.
Beginner mistakes often come from large jumps.
Test each adjustment in a safe environment to preserve control and freedom.
Why Does Betaflight Say Arming Disabled?
Betaflight says arming disabled when a safety gate blocks motor start, like a locked door barring lift-off.
The common causes are nonzero throttle, an unlevel craft, an incompatible flight mode, disabled accelerometer, or a missing receiver signal.
For correct Arming procedures, inspect Configuration tips and run Safety checks first.
Once these conditions clear, the system releases control and the quad can arm, giving the pilot practical freedom.
What Are the Flight Modes in Betaflight?
Betaflight offers several flight mode types: Angle, Horizon, and Air Mode.
Angle provides self-leveling and tilt limits for stable beginner control.
Horizon blends stabilization with acrobatic flips, giving intermediate pilots flight mode benefits without fully disabling assistance.
Air Mode removes stabilization limits, preserving full authority for advanced maneuvering.
In flight mode comparisons, Angle is safest, Horizon is versatile, and Air Mode is most free.
These modes are assigned in the Modes tab.
Conclusion
With the AUX channels mapped and flight modes assigned, the quad stands at the edge of readiness. Arming rules and failsafe settings form its final line of defense, silent until signal or switch call it to action. Then, one motor at a time, order and spin direction are checked like gears in a clock. If BLHeli updates align the ESCs, the machine waits, composed and precise, for its first lift into the air.
