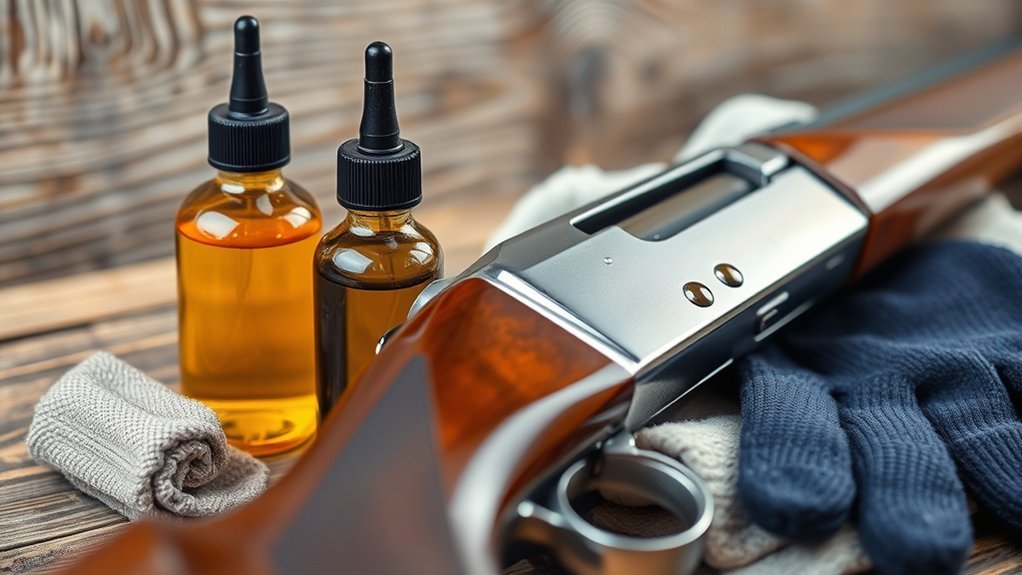
When it comes to firearms, preventing rust starts with safe handling, regular cleaning, dry storage, and the right protective products. Rust can quietly damage metal surfaces, reduce reliability, and shorten the life of your firearm if moisture, fingerprints, salt, or fouling sit on the finish too long. This guide covers practical firearm rust prevention steps you can use to keep firearms cleaner, drier, and better protected.
Quick Answer
To prevent firearm rust, keep the firearm unloaded, clean it after handling or use, remove moisture and fouling, apply a light protective oil or approved coating, and store it in a locked, dry, ventilated space with controlled humidity. Check stored firearms regularly so small rust spots do not become lasting damage.
Key Takeaways
- Rust forms when steel reacts with oxygen and moisture, and salt or fingerprints can speed up the process.
- Clean and dry firearms after use, handling, rain exposure, or storage in humid conditions.
- Use firearm-safe solvents, lubricants, CLP products, or protective coatings based on the finish and manufacturer guidance.
- Store firearms unloaded, locked, and separate from ammunition in a dry space with humidity control.
- Inspect stored firearms on a schedule, especially if you live near the coast or in a humid climate.
At a Glance
| Time Required | 10–30 minutes for routine cleaning and inspection, depending on firearm type and condition |
| Difficulty | Easy to moderate when you follow the firearm manufacturer’s safety and maintenance instructions |
| Tools Needed | Cleaning rod or bore snake, brushes, patches, microfiber cloth, firearm-safe solvent, lubricant or CLP, desiccant, and safe storage container |
| Cost | Usually low for basic cleaning supplies, with higher costs for safes, dehumidifiers, or professional coatings |
Warning: Always unload the firearm, point it in a safe direction, remove ammunition from the cleaning area, and follow the manufacturer’s manual before cleaning, inspecting, or storing any firearm.
Understanding Rust and Its Causes
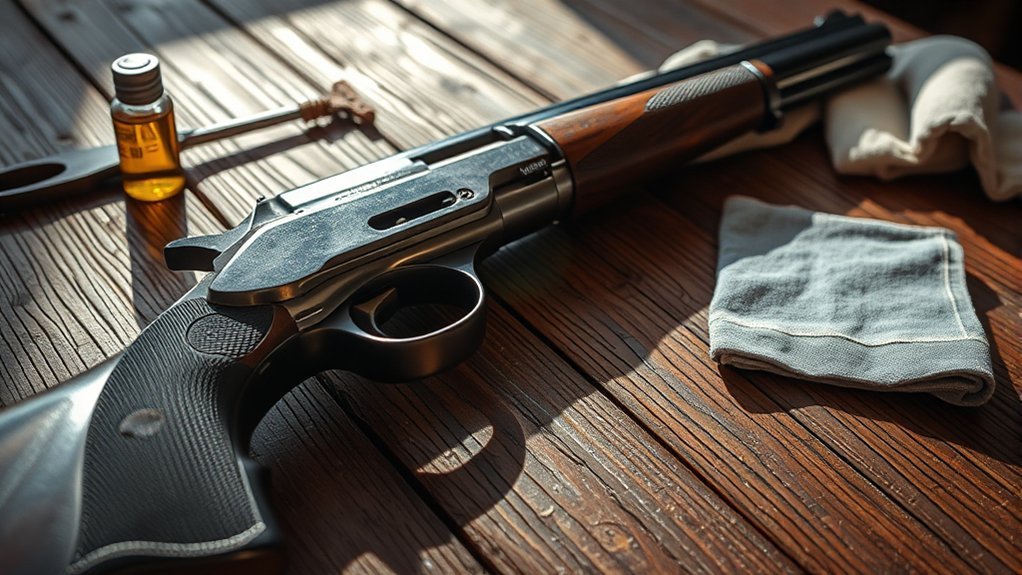
Rust forms through a chemical reaction known as oxidation. This process happens when iron or steel reacts with moisture and oxygen in the environment. Many firearms contain steel parts, so rust prevention matters even if the firearm also has stainless, polymer, aluminum, coated, or blued components.
You might notice rust developing after exposure to high humidity, rain, sweat, fingerprints, condensation, or salt air. Salt can accelerate corrosion, which makes coastal storage and wet hunting conditions especially risky. Dirt, powder residue, old oil, and skin oils can also trap moisture against the metal and create small corrosion spots.
Rust risk increases when firearms are stored in poorly ventilated areas, damp basements, garages, soft cases, or vehicles. Temperature swings can also create condensation on cool metal surfaces. Once you understand how rust forms, you can prevent most problems with safe cleaning, careful drying, protective lubrication, and controlled storage.
Importance of Regular Cleaning
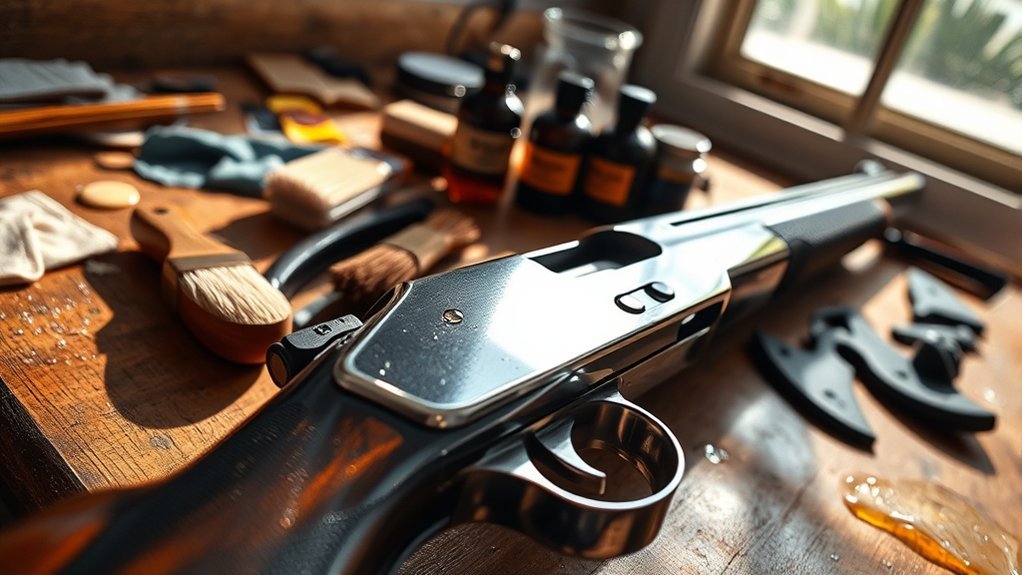
While you might think that a firearm only needs cleaning after heavy use, regular maintenance helps prevent rust and keeps moving parts in better condition. You should clean or inspect a firearm after shooting, handling with bare hands, exposure to moisture, long storage, or use in dusty, sandy, rainy, or coastal conditions.
Neglecting this important task can lead to corrosion, finish damage, sticky controls, and reliability problems. A basic rust-prevention routine should focus on four goals:
- Moisture Removal: Regular cleaning removes water, condensation, sweat, and humidity-related moisture that can start rust.
- Debris Elimination: It removes dirt, fouling, lint, and residue that can hold moisture against metal surfaces.
- Lubrication Maintenance: Routine cleaning lets you check and refresh proper lubrication, which helps reduce wear and adds short-term corrosion protection.
- Longevity Assurance: Consistent care extends your firearm’s service life and helps you catch small issues before they become expensive damage.
Pro Tip: After handling a firearm, wipe exterior metal surfaces with a clean cloth and a light protective oil. Fingerprints can leave salts and oils behind, especially on blued steel.
Choosing the Right Cleaning Products
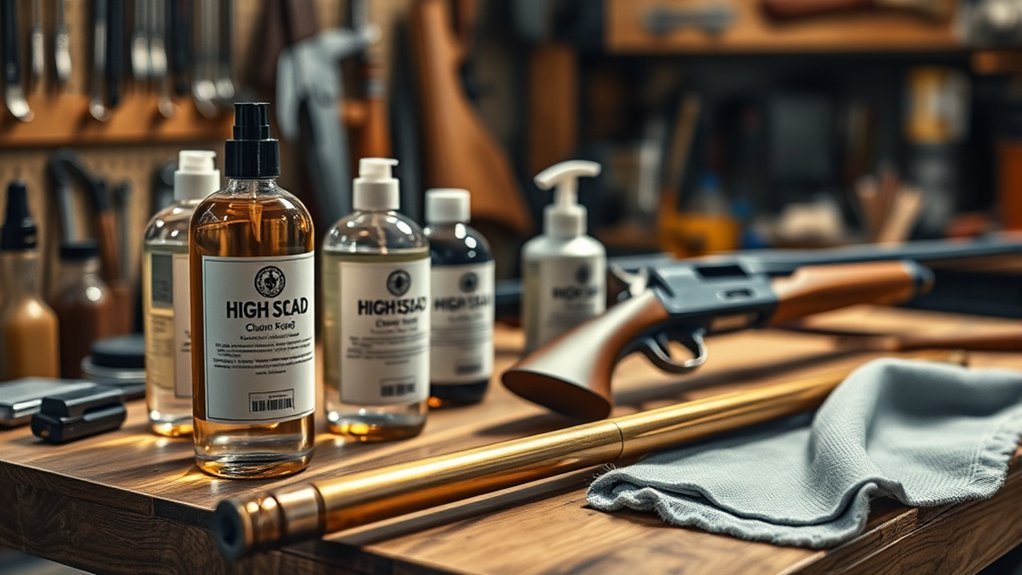
Choosing the right cleaning products is vital because harsh chemicals, poor lubrication, or the wrong tools can damage finishes or leave metal underprotected. Match the product to your firearm’s finish, follow the product label, and check the firearm manufacturer’s manual before using strong solvents or abrasive tools.
You will usually need a cleaner or solvent, a lubricant, and a protectant. Some products combine these functions, while others work best as part of a multi-step cleaning routine. The goal is to remove fouling and moisture without stripping away every layer of protection.
Types of Cleaning Solvents
Choosing the right cleaning solvent helps you maintain the firearm while reducing the risk of rust. Here are four types of cleaning products to consider:
- Solvent-based cleaners: These can remove carbon, copper, lead, and powder residue, but some formulas are strong. Use them with caution, ventilation, gloves when needed, and manufacturer instructions.
- Water-based cleaners: These are often lower-odor and easier to rinse, making them useful for general maintenance when used exactly as directed. Dry the firearm completely afterward because leftover moisture can cause rust.
- CLP (Clean, Lubricate, Protect): This all-in-one product simplifies maintenance by combining cleaning, lubrication, and short-term corrosion protection. Some CLP products are designed around performance standards such as U.S. DoD MIL-PRF-63460G.
- Bio-based cleaners: These can be useful for lower-toxicity cleaning, but you should verify that they are suitable for firearms and compatible with your firearm’s finish.
Selecting the right solvent helps ensure your firearms are cleaned well and protected against rust. Avoid mixing chemicals unless a manufacturer specifically says they are compatible.
Essential Cleaning Tools
The right cleaning tools protect your firearm’s surfaces and make rust prevention easier. Avoid improvised metal tools, rough abrasives, or anything that can scratch the bore, crown, finish, or small parts. Here’s a quick reference table to help you choose:
| Tool Type | Purpose | Recommended Brands |
|---|---|---|
| Cleaning Rod | Pushes patches through barrel | Tipton, Dewey |
| Brushes | Scrubs fouling from surfaces | Hoppes, Otis |
| Patches | Absorbs solvent, cleans barrel | Pro-Shot, Tipton |
| Lubricants | Protects against rust and wear | CLP, Break-Free |
Invest in quality tools to simplify your cleaning process and protect the firearm’s finish. A soft nylon brush, microfiber cloth, bore guide, chamber brush, and silicone-treated cloth can also help with safe, routine maintenance.
Proper Storage Techniques
Proper storage techniques play an essential role in preventing rust on your firearms. Cleaning matters, but storage conditions decide whether moisture returns after the firearm goes back into the safe, cabinet, or case.
- Choose a Climate-Controlled Environment: Store firearms in a cool, dry place to minimize humidity. Indoor humidity around 30–50% RH is a practical target based on general indoor air guidance from the EPA. Corrosion of carbon steel becomes more likely as humidity rises, especially above about 60% RH, according to corrosion guidance from the American Galvanizers Association.
- Use Gun Cases or Safes: Protect your firearms from dust, handling, and unauthorized access by keeping them in quality cases or safes. Add desiccants, a safe dehumidifier, or humidity monitor when needed.
- Avoid Long-Term Storage in Soft Cases: Many soft cases can trap moisture against metal. Use them for transport, but choose a dry safe or secure storage container for longer storage.
- Avoid Direct Contact with Metal: Use silicone gun socks, safe racks, or padded supports to prevent scratches and metal-on-metal contact that can expose bare steel.
- Regularly Inspect and Rotate: Periodically check your firearms for signs of rust and rotate their positions to improve airflow and reduce pressure points.
Safety & compliance note (U.S.): Store firearms unloaded, lock them with a device or in a secure container, and keep ammunition stored separately and inaccessible to unauthorized users. See official guidance from the ATF and the U.S. Department of Justice.
Note: A gun safe can still become humid inside. Use a hygrometer to check actual relative humidity instead of guessing from how the room feels.
Applying Protective Coatings
Applying the right protective coatings can reduce the risk of rust, especially on firearms exposed to rain, sweat, salt air, or frequent handling. Some coatings are permanent or semi-permanent finishes applied by professionals, while others are simple oils, waxes, or protectants you reapply during routine maintenance.
Before applying any coating or protectant, confirm that it is safe for your firearm’s metal, wood, polymer, optics, and existing finish. A product that works well on one finish may be wrong for another.
Types of Protective Coatings
Understanding the common types of protective coatings helps you choose the right level of rust protection. Here are four common options:
- Bluing: A traditional finish that forms a controlled oxide layer. It can look excellent and provide moderate rust resistance, but it still needs oil and regular care.
- Parkerizing: A phosphate-based finish, often zinc or manganese phosphate, that can hold oil well and provide strong corrosion resistance when maintained properly.
- Cerakote: A ceramic-based coating known for durability and corrosion resistance. Representative salt-spray testing is available from the manufacturer’s test data.
- Oil: A simple and effective option for routine storage. Oil films provide temporary protection but require regular reapplication, especially after handling or cleaning.
The right coating can improve long-term protection, but no finish eliminates the need for safe storage and periodic inspection.
Application Techniques Overview
Applying protective coatings to firearms requires care and attention to detail. First, make sure the firearm is unloaded and safe to handle. Then follow the firearm manufacturer’s instructions for field-stripping or surface access. Do not take apart parts beyond your skill level or the manual’s guidance.
Thoroughly clean the surface to remove dirt, oil, moisture, and existing rust. Use a degreaser or firearm-safe solvent if the coating instructions require it. Once clean, dry the surface completely. For spray applications, hold the can at the distance listed on the product label and apply light, even coats to avoid drips. If you use a brush-on product, choose a clean applicator that will not shed fibers or scratch the finish.
Be mindful of temperature and humidity because these factors can affect adhesion and curing. Allow each coat to dry fully before applying additional layers. Cure the coating exactly as recommended by the manufacturer. If the coating requires baking, blasting, or professional preparation, consider using a qualified gunsmith or certified applicator.
Maintenance and Care Tips
Regular maintenance keeps protective coatings working as intended. Even strong finishes can wear on sharp edges, contact points, controls, holster areas, and exposed screws. To keep your firearm rust-free, follow these maintenance tips:
- Clean Regularly: Remove dirt, moisture, and residues after each use. Use a suitable cleaning solvent and a soft cloth.
- Inspect Coatings: Check for wear, chips, scratches, or bare metal. Address damaged areas quickly to prevent rust from spreading.
- Apply Protective Oils: Use high-quality gun oils, CLP products, or firearm-safe waxes designed for corrosion protection. Reapply them according to the manufacturer’s recommendations.
- Store Properly: Keep your firearm in a locked, climate-controlled environment. Use silicone gun socks, safe dehumidifiers, or desiccants for extra protection when needed.
Environmental Considerations
Rust can develop on firearms because of several environmental factors, so your prevention plan should match where and how you use the firearm. Humidity is one of the biggest concerns. High moisture levels can speed up corrosion, especially if the firearm was handled, shot, or exposed to outdoor weather before storage.
Temperature fluctuations can also lead to condensation. A firearm moved from a cold vehicle into a warm room may collect moisture on metal surfaces. Let the firearm adjust safely, then wipe it dry and apply protection before storage.
Saltwater, sweat, and corrosive airborne particles can rapidly degrade metal surfaces. If you live near the coast, hunt around wetlands, carry in hot weather, or store firearms in a humid region, consider stronger protective coatings, a silicone-treated gun sock, a safe dehumidifier, and more frequent inspections. Avoid storing firearms in damp basements, garages, attics, or vehicles because these places often have large humidity and temperature swings.
Check your storage area for moisture, musty smells, water leaks, condensation, and rusty tools or hardware nearby. If other metal objects rust in the same space, your firearms are also at risk.
Routine Inspections and Maintenance
Routine inspections and maintenance help ensure your firearms remain in good condition and free from rust. A quick visual check can catch early surface rust before it spreads under the finish or into hard-to-clean areas.
- Visual Inspection: Check for rust, corrosion, discoloration, pitting, scratches, or damaged finish on exterior surfaces and accessible internal components.
- Cleaning: Use appropriate cleaning products to remove dirt, debris, fouling, fingerprints, and moisture, especially from the bore, chamber, action, and exterior metal.
- Lubrication: Apply a high-quality gun oil or CLP to moving parts and exposed metal surfaces that may contact moisture. Use a light film because too much oil can attract dirt.
- Storage Check: Confirm your storage environment is controlled for humidity and temperature. Replace saturated desiccants and check safe dehumidifiers regularly.
- Function and Safety Check: After cleaning, confirm parts are dry, properly reassembled according to the manual, and safely stored unloaded.
For firearms in long-term storage, set a recurring inspection schedule. Monthly checks work well in humid climates, while quarterly checks may be enough in dry, stable indoor conditions. Increase the inspection frequency after storms, flooding, travel, coastal exposure, or long periods without climate control.
How to Handle Early Rust Spots
Small rust spots are easier to manage when you catch them early. First, unload the firearm, remove ammunition from the area, and follow the manufacturer’s instructions. Then inspect the affected area under good light. Light surface rust may wipe away with firearm-safe oil and a soft cloth. Avoid aggressive sanding, steel tools, or harsh abrasives because they can remove finish and make future rust worse.
If rust appears near the bore, chamber, locking surfaces, controls, sights, screws, or any critical part, use extra caution. Deep pitting, flaking, or rust inside the barrel should be inspected by a qualified gunsmith. Safety-related corrosion is not just cosmetic damage.
After removing light rust, clean and dry the area, apply a protective oil or coating, and improve the storage conditions that caused the problem. Rust usually returns when the moisture source remains unchanged.
Warning: Do not fire a firearm with deep rust, heavy pitting, bore obstruction, or corrosion on pressure-bearing parts. Have it inspected by a qualified professional before use.
Common Rust Prevention Mistakes
Many rust problems come from small habits that seem harmless. Avoid these common mistakes if you want better long-term protection:
- Storing a firearm while damp: Always dry the firearm before it goes into a safe, case, or cabinet.
- Leaving fingerprints on blued steel: Skin oils and salts can mark metal if they sit too long.
- Using too much oil: Heavy oil can attract dust and fouling. A thin, even film is usually better for storage.
- Ignoring humidity inside the safe: A closed safe can trap moisture without a hygrometer, desiccant, or dehumidifier.
- Keeping firearms in soft cases long term: Soft cases can hold moisture against the finish.
- Using household cleaners without checking compatibility: Some products can damage finishes, wood, polymer, or protective coatings.
Conclusion
By following these rust prevention practices, you protect your firearms from moisture, corrosion, and avoidable finish damage. Regular cleaning, dry storage, protective lubrication, safe handling, and routine inspections all work together to keep metal surfaces in better condition.
Focus on the basics first: unload and handle the firearm safely, clean away fouling and moisture, apply the right protectant, and store it in a locked, dry space with humidity control. A few minutes of care today can prevent deeper corrosion, costly repairs, and long-term reliability concerns later.
Sources
- U.S. DoD MIL-PRF-63460G listing — CLP performance specification reference.
- EPA Indoor Air Quality guidance — indoor humidity and moisture-control context.
- American Galvanizers Association corrosion rate guidance — humidity and carbon steel corrosion context.
- ATF Safety and Security Information for Firearm Owners — safe firearm storage guidance.
- U.S. Department of Justice secure storage guidance — firearm locking and safe storage support.
- Cerakote testing resources — manufacturer corrosion-resistance testing reference.

